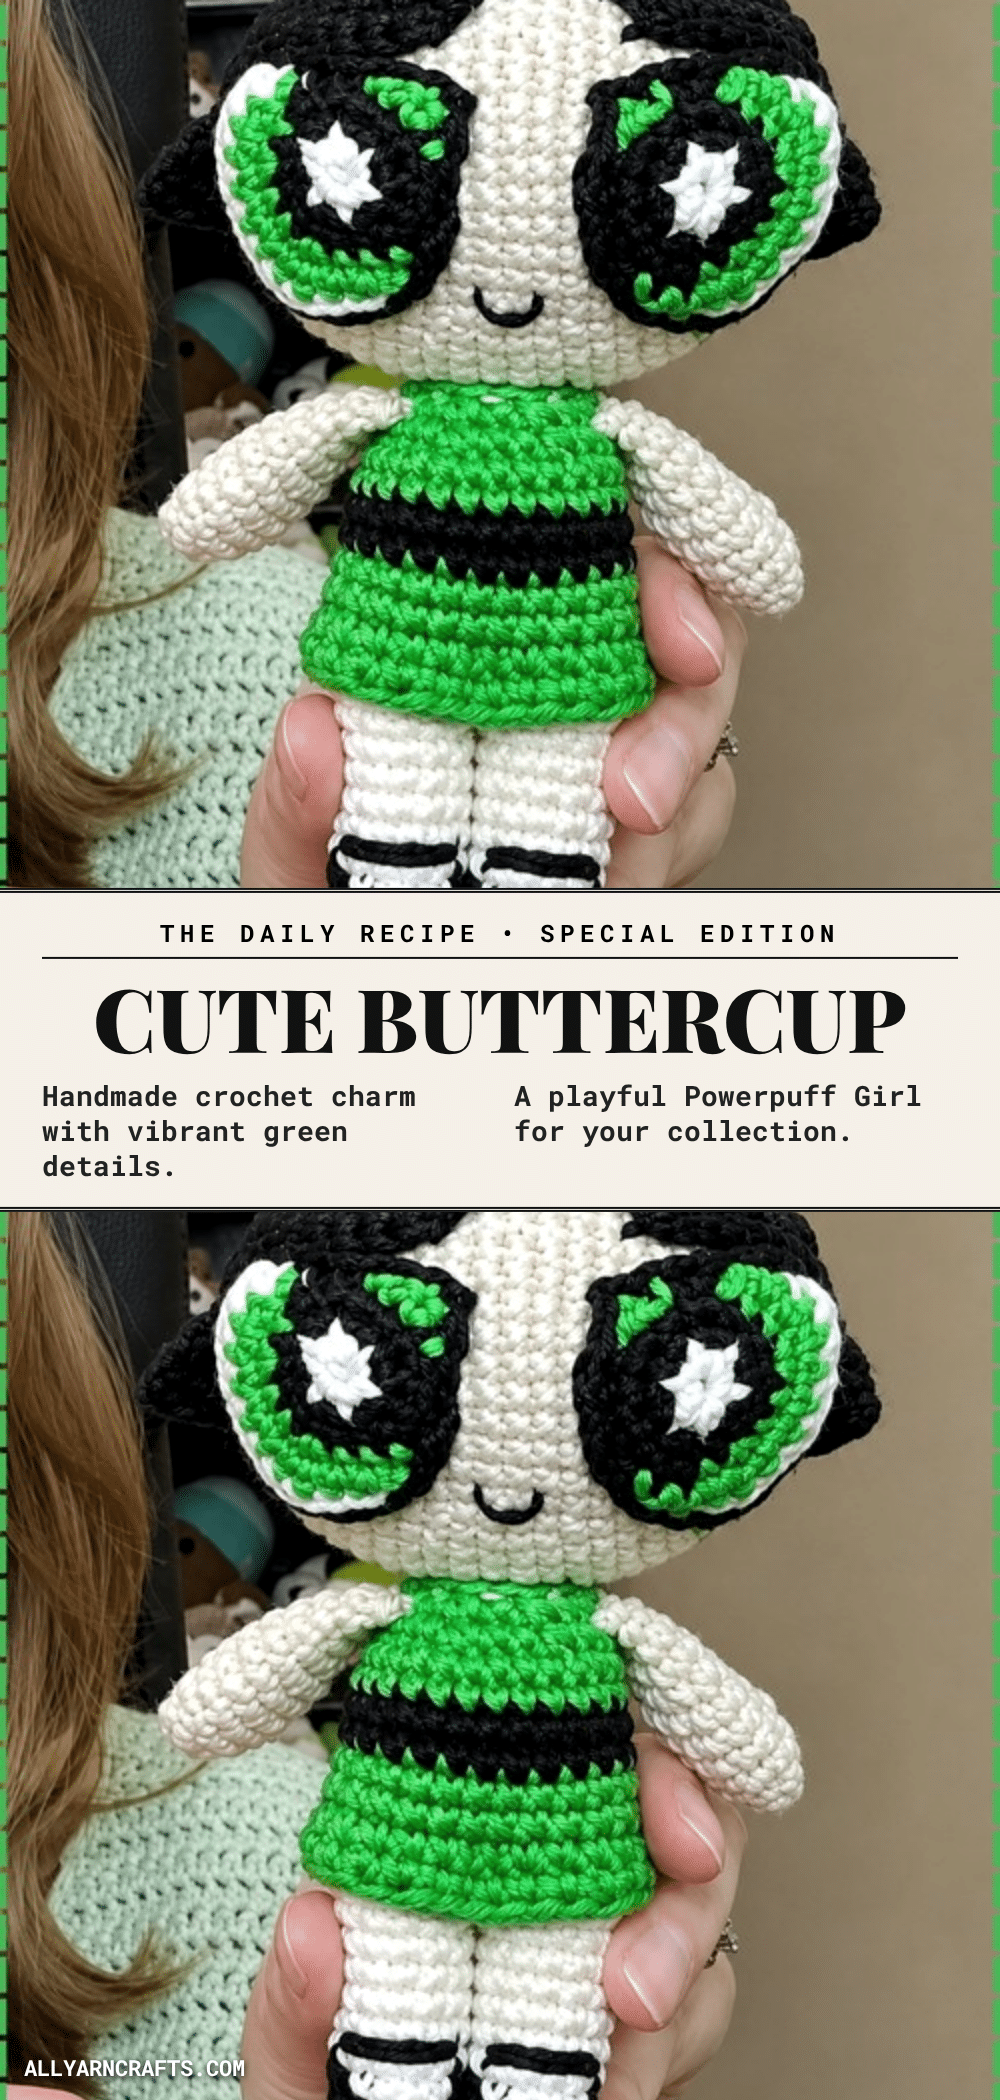
There is nothing quite like the nostalgic charm of 90s cartoons, and few characters embody that era’s bold, colorful energy quite like Buttercup. This crochet Buttercup Powerpuff Girl pattern captures her signature fierce attitude and iconic design in a soft, huggable amigurumi format. Whether you are a longtime fan of the Townsville trio or a crochet enthusiast looking for a project with personality, this pattern delivers the perfect balance of challenge and reward. With its distinct green dress, black hair, and expressive starry eyes, this plushie is a fantastic addition to any nursery shelf or collection.
Seasonal Styling Ideas
While Buttercup is a year-round favorite, her vibrant lime green and stark black palette makes her particularly striking for specific seasonal displays. She fits perfectly into a “Powerpuff Girls” themed birthday party, where she can stand alongside her sisters, Blossom and Bubbles, to create a colorful trio display. For a more subtle touch, her bold colors work beautifully as a centerpiece for a 90s retro-themed room decor or a child’s playroom. Because her design relies on high-contrast colors, she stands out well against neutral backgrounds, making her an excellent subject for photography or a standout gift for fans of classic animation.
Project Overview
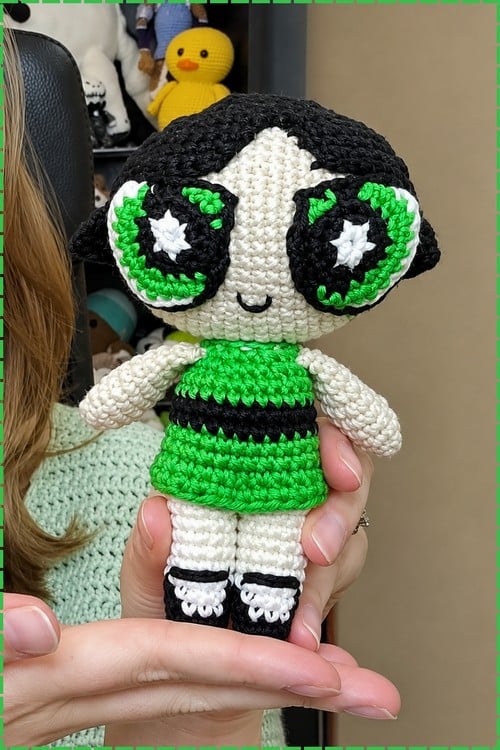
This amigurumi project recreates Buttercup using a combination of crochet techniques including magic rings, continuous rounds, and joined rounds. The pattern is designed to be approachable for crocheters who are comfortable with basic stitches but want to tackle a character with specific proportions. The project involves creating six main components—two legs, a body, a head, a hair cap, two arms, and two eyes—which are then assembled to form the final doll. The pattern includes detailed checkpoints to ensure your shaping matches the character’s unique cartoon proportions.
Materials
- Weight 3 yarn in green
- Weight 3 yarn in black
- Weight 3 yarn in white
- Weight 3 yarn in tan (cream)
- 3.25 mm crochet hook
- Polyester stuffing
- Stitch marker
- Tapestry needle
- Scissors
Abbreviations
- sc: single crochet
- inc: increase (2 sc in the same stitch)
- dec: decrease (invisible decrease recommended)
- sl st: slip stitch
- ch: chain
Pattern Notes
Before starting, it is highly recommended to read through these four techniques, as they appear throughout every piece of the pattern.
Magic Ring
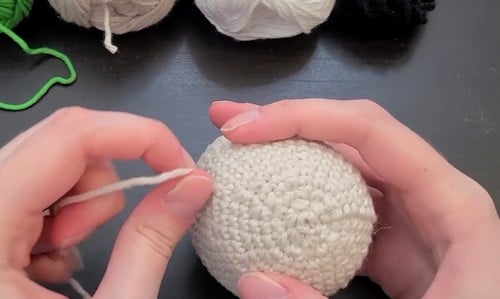
Make a loop with the tail end of your yarn, insert the hook, pull up a loop, chain 1 (or as many as the pattern says), then work your stitches into the centre of the loop. Pull the tail end to close the hole at the centre. This gives a tight, gap-free start and is used in almost every piece here.
Continuous Rounds vs Joined Rounds
The legs in this pattern use joined rounds (slip stitch at the end of each round, chain 1 to start the next). The head and body use continuous rounds with no join. In continuous rounds, your rounds spiral upward. Place a stitch marker in the last stitch of the round and move it up each time so you always know where the round ends.
Increase
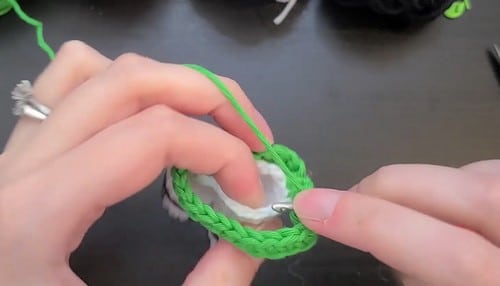
Work 2 sc into the same stitch. This adds one stitch to your count.
Invisible Decrease
Insert your hook through the front loop only of the next stitch, then through the front loop only of the stitch after it, yarn over and pull through both front loops, yarn over and pull through the two loops on your hook. This gives a neater, flatter decrease than the standard method and is especially important on the large head where any bumpy decreases show clearly.
Pattern Instructions
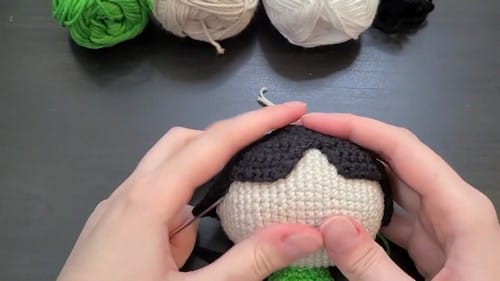
Legs (Make 2)
Round 1: With black yarn, make a magic ring, chain 2, work 6 sc into the ring, sl st to join, chain 1. [6]
Round 2: 1 sc, 1 inc repeat 3 times, sl st to join, chain 1. [9]
Round 3: 1 sc, 1 inc, 2 sc, 1 inc, 2 sc, 1 inc, 1 sc, sl st to join, chain 1. [12]
Checkpoint: a small flat oval, widest in the middle. This is the shoe sole.
Round 4: 2 sc in black, switch to white for 3 sc, switch to black for 7 sc, sl st to join, chain 1. [12]
Round 5: 2 sc in black, switch to white for 4 sc, switch to black for 6 sc, sl st to join, chain 1. [12]
Checkpoint: the white section sits across one side like a shoe strap across the top of a Mary Jane. The colour change should land in the same spot both rounds.
Round 6: Work 12 sc in white. [12]
Round 7: Work 12 sc. [12]
Round 8: Work 12 sc. [12]
Round 9: Work 12 sc. [12]
Round 10: Work 12 sc. [12]
Round 11: Work 12 sc. [12]
Round 12: Work 12 sc and fasten off. [12]
Checkpoint: a straight tube above the shoe section, long enough to look like a leg when the body sits on top. Stuff both legs. Sew a black line across round 5 to create the shoe strap detail.
Body
Attach yarn to the first leg and work 8 sc. Join the second leg and work 12 sc around it. Work 4 sc on the first leg to complete the connector round. [24] sl st to join, chain 1. Chain 25, turn and work 24 sc across to form the skirt strip. Attach the skirt strip to the body using sl sts around the connector round. Checkpoint: the skirt strip forms a ruffle around the waist join. If it bunches unevenly, ease it as you slip stitch.
Round 2: Work 24 sc in green. [24]
Round 3: Work 24 sc. [24]
Round 4: Work 24 sc. [24]
Round 5: Work 24 sc in black. [24]
Round 6: Work 24 sc in black. [24]
Round 7: Work 24 sc in green. [24]
Round 8: Work 24 sc. [24]
Checkpoint: the body is a striped cylinder at this point. Green at the top and bottom with two black rounds in the middle.
Round 9: 1 sc, 1 dec, 2 sc, 1 dec repeat the pattern to total 18 stitches. [18]
Round 10: 1 sc, 1 dec repeat 6 times. [12]
Stuff the body firmly. Fasten off leaving a long tail for sewing.
Head
Round 1: Make a magic ring and work 6 sc into it. [6]
Round 2: Work 1 inc in each stitch. [12]
Round 3: 1 sc, 1 inc repeat 6 times. [18]
Round 4: 1 sc, 1 inc, 2 sc, 1 inc repeat 5 times, 1 sc. [24]
Round 5: 3 sc, 1 inc repeat 6 times. [30]
Round 6: 2 sc, 1 inc, 4 sc, 1 inc repeat 5 times, 2 sc. [36]
Checkpoint: still flat and disc shaped. No doming yet.
Round 7: Work 1 sc in each stitch. [36]
Round 8: 5 sc, 1 inc repeat 6 times. [42]
Round 9: Work 1 sc in each stitch. [42]
Round 10: Work 1 sc in each stitch. [42]
Round 11: Work 1 sc in each stitch. [42]
Checkpoint: the sides curve up into a shallow dome. The head should look like a wide bowl from the side.
Round 12: 3 sc, 1 inc, 6 sc, 1 inc repeat 5 times, 3 sc. [48]
Round 13: Work 1 sc in each stitch. [48].
Round 14: Work 1 sc in each stitch. [48]
Round 15: Work 1 sc in each stitch. [48]
Round 16: Work 1 sc in each stitch. [48]
Checkpoint: the widest point. The head now looks like a full sphere with an opening at the bottom. This is the correct Powerpuff head shape.
Round 17: 3 sc, 1 dec, 6 sc, 1 dec repeat 5 times, 3 sc. [42]
Round 18: Work 1 sc in each stitch. [42]
Round 19: Work 1 sc in each stitch. [42]
Round 20: Work 1 sc in each stitch. [42]
Round 21: 5 sc, 1 dec repeat 6 times. [36]
Round 22: Work 1 sc in each stitch. [36]
Begin stuffing now while the opening is still wide.
Round 23: 2 sc, 1 dec, 4 sc, 1 dec repeat 5 times, 2 sc. [30]
Round 24: 3 sc, 1 dec repeat 6 times. [24]
Round 25: 1 sc, 1 dec, 2 sc, 1 dec repeat 5 times, 1 sc. [18]
Round 26: Work 1 sc in each stitch. [18]
Round 27: 1 sc, 1 dec repeat 6 times. [12]
Round 28: Work 6 dec. [6]
Close the opening and sew the head to the body.
Hair
Work shaping rounds to form the base cap using chains and sl sts. Place a stitch marker at stitch 9 of round 4 to mark the split point for the bangs. Continue rows of sc and sl sts to form the bangs panel at the front and the back panel. Sew the hair cap to the head, leaving the side panels free to flip outward. Checkpoint: the bangs should sit across the forehead as a straight fringe. If they pull upward, sew one anchor stitch on each side of the fringe to hold it flat.
Arms (Make 2)
Round 1: Make a magic ring and work 6 sc into it. [6]
Round 2: 1 sc, 1 inc repeat 3 times. [9]
Round 3: 1 sc, 1 inc, 2 sc, 1 inc, 2 sc, 1 inc, 1 sc. [12]
Checkpoint: a small rounded hand shape, already wider than it is tall.
Round 4: Work 1 sc in each stitch. [12]
Round 5: Work 1 sc in each stitch. [12]
Round 6: Work 1 sc in each stitch. [12]
Round 7: Work 1 sc in each stitch. [12]
Round 8: 1 sc, 1 dec repeat 4 times. [8]
Checkpoint: the arm narrows at the wrist above the wider hand end.
Round 9: Work 1 sc in each stitch. [8]
Round 10: Work 1 sc in each stitch. [8]
Stuff lightly. Fold flat and single crochet across the top to close. Sew to the body.
Eyes (Make 2, Mirrored)
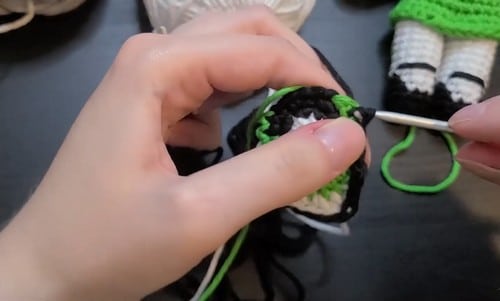
Crochet the right eye using white, black, and green shaping as the character design requires. Crochet the left eye as a mirrored version of the right. Sew both eyes onto the face. Checkpoint: the eyes should sit in the lower half of the face, large and close together. Pin them before sewing; Powerpuff proportions are specific and placement makes or breaks the likeness. Embroider a small U shaped mouth below the eyes. Secure all ends neatly inside the head.
Assembly
Pin every piece before sewing down. The eyes especially need pinning in several positions before you commit. Sew the head to the top of the body. Use the long tail and work two full circuits for strength. Pin the eyes onto the lower half of the face, large and close together. Check the angle from the front before sewing. Embroider the mouth below the eyes once the eyes are positioned. Sew the hair cap onto the head with the bangs sitting flat across the forehead. Sew the arms to the sides of the body just below the neck join. Check that the skirt strip is secured all the way around the waist.
Tips
Stuffing Guide
The head takes firm stuffing, packed in before round 23 while the opening is still wide, and added again if needed at round 25. Firm stuffing is what gives the Powerpuff head its characteristic round shape. Too little and it looks deflated at the top. The body also takes firm stuffing to support the head weight. Arms get only a light fill; they should stay soft and moveable. The legs get stuffed after closing, enough to feel solid but not so much that the shoe section distorts.
FAQs
I’ve never done a magic ring before. Is it hard?
It takes a few tries to feel natural, but once it clicks it’s faster than chaining. Watch one short video, practice on scrap yarn, and do five or six before starting the actual legs.
What is the invisible decrease and why does it matter here?
It’s a version of the decrease that picks up only the front loops of two stitches. It lies flatter than the standard decrease and doesn’t leave a visible bump. On a head this large, the regular decrease shows as a little ridge along the closing rounds, which the invisible version avoids.
My colour changes in the legs look messy. What do I do?
Carry the unused colour loosely along the inside rather than cutting it each time. That keeps the floats tidy. Pull each colour change snug but not tight, and the line between colours will look cleaner.
The head looks huge compared to the body. Is that right?
Yes. Powerpuff Girls have heads that are almost as wide as the body is tall. If yours looks proportional in a normal toy sense, the head is probably too small.
Can I make Blossom or Bubbles with this pattern?
The body, legs, arms and head rounds are the same for all three. Swap green for pink (Blossom) or blue (Bubbles), change the hair colour and style, and adjust the eye colour. The hair will need different shaping for Blossom’s bow and Bubbles’ pigtails. For more character projects, you might also enjoy our Demogorgon pattern or our Snowman tutorial for seasonal variety.
Pin This Crochet Pattern!