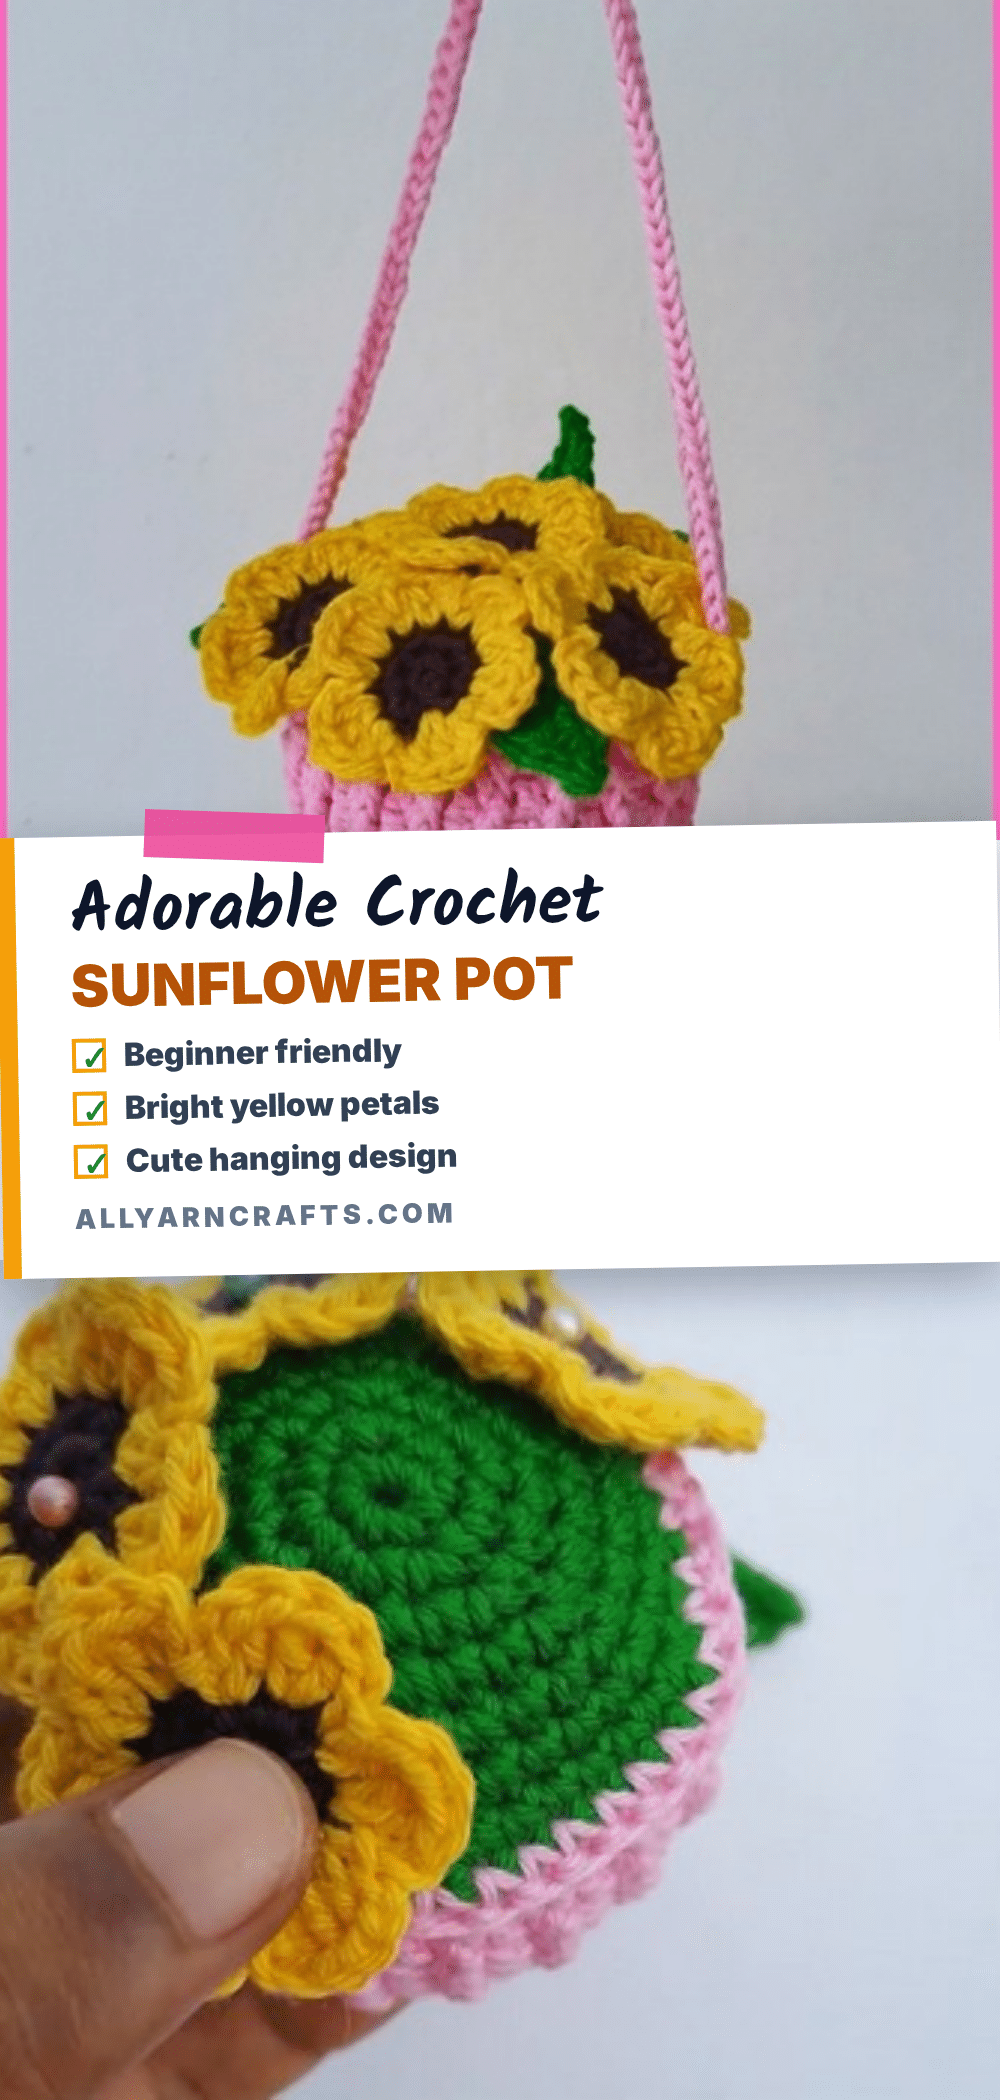
Yarn is on the table, hook in hand, and the project begins to take shape. There is a specific kind of magic in watching a pile of loose fibers transform into something that holds its own weight and personality. With this crochet sunflower pot, you are building a cheerful, hanging decoration that brings the warmth of late summer indoors. It is a project that rewards patience with a beautiful, structured result.
Why This Project Works
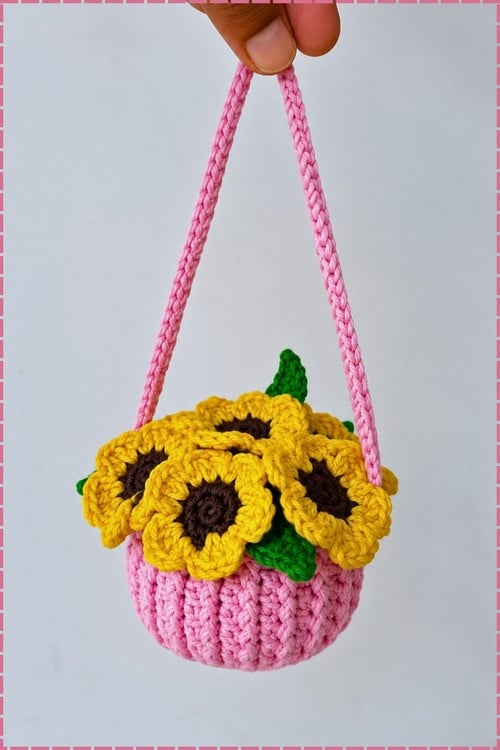
This pattern is a standout because it balances structural integrity with soft, organic charm. Unlike many amigurumi projects that rely on stuffing for shape, this pot uses a clever combination of a cardboard base and specific stitch techniques to stand firm. The ribbed pink pot provides a sturdy vessel, while the bright yellow sunflowers spill over the rim, creating a natural, overflowing look. It is the perfect piece for a window frame or a wall hook, offering a pop of color that lasts long after the real sunflowers have gone to seed. It is also a thoughtful, allergy-friendly gift for spaces where fresh flowers are not allowed.
Project Overview
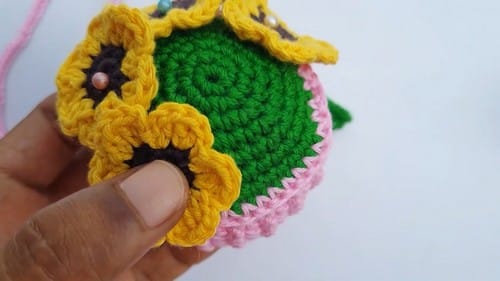
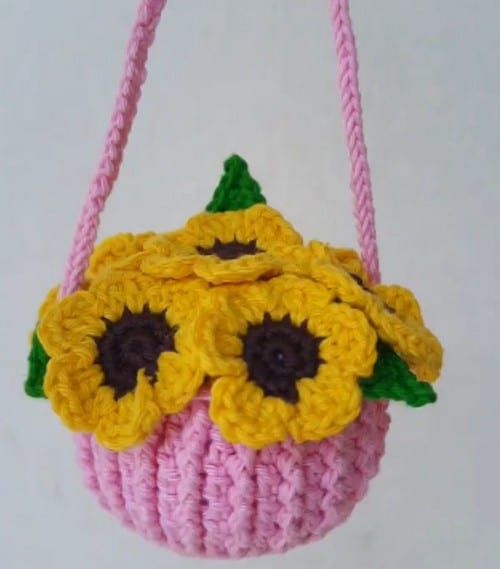
This is a decorative amigurumi piece featuring a ribbed pink pot with a green lid, topped with seven bright yellow sunflowers and green leaves. The entire piece is designed to hang, featuring a long pink handle. It is a great project for makers who enjoy working with multiple colors and assembling components into a cohesive display.
Materials
The source pattern does not provide a strict materials list, but based on the construction, you will likely need the following:
- Pink yarn: For the pot body and handle.
- Green yarn: For the lid and leaves.
- Brown yarn: For the flower centres.
- Yellow yarn: For the flower petals.
- Cardboard: For the base circle.
- Fiberfill stuffing: To give the pot a firm, rounded body.
- Small pearls or beads: For flower centres (or 6 mm/8 mm safety eyes).
- Adhesive: Fabric glue or hot glue.
- Crochet hook: A 3.5 mm to 4 mm hook is a reasonable starting point for DK or worsted weight yarn.
- Yarn needle and scissors.
Gauge and Finished Size
Specific gauge measurements and finished dimensions are not provided in the source pattern. The pot is designed to be a flat disc that rises into a wall, and the lid should match the top opening of the pot. Ensure your tension is consistent to avoid rippling or puckering at the seams.
Abbreviations
The pattern uses standard crochet abbreviations. Key terms include:
- sc: Single crochet
- inc: Increase (2 single crochet in the same stitch)
- dc: Double crochet
- fpdc: Front post double crochet
- ch: Chain
- sl st: Slip stitch
- hdc: Half double crochet
Pattern Notes
- Construction: The pot is worked in continuous rounds using single crochet for the base, then switching to double crochet and front post double crochet for the walls.
- Stuffing: The pattern specifies stuffing the pot with fiberfill. A cardboard circle is glued to the base for stability, with fiberfill packed above it. Avoid overstuffing, as this can stretch the stitches at the Round 8 ridge.
- Assembly: The lid is crocheted directly onto the pot after stuffing. Flowers and leaves are glued on top. The handle is a long chain.
- Safety: This is a decorative item with no face or safety eyes. If making for a child, consider using fabric glue and avoiding small beads that could be a choking hazard.
Pattern Instructions
Pot (Pink)
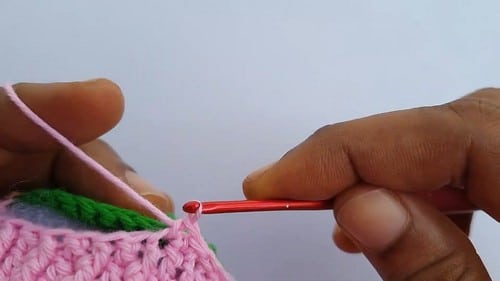
Work in continuous rounds using single crochet throughout Rounds 1 to 7.
- Round 1: Magic ring with 6 single crochet. (6)
- Round 2: 2 single crochet in each stitch around. Checkpoint: a small flat circle. If it cups upward, your tension is too tight; go up half a hook size. (12)
- Round 3: (1 single crochet, 1 increase) repeat 6 times. (18)
- Round 4: (2 single crochet, 1 increase) repeat 6 times. (24)
- Round 5: (3 single crochet, 1 increase) repeat 6 times. (30)
- Round 6: (4 single crochet, 1 increase) repeat 6 times. Checkpoint: still a flat disc at this point, about the size of a small saucer. Any rippling means extra stitches crept in; count before continuing. (36)
- Round 7: (5 single crochet, 1 increase) repeat 6 times. (42)
- Round 8: Working in back loops only, 1 double crochet in each stitch. Checkpoint: a clear ridge should ring the edge of the disc, and the walls should start rising upward rather than lying flat. The switch from single to double crochet here is deliberate.
- Rounds 9 to 13: (1 double crochet, 1 front post double crochet) repeat 21 times per round. Checkpoint: vertical ridges should run up the outside of the pot like ribs. If the front post double crochets are sinking into the fabric rather than wrapping the post cleanly, try relaxing your tension on the yarn-over before inserting the hook. (42)
Pot Lid (Green)
- Repeat Rounds 1 to 7 of the pot in green yarn. Checkpoint: the lid circle should be the same diameter as the top opening of the pot.
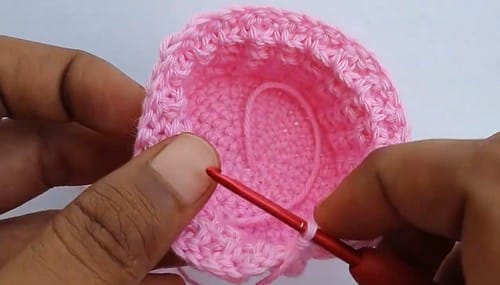
- Place a cardboard circle at the base of the pot for stability.
- Stuff the pot firmly with fiberfill before closing.
- Crochet the lid and pot together with single crochet stitches. Checkpoint: hold both pieces together and count that their stitch counts match before joining. A lid and pot with different stitch counts will pucker at the seam.
Flowers (Make 7)
Brown Centre
- Round 1: Magic ring with 6 single crochet. (6)
- Round 2: 2 single crochet in each stitch around. Checkpoint: a small flat brown circle. (12)
Yellow Petals
- Join yellow yarn.
- Round 3: (Chain 2, 2 double crochet in the next stitch, chain 2, slip stitch in the next stitch) repeat 6 times to create 6 petals. Checkpoint: 6 petals should fan out evenly around the brown centre. Petals that overlap usually mean the chain-2 loops are too loose; try tightening them slightly.
Leaves (Make 4 or More)
- Chain 7.
- Starting in the second chain from the hook, work 1 single crochet, 1 half double crochet, 1 double crochet in the next 2 stitches, 1 half double crochet, 1 single crochet.
- Continue on the opposite side of the chain: 1 half double crochet, 1 double crochet in the next 2 stitches, 1 half double crochet, 1 single crochet.
- Checkpoint: the leaf should be a pointed oval, flat and even on both sides. A twisted leaf usually means you turned the chain over when starting the second side.
Handle (Pink)
- Take two strands of pink yarn held together.
- Chain 85. Checkpoint: the handle is a long doubled chain.
Assembly
- Base Stability: Glue the cardboard circle inside the base of the pot first. Let it set.
- Flower Arrangement: Arrange all 7 flowers on top of the pot dry, with one in the centre and six around it, before gluing any of them. Move them until you are happy with the spacing, then glue in place. A central flower surrounded by 6 sits naturally; any fewer and the gaps show.
- Centres: Attach small pearls or beads to each flower centre while the glue is still workable so you can reposition if one slides. Alternatively, you can use a single 6 mm or 8 mm safety eye pushed through the centre of each flower for a clean button-like finish.
- Handle: Pin the handle ends to the sides of the pot and check the drape before stitching or gluing them down.
- Leaves: Tuck the leaves around the base of the flower cluster, with tips pointing outward.
Tips
- Tension Check: If your base cups upward, your tension is too tight; go up half a hook size.
- Stitch Count: Any rippling means extra stitches crept in; count before continuing.
- Ribbing: If the front post double crochets are sinking into the fabric rather than wrapping the post cleanly, try relaxing your tension on the yarn-over before inserting the hook.
- Seam Puckering: A lid and pot with different stitch counts will pucker at the seam. Ensure they match before joining.
- Petal Spacing: Petals that overlap usually mean the chain-2 loops are too loose; try tightening them slightly.
- Leaf Shape: A twisted leaf usually means you turned the chain over when starting the second side.
- Stuffing Alternative: You can leave the pot hollow, but it will feel very soft and may not hold its shape under the weight of the flowers. A piece of foam cut to size is a good middle ground if you want a firm pot without fiberfill.
- Glue Choice: Hot glue bonds fastest and holds well for display pieces. Fabric glue takes longer to dry but is easier to reposition and is safer if the piece will be near children.
FAQ
Can I skip the stuffing?
You can leave the pot hollow, but it will feel very soft and may not hold its shape under the weight of the flowers. A piece of foam cut to size is a good middle ground if you want a firm pot without fiberfill.
What kind of glue works best?
Hot glue bonds fastest and holds well for display pieces. Fabric glue takes longer to dry but is easier to reposition and is safer if the piece will be near children.
Can I use safety eyes in the flower centres instead of beads?
Yes, a single 6 mm or 8 mm safety eye pushed through the centre of each flower gives a clean button-like finish and needs no glue.
Why is my pot lid not fitting?
Ensure you have repeated Rounds 1 to 7 of the pot exactly for the lid. Hold both pieces together and count that their stitch counts match before joining. A lid and pot with different stitch counts will pucker at the seam.
Is this pattern suitable for beginners?
If you are new to crocheting toys, the basic rounds are straightforward. However, the ribbed section requires comfort with front post double crochet. If you need guidance on basic stitches, you might find our beginner crochet stitch guide helpful. The video tutorial mentioned in the source pattern also shows exactly what each round should look like.
Can I make this as a toy for a child?
The pattern is designed as a decorative item. If you want to turn it into a toy for a child, avoid using small beads or pearls for the flower centres. Instead, use fabric glue or safety eyes that are securely fastened, and ensure the handle is securely attached.
Pin This Crochet Pattern!