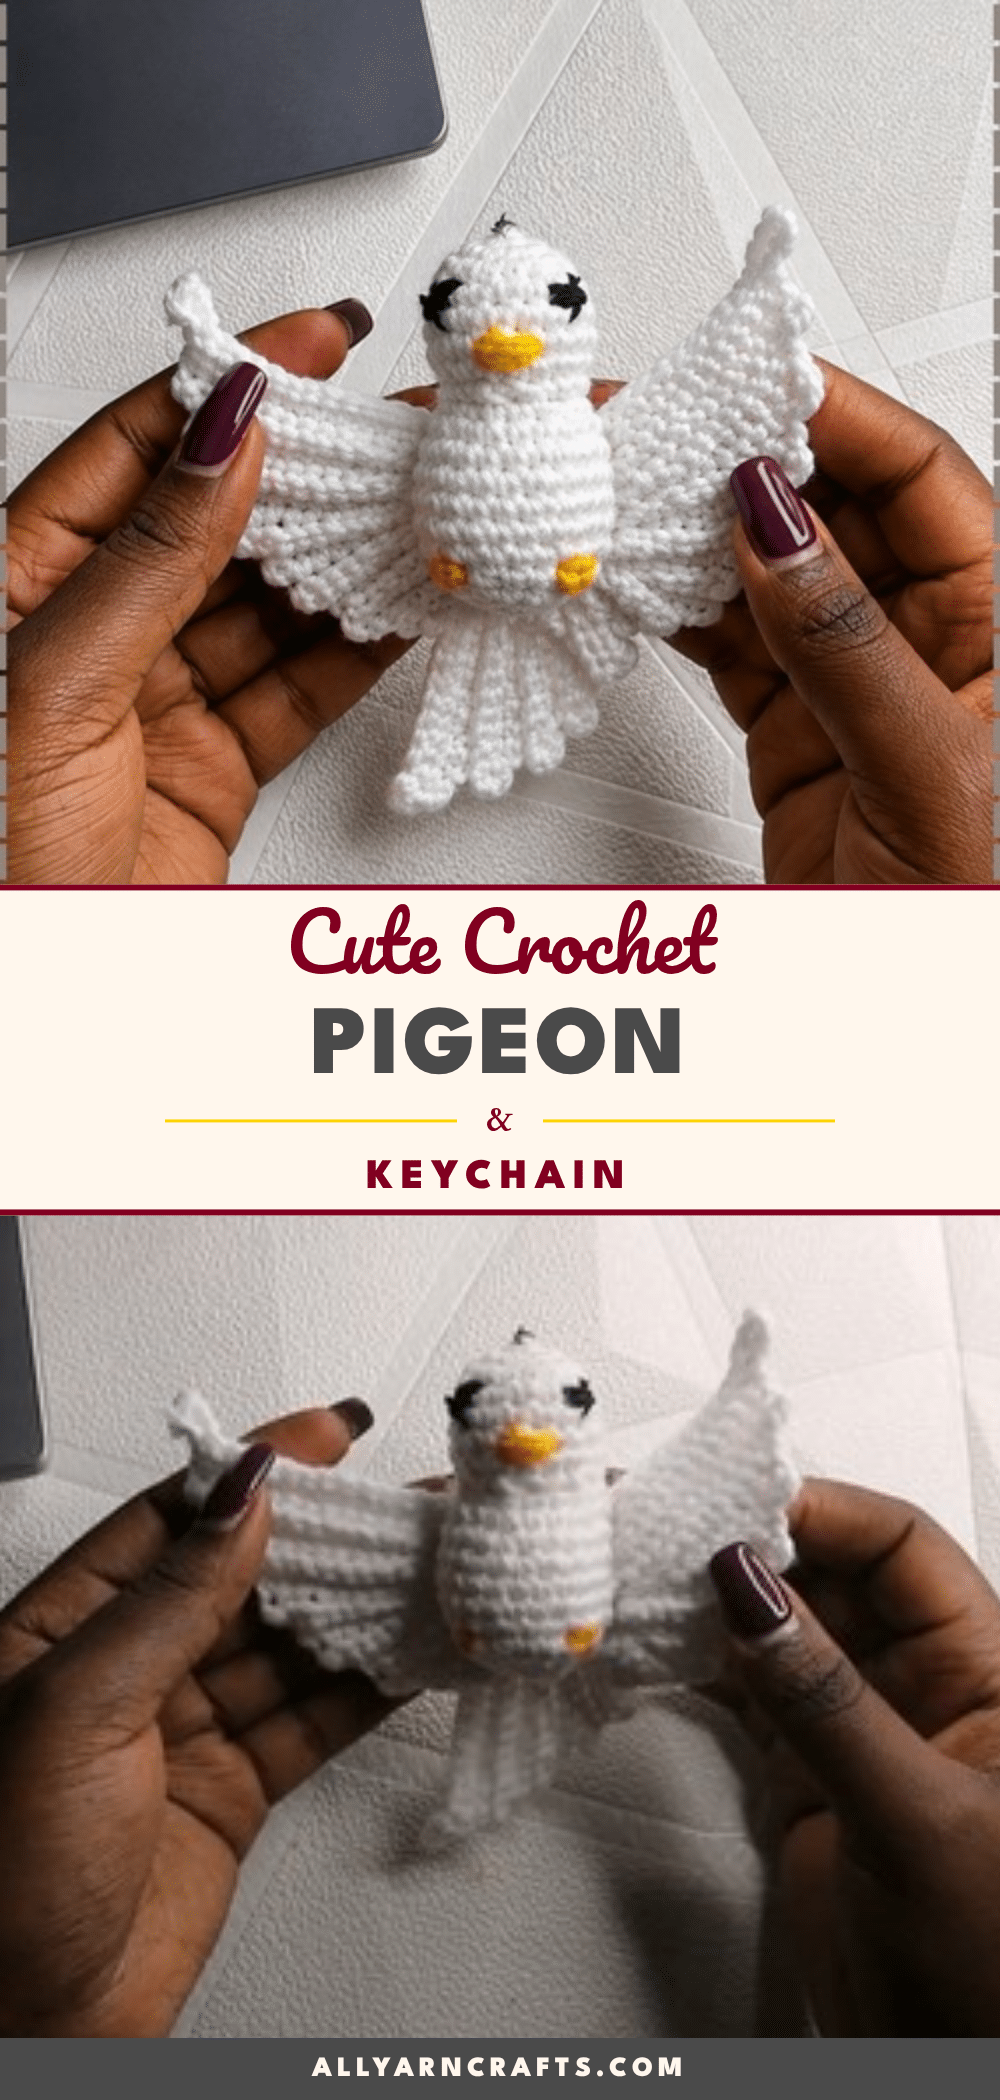
There is a specific kind of magic that happens when you sit down with a hook and a small amount of yarn, watching a simple circle of magic ring transform into a recognizable character. The yarn is on the table, the hook is in hand, and suddenly, that flat disc begins to rise, taking on the curve of a head and the puff of a chest. This Adorable Crochet Pigeon Keychain Pattern captures that exact moment of creation, turning a common city bird into a delightful, palm-sized companion. It is a project that rewards patience with a charming result that fits perfectly on a bag, a backpack, or a set of keys.
Why This Project Works
This pattern succeeds because it balances structural integrity with whimsical charm. Unlike larger amigurumi that require complex shaping, this keychain relies on a continuous spiral body that creates a smooth, rounded silhouette. The real “wow” factor comes from the wings and tail, which are worked flat using a step-up chain technique. This method creates a ridged, layered effect that mimics the natural texture of feathers without requiring intricate stitch work. It is a forgiving project for intermediate makers who want to practice flat shaping, and it is accessible enough for beginners who can follow a steady rhythm of single crochets. The result is a bird that looks alert and ready for adventure, with a distinct personality defined by its wide-set eyes and fanned tail.
Project Overview
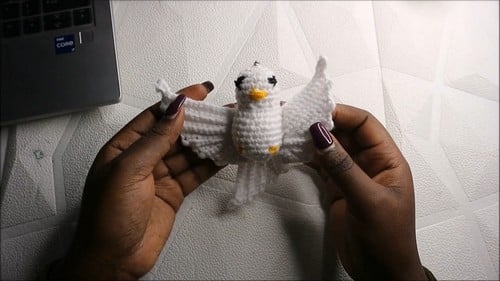
This mini amigurumi pigeon is designed to be a compact accessory, perfect for a keychain or a small bag charm. The body is worked in one continuous piece from the top of the head down to the base, ensuring a seamless shape. The wings and tail are separate flat pieces that attach to the body, giving the bird its characteristic spread-winged look. The face is embroidered directly onto the body, allowing for precise placement of the eyes and beak. The entire project takes approximately one to two hours to complete, making it an ideal quick gift or a satisfying weekend craft.
Materials
- Main Yarn: Grey, blue-grey, or iridescent yarn in a smooth finish. Any smooth yarn at the weight your hook is suited for works well. Grey or blue-grey reads most like a pigeon, but white yarn can also be used for a dove variation.
- Accent Yarns: Yellow yarn for the beak and leg embroidery. Black yarn for the eye embroidery.
- Crochet Hook: A hook suitable for your yarn weight. A 2.5 mm to 3.5 mm hook with DK or lightweight yarn is recommended to keep the finished pigeon small enough for a keychain without the stitches gaping.
- Stuffing: Fiberfill stuffing.
- Notions: Stitch marker, yarn needle, scissors.
- Hardware: A keychain ring, lobster clasp, or short pendant cord for the hanging loop.
Gauge and Finished Size
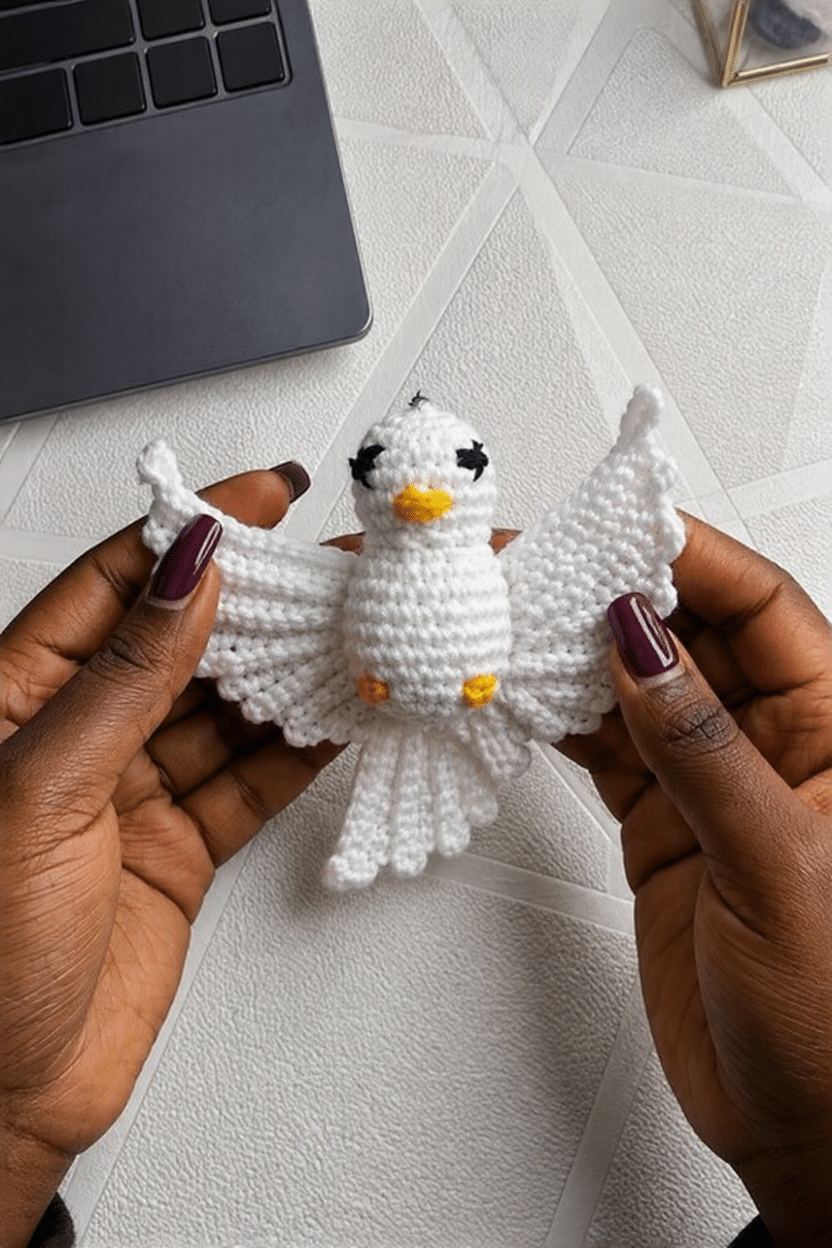
There is no specific gauge required for this pattern, as the size is determined by the yarn weight and hook size used. The approximate finished size is around 3 to 4 inches tall. Please note that these figures are estimates based on experience with similar small amigurumi and may vary slightly depending on your tension and materials.
Abbreviations
- sc: single crochet
- inc: increase, two sc into one stitch
- dec: decrease, two stitches worked together into one
- BLO: back loop only
Note: Stitch counts in brackets are at the end of each round.
Pattern Notes
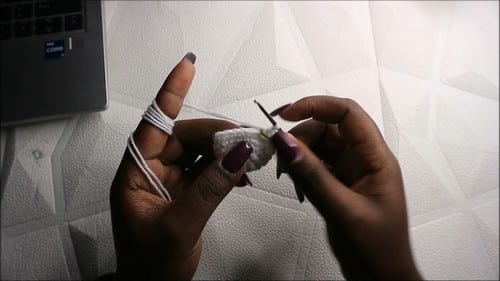
- Continuous Rounds: The head and body are worked in continuous rounds. Do not join or chain at the end of each round. Keep a stitch marker in the first stitch of every new round to track your progress.
- Pieces: This pattern requires four pieces total: one head and body (worked together), two wings, and one tail. The face is embroidered directly onto the finished body during assembly.
- Time Estimate: The project takes approximately one to two hours from start to finish. This is an estimate based on experience with similar small amigurumi.
Pattern Instructions
Head and Body
Work in continuous rounds. Do not join or chain at the end of each round. Keep a stitch marker in the first stitch of every new round.
- Round 1: Magic ring with 6 sc [6]
- Round 2: 2 sc in each stitch around [12]
- Round 3: 1 sc, 1 inc, repeat around [18]. Checkpoint: A shallow open disc with curved sides beginning to rise. This is the top of the head.
- Round 4: sc in each stitch around [18]
- Round 5: sc in each stitch around [18]
- Round 6: sc in each stitch around [18]
- Round 7: sc in each stitch around [18]. Checkpoint: A round full ball. This is the complete head section and it should sit comfortably in your palm with a wide open base. The neck decrease begins next.
- Round 8: 1 sc, 1 dec, repeat around [12]. If the round count is off here, the neck pinch will land in the wrong place and the bird will look like it has a very long or very short head. Count before starting this round.
- Round 9: 1 sc, 1 inc, repeat around [18]
- Round 10: 2 sc, 1 inc, repeat around [24]. Checkpoint: The body is now visibly wider than the neck above it and the pigeon silhouette is clear, a round head sitting on a wider puffed chest.
- Round 11: sc in each stitch around [24]
- Round 12: sc in each stitch around [24]
- Round 13: sc in each stitch around [24]
- Round 14: sc in each stitch around [24]
- Round 15: sc in each stitch around [24]. Checkpoint: The body section is now a full round ball below the neck. Begin stuffing firmly at this point, working stuffing in through the opening in small pieces before the next round narrows the gap. Begin stuffing the head and body firmly.
- Round 16: 2 sc, 1 dec, repeat around [18]
- Round 17: 1 sc, 1 dec, repeat around [12]
- Final Round: dec in every stitch around [6]. If you cannot close fully after this round, work one additional dec round before fastening off.
Slip stitch and fasten off. Pull the tail through to the inside and close the opening.
Wings, Make Two
- Row 1: Chain 5. Starting in the second chain from the hook, work 4 sc across [4].
- Row 2: Chain 1 and turn. Work sc across the row in back loops only [4]. Checkpoint: A small flat rectangle two rows tall. This is the base of the wing before the feather layers begin.
- Row 3: Chain 3 and turn to begin the first feather layer extension. Work sc back across the chain stitches and then across the existing row [7]. If the chain stitches are hard to work into, loosen your grip on the chain before turning.
- Repeat: Continue repeating this step-up pattern: chain 3 at the end of each row, turn, and work sc back across the new chain and the existing row. Each new section grows the wing slightly longer. Continue until the wing reaches approximately 14 stitches across.
- Final Row: Chain 4 for the final feather section. Work sc back across [the full current width plus 4]. Checkpoint: The finished wing reads as a stepped shape with visible feather layers at the outer edge, wider at the bottom than at the top.
Fasten off leaving a long tail for sewing.
Tail
- Row 1: Chain 9. Starting in the second chain from the hook, work 8 sc across [8].
- Row 2: Chain 1 and turn. Work sc across using back loops only [8].
- Repeat: Add chain 3 sections at the end of rows to gradually extend the tail shape, working sc back across each chain and the existing row as with the wings. Continue the step-up feather pattern until the tail reaches a layered shape that suits the body size.
Checkpoint: The tail reads as a fan with stepped feather edges, wider at the outer end than at the attachment base.
Fasten off leaving a long tail for sewing.
Assembly
Pin everything before sewing. The wing angle makes a significant difference to whether the bird reads as alert or relaxed.
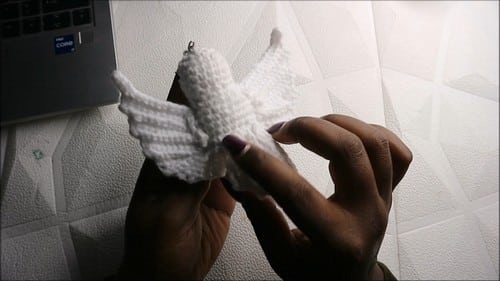
- Wings: Sew one wing to each side of the body, positioned slightly above the centre of the body section with the feather edges pointing upward. The wings sit on the widest part of the chest, not at the very top near the neck.
- Tail: Sew the tail to the back of the body about four rows above the bottom. The tail should point outward and slightly downward from the base of the body.
- Beak: Using yellow yarn, embroider a small triangular beak on the front of the head at the base of the head section just above the neck. Two or three satin stitches in a triangle shape is enough.
- Eyes: Embroider two small eyes using black yarn, one on each side of the head above the beak. A single satin stitch or a French knot reads clearly at this scale.
- Legs: Using yellow yarn, embroider two small V-shaped legs near the bottom of the body below the wing attachment points.
- Loop: Attach your hanging loop, keychain ring or pendant cord to the top of the head with a few secure stitches through the closing seam.
Tips for Success
- Stuffing Firmness: Stuff the head and body firmly. At keychain size, a soft body loses its shape the first time it gets pressed against something in a bag. However, avoid overstuffing, which shows as stitch gaps across the body, especially around rounds 11 to 14 where the body is widest. Fill in small amounts and check the surface frequently.
- Wing Shaping: The wings should have no stuffing; they are flat layered pieces. If the wings keep curling inward after sewing, this is due to the back-loop-only rows causing a natural curl toward the front-loop side. Pin the wings flat against the body when sewing and use a few extra stitches at the top and bottom of each wing to hold them open. Light blocking with a damp cloth before attaching also helps.
- Neck Pinch: If your neck pinch is not visible after Round 8, check that you used proper decreases rather than skipped stitches. The decrease round reduces from 18 to 12 stitches, which should pull the fabric in noticeably. Also, ensure that stuffing was not pushed into the neck area when you filled the head.
- Video Support: If rounds and stitch counts look confusing, don’t stress! Refer to the video tutorial linked in the source material to walk through this plushie step by step.
FAQ
What yarn weight works best for a keychain?
A fine or DK weight gives the right size. Sport or fingering weight on a 2.5 mm hook comes out very small and dense, which is perfect if you want it to stay neat on a keyring. Worsted is fine but the finished bird will be closer to a bag charm than a true keychain.
My neck pinch is not visible after round 8. What should I do?
The decrease round reduces from 18 to 12 stitches, which should pull the fabric in noticeably. If the change is subtle, check that Round 8 used proper decreases rather than skipped stitches, and that the stuffing was not pushed into the neck area when you filled the head.
Why do my wings curl inward?
This is caused by the back-loop-only rows creating a natural curl toward the front-loop side. Pin the wings flat against the body when sewing and use a few extra stitches at the top and bottom of each wing to hold them open. Light blocking with a damp cloth before attaching also helps.
Can I use white yarn for this pattern?
Yes! White yarn reads as a dove, making this pattern versatile for wedding favours or Easter baskets. You can still use the yellow beak and legs, or switch to pink for a dove variation.
How do I attach the keychain ring?
Attach your hanging loop, keychain ring, or pendant cord to the top of the head with a few secure stitches through the closing seam. Ensure the stitches are tight so the ring does not pull out with weight.
If you enjoy making small, character-driven amigurumi, you might also like our cute crochet amigurumi bunny or our adorable crochet bluebird pattern for more bird-themed projects.
Pin This Crochet Pattern!