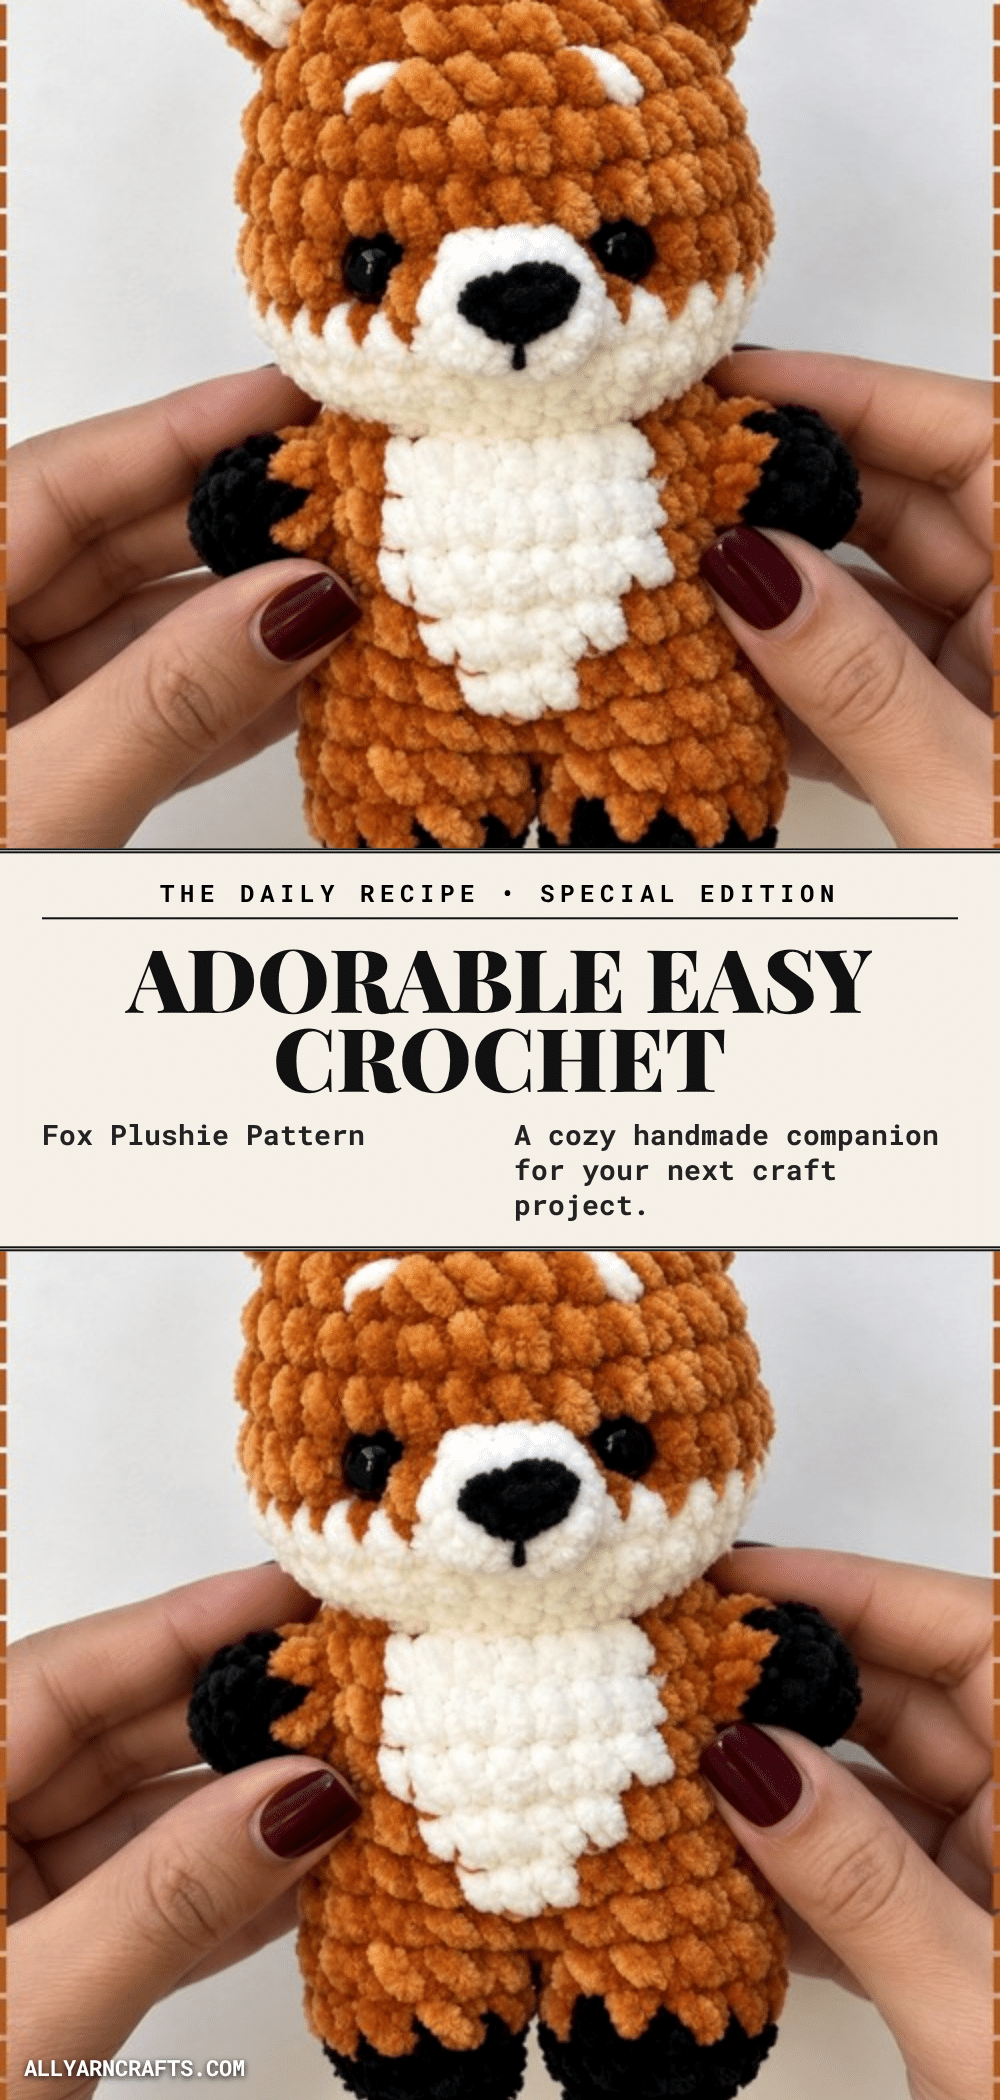
There is something undeniably satisfying about holding a finished amigurumi that looks like it just stepped out of a storybook. This easy crochet fox plushie is the perfect example of that magic—it is cute, tidy, and incredibly display-worthy. With its cheeky expression, wide muzzle, and velvety texture, this little woodland friend is ready to be loved, squished, and gifted. Whether you are a beginner looking for your first amigurumi project or an experienced maker wanting a quick make, this pattern delivers a charming result with clear, manageable steps.
Why the Finished Piece Stands Out
What makes this fox truly special is the interplay of texture and color. Using a chenille-style yarn gives the plushie a bumpy, velvety surface where every stitch reads as a tiny pom-pom, making the fox feel soft and inviting in small hands. The design features a cream bib that runs from the chin down the chest, grounding the bright orange coat with black paws and feet. The ears stand upright with cream fronts and black tips, while the head sits wide over a short body. The eyes are set low and close, giving the fox a scheming rather than sweet look, as if it has just gotten away with stealing your lunch. It sits with its paws out, looking like it wants to be handed over. This combination of features makes it an ideal companion for woodland nurseries or autumn bookshelves.
Project Overview
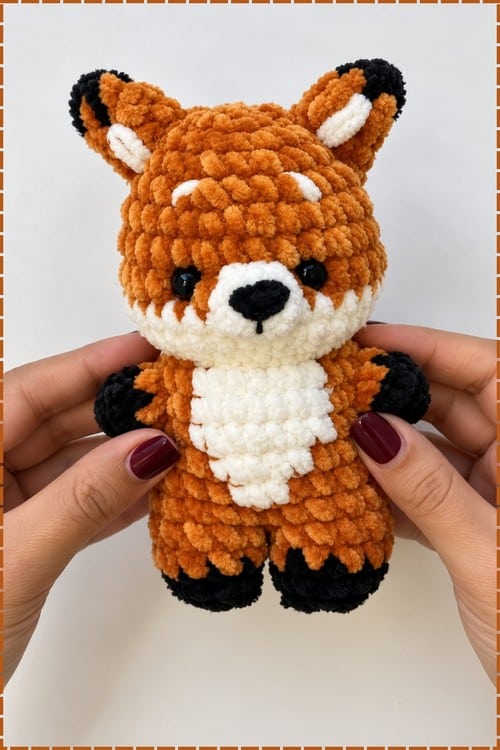
This amigurumi fox is worked in separate pieces—legs, body, arms, head, ears, and tail—and then assembled. The pattern is designed for beginners, utilizing basic single crochet stitches, increases, decreases, and color changes. The body is worked directly off the joined legs, which simplifies the construction process. The project is estimated to be around 15 to 18 cm tall, depending on the yarn weight and hook size used.
Materials
- Orange yarn: For the main body, head, arms, and ears.
- Black yarn: For the paws and feet.
- White/Cream yarn: For the muzzle panel, belly bib, and tail tip.
- Polyester stuffing: For filling the head and body.
- Yarn needle: For sewing pieces together and embroidering details.
- Stitch marker: Essential for tracking rounds in continuous spirals.
- Scissors: For cutting yarn.
- Hook size: No specific size is given, but a 3 mm to 3.5 mm hook with DK or worsted weight yarn is a comfortable starting point.
Gauge and Finished Size
No specific gauge is provided in the source pattern. The finished fox is estimated to be around 15 to 18 cm tall when worked with DK or worsted weight yarn and a 3 mm to 3.5 mm hook. This is an estimate only, as tension and yarn choice will affect the final size.
Abbreviations
The pattern uses standard crochet abbreviations. While specific abbreviations are not listed, the following are standard for this type of pattern:
- sc: Single crochet
- inc: Increase (2 sc in the same stitch)
- dec: Decrease (2 sc together)
- sl st: Slip stitch
- ch: Chain
- MR: Magic Ring
Pattern Notes
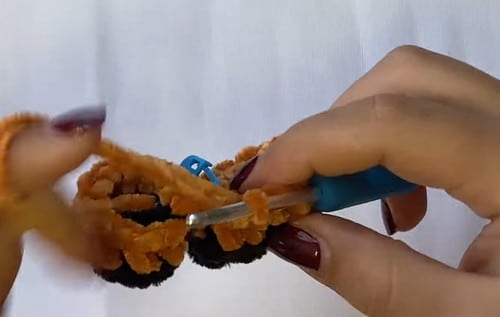
Magic Ring
Every piece in this pattern starts with a magic ring. Wrap the yarn loosely around two fingers to form a loop, insert your hook, pull up a working loop, and chain 1 to anchor. Work your single crochets into the ring, then pull the tail to close the centre hole. Using a magic ring instead of a starting chain keeps the centre tight with no visible hole.
Continuous Rounds
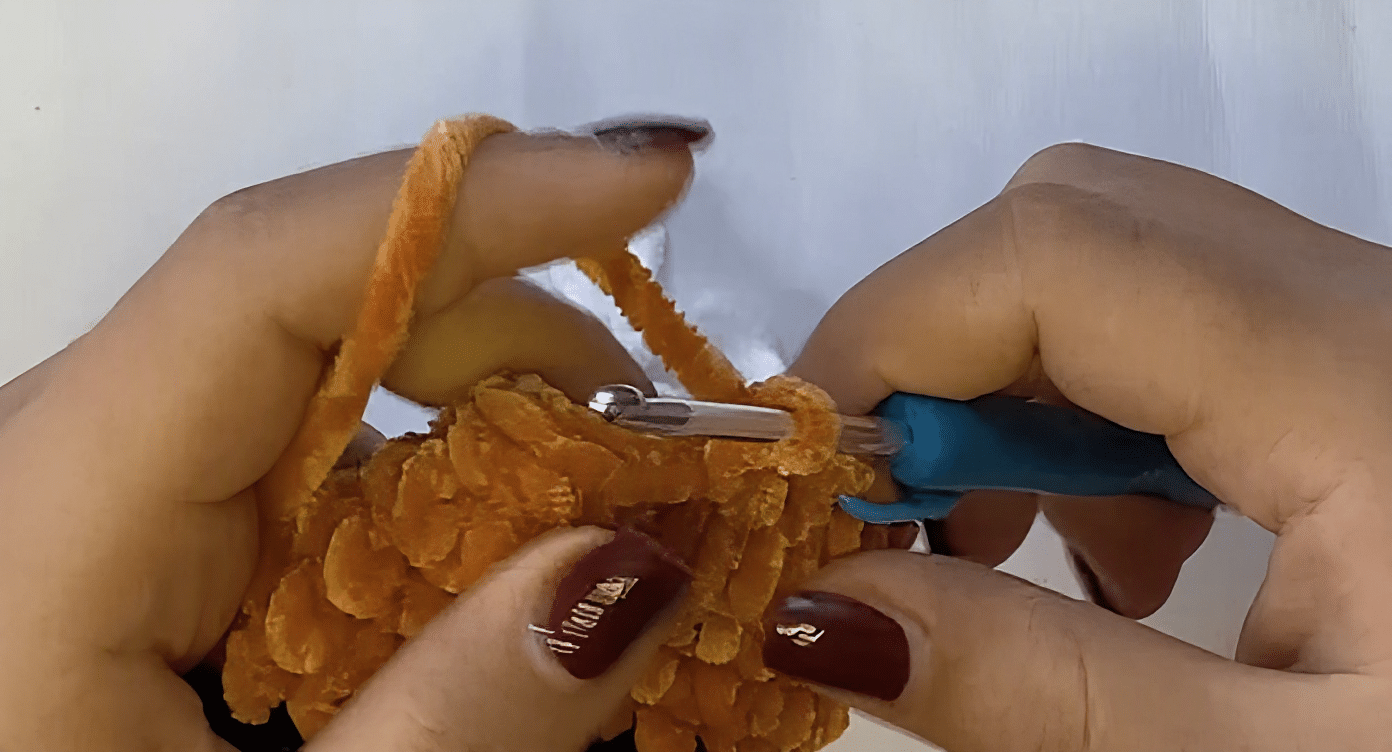
Work in a continuous spiral without joining each round with a slip stitch. Your stitch marker is essential here—clip it into the first stitch of each new round and move it up as you go. Without it, you will lose count quickly.
Marking the Round
If you have no commercial stitch markers, a short piece of scrap yarn looped through the stitch works just as well. Move it up at the start of each round, not at the end.
Colour Changes
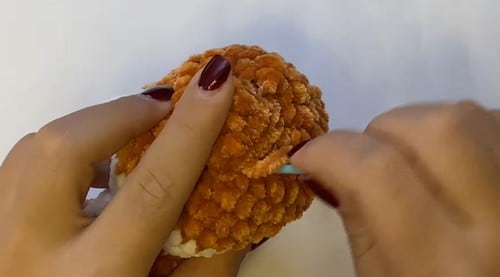
The colour changes in this pattern all happen at the start of a round or between two rounds, which is the cleanest way to switch. On the last stitch before the change, draw the new colour through to complete the stitch rather than finishing with the old yarn. The join sits tidier and more evenly than changing mid-round.
Invisible Decrease
Insert your hook into the front loop of the next stitch, then into the front loop of the stitch after that. Yarn over, pull through both front loops, then yarn over and pull through the two remaining loops. This sits flatter than a standard decrease and is worth learning for any piece where the outside will show.
Pattern Instructions
Leg 1
- Round 1: With black yarn, magic ring with 6 single crochet. Checkpoint: a tight small circle, the paw base. (6)
- Round 2: 6 increases. Checkpoint: a flat black disc, like a small button. (12) Change to orange yarn.
- Round 3: 12 single crochet. Checkpoint: the leg is now a short tube with a clear colour change at the top. (12) Slip stitch, chain 1 and cut the yarn. Set aside.
Leg 2
- Rounds 1 to 3: Repeat the steps for Leg 1. Do not cut the yarn after finishing Leg 2.
Body (Joined from Legs)
- Rounds 4 to 5: Single crochet all around. Checkpoint: both legs should now hang from one connected round.
- Round 6: 11 single crochet, 5 single crochet with white yarn, 9 single crochet. Checkpoint: a white patch should be visible at the front of the body. (25)
- Rounds 7 to 10: 7 single crochet, 7 single crochet with white yarn, 8 single crochet.
- Round 11: 2 decreases, 18 single crochet, 2 decreases, 3 single crochet. Slip stitch, chain 1 and cut the yarn.
Note: The join count of 25 in the pattern doesn’t add up from two legs of 12. Count your actual stitches and work from that number through the body.
Arms (Make 2)
- Round 1: With black yarn, magic ring with 6 single crochet. (6)
- Round 2: Change to orange yarn. Single crochet in all stitches. Checkpoint: a tiny two-round tube, smaller than the legs. (6) Slip stitch, chain 1 and cut the yarn.
Head
- Round 1: With orange yarn, magic ring with 6 single crochet. (6)
- Round 2: 6 increases. (12)
- Round 3: (1 single crochet, 1 increase) repeat 6 times. (18)
- Round 4: (2 single crochet, 1 increase) repeat 6 times. (24)
- Round 5: (3 single crochet, 1 increase) repeat 6 times. Checkpoint: a flat or very slightly cupped circle, still lying mostly flat at this stage. (30)
- Rounds 6 to 9: Single crochet in all stitches, for 4 rounds. Checkpoint: the head should look like a deep bowl or dome by Round 8. This is when to insert safety eyes if using them. (30)
- Round 10: Change to white yarn. Single crochet in all stitches. Checkpoint: a white band runs around the lower half of the head, forming the muzzle base. (30)
- Round 11: (3 single crochet, 1 decrease) repeat 6 times. (24)
- Round 12: (2 single crochet, 1 decrease) repeat 6 times. (18) Fill the head with polyester stuffing.
- Round 13: (1 single crochet, 1 decrease) repeat 6 times. (12)
- Round 14: 6 decreases. Checkpoint: the head should be a firm, round ball. Close the remaining hole by weaving the tail through the front loops and pulling tight. (6) Slip stitch, chain 1 and cut the yarn.
Ears (Make 2)
- Round 1: With orange yarn, magic ring with 6 single crochet. (6)
- Round 2: 6 increases. (12)
- Round 3: 12 single crochet. Checkpoint: the ear is an open flat disc with no decreasing. Slip stitch, chain 1 and cut the yarn.
Tail
- Round 1: With white yarn, magic ring with 6 single crochet. (6)
- Round 2: 6 increases. (12) Change to orange yarn.
- Rounds 3 to 6: 12 single crochet in each round. Checkpoint: a short orange tube with a white tip. (12)
- Round 7: (1 single crochet, 1 decrease) repeat 4 times. (8)
- Rounds 8 to 9: 8 single crochet in each round. Checkpoint: the tail should taper toward the orange end. (8) Slip stitch, chain 1 and cut the yarn.
Assembly
Sew the head to the body. Sew the arms to the body. Sew the ears to the head. Sew on the facial details, nose, and tail.
Assembly Guide
Sew the head to the top of the body, aligned so the white muzzle panel faces the same direction as the white belly panel. Pin the arms to the sides of the body, a round or two below the neck. Sew across the flat open end of each arm. Pin the ears on top of the head, about two rounds down from the crown. Fold each disc slightly before sewing so the ear cups forward rather than lying flat. Sew the tail to the back of the body, low on the body near the base. Embroider the nose on the white muzzle section and add the eyes last. Pin everything before sewing. Look at the fox from the front each time before committing a stitch.
Stuffing Guide
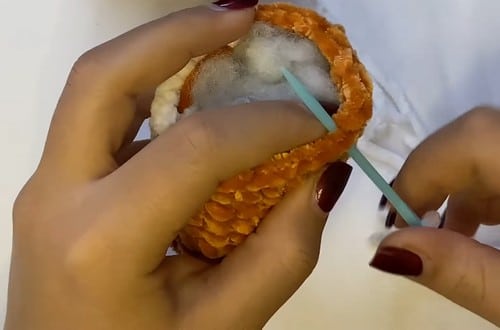
The head wants firm stuffing so it stays round and holds the ears and embroidery without denting. The body takes medium stuffing; pack it before Round 11 closes things down. Arms stay unstuffed—two rounds of flat tube is too small to fill and still sew flat. Overstuffing shows at the colour change rows on the body, where the white section pulls tight and gaps appear between the orange and white stitches.
Tips
- If shaping and stuffing feel intimidating, consider watching a video tutorial to see exactly how it comes together, one round at a time.
- Yes, a slight colour jog at the change is normal in continuous rounds. Position it at the back of the piece where it will face away from view.
- Fold the outer edges of each ear disc in slightly and hold them together with a stitch before sewing the ear to the head. This cups the ear forward and gives it a natural angle.
- Chenille yarn hides uneven tension well, so the stitching forgives mistakes. However, counting stitches in it can be the real challenge, so take your time.
FAQs
What size hook should I use for this fox?
The pattern does not specify a hook size, but a 3 mm to 3.5 mm hook is recommended for DK or worsted weight yarn to achieve the estimated 15-18 cm height.
Can I use safety eyes for this fox?
Yes. If using safety eyes, insert them during Rounds 6 to 8 of the head while the opening is still wide. Position them on the front face, spaced about 6 to 8 stitches apart, and set them just below the widest point of the head sphere. For children under three, embroider the eyes instead.
Why are the arms unstuffed?
The arms are only two rounds of a flat tube, which is too small to fill effectively. Stuffing them would make it difficult to sew them flat to the body.
How do I keep the centre of the magic ring tight?
Work your single crochets into the ring, then pull the tail firmly to close the centre hole. This prevents a visible gap at the base of the pieces.
What if my stitch count doesn’t match the pattern?
When joining the legs to start the body, the pattern notes that the join count of 25 may not add up from two legs of 12. Always count your actual stitches and work from that number through the body rounds.
If you enjoy making amigurumi animals, you might also like our cute crochet amigurumi bunny or our adorable crochet snowman for a seasonal touch.
Pin This Crochet Pattern!