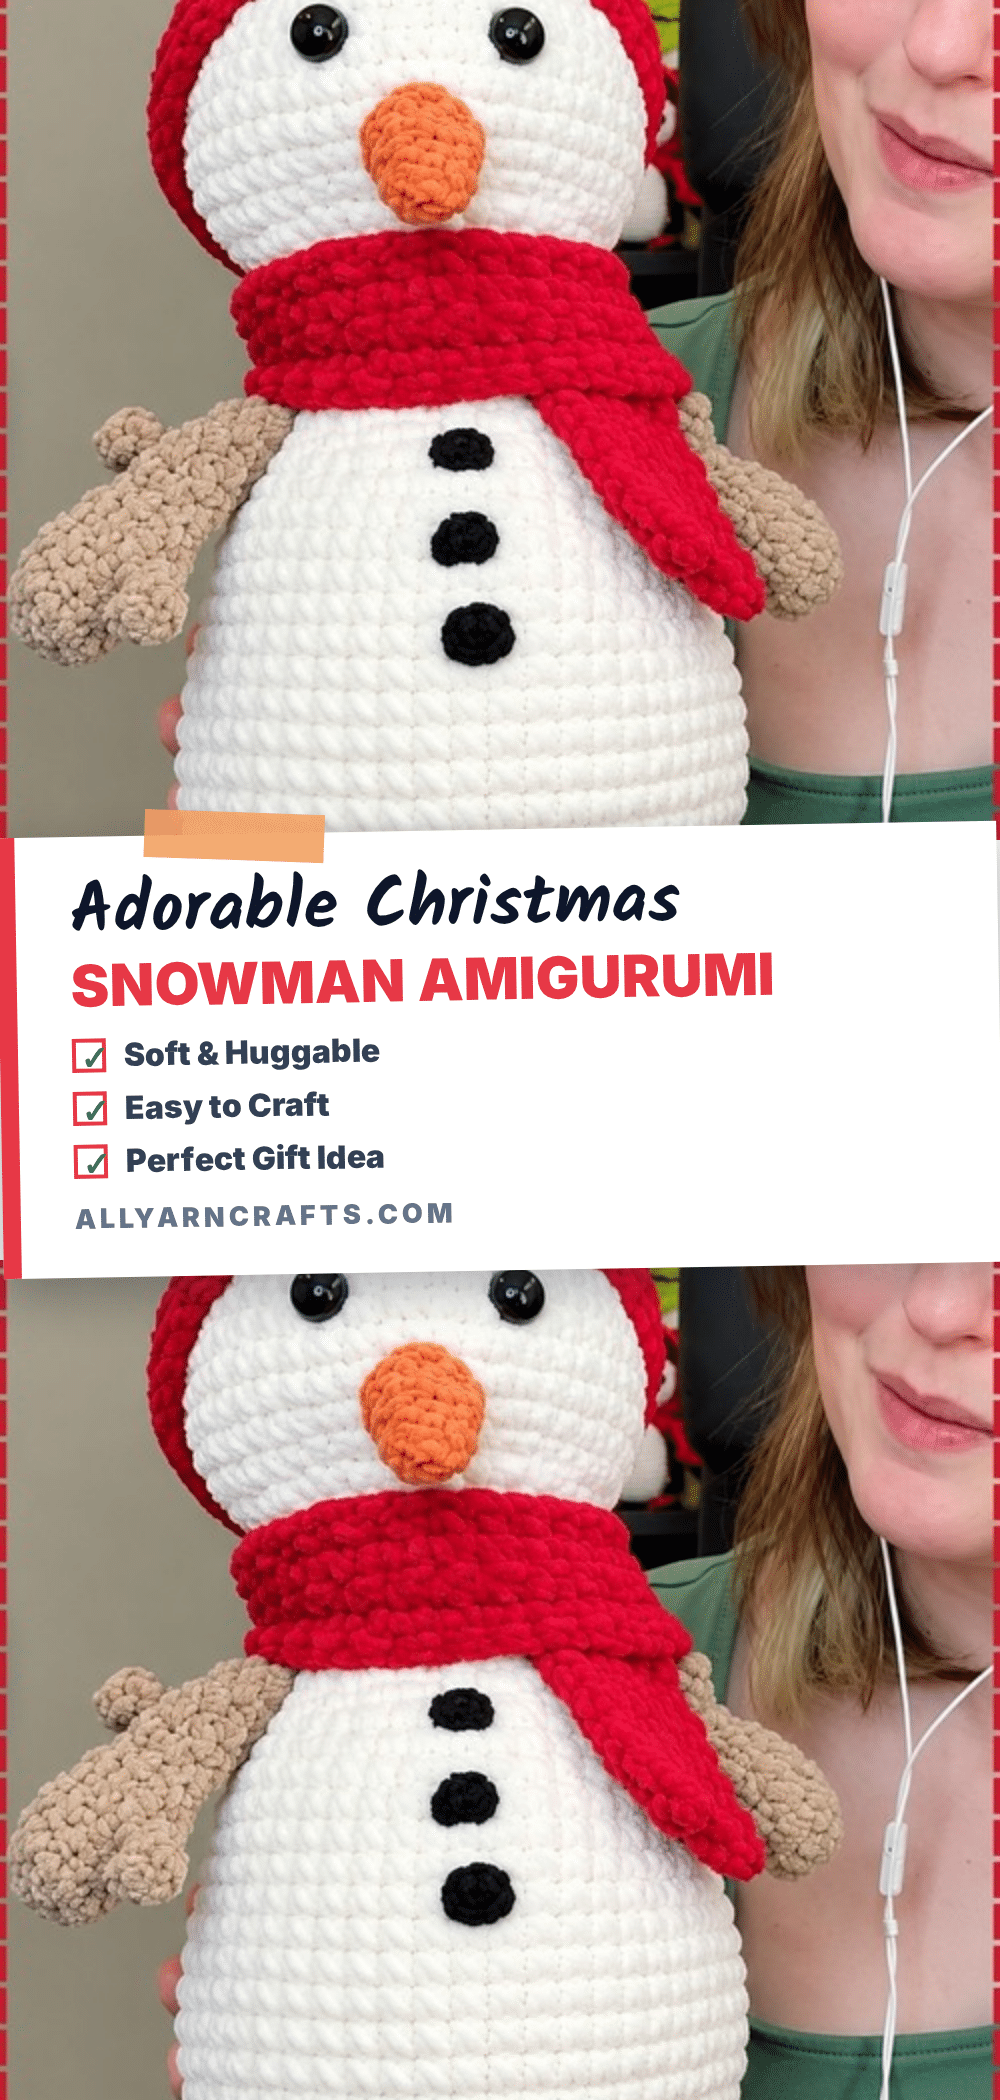
It is a very common worry for beginners that their amigurumi will look lopsided or that the stuffing will make the shape sag. You might worry that your snowman will end up looking more like a slouchy pile of yarn than a cheerful winter friend. The good news is that this pattern is designed to stay upright and sturdy. By using a chunky chenille-style yarn and following the specific stuffing checkpoints, you can create a snowman that stands tall and looks like it dressed on purpose.
Maker Notes
There is something incredibly satisfying about a snowman that actually stands up. This project pairs a round head with a wide, pear-shaped body, creating a silhouette that feels grounded and cheerful. The use of chenille or blanket yarn gives the snowman a soft, ridged finish that looks plush and high-quality. While the body and head are worked in simple rounds, the separate twig arms add a touch of character, making the snowman look like it is reaching out to greet you. The red hat and scarf provide a classic pop of color against the white body, making this a perfect centerpiece for holiday decorating.
Project Overview
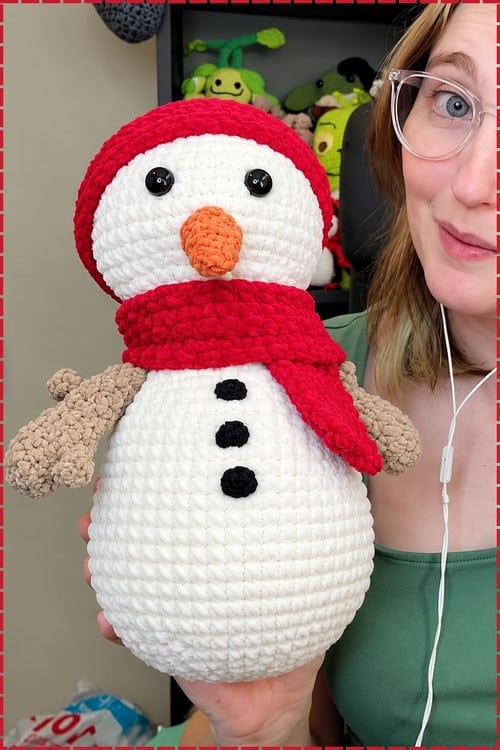
This plush snowman features a round head stacked on a wide pear-shaped body. It includes separately worked pieces for the hat, scarf, arms, nose, and buttons. The chunky yarn helps the rounds move quickly, though the twig arms require careful joining to get the forked shape right. The result is a snowman that does not slouch, with a pointed carrot nose, glossy eyes, and three black buttons lined straight down the front.
Materials
- White Bernat Blanket yarn (or similar bulky/chenille yarn)
- Brown yarn for the arms
- Orange yarn for the nose
- Colored yarn for the scarf (scraps work well)
- 6 mm crochet hook
- Polyester filling
- Stitch markers
- Tapestry needle
- 15 mm safety eyes
Gauge and Finished Size
Specific gauge and finished measurements are not provided in the source pattern. The size is determined by the chunky yarn and the stitch counts provided below. The snowman is designed to be large enough to need two arms to hold.
Abbreviations
- sc: single crochet
- inc: increase (2 sc in the same stitch)
- dec: decrease (sc 2 together)
Pattern Notes
This pattern uses a pieces list approach where the head, body, arms, and nose are worked separately. The scarf is worked from your own yarn scraps and wrapped on during assembly. The body and head are worked in continuous rounds, so remember to mark the end of each round. The arms are worked as flat tubes that are closed at the end to create a forked twig appearance.
Pattern Instructions
Head
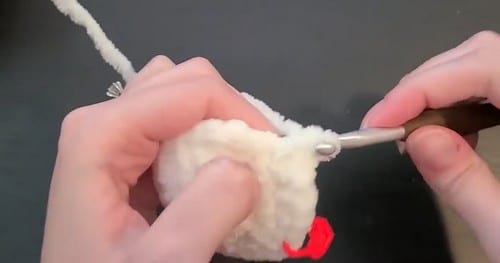
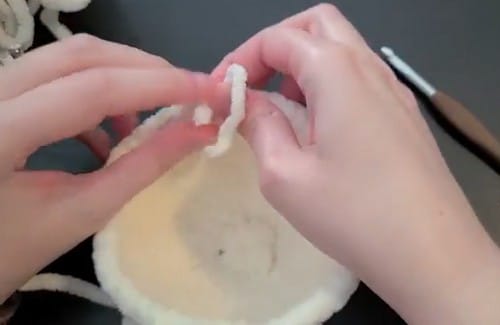
Round 1: Make a magic ring and work 6 sc into it. [6]
Round 2: Work 12 sc into the ring. [12]
Round 3: 1 sc, 1 inc repeat around. [18]
Round 4: 1 sc, 1 inc, 2 sc, 1 inc repeat 5 times, 1 sc. [24]
Round 5: 3 sc, 1 inc repeat around. [30]
Round 6: 2 sc, 1 inc, 4 sc, 1 inc repeat 5 times, 2 sc. [36]
Round 7: 5 sc, 1 inc repeat around. [42]
Round 8: 3 sc, 1 inc, 6 sc, 1 inc repeat 5 times, 3 sc. [48]
Checkpoint: A flat, even circle at this point. It should lie completely without doming.
Round 9: Work 1 sc in each stitch. [48]
Round 10: Work 1 sc in each stitch. [48]
Checkpoint: The sides begin to curve up. Safety eyes go in between rounds 10 and 11, seven stitches apart, before the dome closes further.
Round 11: Work 1 sc in each stitch. [48]
Round 12: Work 1 sc in each stitch. [48]
Round 13: Work 1 sc in each stitch. [48]
Round 14: Work 1 sc in each stitch. [48]
Checkpoint: A full rounded ball, widest at the middle. Blanket yarn reads very dense here and hides the stitches almost completely.
Round 15: 3 sc, 1 dec, 6 sc, 1 dec repeat 5 times, 3 sc. [42]
Round 16: 5 sc, 1 dec repeat around. [36]
Round 17: 2 sc, 1 dec, 4 sc, 1 dec repeat 5 times, 2 sc. [30]
Round 18: 3 sc, 1 dec repeat around. [24]
Begin stuffing firmly.
Round 19: 1 sc, 1 dec, 2 sc, 1 dec repeat 5 times, 1 sc. [18]
Round 20: 1 sc, 1 dec repeat around. [12]
Fasten off and sew the opening closed.
Twig Arms (Make 2)
Round 1: Chain 2, work 6 sc into the second chain from the hook. [6]
Round 2: 1 inc, 2 sc repeat 2 times. [8]
Round 3: Work 1 sc in each stitch. [8]
Round 4: Chain 4, starting in the second chain from the hook work 3 sc down the chain, sc into the first stitch of the round, then continue to complete 8 stitches. [8 in main tube plus branch]
Round 5: Skip the thumb branch and work 1 sc in each of the 8 stitches. [8]
Checkpoint: A short tube with one small branch jutting out to one side. The branch should feel stiff once the tube is closed.
Round 6: 2 sc, 1 dec repeat 2 times. [6]
Round 7: 4 sc, chain 3, work 2 sc down the chain, work 2 sc in the remaining stitches of the round. [6 in main tube plus branch]
Round 8: Work 1 sc in each stitch. [6]
Checkpoint: Two branches now, one near each end. The arm reads as a forked twig. Flatten the arm and single crochet 3 stitches across the top to close.
Body
Round 1: Make a magic ring and work 6 sc into it. [6]
Round 2: Work 12 sc. [12]
Round 3: 1 sc, 1 inc repeat around. [18]
Round 4: 1 sc, 1 inc, 2 sc, 1 inc repeat 5 times, 1 sc. [24]
Round 5: 3 sc, 1 inc repeat around. [30]
Round 6: 2 sc, 1 inc, 4 sc, 1 inc repeat 5 times, 2 sc. [36]
Round 7: 5 sc, 1 inc repeat around. [42]
Round 8: 3 sc, 1 inc, 6 sc, 1 inc repeat 5 times, 3 sc. [48]
Checkpoint: Same flat circle as the head base. Mark the round end so you don’t lose count as it starts to dome.
Round 9: Work 1 sc in each stitch. [48]
Round 10: 7 sc, 1 inc repeat around. [54]
Checkpoint: This is the widest round. The body should feel much wider across than the head at its equivalent stage.
Round 11: Work 1 sc in each stitch. [54]
Round 12: Work 1 sc in each stitch. [54]
Round 13: Work 1 sc in each stitch. [54]
Round 14: Work 1 sc in each stitch. [54]
Round 15: Work 1 sc in each stitch. [54]
Round 16: Work 1 sc in each stitch. [54]
Round 17: 7 sc, 1 dec repeat around. [48]
Round 18: Work 1 sc in each stitch. [48]
Round 19: Work 1 sc in each stitch. [48]
Round 20: 3 sc, 1 dec, 6 sc, 1 dec repeat 5 times, 3 sc. [42]
Round 21: Work 1 sc in each stitch. [42]
Round 22: Work 1 sc in each stitch. [42]
Round 23: 5 sc, 1 dec repeat around. [36]
Round 24: Work 1 sc in each stitch. [36]
Round 25: 2 sc, 1 dec, 4 sc, 1 dec repeat 5 times, 2 sc. [30]
Checkpoint: The body now tapers noticeably toward the neck opening. Begin stuffing here while there’s still room to pack it evenly. Begin stuffing.
Round 26: 3 sc, 1 dec repeat around. [24]
Round 27: Attach the arms while working 24 sc. [24]
Round 28: 1 sc, 1 dec, 2 sc, 1 dec repeat 5 times, 1 sc. [18]
Round 29: 1 sc, 1 dec repeat around. [12]
Fasten off leaving a long tail for sewing.
Nose
Round 1: Make a magic ring and work 3 sc into it. [3]
Round 2: Work 1 sc in each stitch. [3]
Round 3: Work 1 inc in each stitch. [6]
Round 4: 1 inc, 1 sc repeat around. [9]
Round 5: Work 1 sc in each stitch. [9]
Checkpoint: A small pointed cone, widest at the open end. If it looks like a nub rather than a cone, your magic ring was too loose and the tip too open. Stuff lightly. Fasten off leaving a long tail.
Assembly
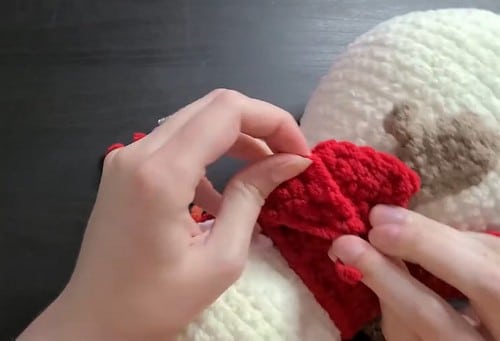
Sew the head to the top of the body using the long tail. Work two full circuits of stitches for strength, since the head is the heavier piece and will pull over time. Sew the nose between the eyes, one or two rows below them, using the orange tail. Wrap the scarf yarn around the neck join between head and body and sew the ends together at the back. Embroider three small horizontal lines down the front of the body for buttons. The arms attach at round 27 during construction. If they need repositioning after assembly, sew a few anchor stitches through the body to hold the angle.
Tips
Eyes and Toy Safety
Safety eyes go between rounds 10 and 11 of the head, seven stitches apart. Lock them from the inside before continuing. For toys going to children under three, skip the safety eyes and use black yarn in tight satin stitches for both eyes instead. Check that no tails or yarn ends are loose anywhere on the finished piece.
Stuffing Guide
- The head gets firm stuffing before round 19.
- The body gets firm stuffing beginning at round 25, built up evenly so the sphere holds its shape and doesn’t sag at the sides.
- The nose gets only a light fill; it should feel slightly squishy rather than stiff.
- The arms are flattened and closed without stuffing.
- Over-stuffing shows most in the body, where the base flattens and the whole piece tilts forward when the head is added.
FAQs
Can I use a different yarn brand?
Yes, any bulky or super bulky yarn with a 6 mm hook works. The stitch definition changes with the yarn texture; a plush or chenille yarn gives a softer, fuzzier surface.
How do I attach the scarf?
Cut several lengths of your scarf yarn, hold them together as one strand, wrap a few times around the neck, and sew the bundle ends to each other at the back. A simple overhand knot at the front also works.
My snowman won’t stand up. What do I do?
The body base needs to be stuffed firmly enough that it flattens slightly against a table. If it’s too round at the bottom, add more filling before sewing the head on. A circle of plastic canvas sewn inside the base also helps.
Why are my stitches hard to see?
Blanket yarn reads very dense and hides the stitches almost completely. This is normal for this type of yarn. Just ensure your rounds are even and your increases are spaced correctly to maintain the shape.
Do I need to make a hat?
The pattern description mentions a red hat, but the specific instructions provided focus on the body, head, arms, and nose. The scarf is worked separately from scraps. You can add a hat using any basic beanie pattern if desired, or simply leave the snowman hatless as shown in the core instructions.
Pin This Crochet Pattern!