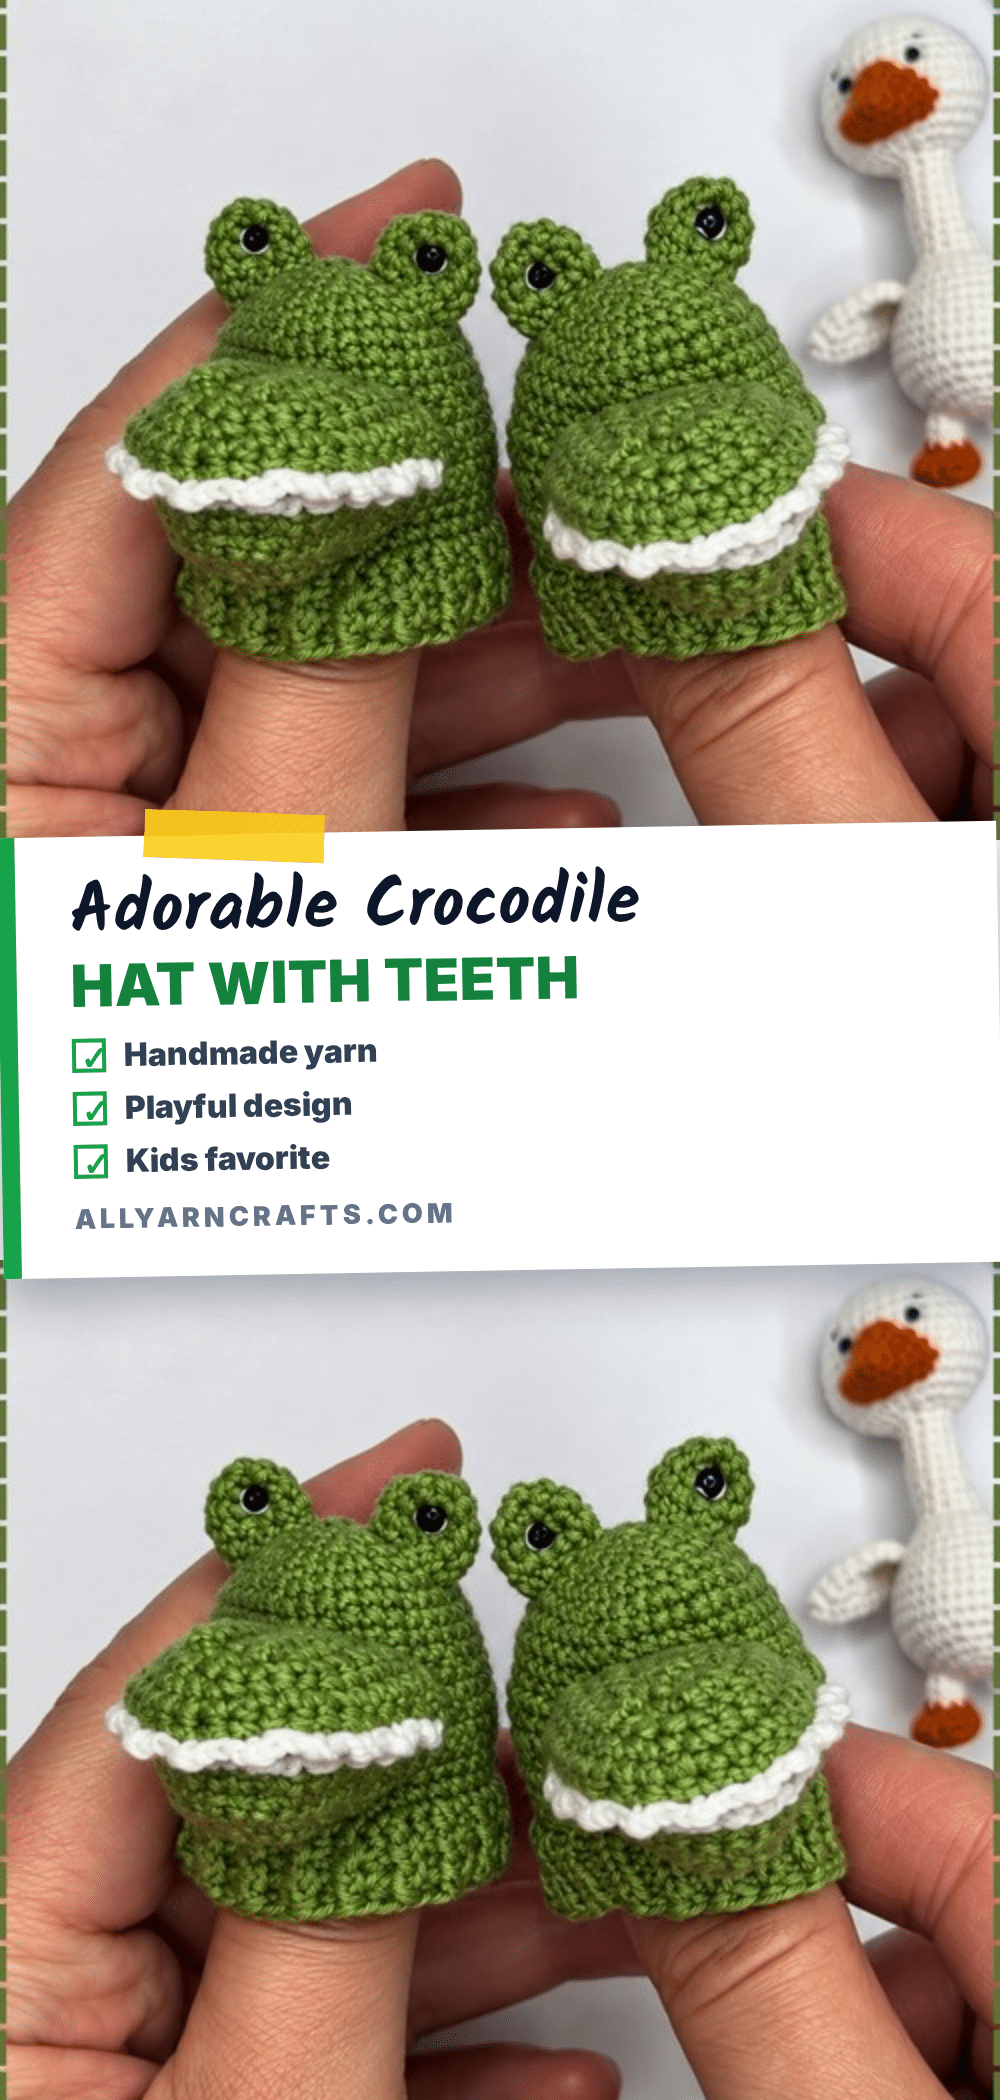
There is something deeply satisfying about the way a crochet project reveals its character through texture and shaping. This crochet crocodile hat is a perfect example, where the tension of the yarn and the precision of the rounds transform simple stitches into a playful, reptilian face. The construction relies on the subtle shift from continuous rounds to flat rows to create the unique face opening, and the raised ribbing at the brim provides a tactile contrast that makes the hat feel substantial and well-made. It is the kind of project where you find yourself turning the work over in your hands, checking the alignment of the teeth and the placement of the eyes, eager to see the final expression come to life.
Texture and Stitch Notes
The appeal of this pattern lies in its structural details. The crown is worked as a flat disc, which sits comfortably on the head without curling, while the face opening is created by working back and forth in rows across a portion of the circle. This technique creates a clean, rectangular gap that serves as the anchor for the crocodile’s snout. The ribbing at the bottom edge, worked with front post and back post double crochets, adds a stretchy, textured band that helps the hat grip the head. The teeth, added as a jagged trim along the jaw edges, provide a sharp visual contrast to the smooth green body, making the crocodile’s grin pop. These textural choices give the hat a professional finish that looks far more complex than it is.
Project Overview
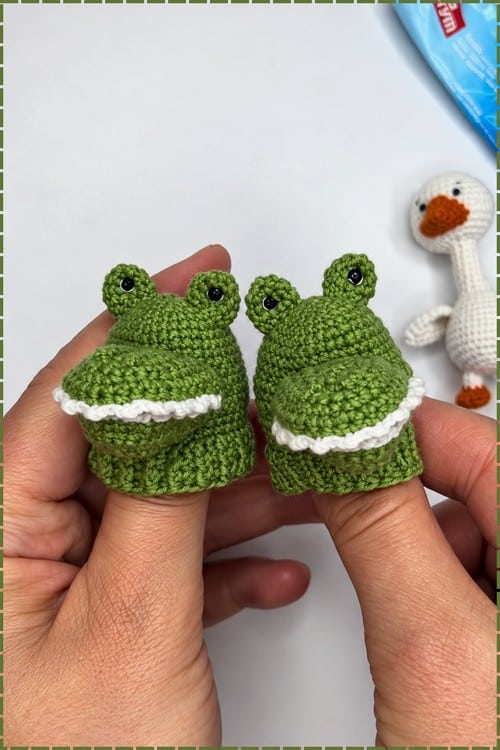
This is a fine-gauge wearable hat designed for a baby to toddler head, featuring a unique construction that includes a face opening for the snout. The hat is worked in continuous rounds for the crown, shifts to rows for the face opening, and rejoins for the body. The ribbed brim is integrated into the final rounds of the hat body. The project includes five distinct components: the main hat body, an upper jaw, a lower jaw, and two eye pieces. The teeth are worked directly onto the jaws during construction. This is an open wearable piece with no stuffing, making it lightweight and comfortable.
Materials
- Yarn: Cotton Soft yarn in green (roughly 50 to 60 g estimated for the hat body and jaws). A small amount of Cotton Soft yarn in white for the teeth.
- Crochet Hook: 1.25 mm crochet hook.
- Optional Tools: 1.5 mm knitting needles (if you prefer working the ribbing on needles instead of with a hook), black beads or black embroidery thread for the pupils, textile glue (optional, for stiffening the jaws), yarn needle, scissors, and a stitch marker.
Gauge and Finished Size
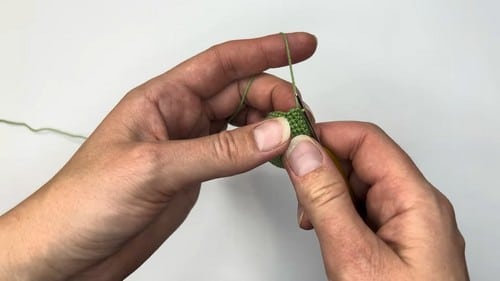
This is a fine gauge hat. At a 1.25 mm hook, the finished size should fit a baby to toddler head of roughly 16 to 19 inches circumference, estimated. Working at this hook size takes longer than larger gauge projects, and the fine fabric benefits from a consistent, tight tension throughout. The ribbing at Rounds 18 through 20 stretches more in cotton than in acrylic, so the fit at the brim will be snugger than the stitch count alone suggests.
Abbreviations
- sc: single crochet
- inc: increase, meaning two single crochet in the same stitch
- hdc: half double crochet
- FPdc: front post double crochet
- BPdc: back post double crochet
- ch: chain
- sl st: slip stitch
- R: round
Pattern Notes
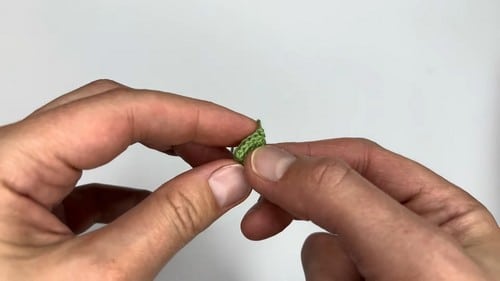
This hat uses embroidered pupils or sewn beads on crocheted eye pieces. Neither requires timing relative to stuffing or closing since the eye pieces are flat and separate from the hat body. If you use beads rather than embroidery, check that each bead is firmly sewn through multiple passes before attaching the eye piece to the hat. Beads are not safe for children under three years old. For any hat going to a very young child, embroider the pupils in black thread only and skip the beads entirely.
The hat body starts as a flat circle in continuous rounds, then shifts to working in rows across part of the circle to create the face opening, then rejoins into a round again. This is unusual construction and worth reading through completely before you begin Round 9. Mark the front centre of the hat with a removable marker before Round 9 so you know exactly where the face opening sits.
There is no stuffing in this pattern. The hat body is a wearable piece and the jaws are flat construction. The eyes are worked flat and are also unstuffed. Textile glue inside the jaws, noted as optional, performs the structural role that stuffing would serve in a three dimensional piece.
Pattern Instructions
Main Hat Body
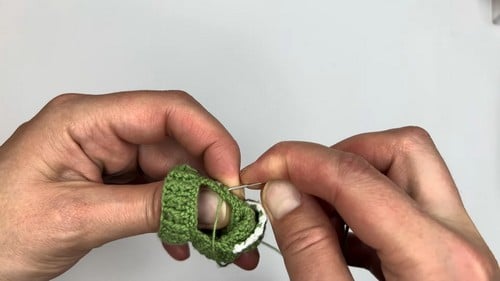
R1: make a magic ring and work 6 sc into the ring (6)
R2: work 6 inc around (12)
R3: work 1 sc then 1 inc, repeat 6 times (18)
R4: work 2 sc then 1 inc, repeat 6 times (24)
R5: work 1 sc then 1 inc then 2 sc, repeat 6 times (30). The piece should lie flat and even here, like a coaster with clean edges and no cupping
R6: work 4 sc then 1 inc, repeat 6 times (36). Still flat at Round 6 and that is correct, since the hat crown sits flat on top of the head
R7: sc in each stitch around (36)
R8: sc in each stitch around (36). By Round 8 the piece should be a flat 36 stitch disc. This is the full crown of the hat and it should not be curling upward yet
R9: ch 1 and turn to begin the face opening. This is where the construction shifts from rounds to rows across only part of the stitches
R10: work 27 sc across the row, ch 1 and turn (27). If you count 9 stitches left unworked at the back, you are in the right place. Those 9 stitches form the back bridge that gets rejoined at Round 16
R11: sc across the row (27)
R12: sc across the row (27)
R13: sc across the row (27)
R14: sc across the row (27)
R15: sc across the row (27). After Round 15 the face opening should be a clean rectangular gap across the front of the hat, roughly 9 stitches wide and 7 rows deep
R16: ch 9 then work 27 sc across the previous row to rejoin the circle (36). The chain bridges the face opening and closes the hat back into a continuous round. Count to 36 before moving on
R17: sc in each stitch around (36)
Ribbing Bottom Edge
R18: work 36 hdc around (36)
R19: alternate FPdc and BPdc to create ribbing around (36). If you have not worked post stitches before, the front post goes around the front of the stitch post below and the back post goes around the back. Alternating them creates the raised rib texture
R20: repeat the ribbing pattern around (36)
Fasten off and weave in ends
Upper Jaw
R1: ch 9, then work 8 sc along one side of the chain and 8 sc along the opposite side (16). This gives you an oval base for the jaw
R2: ch 1 and turn, work 6 sc then 1 inc then 2 sc then 1 inc then 6 sc (18)
R3: ch 1 and turn, work 8 sc then 2 inc then 8 sc (20). By Round 3 the jaw should read as a rounded oval, wider at the centre and tapering toward both ends
R4: ch 1 and turn, work 9 sc then 2 inc then 9 sc (22)
R5: ch 1 and turn, work 10 sc then 2 inc then 10 sc (24). The jaw at Round 5 should be noticeably wider than Round 1 and shaped roughly like a fat leaf
R6: sc across the row (24)
R7: sc across the row (24)
Add teeth in white yarn along the jaw edge as follows: Skip the first stitch, then work 1 sc, ch 1, sl st in the same stitch. Sl st in the next stitch and repeat this tooth sequence across the full edge.
Embroider two nostrils using the yarn tail at the Round 2 end of the jaw, one on each side of the centre line.
Lower Jaw
R1: follow the same chain 9 start and first row as the upper jaw (16)
R2: follow the same increase pattern as upper jaw R2 (18)
R3: follow the same increase pattern as upper jaw R3 (20)
R4: follow the same increase pattern as upper jaw R4 (22)
R5: work 22 sc with no increases (22). The lower jaw is intentionally slightly narrower at this stage than the upper jaw, since it sits below and behind
R6: work 22 sc (22)
Add teeth using the same tooth pattern as the upper jaw along the corresponding edge.
Fasten off and leave a long tail for sewing.
Eyes, Make 2
R1: make a magic ring and work 6 sc into the ring (6)
R2: work 6 inc around (12). The eye piece should be a small flat disc, no cupping
R3: sc in each stitch around (12)
R4: sc in each stitch around (12). The finished eye piece is a small shallow cylinder, like a button with raised sides
Embroider the pupil with black thread or sew on a bead at the centre.
Fasten off and leave a tail for attaching.
Assembly
Read this section completely before sewing anything. Jaw placement relative to the face opening is the most consequential decision in the whole pattern. Pin the upper jaw to the face opening first, using the top four rows of the opening as the attachment area. Look at the hat from the front before sewing. The jaw should frame the opening, not cover it. Sew the upper jaw along its attachment edge, then sew through the centre of the jaw piece from above to lift the nose section slightly, as the pattern specifies.
Pin the lower jaw to the bottom two rows of the face opening and sew in place. Sew the eyes onto the hat between rows 2 and 4 of the hat body, one on each side above the jaw area, before pinning check that they sit evenly by measuring from the centre seam. Add a small amount of textile glue inside each jaw if needed to help them hold their shape.
Tips
- If you use beads rather than embroidery, check that each bead is firmly sewn through multiple passes before attaching the eye piece to the hat. Beads are not safe for children under three years old. For any hat going to a very young child, embroider the pupils in black thread only and skip the beads entirely.
- Mark the front centre of the hat with a removable marker before Round 9 so you know exactly where the face opening sits.
- The sewing through the centre step is what lifts and holds the nose. If you did not do that pass yet, add it now: go through the jaw from above at the centre and catch a few stitches of the hat body to anchor the shape. Textile glue on the inside also helps.
- Post stitches are taller than sc and at a 1.25 mm hook the tension difference is more visible than at larger gauges. Make sure you are wrapping consistently and that your hook is going fully around the post of the stitch below, not through the fabric. An even tension through the whole ribbing section is more important than individual stitch perfection.
FAQs
Can I use a larger hook for this pattern?
Moving to a 2.0 mm hook with DK cotton brings the hat up to a size that may fit older toddlers or small children, but the jaw pieces should be checked against the face opening before sewing since the opening row count stays fixed at 7 rows.
Is this hat safe for babies?
This hat is designed for a baby to toddler head size. However, if using beads for the eyes, they are not safe for children under three years old. For very young children, it is recommended to embroider the pupils in black thread only and skip the beads entirely.
Do I need to stuff the jaws?
No, there is no stuffing in this pattern. The hat body is a wearable piece and the jaws are flat construction. Textile glue can be used inside the jaws to help them hold their shape if desired.
How do I keep the ribbing from being too tight?
Post stitches are taller than single crochet, so ensure you are wrapping consistently and that your hook is going fully around the post of the stitch below, not through the fabric. An even tension through the whole ribbing section is more important than individual stitch perfection.
What yarn is best for this project?
Cotton Soft yarn is recommended for the fine gauge and tight fabric suited to a baby or toddler hat. The ribbing at Rounds 18 through 20 stretches more in cotton than in acrylic, so the fit at the brim will be snugger with cotton yarn.
If you enjoy creating character-driven amigurumi, you might also like our crochet Courage amigurumi or this crochet hippo pattern for more playful animal projects.
Pin This Crochet Pattern!