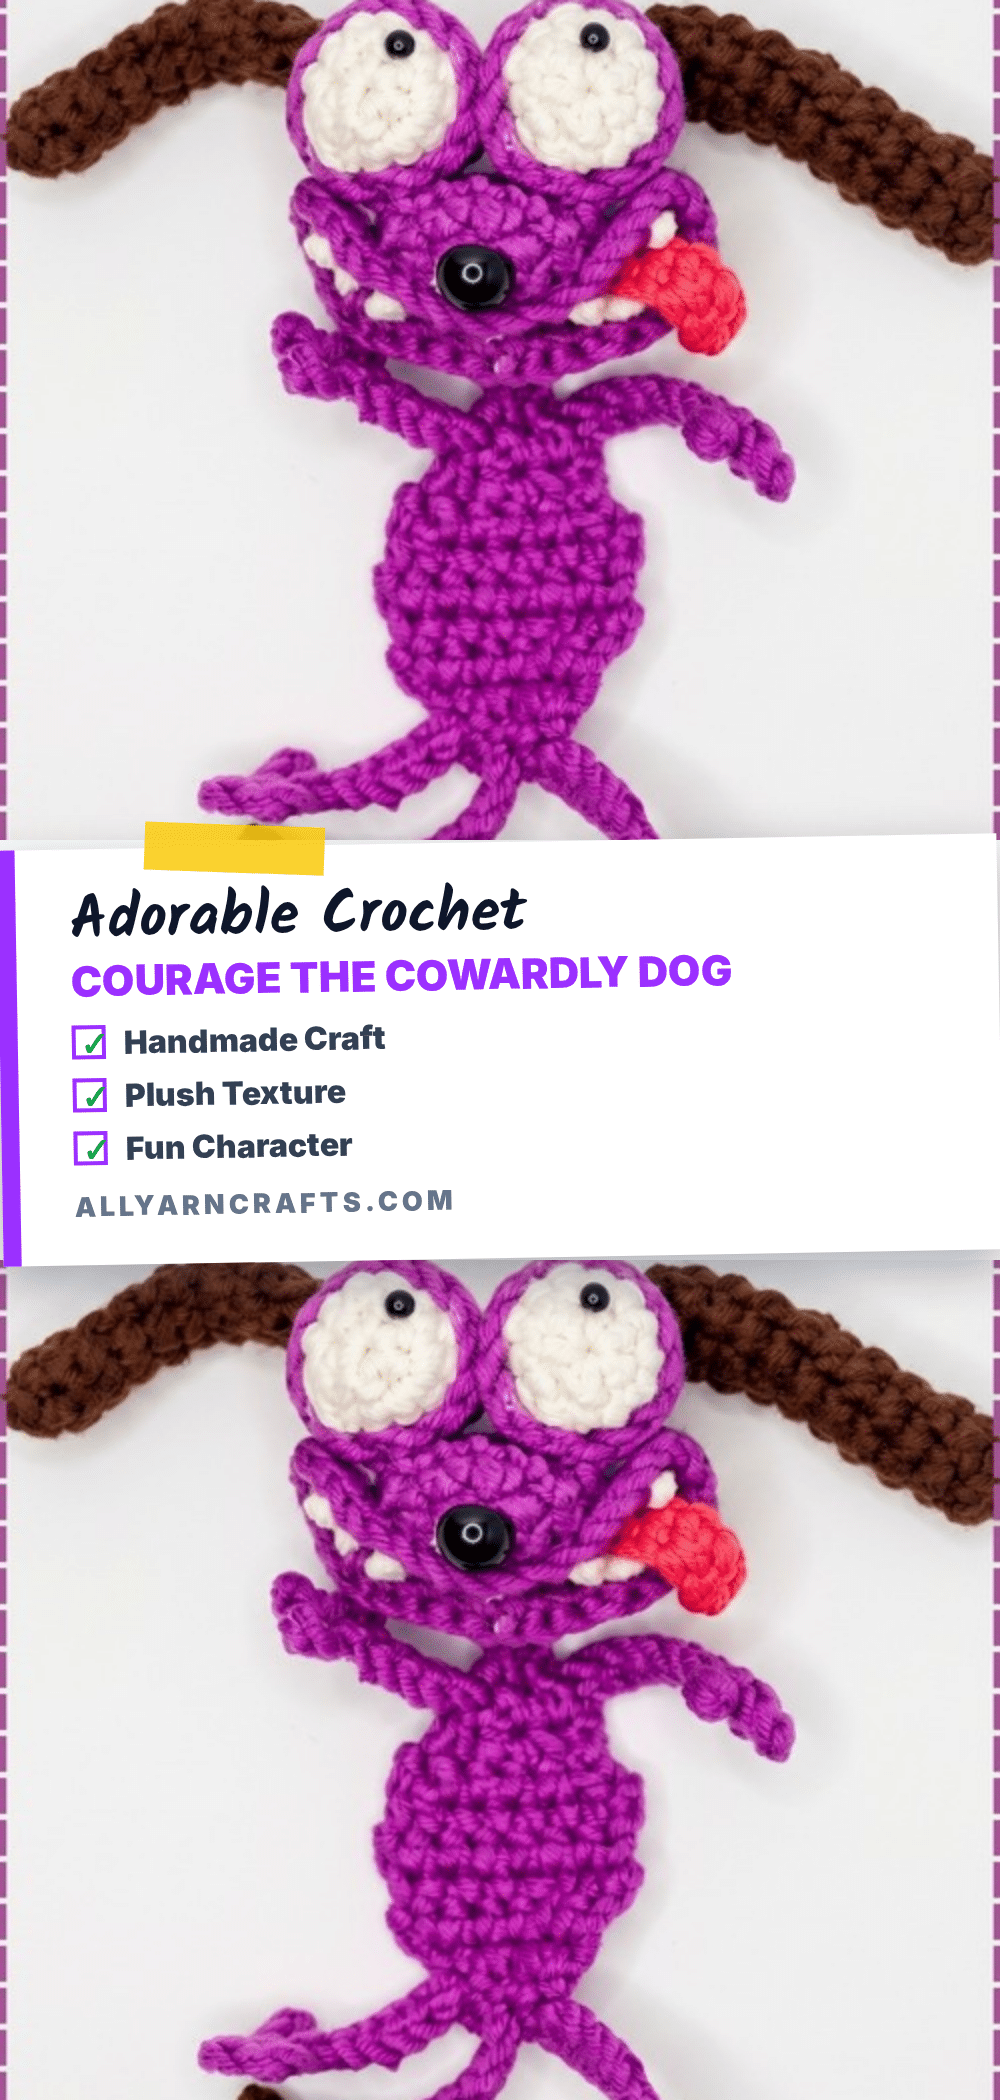
There is a specific kind of magic that happens when you pull a skein of yarn from the back of your stash and realize it is the exact shade of nervous pink you need for a certain cartoon dog. This project began with a simple decision: which pink would best capture that unique blend of anxiety and loyalty? The fiber choice matters here, too. You want a yarn with a bit of structure—something that holds its shape when stuffed but remains soft enough to cuddle. The texture of the yarn dictates how the “bulging” eyes will sit on the face, and the weight determines whether the keychain ring will hold firm or tear through the stitches. Once you find that perfect pink, the rest of the pattern falls into place, turning a handful of scraps into a character that feels alive.
Yarn and Color Notes
Choosing the right yarn is half the battle when making a character amigurumi. For this Courage keychain, the primary body color should be a soft, dusty pink or a slightly brighter bubblegum pink, depending on your preference. The spots require a darker contrast, such as deep purple or dark pink, to stand out against the main body. White yarn is essential for the eye circles to give the eyes that characteristic cartoonish pop, while black yarn is needed for the nose and embroidered pupils. If you are using a cotton or acrylic blend, the stitches will be crisp and defined, which is ideal for this small scale. Avoid overly fuzzy yarns, as they can obscure the details of the small stitches and make the eyes look muddy.
Project Overview
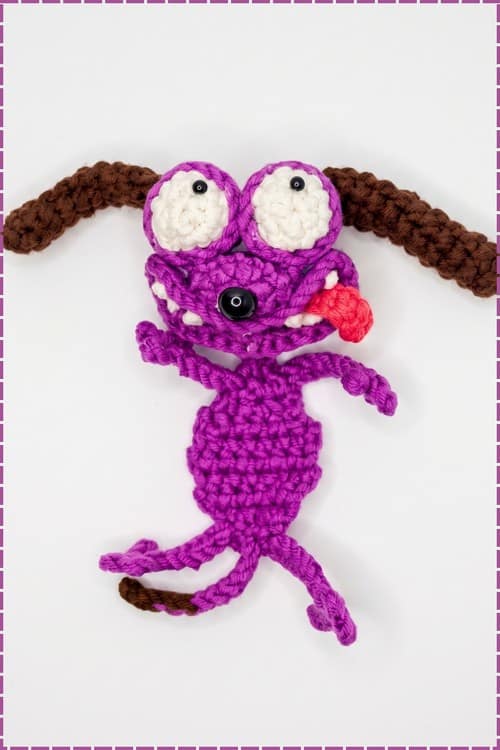
This pattern creates a tiny, keychain-sized version of Courage the Cowardly Dog. It is designed for beginners who want to practice essential amigurumi techniques like the magic ring, continuous rounds, and invisible decreases. The project is quick to complete, taking approximately 1 to 2 hours, and results in a finished piece that is approximately 3 to 4 cm tall. This size makes it perfect for a bag charm, a keychain, or a small desk companion.
Materials
- Yarn: Pink yarn for the main body, dark pink or purple yarn for the spots, black yarn for the nose embroidery, and white yarn for the eye circles.
- Crochet Hook: 2.5 mm or 3.0 mm crochet hook. A smaller hook is recommended to create tighter stitches, which prevents stuffing from showing through.
- Notions: Safety eyes or small black beads, fiberfill stuffing, a yarn needle, scissors, and a keychain ring.
Gauge and Finished Size
The finished size is approximately 3 to 4 cm tall. This measurement is an estimate based on using fingering or DK weight yarn. Because this is a small-scale project, gauge is less about measuring a flat swatch and more about ensuring your tension is tight enough to hold the stuffing securely.
Abbreviations
- sc: Single crochet
- inc: Increase (2 sc in the same stitch)
- dec: Decrease (invisible decrease recommended)
- sl st: Slip stitch
- ch: Chain
Pattern Notes
Magic Ring
A magic ring (also called a magic circle) is how most amigurumi pieces begin. It creates a closed centre with no hole. To make one, wrap yarn around two fingers, insert your hook through the loop, pull up a loop of working yarn, chain 1 to secure, then work your single crochets into the ring. Once the round is complete, pull the yarn tail to close the ring tight.
Continuous Rounds
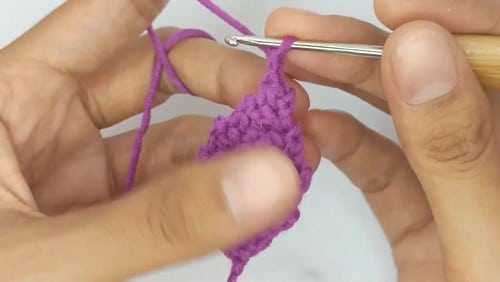
This pattern works in continuous rounds, meaning you do not join at the end of each round with a slip stitch. Instead, you keep crocheting in a spiral. The stitch marker tells you where one round ends and the next begins. Move it up every time you pass it.
Invisible Decrease
A standard decrease can leave a visible hole. The invisible decrease closes that gap by inserting your hook through the front loop only of the first stitch, then the front loop only of the second stitch, before pulling through and completing as normal. It is especially useful in the closing rounds of this piece.
Marking the Round
Place a stitch marker in the first stitch of every new round. When you reach the marker, you know you have completed one full round. Remove it, work the first stitch of the new round, and place the marker in that stitch. Without this habit, rounds shift and stitch counts drift.
Pattern Instructions
Head and Body
Round 1: Magic ring with 6 sc (6)
Round 2: Inc in each stitch around (12)
Round 3: (1 sc, 1 inc) repeat 6 times (18)
Round 4: (2 sc, 1 inc) repeat 6 times, and the piece should lie nearly flat like a small coin with no curling edges (24)
Round 5: Sc in each stitch around (24)
Round 6: Sc in each stitch around (24)
Round 7: Sc in each stitch around (24)
Round 8: Sc in each stitch around (24)
Round 9: Sc in each stitch around (24)
Round 10: Sc in each stitch around (24)
Round 11: Sc in each stitch around (24)
Round 12: Sc in each stitch around, and the piece should look like a stubby rounded cylinder about as tall as it is wide (24)
Round 13: (2 sc, 1 dec) repeat 6 times (18)
Round 14: (1 sc, 1 dec) repeat 6 times (12). Begin stuffing the piece firmly before the opening gets too narrow to reach inside comfortably.
Round 15: Dec in each stitch around (6). Fasten off and weave in the end.
Note: If using safety eyes, insert them now between rounds 8 and 9 before round 13 closes the opening. Once round 13 is done, the gap is too small to fit the backing through safely. For toys going to children under three, skip the safety eyes entirely and embroider the pupils with black yarn instead after assembly.
Muzzle
Round 1: Magic ring with 6 sc (6)
Round 2: (1 sc, 1 inc) repeat 3 times (9)
Round 3: Sc in each stitch around (9)
Round 4: Sc in each stitch around (9). Leave a long tail for sewing.
Sew the muzzle onto the centre of the face, positioned slightly below where the eyes sit. Embroider a small nose on the muzzle using black yarn.
Ears (Make 2)
Round 1: Magic ring with 4 sc (4)
Round 2: (1 sc, 1 inc) repeat 2 times (6)
Round 3: Sc in each stitch around (6)
Round 4: Sc in each stitch around (6)
Round 5: Sc in each stitch around (6)
Round 6: Sc in each stitch around (6)
Round 7: Sc in each stitch around, and each ear should be a narrow upright tube at this stage (6). Flatten each ear and sew to the upper sides of the head.
Arms and Legs (Make 4 Total)
Chain 5 in pink yarn. Starting from the second chain from the hook, sl st in each chain back to the base. Fasten off, leaving a tail for sewing.
Sew 2 pieces to the bottom of the body for legs. Sew 2 pieces to the sides of the body for arms.
Tail
Chain 4 in pink yarn. Sl st in each chain back to the base. Fasten off, leaving a tail for sewing.
Sew to the lower back of the body.
Eye Circles (Make 2)
Magic ring with 6 sc in white yarn. Fasten off, leaving a tail.
Alternatively, cut small circles from white felt. Attach to the face, then add a safety eye or embroidered pupil in the centre of each circle.
Spots
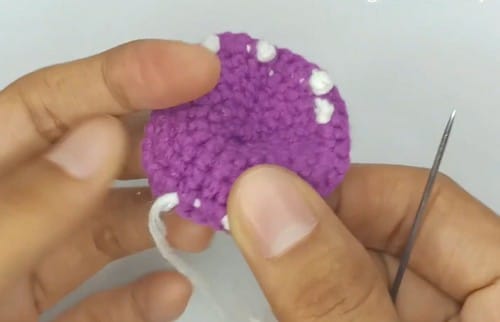
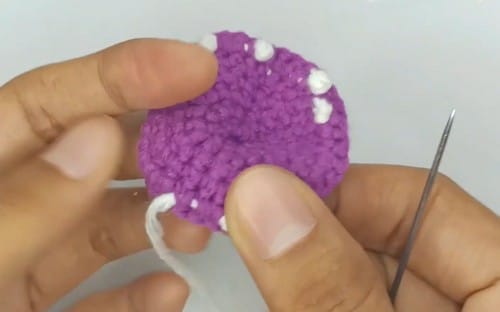
Use dark pink or purple yarn and a yarn needle. Embroider small spots across the back of the body using short satin stitches or French knots.
Assembly
Work in this order: muzzle first, then eyes and eye circles, then ears, then arms and legs, then tail, then the keychain ring at the very end.
Pin the muzzle to the face before sewing and look at it straight on. It should sit slightly below the midpoint of the front of the body. Once the muzzle is sewn, pin the eye circles above it with equal spacing from the centre. Attach the pupils. Pin both ears symmetrically on the upper sides of the head and angle them slightly forward rather than straight up. Even a few millimetres of difference between ears is visible on a piece this small, so pinning matters here. Sew the arms level with each other on the sides, the legs pointing downward from the base, and the tail low on the back where it will not sit behind the keychain ring. Attach the keychain ring last, at the very top of the head, and the piece is finished.
Tips
Stuffing Guide
Stuff firmly, especially toward the top of the head where the shape is most visible. Start adding stuffing around round 12 while the opening is still wide enough to work easily. Push small tufts in rather than one large piece and press them toward the sides so the body stays round rather than lumpy in the middle. Go lighter near the closing rounds. Overstuffing at round 14 and 15 stretches the stitches apart and the stuffing shows through.
Toy Safety
If this piece is going to a child under three, do not use safety eyes or beads. Both are small enough to be a choking hazard if they work loose. Embroider the eyes with black yarn using a satin stitch or French knot instead. Keep all yarn tails knotted and buried inside the body, and check every sewn piece for security before handing the finished keychain to a child.
FAQs
I have never done a magic ring before. What if it does not close tightly?
Pull the yarn tail slowly and firmly while holding the stitches steady. If there is still a small gap, push it closed with your needle when you weave in the end. It gets easier with each try.
My stitches look loose and I can see the stuffing. What should I do?
Go down a hook size or tighten your tension by holding the yarn with slightly more resistance. A 2.5 mm hook is specifically recommended here for that reason.
Can I skip the eye circles and just use safety eyes directly on the body?
Yes, that works. The white circles just give the eyes more visibility on a small piece. Without them, the eyes are still perfectly clear on a 3 to 4 cm body.
How do I attach the keychain ring without it pulling the yarn loose?
Thread a short length of yarn through the ring, then sew both ends down firmly through the top of the head in a few passes. Knot on the inside. Do not just loop the yarn around the ring once.
What if I want to make it bigger?
Use a heavier yarn and a larger hook. The same stitch counts will scale up proportionally, and the spots and chain limbs will look just right at the larger size too.
Pin This Crochet Pattern!