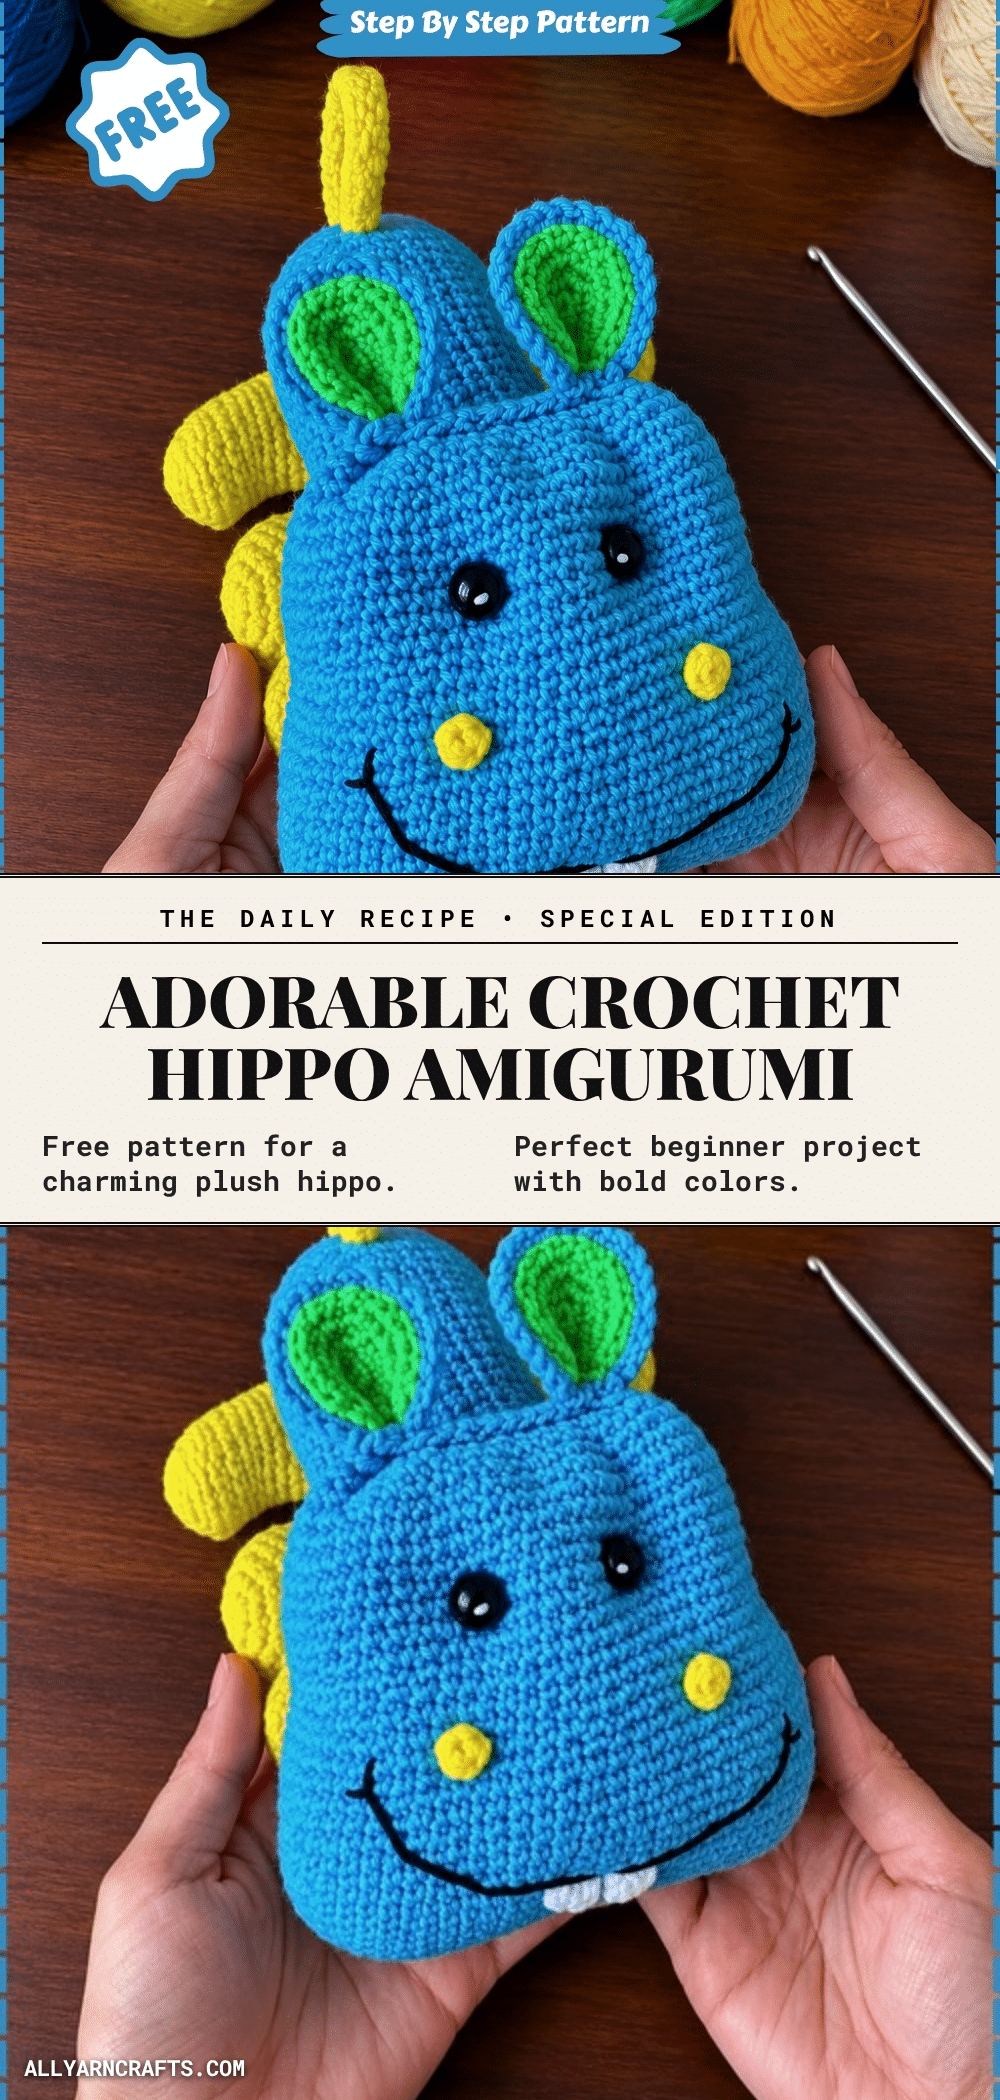
There is a specific kind of magic that happens when you sit down with a hook and a ball of yarn, watching a flat shape slowly transform into something with personality. With this Crochet Hippo Amigurumi, that moment arrives quickly. The boxy blue body and the stitched grin give this plush an immediate charm that is hard to resist. It is a project that feels achievable yet rewarding, perfect for a maker looking to create a colorful friend for a shelf or a child’s room.
Why This Project Works
This hippo pattern stands out because of its unique construction method. Unlike standard amigurumi that are worked in a continuous spiral from the top down, this design builds the body from two flat halves that are joined together. This technique creates a wonderfully stable, flat-bottomed shape that allows the hippo to sit upright on its own without tipping over. The combination of the structured body, the contrasting green inner ears, and the embroidered details makes it a visually engaging project that is surprisingly manageable for crocheters of various skill levels.
Project Overview
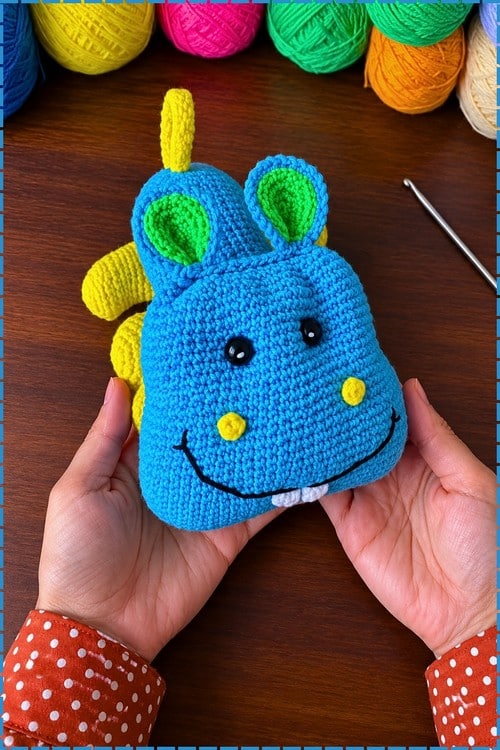
This pattern guides you through creating a plush hippo with a boxy blue body, green inner ears, a yellow nose, and an embroidered grin with white teeth. The design relies on simple stitches and clear shaping checkpoints to ensure the final toy has the correct proportions. It is designed to be sturdy and safe, featuring crocheted eye circles rather than plastic safety eyes, making it suitable for all ages.
Materials
- Blue yarn for the body
- Green yarn for the ear inner
- Yellow yarn for the nose
- White yarn for teeth embroidery
- Black yarn for mouth embroidery
- Crochet hook suitable for your yarn weight
- Fiberfill stuffing
- Yarn needle
Gauge and Finished Size
Specific gauge and finished size measurements are not provided in the source pattern. Focus on hitting the stitch count checkpoints to ensure the pieces fit together correctly.
Abbreviations
- sc: single crochet
- inc: increase (2 sc in the same stitch)
- dec: decrease (sc 2 together)
- BLO: back loop only
Pattern Notes
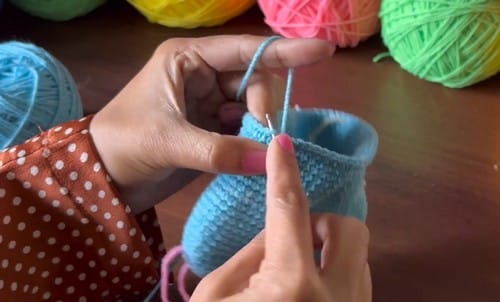
The body is worked in two flat halves that are then joined to form the body in the round. This is not standard amigurumi construction. Working in continuous rounds for the first time? No problem at all, the video tutorial below makes it easy to keep track!
Pattern Instructions
Body and Head (Blue)
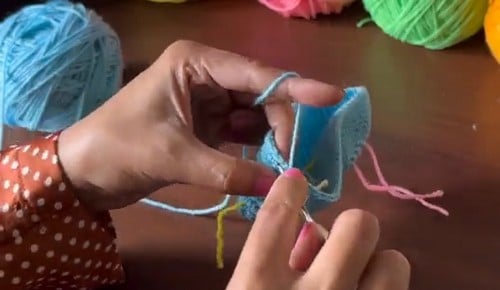
The body is worked in two flat halves that are then joined to form the body in the round. This is not standard amigurumi construction.
Side 1: Make a magic ring. Increase gradually to build each side. Inc in the first stitch, sc 22, inc in the last stitch. Checkpoint: a single increase row extending outward from the magic ring start, wider at each end than the middle. Continue increasing until 34 stitches are formed on one side.
Side 2: Repeat the same increase pattern for Side 2 to reach 34 stitches on the other side. Join both halves to form 68 stitches total. Checkpoint: a wide flat oval, like a large eye shape. The join should sit smoothly with no puckering at either end.
Body Rows: Work 8 rows of sc around without increasing. [68] Checkpoint: the oval rises into a flat tube. Begin decrease shaping. 1 dec, 2 sc, 5 sc repeat the pattern around. Continue decreasing until 16 stitches remain. [16] Checkpoint: the body pinches in at the neck, a clear narrowing between body and head. Work 1 row of sc for the neck section. [16]
Head Shaping: 1 inc, 28 sc, 1 inc to start head shaping. Continue increasing until 76 stitches total. [76] Checkpoint: the head expands outward above the narrow neck, noticeably wider than the body section below. Work 1 row in back loop only. [76] Work 8 rows of sc. [76] Begin decreasing with 1 dec, 1 sc pattern. Continue decreasing until 36 stitches remain. [36] Checkpoint: the head closes from the top, curving inward. Stuff body and head lightly before the opening gets too small. Stuff body and head lightly. Fold the opening and sew closed securely.
Legs (Make 4, Blue)
Round 1: Make a magic ring and work 6 sc into it. [6]
Round 2: Work 1 inc in each stitch. [12]
Round 3: 1 sc, 1 inc repeat around. [18]
Round 4: Inc in the first stitch, sc 14, inc in the last stitch. Checkpoint: a flat oval base, wider than it is tall, the foot of the leg. Work 6 rows of 22 sc Stuff lightly. Flatten and close the top opening with sc. Checkpoint: a short flat paddle shape with a slightly rounded foot. If one leg looks visibly different from the others, check the row count and stuffing level. Leave a long tail for sewing.
Ears (Make 2)
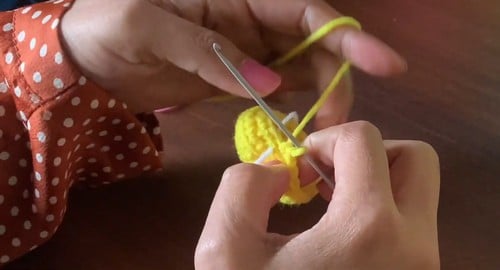
Blue Outer Part:
Round 1: Make a magic ring and work 6 sc into it. [6]
Round 2: Work 1 inc in each stitch. [12]
Round 3: 1 sc, 1 inc repeat around. [18]
Round 4: 2 sc, 1 inc repeat around. [24]
Round 5: 3 sc, 1 inc repeat around. [30] Checkpoint: a flat blue disc, about the size of a large button. Set aside.
Green Inner Part:
Round 1: Make a magic ring and work 6 sc into it. [6]
Round 2: Work 1 inc in each stitch. [12]
Round 3: 1 sc, 1 inc repeat around. [18]
Round 4: 2 sc, 1 inc repeat around. [24] Checkpoint: a smaller green disc that fits inside the blue one, with the blue rim showing all the way around. Place the green piece on the blue piece. Fold in half and sew together. Checkpoint: a half-moon ear shape with green showing on one face. If the green shifts off-centre, pin it before sewing.
Nose (Yellow)
Make a magic ring and work 4 sc into it. [4] Fasten off leaving a long tail for sewing. Checkpoint: a small tight ring, barely bigger than the hook. This will look very small; that is correct for the nose disc.
Eyes (Make 2)
Make a magic ring and work 6 sc into it. [6] Pull tight to form an oval shape. Checkpoint: a small oval disc. Fasten off leaving a long tail for sewing.
Tail (Blue)
Chain 7. Skip the last chain and work 6 sc down the chain. Turn and work 6 sc back. [6 each pass] Work 10 rows of sc. Checkpoint: a short flat rectangular tab. Finish with 5 sc. Fasten off leaving a long tail for sewing.
Assembly
- Pin the legs to the underside of the body before sewing, two on each side facing forward. Check that all four sit at the same height and angle before stitching down.
- Sew the tail to the middle back of the body.
- If the body and head were worked as a single joined piece, there is nothing to attach separately. If you chose to work them as two pieces, sew the head to the body at the neck section securely with two full circuits of stitching.
- Pin both eye circles between rows 6 and 11 of the head, spaced evenly. Step back and check from the front before sewing.
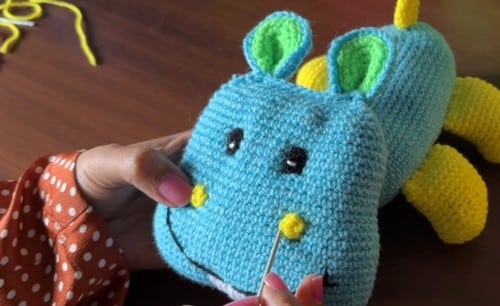
- Sew the nose disc to the front of the head below the eyes.
- Embroider the mouth with black yarn in a wide U or straight line below the nose.
- Embroider small white straight stitches for teeth along the mouth line.
- Sew the ears to the top of the head, one on each side.
Tips
- The body and head stuff lightly, not firmly. A lightly stuffed hippo sits low and relaxed; over-stuffing pulls the seam at the neck join open and makes the head lean.
- The legs stuff lightly too, just enough to hold the paddle shape. If a leg collapses when you stand the hippo up, add a small amount more stuffing only to the ankle section.
- The nose, eyes, ears and tail get no stuffing.
- This pattern uses crocheted eye circles rather than safety eyes by default. These are safe for all ages when sewn firmly. If you prefer safety eyes, insert them into the head section while the head is still open, before the 36-stitch closing round, and lock them from inside. For toys going to children under three, use crocheted circles only. Check that all embroidery threads for the mouth and any teeth detail are knotted firmly on the inside.
- Work each shaping instruction one row at a time, counting stitches at the end of each row before continuing. Treat the stitch targets (34, 68, 76, 36) as the checkpoints and adjust your increase or decrease rate to hit them. A stitch marker at the centre front helps you track your position.
- The legs need to be sewn at exactly the same height and angle, and the body needs just enough stuffing to hold its shape without being so heavy it tips. A small piece of foam or plastic canvas inside the belly before closing gives a firm flat base.
FAQs
The body method is too vague. What do I do?
Work each shaping instruction one row at a time, counting stitches at the end of each row before continuing. Treat the stitch targets (34, 68, 76, 36) as the checkpoints and adjust your increase or decrease rate to hit them. A stitch marker at the centre front helps you track your position.
Can I use safety eyes instead of the crocheted circles?
Yes. Insert them while the head section is still open, before the final decrease rounds close it, and lock the washers from inside. Position them in roughly the same place the crocheted circles would sit, between rows 6 and 11 of the head.
My hippo won’t stand up. What helps?
The legs need to be sewn at exactly the same height and angle, and the body needs just enough stuffing to hold its shape without being so heavy it tips. A small piece of foam or plastic canvas inside the belly before closing gives a firm flat base.
Why is the body made of two flat halves?
This construction method creates a flat bottom, allowing the hippo to sit upright on its own without tipping over, which is a unique feature of this specific pattern.
What if my legs look different sizes?
If one leg looks visibly different from the others, check the row count and stuffing level. Ensure you have worked the correct number of rows and that the stuffing is distributed evenly.
Pin This Crochet Pattern!