There is something deeply satisfying about the quiet rhythm of amigurumi. A small batch of yarn, a reliable hook, and the steady counting of stitches create a meditative space where hours slip by unnoticed. This Captain America pattern embraces that cozy ritual, guiding you through a project that balances patriotic flair with approachable shaping. Whether you are crafting a gift for a young fan or adding a hero to your own shelf, the repetitive nature of the single crochet stitches allows you to focus on the details that bring the character to life.
Small Details That Make It Better
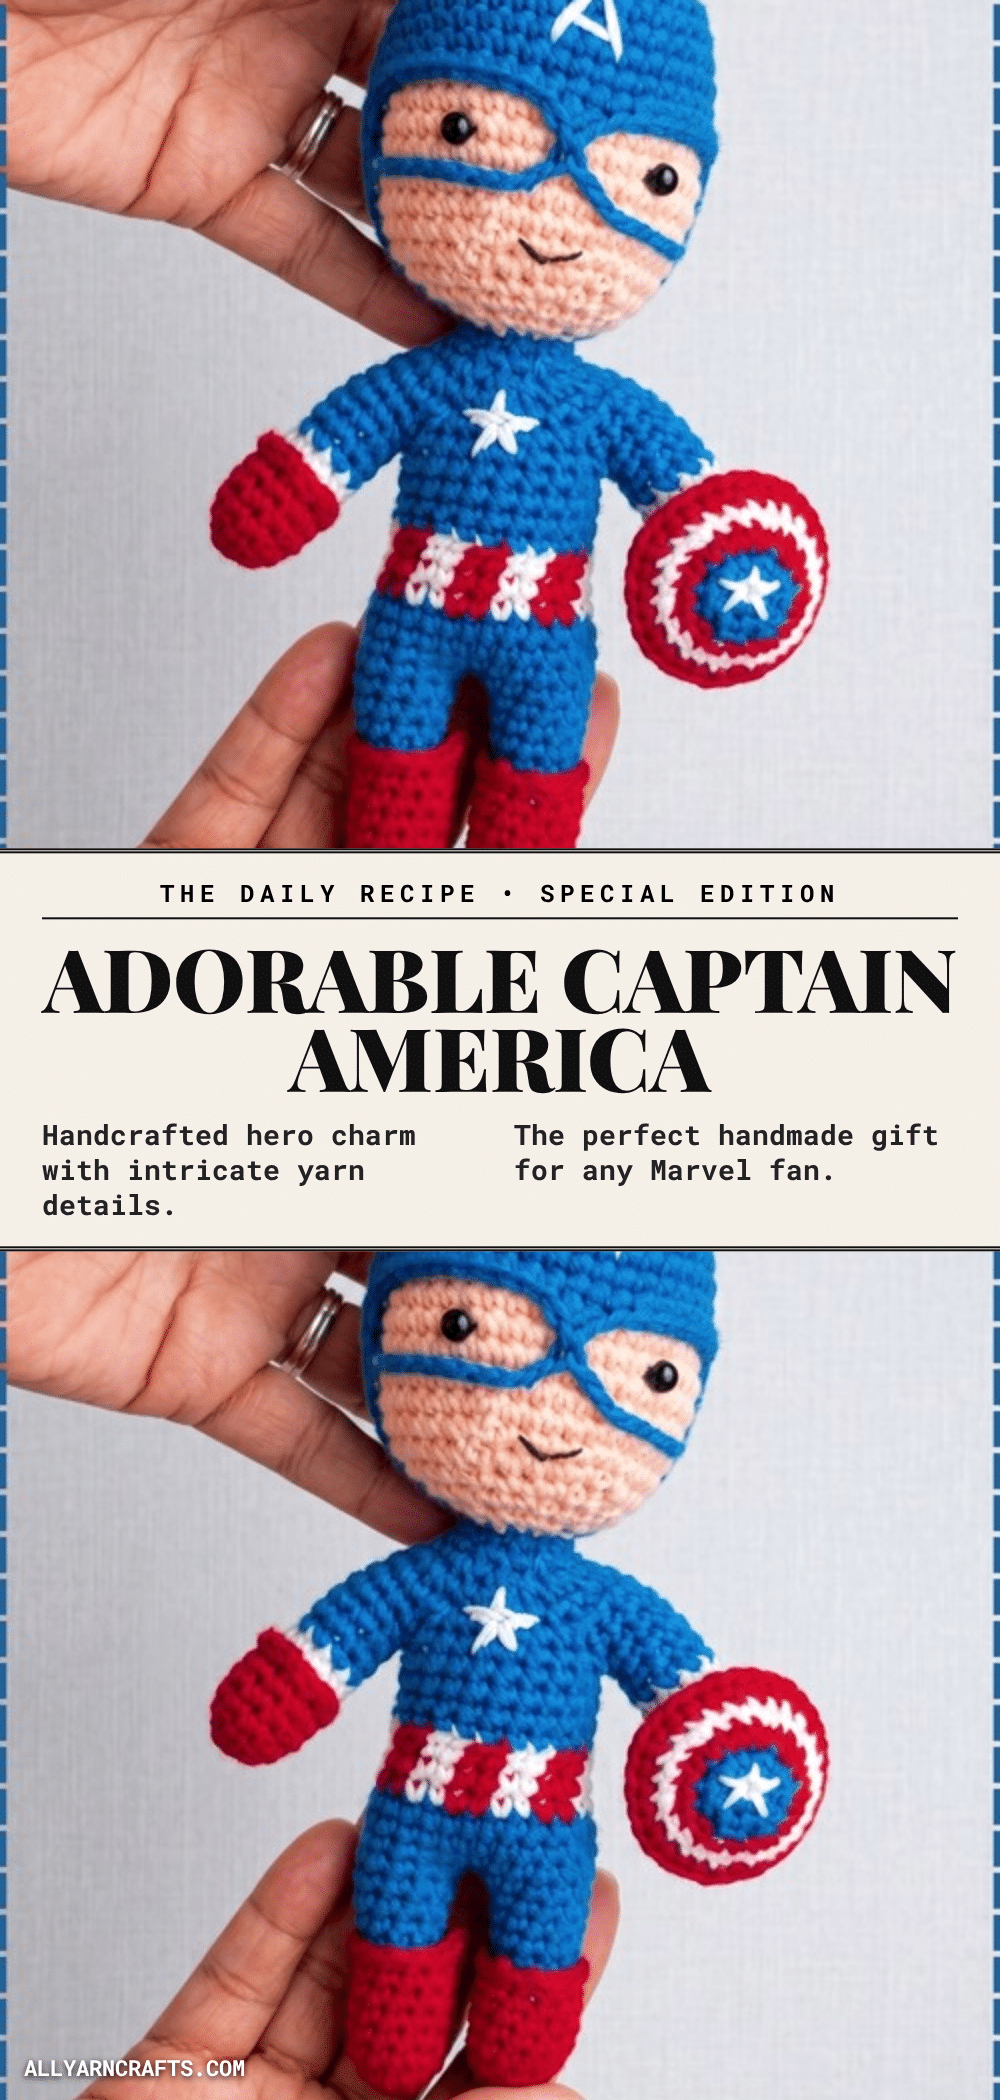
While the bold red, white, and blue palette is instantly recognizable, the charm of this amigurumi lies in its structural nuances. The mask is not a separate hat but is integrated directly into the head, creating a seamless silhouette that mimics the comic book aesthetic. Paying attention to the front loop only (FLO) band in Round 12 creates a subtle ridge that defines the mask’s edge without adding bulk. Similarly, the shield’s gentle dome is achieved by working half double crochet (HDC) in the final round, a small technical choice that gives the prop a realistic, sturdy feel. These finishing touches, from the embroidered forehead star to the snug chin strap, elevate the piece from a simple plush to a character that feels ready for action.
Project Overview
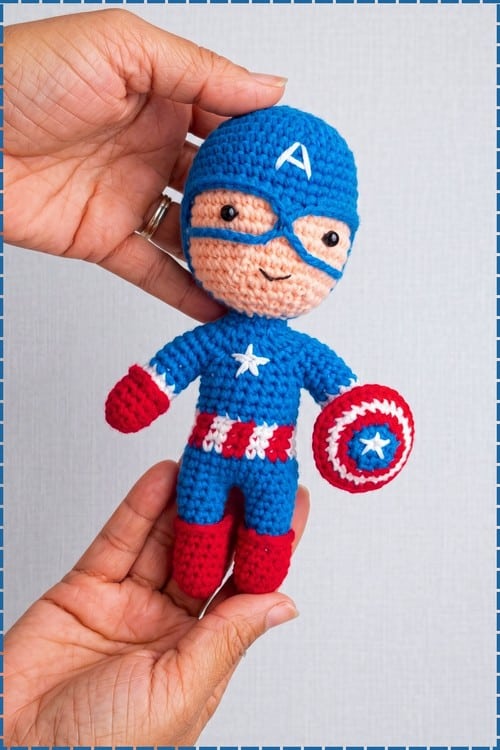
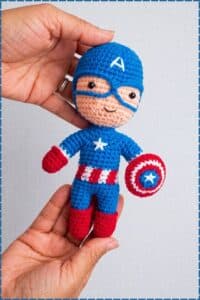
This pattern creates a Captain America amigurumi featuring an integrated helmet and mask, a chin strap, and a detachable star shield. The suit is represented by a blue body (referenced from a previous series part), while the head and shield are crafted in this pattern. The design focuses on clean lines and manageable color changes, making it a rewarding project for crocheters who enjoy detailed finishing work.
Pieces List
- Head with mask and face panel: 1
- Mask center point: 1
- Chin strap: 1
- Shield: 1
- Embroidered white stars: 2 (one on shield, one on forehead)
- Eyes: 1 pair
- Body: 1 (Note: The body is made in a previous part of this series; the shield sews onto its hand)
Materials
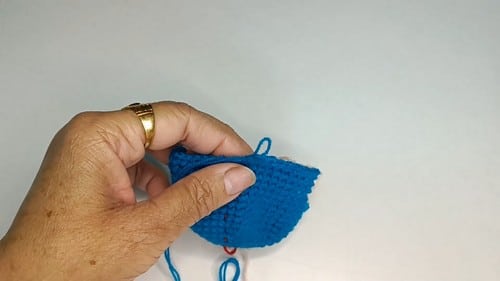
- Yarn: Blue, skin color, red, and white. A DK or light worsted cotton is recommended for crisp stitch definition. You will need small amounts of red and white.
- Crochet Hook: Approximately 2.5 mm to 3 mm (or a size smaller than your yarn label suggests).
- Stitch Marker: Essential for tracking rounds.
- Stuffing: Cotton stuffing.
- Eyes: Safety eyes (6 mm to 8 mm) or black yarn for embroidered eyes.
- Thread: White thread or fine white yarn for embroidering the stars.
- Tools: Yarn needle, sewing pins, and scissors.
Gauge and Finished Size
These are estimates based on DK yarn and a 2.5 mm hook:
- Head Diameter: Approximately 6 cm.
- Shield Diameter: Approximately 5 cm.
- Time Estimate: The head takes roughly two hours; the shield takes about half an hour including stars.
Abbreviations
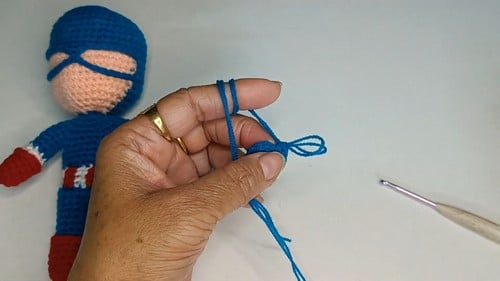
- MR: Magic ring
- Ch: Chain
- Sl st: Slip stitch
- SC: Single crochet
- HDC: Half double crochet
- INC: Increase (2 stitches worked into the same stitch)
- DEC: Decrease (2 stitches worked together)
- FLO: Front loop only
- BLO: Back loop only
- Sts: Stitches
Pattern Notes
The helmet and mask are worked as one piece, covering the head except for an open face panel. The suit runs blue through the torso and legs, with red gloves, red boots, and a red and white striped waistband (referenced from the body pattern). One hand holds a round shield stitched in concentric rings with a star at the center. Small black eyes and a curved smile sit on the face. All pieces (head, body, arms, legs, helmet detail, and shield) are made separately and assembled later.
Pattern Instructions
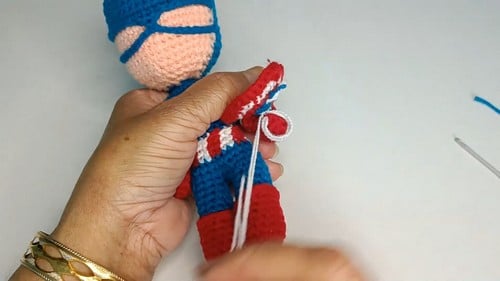
Part 1: The Head
Round 1: With blue, make a magic ring, work 6 SC into it and sl st to join (6 sts).
Round 2: Ch 1, then work 2 SC in each stitch around (12 sts).
Round 3: [1 SC, 1 INC] repeat around (18 sts).
Round 4: [2 SC, 1 INC] repeat around (24 sts).
Round 5: [3 SC, 1 INC] repeat around (30 sts).
Round 6: [4 SC, 1 INC] repeat around (36 sts).
Round 7: [5 SC, 1 INC] repeat around (42 sts). Shape check: You should have a flat disc that lies smooth on the table. Ruffles at this stage mean an extra increase crept in somewhere.
Rounds 8 to 11: Work 1 SC in each stitch around for four plain rounds (42 sts). Shape check: The sides now rise straight up from the flat top, so the piece sits like a small bowl with upright walls.
Round 12:
- First 11 stitches: With blue, work 1 SC in each of the next 11 stitches.
- Next 20 stitches: Still in blue, work 1 SC in the front loop only of each of the next 20 stitches.
- Last 11 stitches: With blue, work 1 SC in each of the remaining 11 stitches (42 sts).
- Face section: Attach skin color yarn in the free back loops of those same 20 stitches and work 20 SC in skin color (20 sts). Shape check: A band of 20 blue stitches now stands slightly proud of the work, with a row of skin color sitting just behind it. Secure the skin yarn by locking and securing the thread.
Rounds 13 to 17: Work 11 SC in blue, 20 SC in skin color across the face area, and 11 SC in blue, with no increases or decreases (42 sts). Shape check: The head is now a deep cup, and the skin panel should run straight down the front rather than leaning to one side.
Round 18: [5 SC, 1 DEC] repeat around, nudging a decrease over where it lands on a color boundary (36 sts).
Round 19: [4 SC, 1 DEC] repeat around, adjusting at the color boundaries the same way (30 sts).
Round 20: [3 SC, 1 DEC] repeat around, adjusting at the color boundaries the same way (24 sts).
Round 21: [2 SC, 1 DEC] repeat around, adjusting slightly if a color change falls on a decrease (18 sts). Shape check: The head is a rounded ball narrowing to an opening about two fingers wide, with the face panel curving under toward the chin.
Stuffing: Cut and remove the skin color yarn if you no longer need it. Stuff the head firmly with cotton stuffing.
Round 22: In blue only, [1 SC, 1 DEC] repeat around (12 sts).
Round 23: Work 1 SC in each of the 12 stitches (12 sts). Leave a long tail for sewing and fasten off. Center the head on the body from the previous part of the series and sew it on securely.
Part 2: Mask Center Point and Chin Strap
Mask center point: Attach blue yarn at the 9th stitch of the face opening area. Work 2 SC across the next stitches. Sl st into the next stitch. Fasten off and weave the ends inside the head.
Chin strap: Attach blue yarn near the mask on one side of the face. Ch 12 to make a strap long enough to pass under the chin (12 ch). Carry the chain across and sl st it to the matching spot on the other side of the mask. Fasten off and secure both tails inside the head.
Part 3: The Shield
Round 1: With blue, make a magic ring, work 6 SC into it and sl st to close (6 sts).
Round 2: Work 2 SC in each stitch around (12 sts). Shape check: A flat blue button with no cupping at all.
Round 3: Attach red. Working in the back loop only, [1 SC, 1 INC] repeat around (18 sts).
Round 4: Attach white. Working in the back loop only, [2 SC, 1 INC] repeat around (24 sts). Shape check: Still flat, with a fine line of unused front loops sitting between each color ring on the front.
Round 5: Attach red. Working in the back loop only with HDC, [3 HDC, 1 INC] repeat around (30 HDC). Shape check: The taller red edge tends to pull back a touch so the front domes out slightly, and that gentle curve looks just like the real shield, so leave it be. Fasten off neatly. Weave in every loose tail so no knots show on the front.
Star: With white thread, embroider a five-pointed star on the blue center. Wrap the thread around the center lines of the star to give it definition. Attach or sew the finished shield onto Captain America’s hand.
Part 4: Final Touches
Embroider a white star on the forehead of the mask. Add the eyes to the skin section of the face.
Assembly
Following the original order, the head goes onto the body first, then the mask center point and chin strap, then the shield onto the hand, and finally the forehead star and the eyes. Plenty of makers find the mask details easier to add while the head is still loose, and that works just as well. Safety eyes are the exception, since they go in before stuffing no matter what.
Pin the head before you sew anything. Line the face panel up with the center of the chest, then check from the side as well as the front, because a head can look straight from the front and still tip backward. Sew around the neck opening with the long tail, using small stitches through both layers. The chin strap should sit snug under the chin, crossing from one side of the mask to the other.
For the shield, pin it against the hand with the star facing out and tilted a little toward the front of the body. Sew through the back of the shield so your stitches stay hidden behind the red edge.
Tips
- Safety Eye Timing: Safety eyes need their washers pushed on from the inside, so they have to go in after Round 21 and before you stuff, while the 18 stitch opening still lets your fingers reach in. Place them in the skin panel roughly between Rounds 14 and 15, about 5 to 6 stitches apart, and check the spacing by eye before you snap the backs on.
- Child Safety: For any toy going to a child under three, skip safety eyes completely and embroider the eyes with black yarn instead.
- Stuffing Firmness: Stuff the head firmly after Round 21, pushing small tufts into the top of the helmet first so the dome keeps its shape. Firm is the goal. The face panel is where too much shows first. Overstuffed, the skin stitches stretch apart until specks of cotton peek through. Stop when the head holds its shape under a gentle squeeze.
- Color Changes: Switch colors on the final yarn over of the last stitch in the old color so the new color starts clean. Snugging the old tail from the inside helps too.
- Stitch Count Checks: The stitch count is off after the decreases almost always because of a color-adjusted decrease that got skipped or worked twice. Count every round from 18 to 21 before moving on.
- Shield Ruffling: If the shield ruffles, it means too many stitches. Recount Rounds 3 to 5. A gentle dome is normal; a wavy edge is not.
FAQs
Can I make this pattern smaller or larger?
Yes. To go bigger, move up a yarn weight and a hook size together without touching the stitch counts. Worsted on a 3.5 mm hook should give a noticeably larger head. Going smaller works the same way with a fine cotton and a tiny hook. Make the body in the same yarn and hook so the proportions hold.
What yarn is best for this project?
A smooth DK or light worsted cotton shows off the front loop band and the color lines best. Cotton gives crisp stitch definition, which helps the front loop band and the stars stand out. Fuzzy or chenille yarns hide both, so save those for plainer makes.
How do I prevent the head from tipping backward?
The neck seam probably sits too far toward the back of the body. Unpick it, repin with the face panel over the center of the chest, and check from the side before sewing again.
Can I use the shield as a separate item?
Absolutely. It is a great scrap project. You can stitch a keyring or a pin back to the back instead of sewing it to the hand.
Why are my stars looking lumpy?
Work each point as one straight stitch with even tension, and let the wrapping step tighten the center lines instead of adding extra stitches.
Pin This Crochet Pattern!