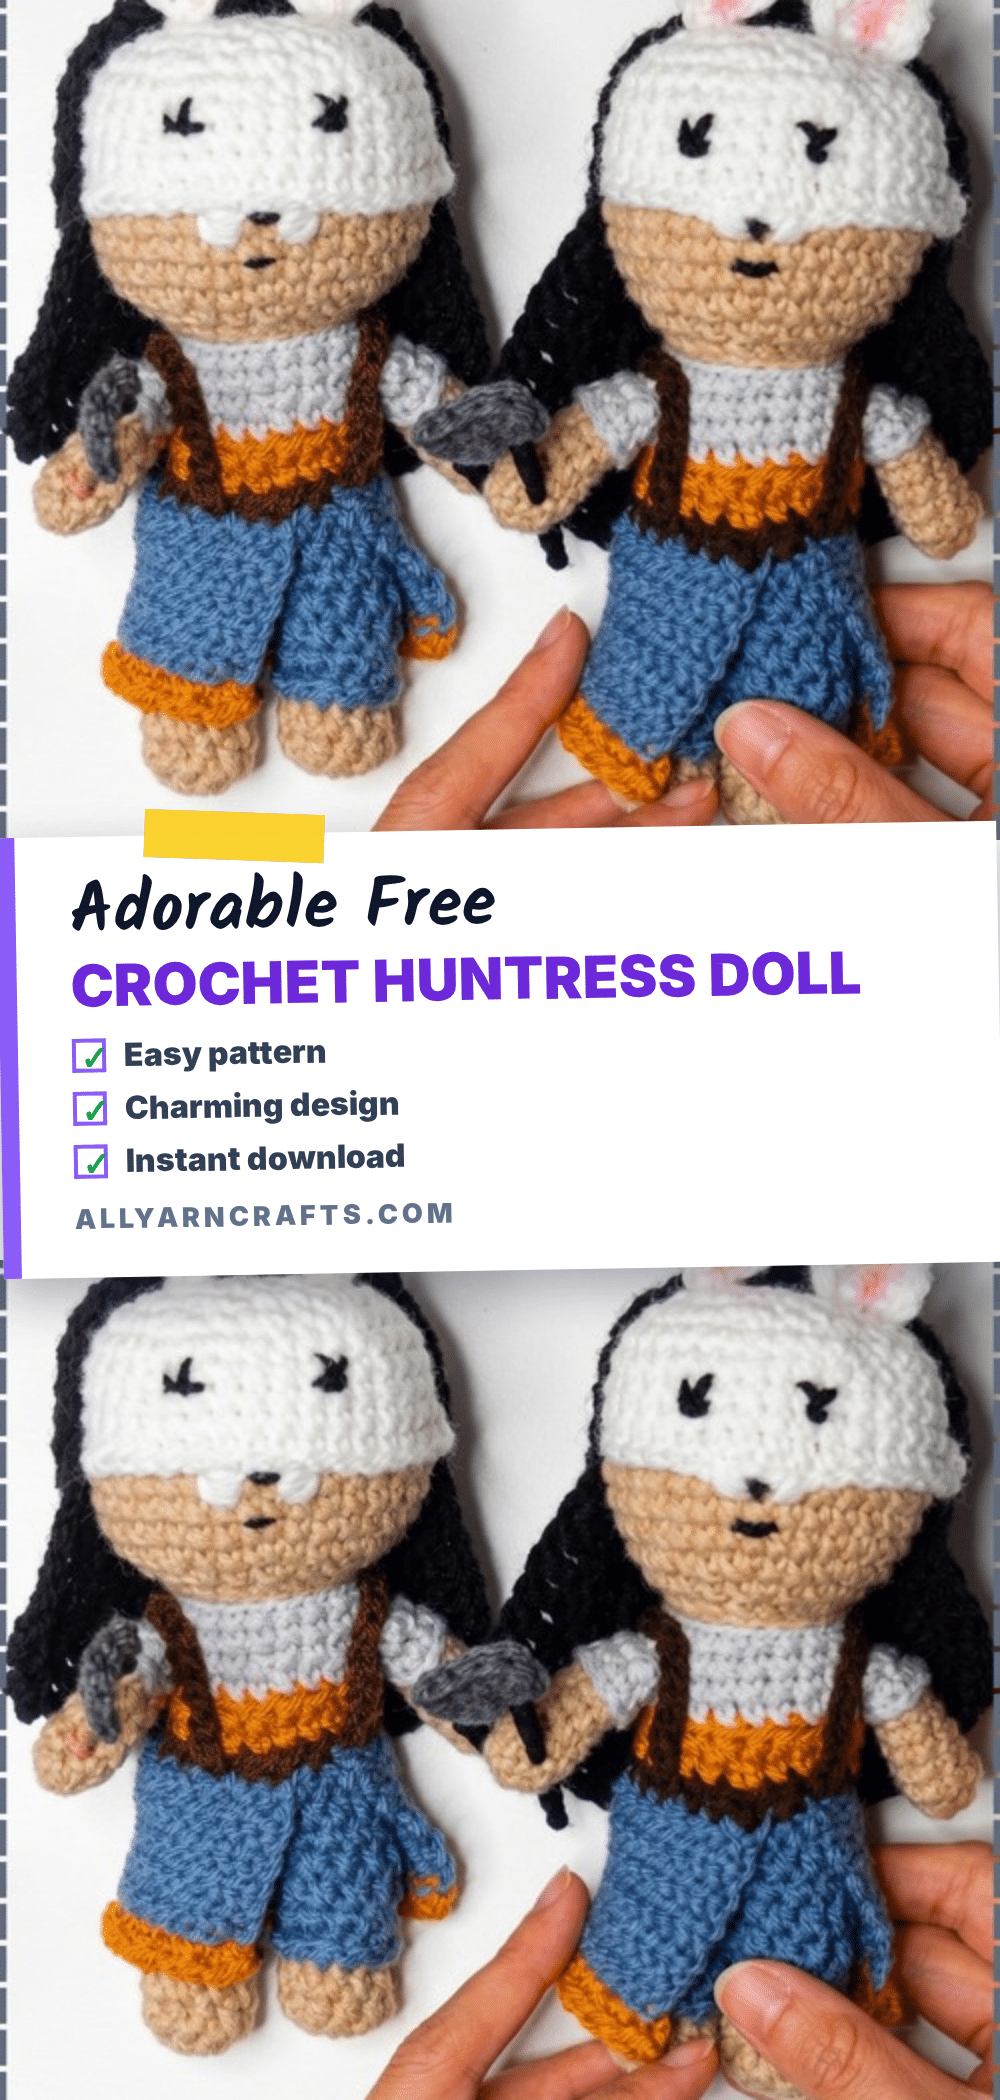
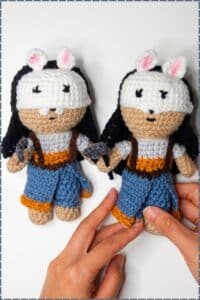
There is something undeniably satisfying about holding a finished amigurumi that looks like a tiny, living character rather than just a stuffed toy. This crochet huntress doll is that perfect blend of cute and capable, standing proudly with a blade in hand and a rabbit hood framing her face. It is a display-worthy piece that brings a touch of fantasy adventure to any shelf or desk. Whether you are a seasoned maker or new to the world of amigurumi, the detailed construction and charming design make this project a rewarding challenge that results in a delightful companion for your tabletop RPG nights or desk decor.
Why the Finished Piece Stands Out
What makes this huntress doll truly special is how the pattern balances character detail with approachable construction. The design moves beyond simple round shapes to create a narrative figure, complete with a wrap skirt, blue trousers, and a distinctive white mask. The use of color blocking—brown for the body and feet, light gray for the sleeves, and blue for the legs—gives the doll a cohesive, costume-like appearance. The rabbit hood with its pink inner panels adds a whimsical touch that softens the warrior aesthetic, making it an excellent gift for fantasy gamers or friends who love character dolls. The construction method, which builds the body upward from the joined legs, ensures a sturdy base that allows the figure to stand securely, while the embroidered face keeps the look clean and age-appropriate.
Project Overview
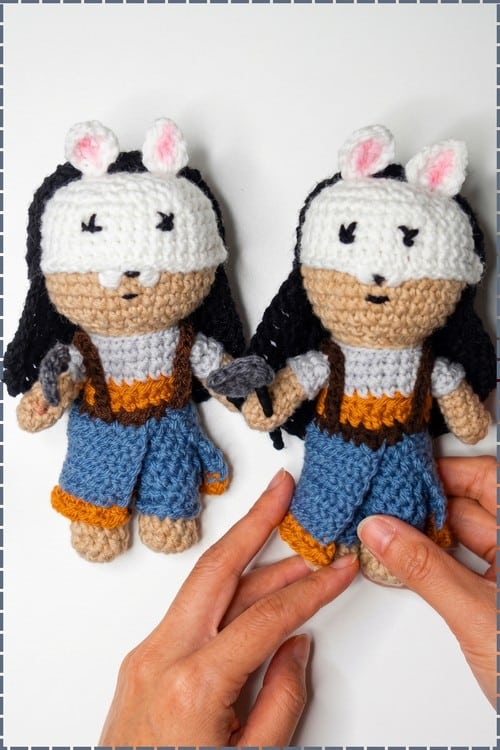
This pattern creates an articulated character amigurumi, approximately 8 to 10 inches tall. The doll features a rabbit hood, a gray top, an orange belted waist, and loose blue trousers. It is designed to be a character piece rather than a plain doll, suitable for display or gifting. The project involves multiple color changes and the attachment of separate components like arms, legs, and a flat-panel skirt. While the hair attachment is the slowest part of the process, the main body construction moves quickly once the colors are organized. The estimated time to complete the doll is approximately 4 to 6 hours.
Materials
- Yarn:
- Brown: Polyamide or acrylic mix yarn for the body, feet, and skin sections.
- Light Gray: Yarn for the sleeves and upper body.
- Blue: Yarn for the legs and skirt.
- White: Yarn for the mask section.
- Crochet Hook: 4.0 mm
- Tools: Toothpick for shaping, craft glue suitable for yarn, yarn needle, and scissors.
Gauge and Finished Size
The approximate finished height of the huntress doll is around 8 to 10 inches. This estimate is based on experience with similarly constructed character dolls at this gauge. Stitch counts are provided in brackets at the end of each round to help maintain consistency.
Abbreviations
- sc: single crochet
- hdc: half double crochet
- inc: increase, two sc into one stitch
- dec: decrease, two stitches worked together
- FLO: front loop only
- BLO: back loop only
- sl st: slip stitch
Pattern Notes
The arms and legs are made separately first. Everything else grows from the leg join onward. The pattern uses embroidered facial details rather than safety eyes, making this doll appropriate for any age. The nose and facial details are worked with a yarn tail after closing, and the mask section is crocheted in white yarn directly into the head rounds. If you prefer safety eyes for a display piece made for adults, they would need to be inserted before the head closing rounds begin, positioned within the mask section before round 11 of the head.
Pattern Instructions
Arms, Make Two
Round 1: Magic ring, chain 1, work 8 sc inside the ring [8]
Round 2: sc in each stitch around [8]
Round 3: sc in each stitch around [8]
Round 4: sc in each stitch around [8]
Round 5: sc in each stitch around [8]
Round 6: sc in each stitch around [8]. Checkpoint: a narrow tube about the width of a finger, six rounds long in the body colour. Cut yarn and finish with an invisible join.
Round 7 (sleeve): Using light gray yarn, chain 9 then join to the second chain from the hook and crochet into the arm stitches for 8 sc [8]. Checkpoint: the sleeve extends from the arm end as a short cuff section in gray, adding length without changing the tube diameter.
Round 8: sc in each stitch around and finish with an invisible join [8]. Set aside.
Legs and Feet, Make Two
Round 1: Using light brown yarn, magic ring, chain 1, work 10 hdc inside the ring [10]
Round 2: hdc in each stitch around [10]
Round 3: hdc in each stitch around [10]. Checkpoint: a short dense disc of hdc stitches forming the foot, sitting slightly cupped.
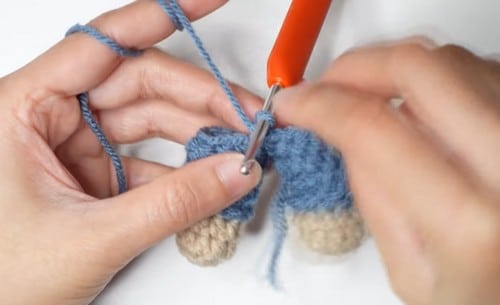
Round 4 (leg): Using blue yarn, chain 11 then work hdc in the second chain from the hook and join to the brown foot for 10 hdc [10]. Checkpoint: the leg extends from the foot in blue, with a visible colour join at the ankle.
Round 5: sc in each stitch around [10]
Round 6: hdc in each stitch around [10]
Round 7: hdc in each stitch around [10]. Checkpoint: a complete leg and foot unit in two colours, the brown foot base and the blue leg tube above it. Set aside both legs.
Joining the Legs
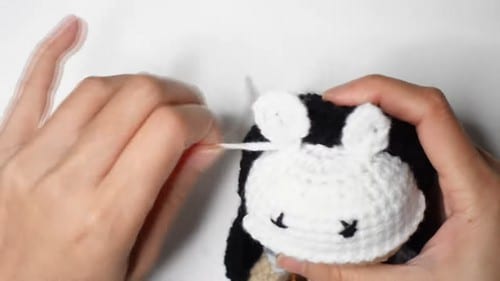
Round 8: Join the legs together by working 10 sc around the first leg then 10 sc around the second leg [20]. Use yarn tail to close the gap between the legs.
Round 9: hdc in each stitch around [20]
Round 10: hdc in each stitch around [20]. Checkpoint: a short joined hip section with both legs hanging below and the body tube rising above. The join point between the legs should be pulled closed with no visible gap.
Wrap Skirt
The skirt is a flat panel made separately and attached here.
Row 1: Chain 27, sc in the second chain from the hook then alternate slip stitch and sc across the row [26]
Row 2: Using blue yarn work slip stitch across 26 stitches keeping stitches loose [26]
Row 3: Chain 1, slip stitch in the front loop only across [26]
Row 4: Chain 1, slip stitch in the front loop only across [26]
Row 5: Chain 1, slip stitch in the front loop only across [26]
Row 6: Chain 1, slip stitch in the front loop only across [26]
Row 7: Chain 1, slip stitch in the front loop only across [26]
Row 8: Chain 1, slip stitch in the front loop only across [26]
Row 9: Chain 1, slip stitch in the front loop only across [26]
Row 10: Chain 1, slip stitch in the front loop only across [26]
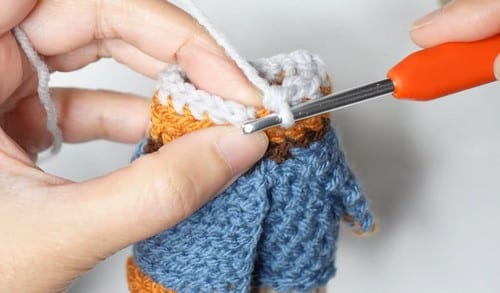
Row 11: Chain 1, slip stitch in the front loop only across [26]. Checkpoint: a layered flat panel with horizontal ridges from the front loop rows, reading as fabric folds when held loosely. Align the skirt with the body and attach using brown yarn while matching the skirt stitches to the 20 body stitches.
Upper Body and Neck
Round 12: Using body colour, sc in the back loop only around [20]
Round 13: sc in each stitch around [20]. Checkpoint: the torso now rises above the skirt attachment with the skirt hanging free below.
Round 14: Switch to light gray yarn, work sc in the back loop only around [20]
Round 15: sc in each stitch around [20]
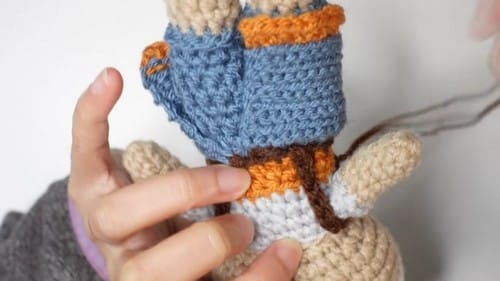
Round 16: Attach arms by crocheting through both arm and body stitches for 20 sts total [20]. Checkpoint: both arms sit at shoulder height integrated into the body round, with no visible seam or gap at the join.
Round 17: sc in each stitch around [20]
Head
Neck base: Slip stitch in the back loop only around the neck [20]. Work one round of back loop only sc around [20].
Increase round: 1 sc, 1 inc, repeat around [30]
Round 3: sc in each stitch around [30]
Round 4: sc in each stitch around [30]
Round 5: sc in each stitch around [30]
Round 6: sc in each stitch around [30]. Checkpoint: the head is now a round ball sitting on the neck with a wide open base. The face area faces forward.
Mask and Face Base
Join white yarn with a chain of 18 and work sc across to reach a total of 40 stitches [40]. Checkpoint: the mask join expands the head circumference and the white section sits visibly across the face area of the ball.
Round 8: sc in each stitch around [40]
Round 9: sc in each stitch around [40]
Round 10: sc in each stitch around [40]
Round 11: sc in each stitch around [40]. Checkpoint: the full head with mask section is now at its widest, and the white mask reads clearly against the body colour.
Decreasing and Closing
Work 2 sc, 1 front loop decrease, repeat around. Continue working decrease rounds until the head closes. Stuff the body and head firmly before the opening becomes too small to reach through.
Assembly
Use the long yarn tail to embroider the nose and facial details onto the face section. Adjust the mask section and shape the head if needed using a toothpick and craft glue to hold any lifted edges in place. The arms join mid-construction at round 16 and the skirt attaches after round 11, so there is almost no post-construction sewing. The steps that remain after closing the head are minimal. Adjust leg positioning for balance; the hdc leg construction is slightly stiffer than sc, which helps the figure stand.
Tips
- Mask Tension: The mask chain join at the head looks uneven. The chain-18 join into existing head stitches creates a structural seam rather than a seamless colour change, and some irregularity is normal. Work slowly, keep the chain stitches loose, and the subsequent sc rounds will even the tension out as you go.
- Skirt Drape: If your skirt panel is too rigid and will not drape, the slip stitch front loop rows need to be kept genuinely loose, looser than feels comfortable. If the panel is stiff, the stitches were worked too tightly. Rip back the slip stitch rows only and redo them with a deliberately relaxed grip.
- Shoulder Tension: If the arms are pulling the shoulder rounds outward, round 16 crochets through both the arm and body stitches simultaneously, which can create tension if the arm tube is packed too densely. Work the join round slowly and keep the through-stitch tension even rather than pulling the hook aggressively.
FAQs
Can I use safety eyes for this pattern?
The pattern is designed with embroidered facial details, making it safe for all ages. However, if you are making this for an adult display piece, you can insert safety eyes before the head closing rounds begin. Position them within the mask section before round 11 of the head.
Why is my skirt panel stiff?
The skirt rows 2 through 11 use slip stitches in the front loop only. These must be worked very loosely to allow the fabric to drape. If the panel is rigid, try ripping back those rows and redoing them with a more relaxed grip.
How do I attach the arms?
The arms are attached during Round 16 of the body. You crochet through both the arm stitches and the body stitches simultaneously for 20 stitches total. This integrates the arms at shoulder height without a visible seam.
What kind of yarn is best for this doll?
The pattern suggests a polyamide or acrylic mix yarn for the body, feet, and skin sections. Light gray, blue, and white yarns are used for the sleeves, legs, skirt, and mask respectively. A 4.0 mm hook is recommended.
How long does it take to make this doll?
The estimated time to complete all pieces is approximately 4 to 6 hours. The hair attachment is the slowest part, but the main construction moves quickly once the colors are organized.
If you enjoy creating character dolls like this huntress, you might also like our adorable crochet bambolina doll keychain for a smaller project, or check out our cute Dragon Ball Z amigurumi pattern for more fantasy-inspired fun.
Pin This Crochet Pattern!