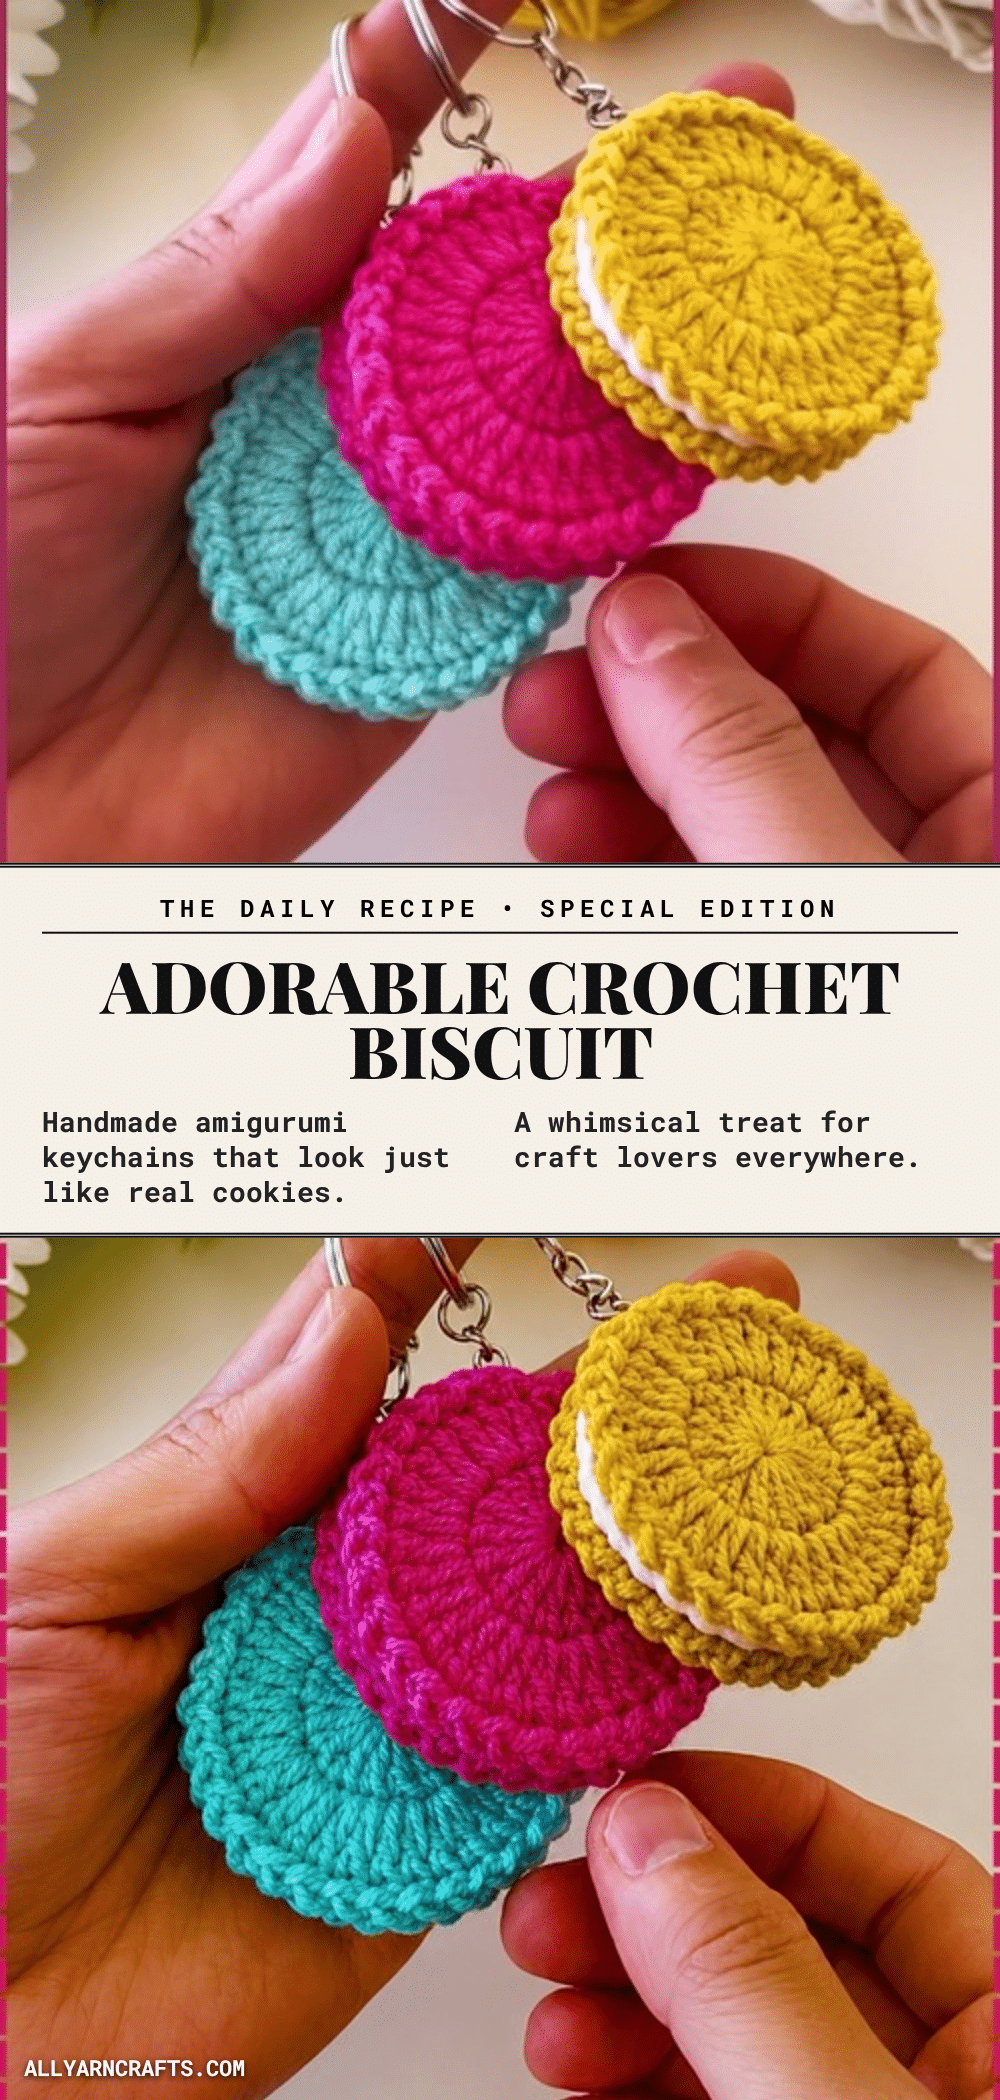
There is something deeply satisfying about the quiet rhythm of crochet. A cozy evening, a small batch of yarn, and the repetitive, meditative motion of counting stitches. This Crochet Biscuit Amigurumi Keychain Pattern is the perfect companion for those relaxing repeats. It requires minimal materials and comes together in under twenty minutes, making it an ideal project for a calm night in or a quick stash-busting session. The result is a charming, bakery-inspired charm that brings a sweet touch to your keys or handbag.
Small Details That Make It Better
What makes this biscuit pattern truly delightful is its simplicity and the clever use of scale. The design relies on a “sandwich” effect, where the cream filling is intentionally smaller than the biscuit halves. This creates a visible tan border that mimics the look of a real cream-filled cookie. The flat, disc-like shape sets it apart from traditional amigurumi bodies, giving it a firm, pillow-like feel that is sturdy enough for daily use as a keychain or bag charm. The texture of the double crochet stitches adds a subtle visual interest to the top surface, while the smooth cream center provides a nice contrast. It is a project that proves you do not need complex shaping to create something with character.
Project Overview
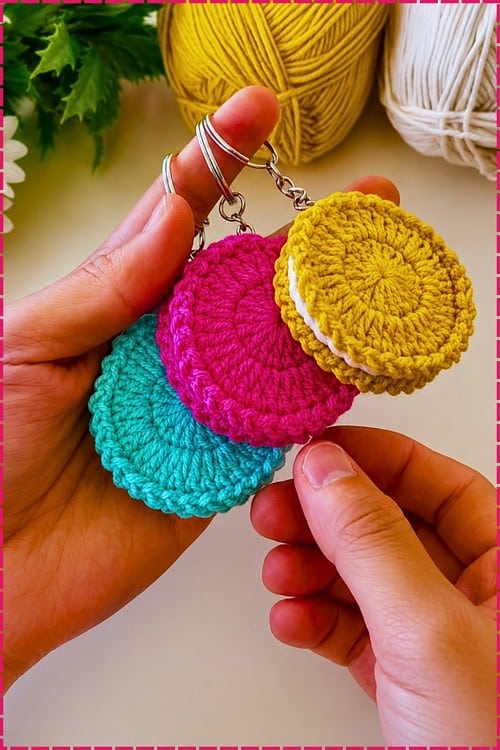
This pattern creates a flat, round biscuit motif composed of three distinct layers: two outer biscuit halves and one inner cream disc. The pieces are joined at the perimeter to form a sturdy sandwich cookie shape. The design is simple, requiring only basic stitches, making it accessible for beginners while offering a cute result for experienced makers. It is perfect for keyrings, handbag straps, or as a playful addition to a larger amigurumi collection.
Materials
- Yarn: DK or light worsted weight yarn in tan, light brown, or golden yellow for the biscuit halves.
- Yarn: DK or light worsted weight yarn in white or off-white for the cream filling.
- Crochet Hook: 3.5mm hook.
- Tools: Yarn needle, scissors.
- Stuffing: Fiberfill (a very small amount).
Gauge and Finished Size
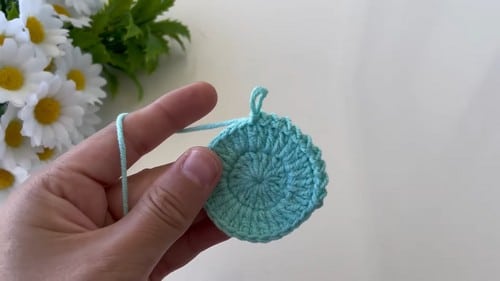
Finished Size: The biscuit sits at roughly 6 to 7cm across when worked with DK yarn on a 3.5mm hook. This is an estimate based on stitch counts rather than a strict pattern measurement.
Cream Disc Size: The cream filling is slightly smaller, measuring around 5 to 6cm. This size difference is intentional to ensure the cream sits neatly inside the biscuit edges.
Abbreviations
The pattern uses standard crochet terminology. Key abbreviations include:
- hdc: Half double crochet
- Sl st: Slip stitch
- Ch: Chain
Pattern Notes
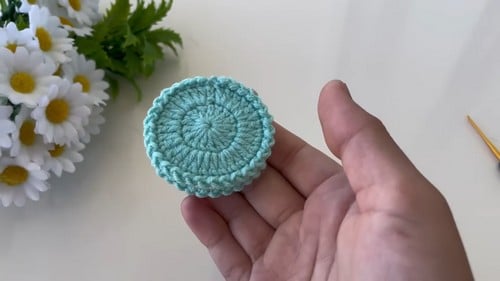
The size difference between the cream filling and the biscuit halves is achieved through the starting magic ring. The cream filling works up to 20 stitches from a base of 10, while the biscuit halves work up to 24 stitches from a base of 12. Both components use the same hdc-increase formula (doubling every stitch in Round 2), so the variation in size comes entirely from the starting count. This is correct and intentional.
This pattern does not include instructions for safety eyes or facial features. It is designed as a plain food motif. However, you may choose to embroider a face onto one biscuit half before assembly if desired.
Pattern Instructions
Biscuit Halves (Make 2, Tan Yarn)
Round 1: Start a magic ring and work 12 hdc into the ring. Sl st to join the round. [12] — Checkpoint: A flat, tidy circle with a tight centre. If the magic ring has a visible hole, pull the starting tail again before moving to Round 2.
Round 2: Ch 1 (does not count as a stitch). Work 2 hdc into every stitch around. Sl st to join. [24] — Checkpoint: The disc should lie completely flat and be about 6cm across. Any ruffling around the edge means too many stitches; a bowl shape means tension is too tight. Both halves need to match, so hold them together before fastening off. Fasten off. Leave a long tail on one half for sewing. Cut the other tail short.
Cream Filling (Make 1, White Yarn)
Round 1: Start a magic ring and work 10 hdc into the ring. Sl st to join. [10] — Checkpoint: Slightly smaller than the biscuit discs at this stage, which is correct. It should not match them in size.
Round 2: Ch 1. Work 2 hdc into every stitch around. Sl st to join. [20] — Checkpoint: The cream disc should sit noticeably inside the edge of the biscuit halves when you hold all three together. If the cream is the same size as the biscuit, it will peek out at the seam and the sandwich effect is lost. Fasten off and weave in ends.
Assembly
Lay one biscuit half face-down, then centre the cream disc on top of it. The cream should sit inside the biscuit edge with a visible tan border around it. Place the second biscuit half face-up on top. That stack is the sandwich.
Pin around the perimeter in four or five places before picking up the needle. The three discs will shift against each other as you sew if nothing holds them, and a biscuit where the cream has drifted to one side is immediately obvious. Use the long tail from one biscuit half threaded onto the yarn needle and sew through the outer edge of both biscuit halves, working all the way around the circumference. Leave a gap of about 3cm for stuffing before closing. Once the gap is closed, run the needle through the edge stitches one more time before weaving the tail into the centre of the biscuit rather than along the seam line, which is the one place on this piece where a visible tail actually shows.
Stuffing
Less than you think. The biscuit is a flat sandwich, not a sphere, and the cream layer already creates interior bulk between the two halves. A single small pinch of fiberfill, pushed gently toward the centre through the gap before seaming closes, is enough to give it a slight plump feel without distorting the flat profile. Over-stuffing lifts the edges of the biscuit halves away from each other and the seam starts to show gaps. If the finished piece looks more like a puck than a biscuit, take some fill back out before the tail is fully woven in.
Safety Eyes and Faces
This pattern has no eyes. If you are adding a face to make it an amigurumi-style character rather than plain play food, embroider before closing. Two small satin stitch circles in black thread for eyes, a short curved backstitch for a mouth, placed roughly centred on one biscuit face. Do it while the piece is still open and flat and the needle has room to move.
For anything going to a child under three, embroidered features are the right call regardless — no plastic components on a piece this small and grabbable.
Tips
If magic rings and invisible decreases sound like another language, start with a video tutorial; it makes everything click!
If your two biscuit halves came out slightly different sizes, they are fixable. Block them. Wet both discs, pin them to the same diameter on a flat surface, and leave to dry. DK yarn responds well to this and the difference will be minimal after blocking. If one is significantly smaller, check your starting tension on the magic ring — a ring pulled tighter than the other gives fewer working stitches and a smaller first round.
Yarn Substitution and Size Scaling
Every stitch count stays as written no matter what yarn you use. Size is the only thing that moves. Light worsted on a 3.5mm hook gives a biscuit closer to 7 to 8cm, which is a better scale for a keychain or bag charm. Going down to 4ply on a 2.5mm hook produces a biscuit around 4cm — small enough to use as a zipper pull but fiddly to seam at that size. Cotton yarn in either weight gives a crisper disc than acrylic and holds the flat shape better after handling, since cotton has less memory and does not try to curl back toward the magic ring.
FAQs
Does the cream disc need to be sewn to anything, or does it just sit in the middle?
It just sits inside the sandwich — the seam around the perimeter of the biscuit halves traps it in place. No separate attachment needed.
Can I make it without stuffing?
Yes, and it actually works well unstuffed for a flat fridge magnet version. Sew the perimeter closed completely, weave in the tail, and glue a small magnet disc to the back. The cream layer provides enough internal bulk to keep it from being completely flat.
My two biscuit halves came out slightly different sizes. Is that fixable?
Block them. Wet both discs, pin them to the same diameter on a flat surface, and leave to dry. DK yarn responds well to this and the difference will be minimal after blocking. If one is significantly smaller, check your starting tension on the magic ring — a ring pulled tighter than the other gives fewer working stitches and a smaller first round.
What kind of yarn is best for this project?
Dk or light worsted weight yarn works well for a standard keychain size. Cotton yarn is recommended for a crisper finish that holds its flat shape, while acrylic may have more memory and curl slightly.
Can I use this pattern for other projects?
Absolutely. The flat disc shape makes it versatile. You can use the same technique to create coasters, small pouches, or decorative appliqués for the easy crochet top patterns or other garments.
Pin This Crochet Pattern!