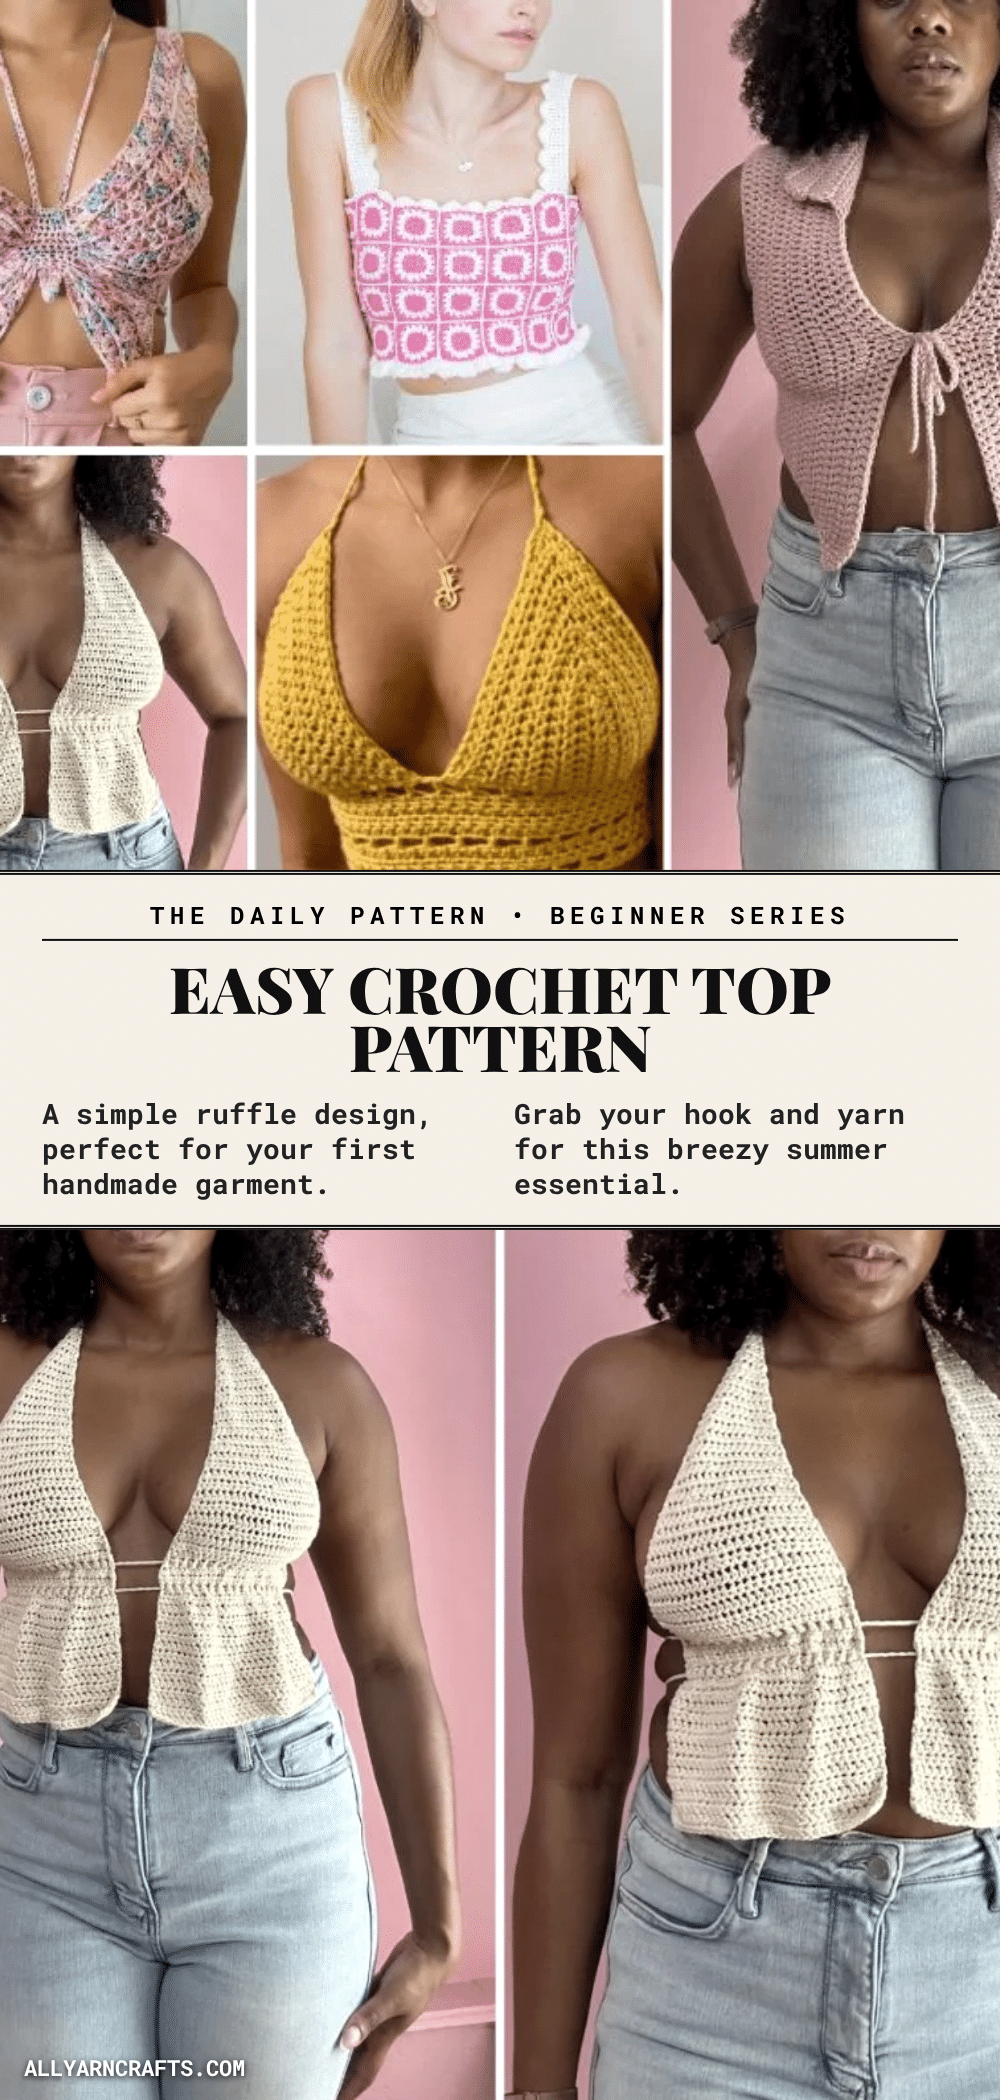
Have you ever finished a crochet project only to realize it looks nothing like the picture? Maybe the sleeves are too tight, the neckline is gaping, or the fabric is so loose it drapes like a sack. It is a rite of passage for many crocheters: the frustration of a garment that doesn’t fit. But here is the good news—creating a wearable crochet top doesn’t have to be a guessing game. With the right approach to materials, measurements, and construction, even the most hesitant beginner can create a top that fits beautifully and feels amazing to wear.
Maker Notes
Creating your own wardrobe is incredibly rewarding, but it can feel overwhelming when you are just starting out. This guide is designed to demystify the process. We focus on the foundational steps that matter most: choosing a pattern that matches your skill level, taking accurate measurements, and selecting yarn that behaves well for summer wear. Whether you are drawn to the simplicity of a tube top or the structure of a fitted piece, understanding these basics will help you avoid common pitfalls and build confidence in your craft.
Project Overview
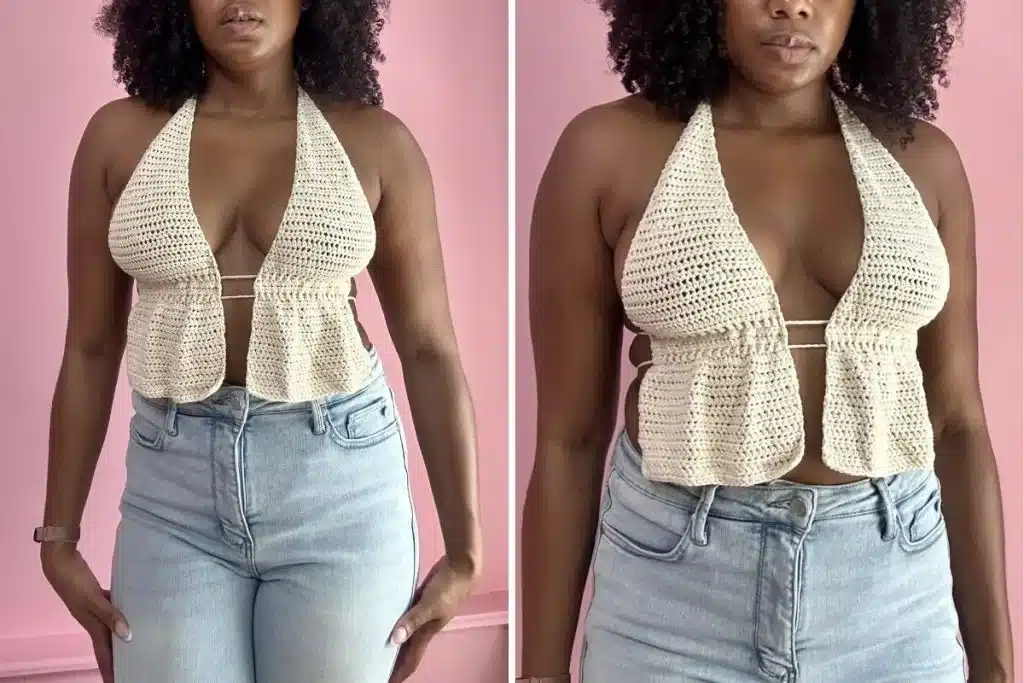
Crochet tops are a fantastic entry point into making handmade garments. They offer a balance of creativity and practicality, allowing you to create unique pieces that fit your personal style. This guide covers the essential steps for selecting a pattern, understanding garment construction, and troubleshooting common issues to ensure your final piece looks professional and fits well.
Materials
Before you begin, gather the following tools:
- Yarn
- Crochet hook
- Measuring tape
- Piece of paper
- Pen
Gauge and Finished Size
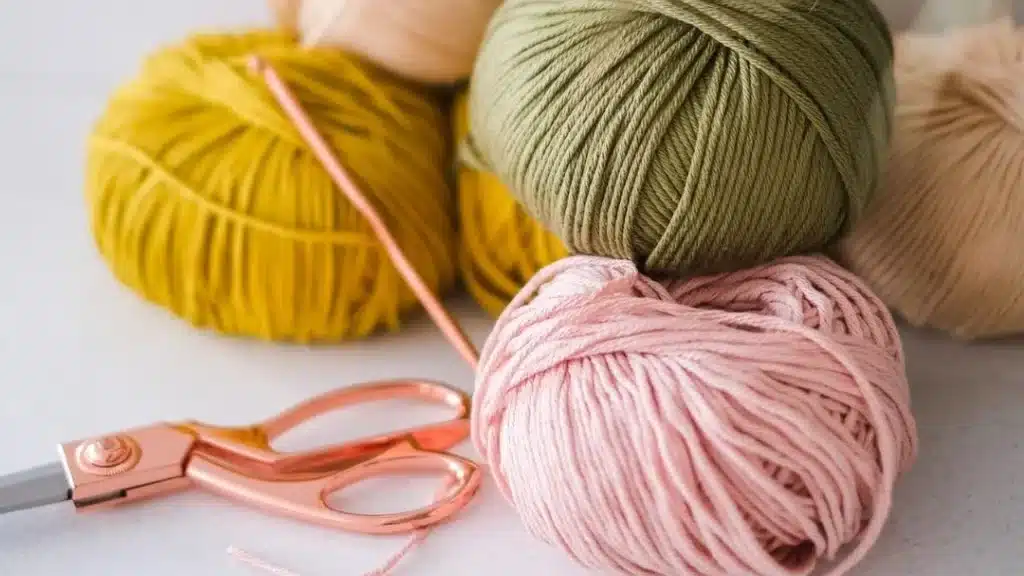
Accurate gauge is the secret to a garment that fits. Designers typically measure gauge within a 4×4-inch square, counting the stitches and rows inside. If your gauge differs from the pattern’s instructions, your final piece will be either too big or too small.
To achieve the correct gauge:
- Always start with the recommended hook size and yarn weight.
- If your stitches are too loose, try a smaller hook.
- If your stitches are too tight, try a larger hook.
- Adjusting the hook size or changing the yarn weight usually resolves gauge issues.
Abbreviations
This guide focuses on general construction and pattern selection. Specific stitch abbreviations will depend on the individual pattern you choose to follow.
Pattern Notes
Choosing the right pattern is the first step in your journey to a handmade closet. Consider your style and what you already own to ensure your new top integrates well with your wardrobe. For beginners, written patterns with step-by-step photos or video tutorials are highly recommended.
Choosing the Right Size
Once you have your body measurements, compare them to the size chart provided in the pattern. Sizes typically range from XS to XL, though many designers now offer XXS and XXL. Oversized patterns may range from S-L or offer in-between sizes like S/M or M/L.
Understand these terms when selecting your size:
- Positive ease: The garment is designed to be wider than your body for a loose fit. For example, if a top has 20 cm (8 in) of positive ease and your bust is 90 cm (35 in), the garment’s bust circumference will be 110 cm (43 in).
- Negative ease: The garment is designed to be narrower than your body for a snug fit. For example, if a top has 10 cm (4 in) of negative ease and your bust is 90 cm (35 in), the garment’s bust circumference will be 80 cm (31 in).
If you are between sizes, it is generally best to size up unless you specifically want a snug fit.
Choosing the Right Yarn
The type of yarn significantly affects the drape, feel, and comfort of your top. For summer projects, natural fibers are often preferred:
- Cotton, Linen, Silk, Bamboo: These fibers are breathable and absorb moisture, making them ideal for hot weather. Cotton is particularly popular for its durability and ease of washing.
- Wool (Merino): Soft merino wool is bouncy, hygroscopic, and naturally antibacterial. It offers a luxurious finish and is delicate against the skin.
- Mohair: Suitable for lacy or mesh garments, mohair creates a lightweight, breezy fabric.
Avoid: Synthetic yarns like acrylic and heavy wool are generally better suited for colder months and may not be comfortable against the skin in summer. Always check care instructions; for instance, merino wool often requires hand-washing.
Pattern Instructions
Since this is a general guide, specific row-by-row instructions will vary by pattern. However, the general workflow for creating a crochet top involves:
- Select a Pattern: Choose a design that matches your skill level and style preferences.
- Take Measurements: Measure your bust, waist, back width, and desired top length. Measure in your underwear, ideally with assistance, to ensure accuracy.
- Crochet: Follow the pattern’s construction method, which may involve working in one piece, top-down, or in seamed sections.
Crochet Top Construction Types
Understanding construction helps you choose the right pattern:
- One-piece: Worked in a continuous pattern with no seams.
- Top-down: Shaping begins at the top and moves downward.
- Seamed: Individual flat pieces are crocheted and then seamed together.
- Raglan: Features an integral shoulder piece with diagonal increases from the neck to the armpit.
- Made with squares: Constructed entirely from individual square pieces joined together.
Top Types by Skill Level
Beginner
- Tube Top: A simple rectangular piece wrapped around the torso. It has no sleeves or clasps and adapts to the body shape.
- Oversized Top: Features a roomy fit with positive ease, hiding minor tension inconsistencies.
- Halter Top: Uses basic techniques with little shaping; adjustable via a neck tie.
- Crop Top: Short length ending at the ribcage, often using basic stitches.
Intermediate
- Crochet Bralette: Requires more fitting to ensure support and coverage.
- Boho Top: Simple shape but may include details like lace, fringe, or beads.
- Granny Square Top: No shaping required; features color changes and decorative joining.
Advanced
- Fitted Top: Requires many increases and decreases for a tailored fit.
- Set-in Sleeves: Demands a strong understanding of garment construction and body shapes.
- Detailed Lace: Time-consuming and often requires memorizing complex patterns.
Assembly
Depending on the construction method, assembly may involve:
- Seaming: Joining individual flat pieces to create a three-dimensional garment.
- Joining Squares: Connecting individual square pieces together to form the top.
Tips
- Use stitch markers and row counters to keep track of increases and rounds.
- Use online calculators to determine how much yarn is left in a skein.
- Use number multiples generators to find the perfect stitch repeat.
- Use increase and decrease calculators for shaping underarms and fitted garments.
- Always wash and block your gauge swatch before starting to see the true effect of your stitches.
- If a garment is too see-through, consider lining it with fabric or using a smaller hook.
FAQs
How do I fix a crochet top that is too big?
If your top is too big, it is likely due to incorrect gauge or choosing the wrong size. Unfortunately, fixing a finished garment is difficult. It is best to unravel it, adjust your hook size or yarn weight, and try again.
Why is my crochet top too slouchy?
This is often caused by using the wrong type of yarn (such as heavy cotton that stretches) or a hook that is too large for the yarn. Ensure you are using a lightweight yarn appropriate for the project and that your tension is consistent.
How do I make my crochet top less see-through?
Crochet naturally creates eyelets. If your stitches are too loose, try using a smaller hook. Alternatively, you can line the garment with fabric to create an additional layer.
What is the best yarn for a summer crochet top?
Natural fibers like cotton, linen, silk, and bamboo are excellent choices because they are breathable and absorb moisture. Soft merino wool is also a good option for a luxurious feel.
How do I measure myself for a crochet top?
Measure your bust circumference (widest part), waist circumference (smallest part), back width (between shoulders), and top length (from the bottom of the neck). Measure in your underwear and ask for help if possible for the most accurate results.
Pin This Crochet Pattern!