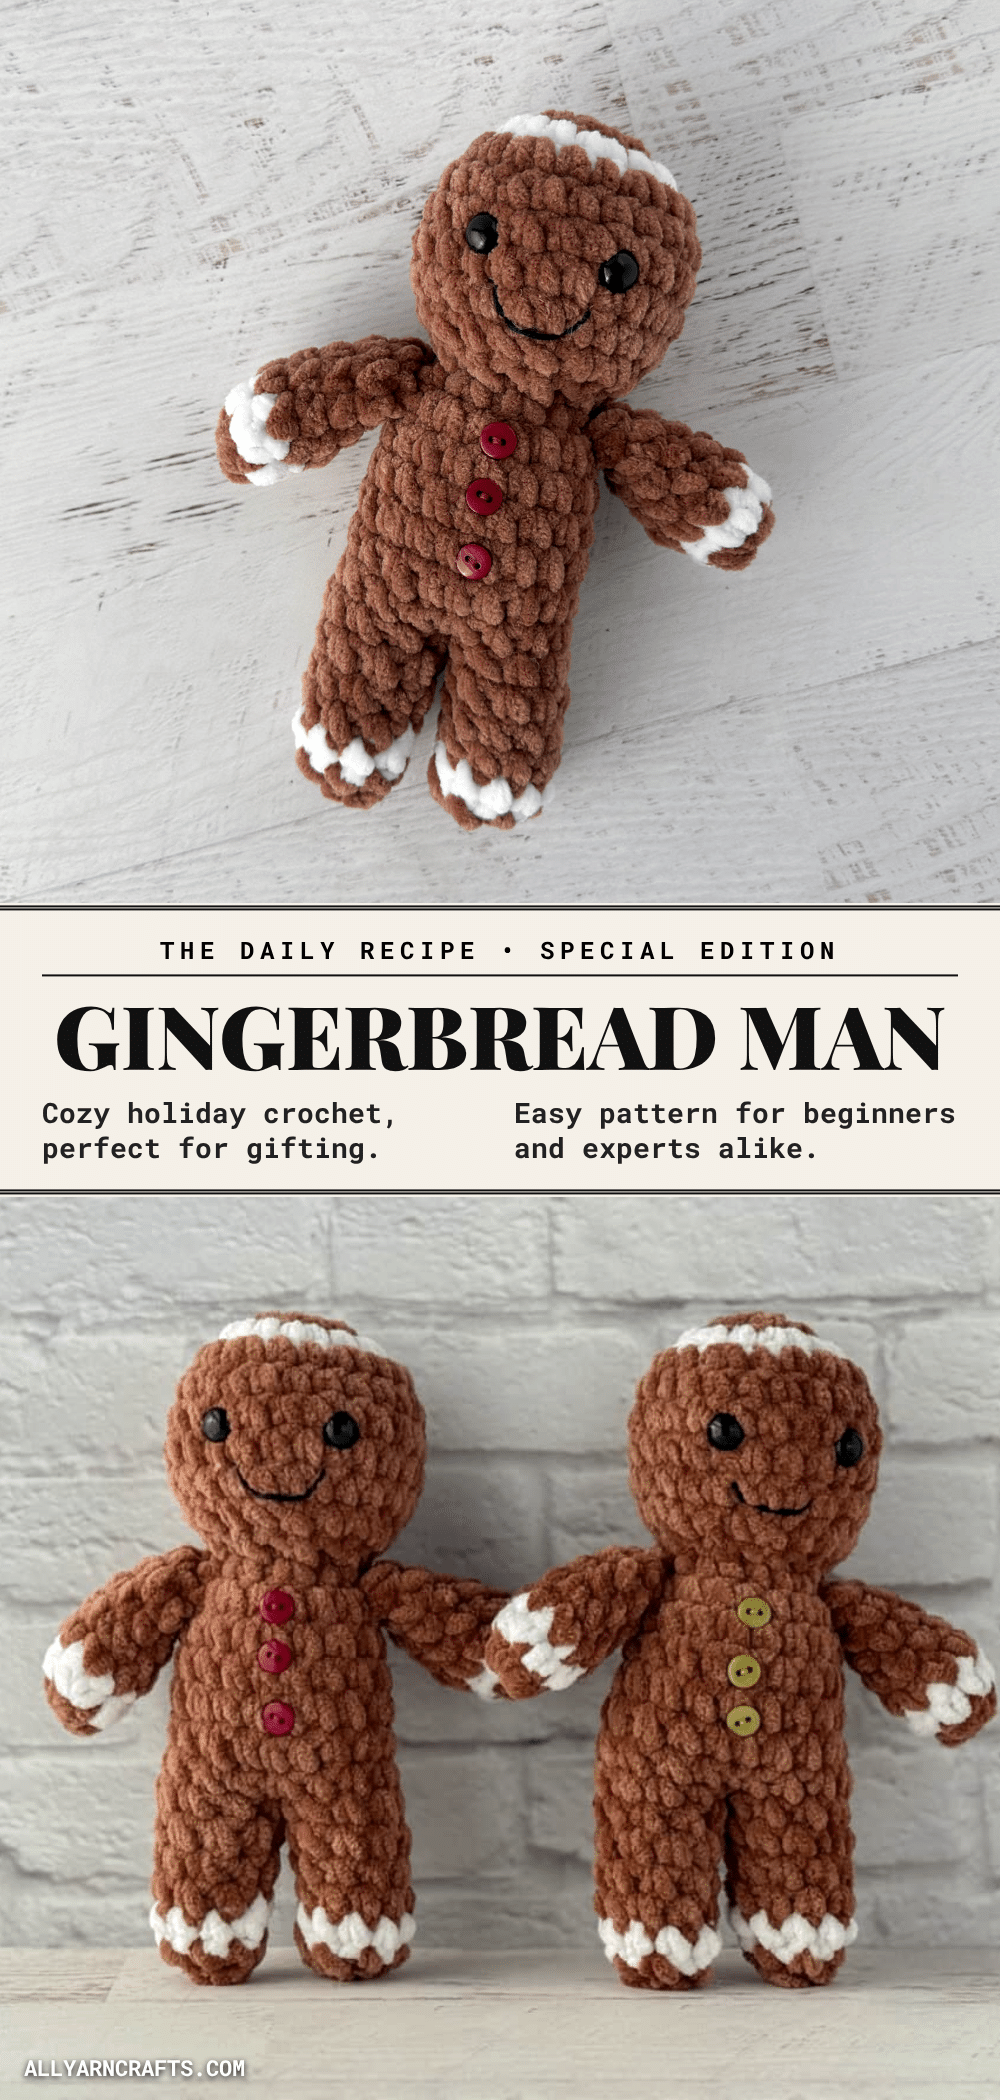
There is something uniquely satisfying about the rhythmic click of a hook pulling plush yarn through a loop, especially when creating a project defined by its cozy texture and precise shaping. The charm of this amigurumi lies not just in its festive appearance, but in the little details that make crocheters want to keep going—the crisp contrast of the white “frosting” stripes, the smooth curve of the body, and the clever construction techniques that give this gingerbread man his distinct silhouette. Working in continuous rounds allows for a seamless finish, while the specific increase and decrease rounds sculpt the head and legs into a shape that feels both whimsical and structurally sound.
Texture and Stitch Notes
What makes this pattern stand out is how the stitch choices directly influence the final character. The use of a super bulky weight yarn creates a plush, tactile surface that invites touch, while the strategic placement of white rounds mimics the look of icing on a holiday treat. The construction method—working from the top of the head down to the body and legs—ensures that the white stripe on the head remains an increase round, which provides a clean, rounded look that a decrease round would ruin. Additionally, the unconventional finishing technique for the feet, which involves pulling the final stitches inside the leg, creates a perfectly rounded bottom rather than a flat, pointed end, adding a professional touch to this easy holiday make.
Project Overview
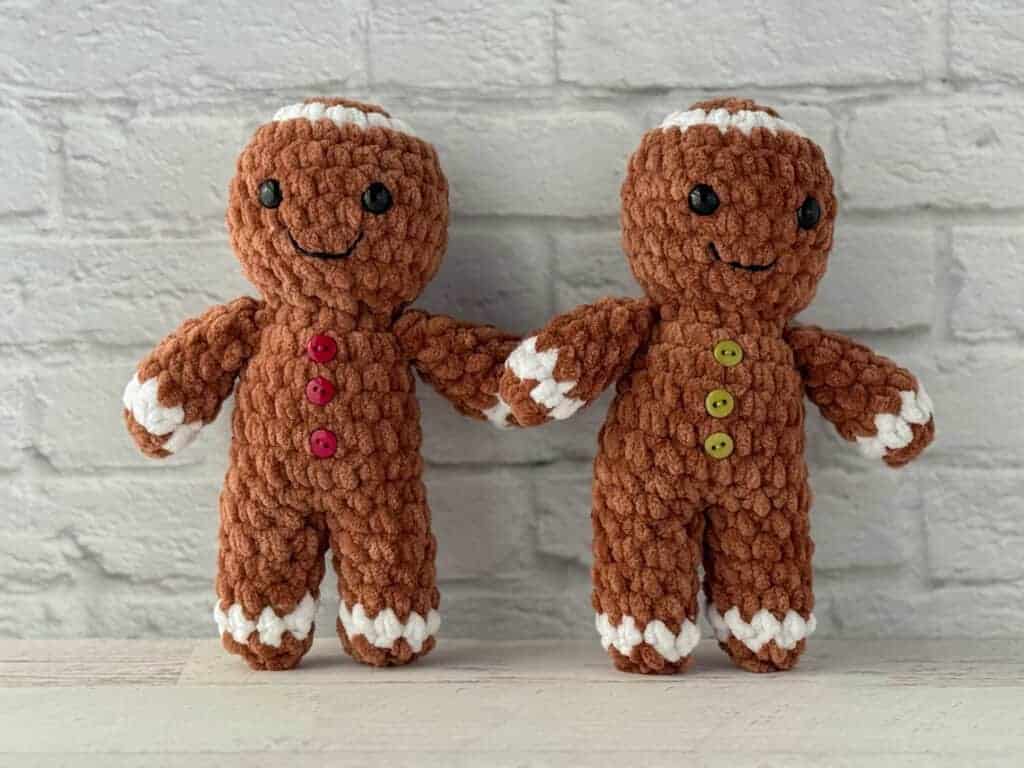
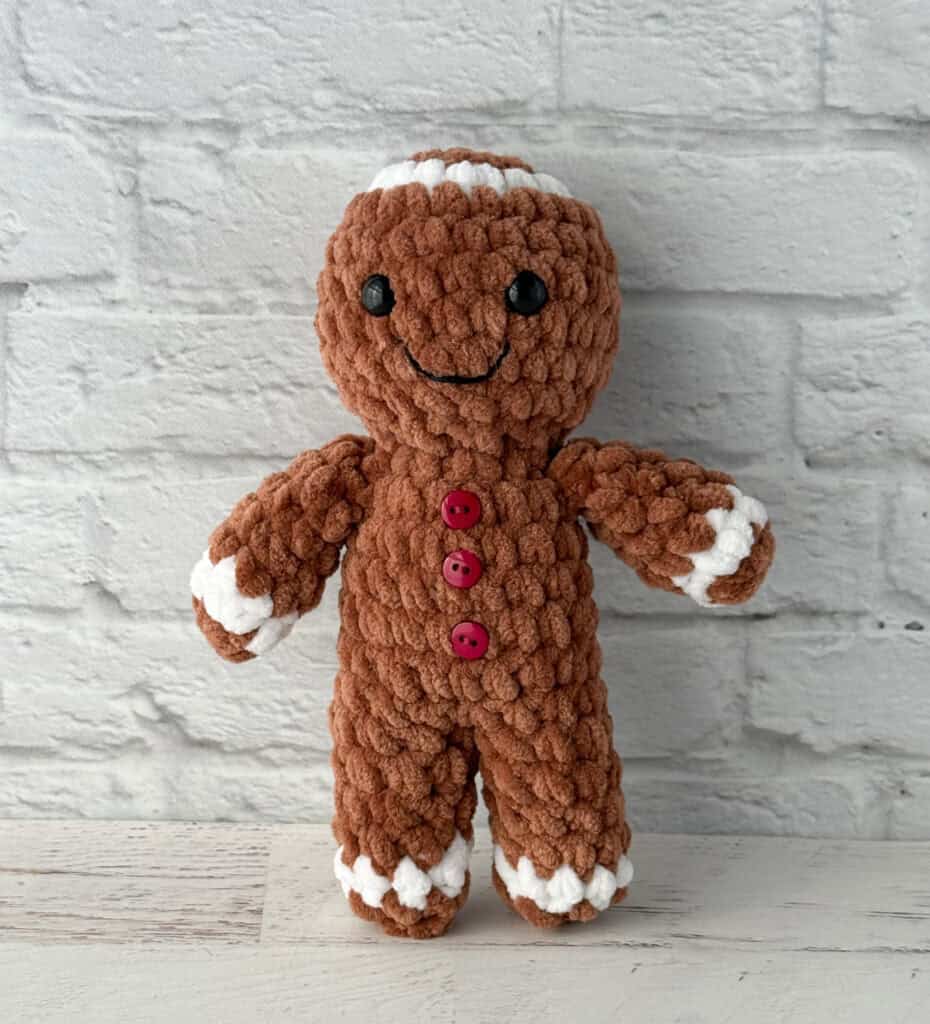
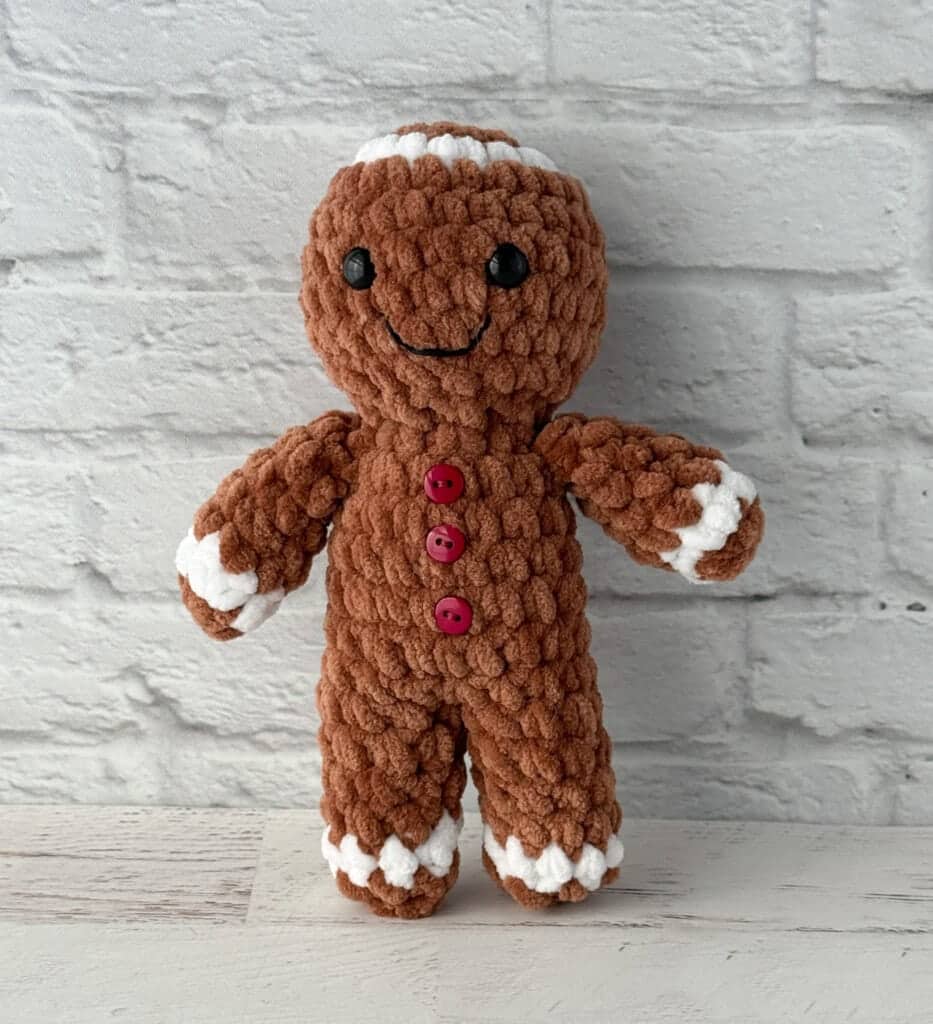
Ginger Graham is an adorable crochet Gingerbread Man designed to bring holiday cheer without the mess of baking. This amigurumi pattern is worked in one piece from the top of the head down to the body, with legs worked separately on half the stitches of the body. The arms are made individually and sewn on. The design features unique construction tips, including a jogless join for clean color changes and a specialized foot-finishing method for a rounded bottom.
Materials
- Yarn: Premier Parfait Chunky, size 6 super bulky weight, 100% polyester, 131 yds/120m per 3.5 oz skein.
- Teddy Bear (Brown): 40 yards
- White: 8 yards
- Crochet Hook: US H8/5.00 mm crochet hook
- Eyes: 10 mm safety eyes (NOTE: if making for a baby or young child, embroider eyes instead)
- Notions: Stitch markers, fiberfill, tapestry needle for weaving in ends, sewing needle for sewing on buttons and embroidering mouth, scissors
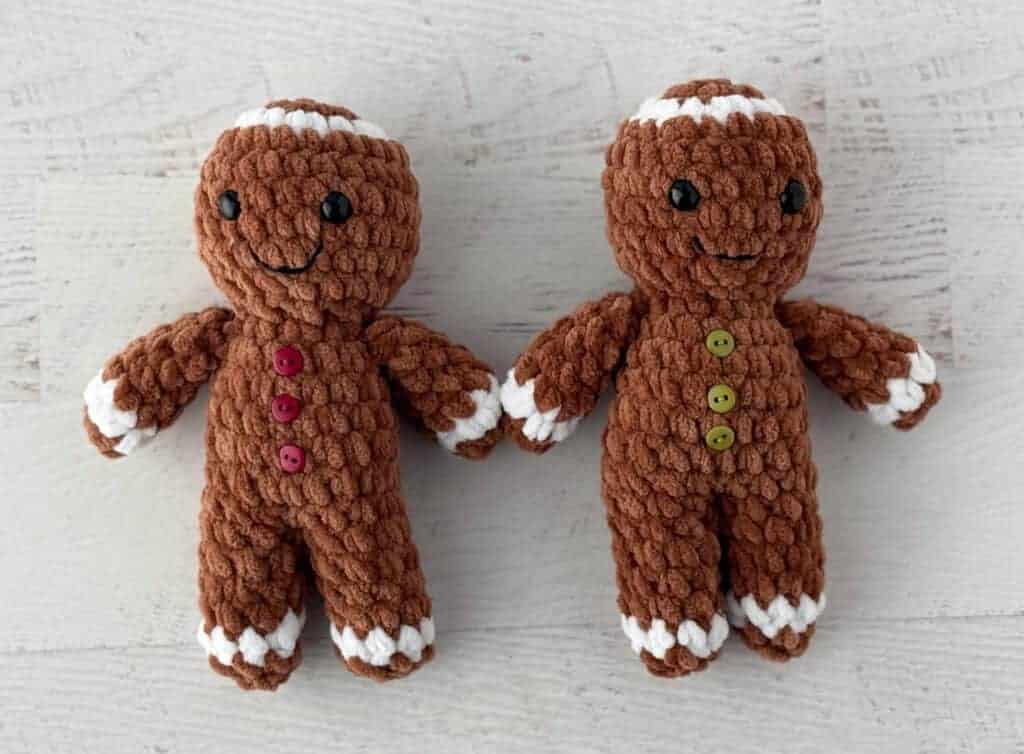
- Optional: Black embroidery floss for mouth, 3 small buttons for the body
Gauge and Finished Size
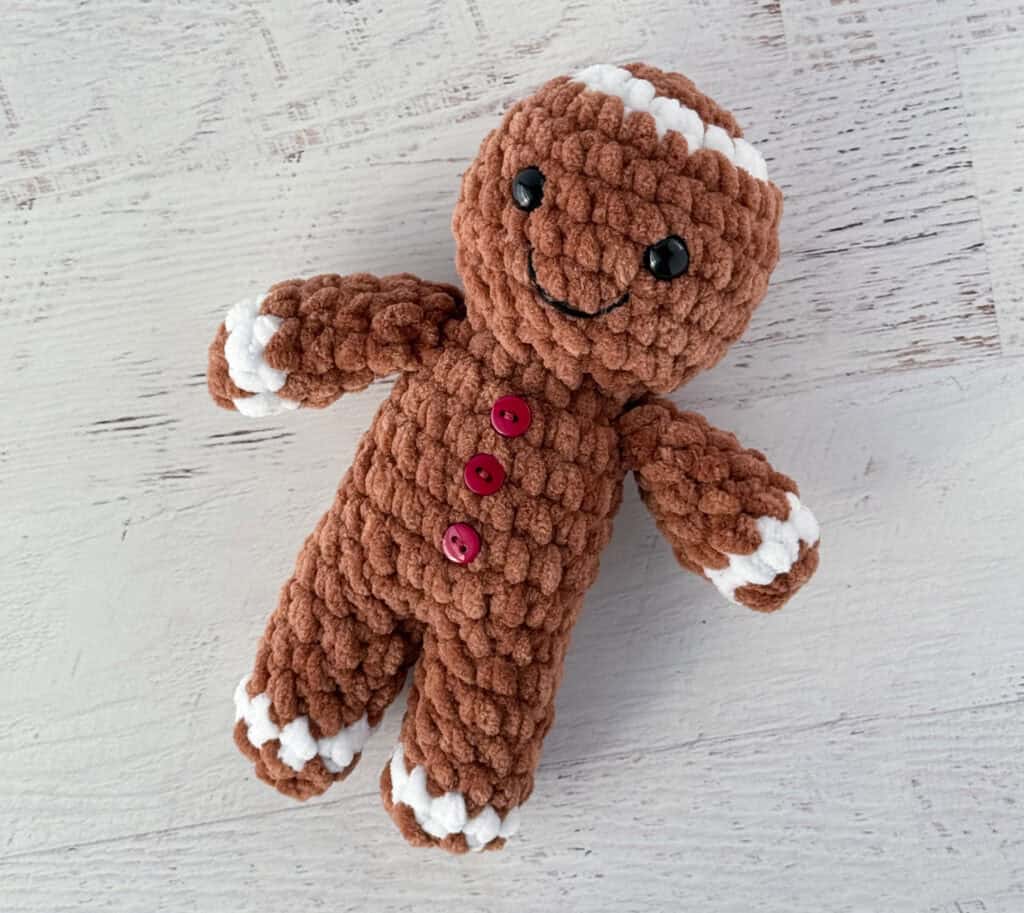
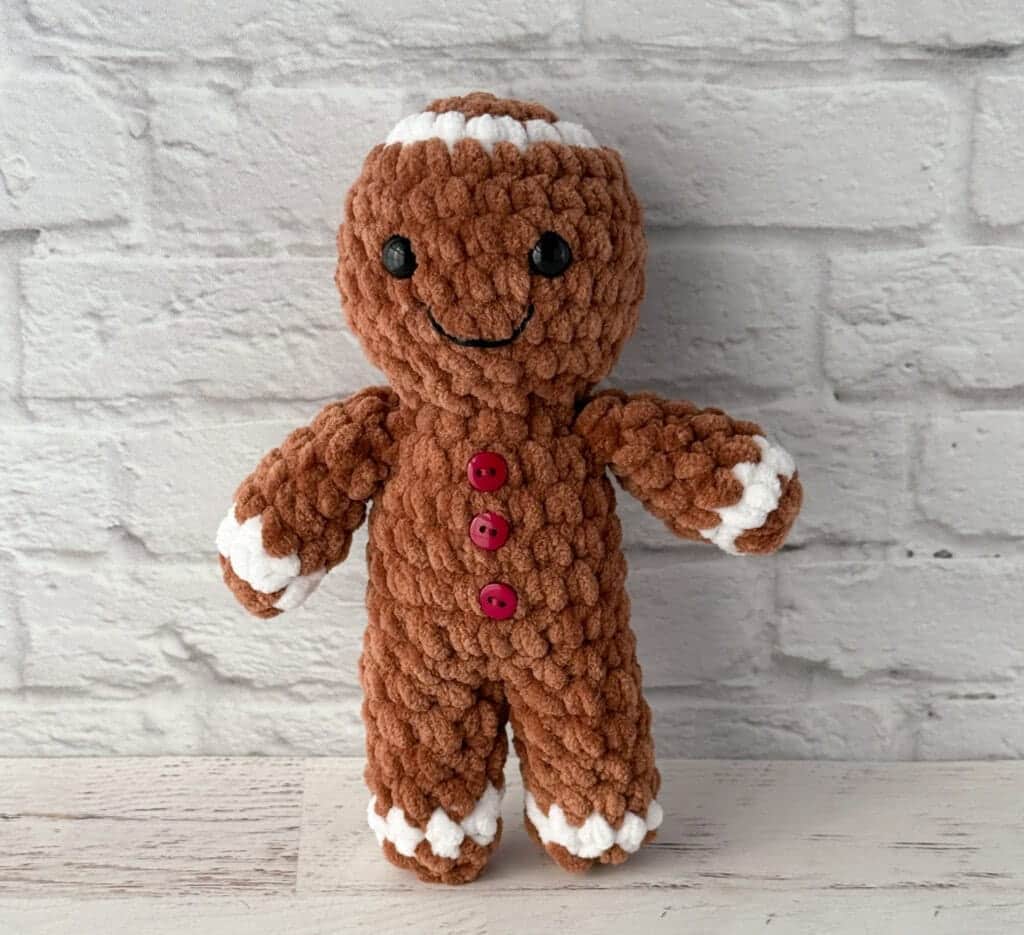
Finished Size: The gingerbread man is approximately 7.5” tall.
Gauge: My gauge is 6 sc to 2 inches. However, gauge is not important in this pattern. You may use other weights of yarn. Adjust hook size to fit your needs.
Abbreviations
- ch = chain
- sc = single crochet
- sc2tog = single crochet 2 together
- sl st = slip stitch
- st = stitch(es)
Pattern Notes
Jogless Join
This amigurumi gingerbread doll is worked in the round. To prevent the “jump” or “step up” that can occur when changing colors in the spiral, we will be working a jogless join on the white stripe rounds.
- Start the white row with a slip stitch (instead of a single crochet).
- At the end of the round, work a single crochet into the very first stitch and then move the end-of-round stitch marker to create a new end of round.
- When changing back to brown, start with a slip stitch, but then continue with single crochet and do not move the marker for these rounds.
Construction
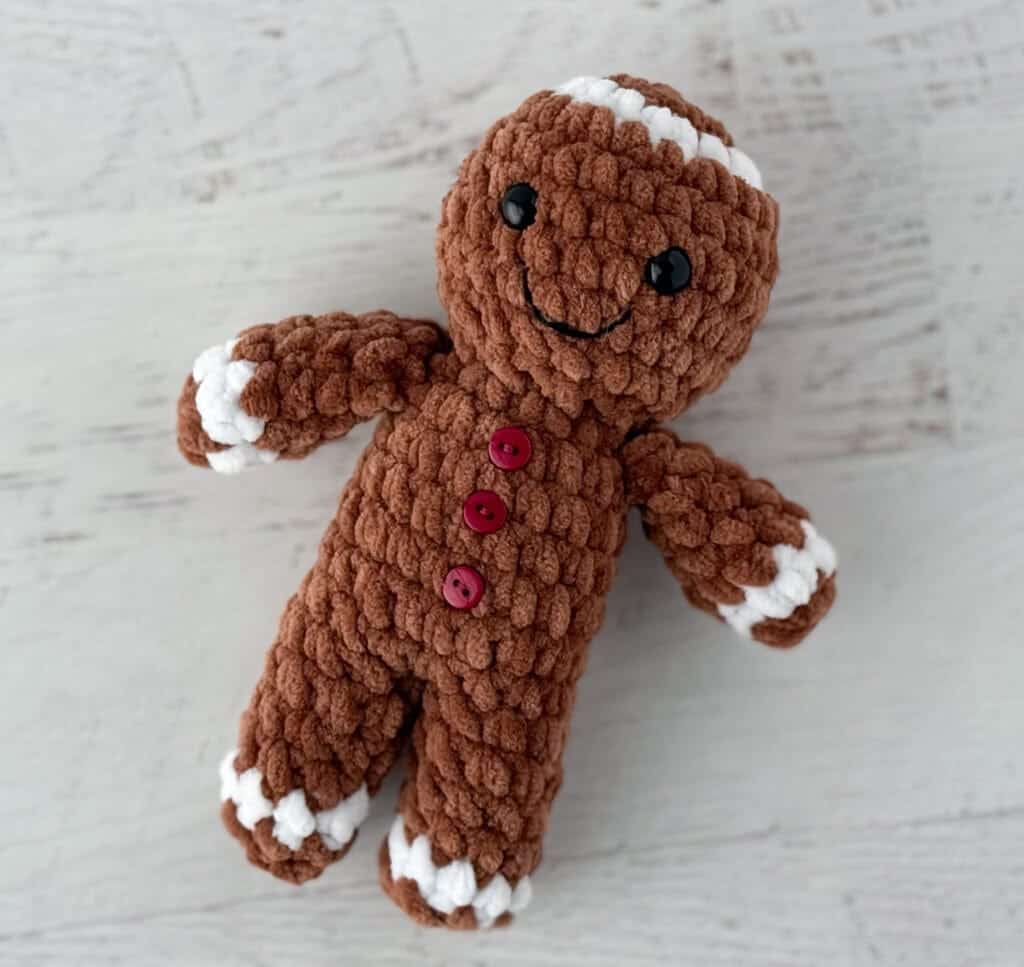
The head and body are worked in one piece starting at the top of the head, decreasing to the neck, and then increasing to work the body. Then, work on half of the stitches at a time to work each leg, ending at the bottom of the foot. The arms are worked separately and sewn onto the sides at the neck.
Finishing the Foot
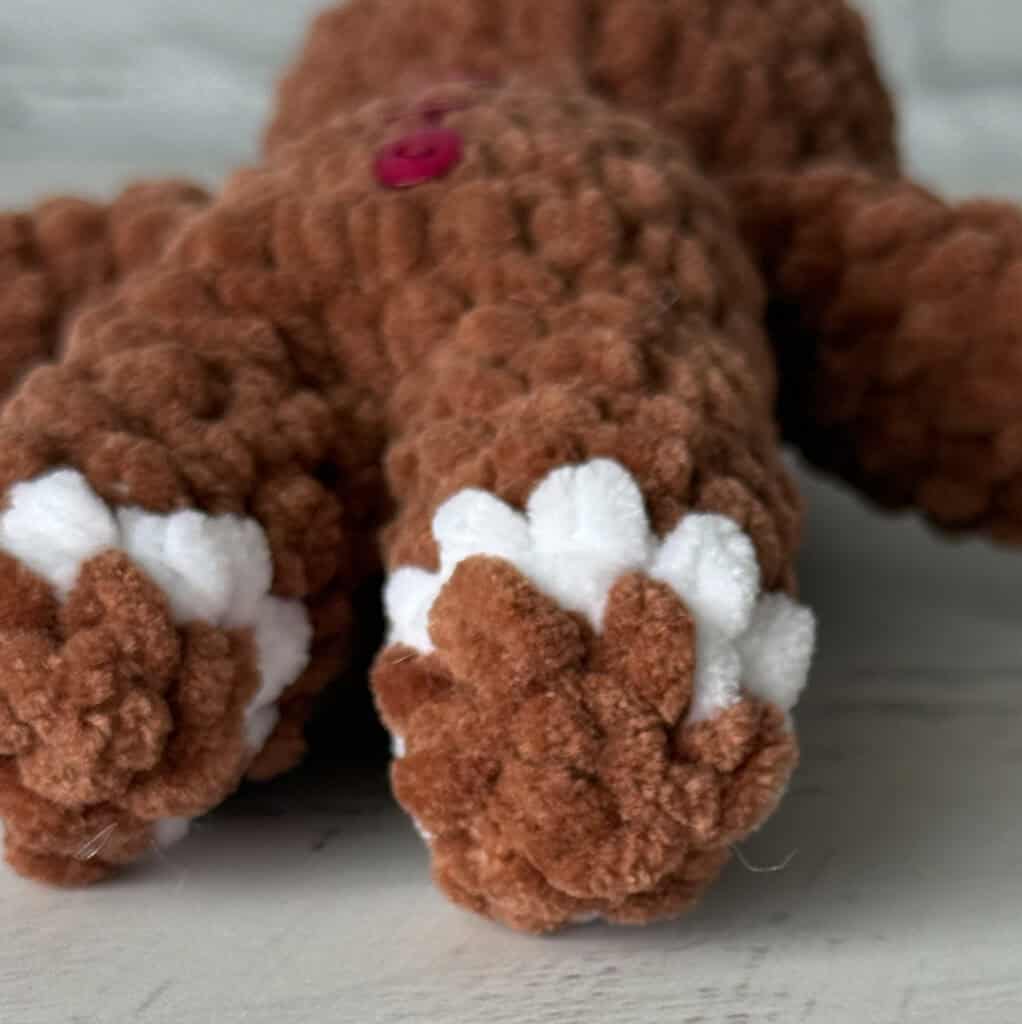
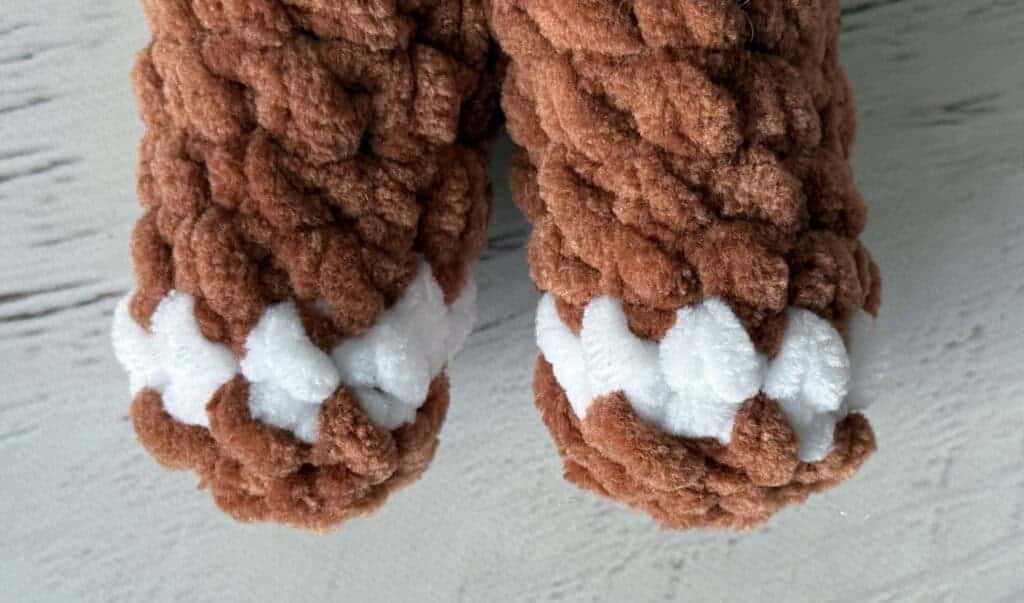
The fasten off for the bottom of the foot is unconventional. We work down to 3 stitches, which makes the foot seem to come to a point. Then, fasten off, fold the work together, thread a yarn needle, and make 1 stitch to close it off. Insert the needle into the center bottom of the foot and up into the leg, giving a tug to pull the ending stitches inside the leg. This creates a rounded bottom. Knot the yarn and bury it securely in your work.
Pattern Instructions
Gingerbread Head and Body
Using brown yarn, make a magic ring.
R1: 6 sc into ring. Place stitch marker in last st and work in continuous rounds. (6 st)
R2: 2 sc in ea st. Change to white in last st. (12 st)
R3: With white, sl st in next st, 2 sc in next st. *Sc in next st, 2 sc in next. Repeat from * around. At end of round work a sc into the 1 st sl st of round, changing to brown yarn with the last yarn over (to prep for the next row). Mark this stitch as the new last st in round. (18 st)
R4: With brown, sl st in next st, sc in next st, 2 sc in next, *sc in next 2 st, 2 sc in next. Repeat from * around. (24 st)
R5-8: Sc around. (24 st)
R9: *Sc in next 2 st, sc2tog. Repeat from * around. (18 st)
R10: Sc2tog around. (9 st)
Insert safety eyes between rows 6 & 7, leaving 4 stitches in between them. Stuff head and continue to stuff body as you work.
R11: 2 sc in ea st. (18 st)
R12-17: Sc around (18 st)
Flatten the body to determine center front of doll and mark this stitch. Each leg is worked on half of the stitches of the final body round. From the center marker, count back 9 stitches and mark this stitch on the back of the doll. Both the 1 st and the 9 th stitches are marked.
Leg 1
R1: Starting at the back of the leg, attach yarn and work a sc in each st to the next stitch marker (at center front), then rotate work and single crochet in the stitch with the marker marking the center back, and continue to work a sc in each remaining st. Mark the end of round with a stitch marker and remove the other 2 stitch markers. (9 st)
R2-4: Sc around. At end of R4, change to white yarn (9 st)
R5: With white, sl st in next st, sc in next 8 st. At end of round work a sc into the 1 st sl st of round and change to brown. Mark this stitch as the new last st in round. (9 st)
Stuff the leg, making sure the body and leg are both stuffed firm. Continue to add stuffing as needed as you finish up the leg.
R6: With brown, sl st in next st, sc2 tog, *sc in next st, sc2tog. Repeat from * around (6 st)
R7: Sc2tog around (3 st). This leaves a bit of a point at the bottom of the leg. Fasten off yarn, thread a yarn needle and make one whip stitch to hold the 2 sides together and pull tight, then insert the needle through the center of the foot and up into the leg and tug. This pulls the final stitches inside the work and makes a rounded end to the leg. Knot tight and bury the end inside the doll.
Leg 2
Leg 2 is worked on the remaining 9 stitches of the body. Mark the 1 st and 9 stitches with stitch markers as we did for leg 1. Attach the yarn at the back of the 2 nd leg, leaving a long strand for weaving in later and then repeat R1-7 of the first leg. When leg is complete, use the unworked yarn to sew up any opening between the legs of the doll.
Arms (Make 2)
Make a magic ring.
R1: 6 sc into ring. At end of round, change to white yarn. Place stitch marker and work in continuous rounds. (6 st)
R2: With white, sl st in next st, sc in next st, 2sc in next, sc in next 2 st, 2sc in next. At end of round, change to brown yarn. (8 st)
R3: With brown, sl st in next st, then sc around. (8 st)
R4-6: sc around. (8 st)
Lightly stuff the hand. Leave the rest of arm unstuffed.
R7: *Sc in next 2 st, sc2tog. Repeat from * once. (6 st)
Fasten off, leaving a long strand. Use a yarn needle to whip stitch top of arm closed and sew onto Gingerbread man on the side, just below the neck.
Assembly
Fasten off, leaving a long strand. Use a yarn needle to whip stitch top of arm closed and sew onto Gingerbread man on the side, just below the neck. Weave in any remaining ends. Embroider a mouth with black embroidery floss. Sew on 3 small buttons to body of gingerbread man.
Tips
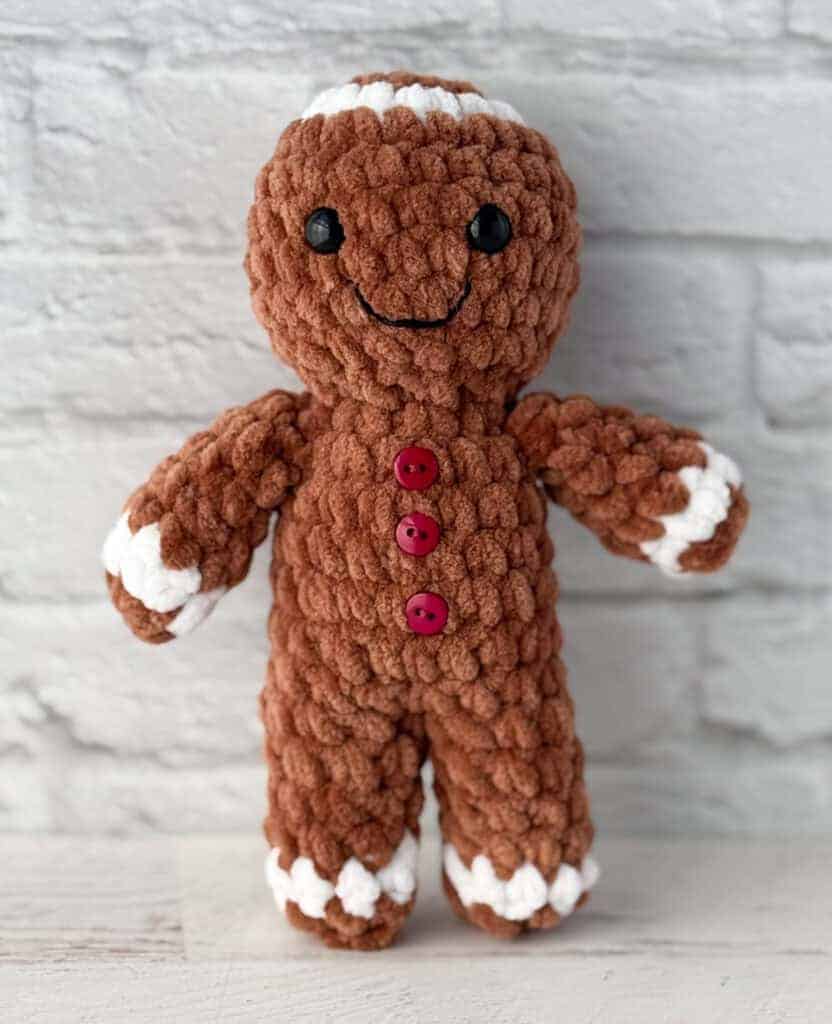
Why Top-Down? While many doll patterns are worked toe-up, this design works best from the top of the head down. Starting at the top allows the white stripe to be an increase round, which looks lovely. If worked bottom-up, the white row becomes a decrease round, which distorts the look of the “frosting.”
Yarn Choice: The pattern uses Premier Parfait Chunky yarn for its plush texture. You can find this at Herrschner’s, Amazon, or Etsy shops. The super bulky weight helps create the soft, rounded shape of the gingerbread man.
Display Ideas: This little cutie is perfect for popping out of Christmas Stockings, tucking into holiday décor, or keeping by your desk for a daily smile. It is a quick evening project that brings festive cheer without the calories of actual baking.
FAQs
Can I use a different yarn weight?
Yes, gauge is not important in this pattern. You may use other weights of yarn, but you will need to adjust your hook size to fit your needs and expect the finished size to vary.
How do I prevent the “step” when changing colors?
The pattern uses a jogless join technique. For white stripe rounds, start with a slip stitch and end by working a single crochet into the first stitch of the round before moving the marker. When changing back to brown, start with a slip stitch but do not move the marker.
Is this pattern safe for babies?
The pattern calls for 10 mm safety eyes. If making for a baby or young child, it is recommended to embroider the eyes instead to avoid small parts that could be a choking hazard.
Why are the feet finished with a tug?
The feet are worked down to 3 stitches to create a point. By fastening off, whip stitching the sides, and tugging the yarn through the center of the foot, the final stitches are pulled inside the leg. This creates a rounded bottom rather than a flat or pointed end.
Where can I find tutorials for the stitches used?
Helpful resources include tutorials on basic stitches like slip stitch, single crochet, and chain stitch, as well as a US to UK crochet conversion chart. These can typically be found in the “Tutorial” or “Stitch Dictionary” sections of crochet blogs.
Pin This Crochet Pattern!