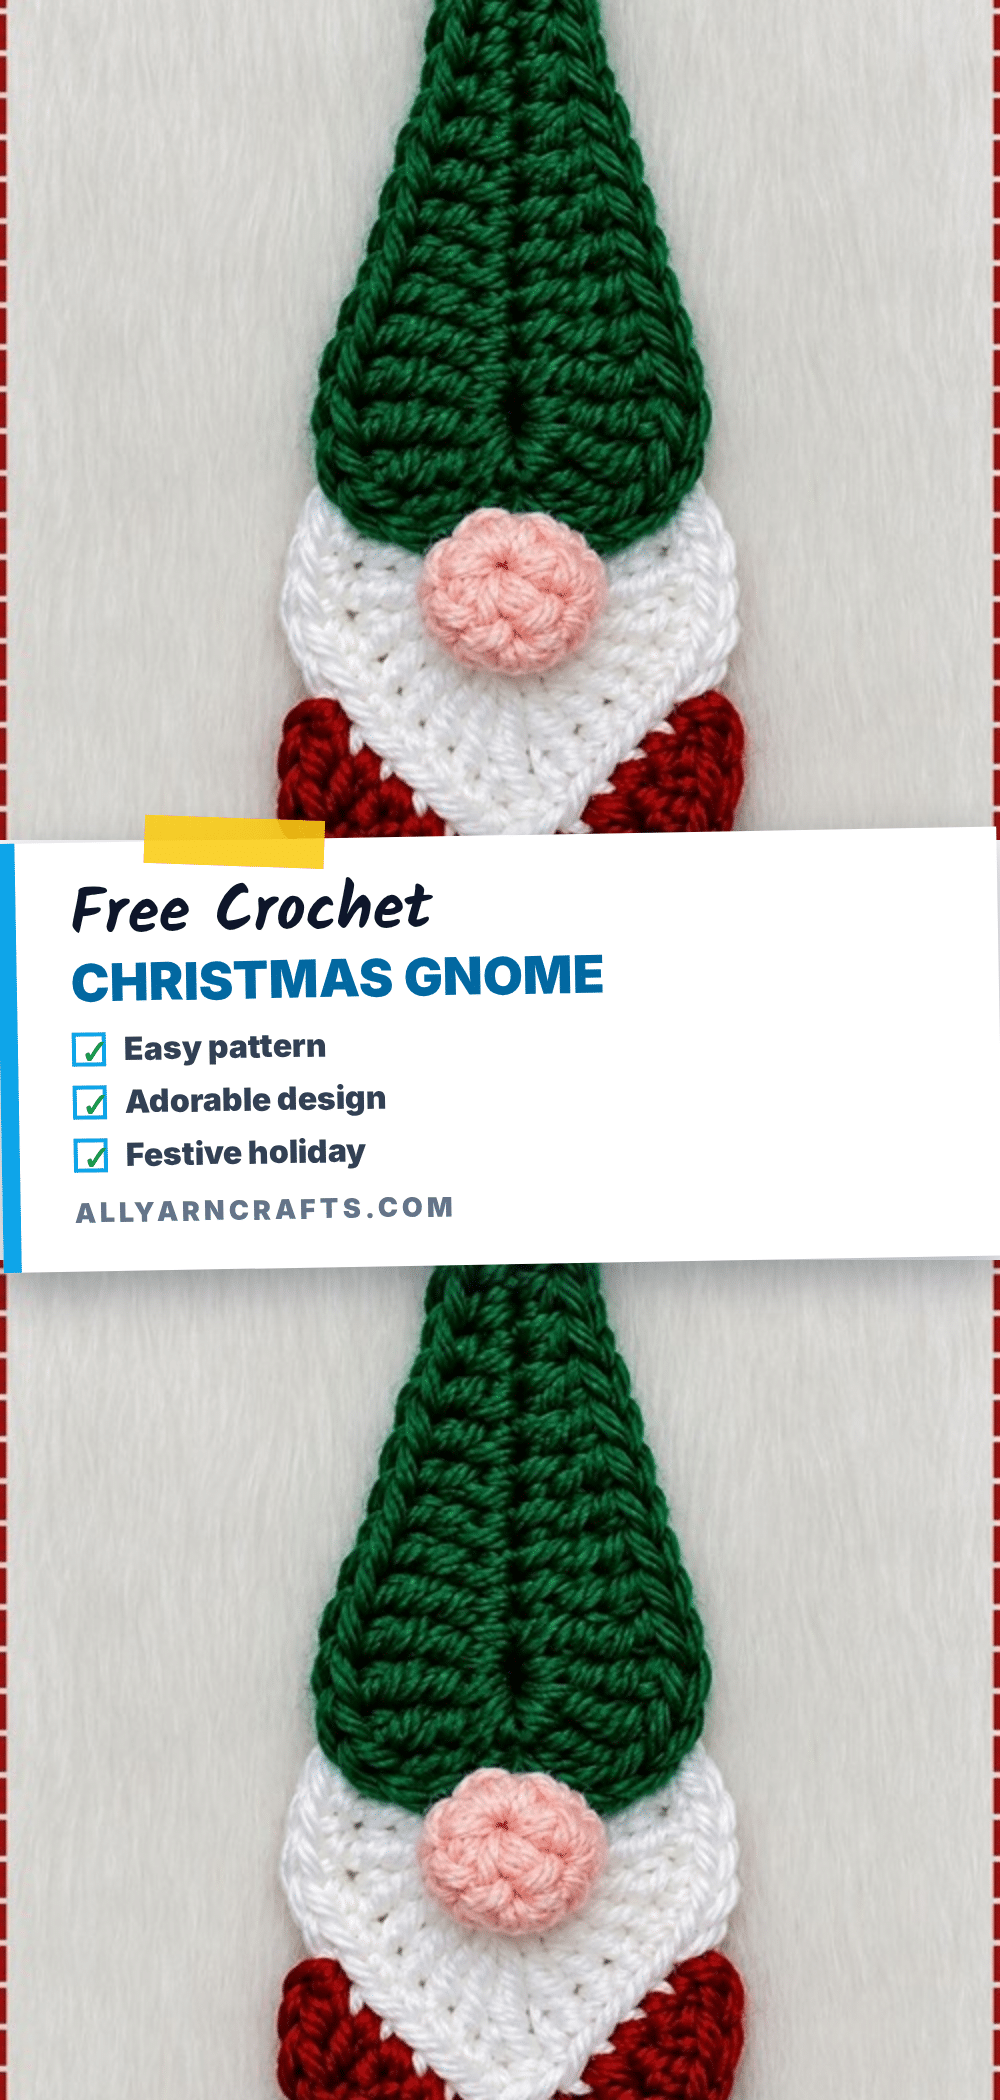
There is something undeniably charming about a little gnome tucked away in your holiday decor. This Cute Free Crochet Christmas Gnome Pattern offers a delightful way to bring that whimsical spirit into your home. With a classic tapered hat, a fluffy white beard, and a round nose peeking out, this amigurumi character is the perfect handmade accent for your Christmas tree, mantel, or a wrapped gift. It is a beginner-friendly project that comes together quickly, allowing you to focus on the fun of styling and customizing your own festive friend.
Seasonal Styling Ideas
While the classic red and white color scheme is iconic, this pattern invites you to experiment with your yarn stash to match your home’s unique aesthetic. Consider swapping the traditional red hat for a pale blue or burnt orange to create a winter or autumn version that lasts well past December. For a more celestial look, try a dark navy hat paired with gold beard loops. You can also play with the beard length by chaining more stitches for a dramatic, Father Christmas-style effect. These gnomes are versatile enough to hang on a wreath as a flat accent or stand proudly on a shelf as a three-dimensional plushie.
Project Overview
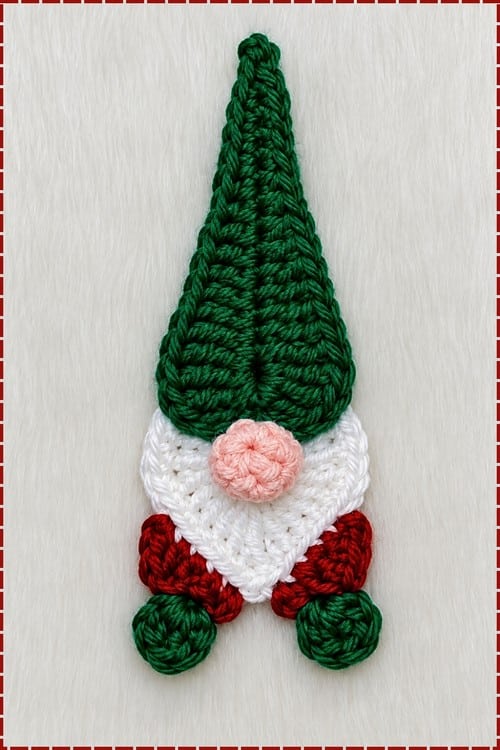
This amigurumi project features a classic gnome silhouette with a tapered hat, a round body, and a textured beard. The design is accessible for beginners, utilizing standard amigurumi shaping for the body and nose, while the hat features a slow, graduated increase. The beard is created using simple chain loops attached directly to the body, adding texture without complex assembly. The finished piece stands approximately 5 to 7 inches tall, making it a perfect size for holiday displays.
Materials
- Yarn: Cotton or acrylic yarn in red (hat), white (beard), and beige or skin tone (body and nose).
- Crochet Hook: 2.5 mm or 3.0 mm crochet hook (gauge estimated at 2.5 mm).
- Stuffing: Fiberfill stuffing.
- Tools: Tapestry needle, scissors, and a stitch marker.
Gauge and Finished Size
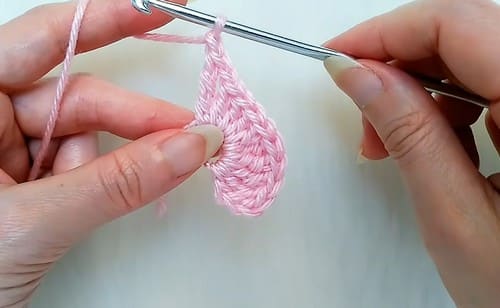
Finished Size: Approximately 5 to 7 inches in height, including the hat.
Gauge: Estimated at 2.5 mm hook with cotton or acrylic yarn. Since amigurumi is worked tightly, exact gauge is less critical than maintaining consistent tension to prevent gaps.
Abbreviations
- SC: Single crochet
- Inc: Increase, work 2 SC into the same stitch
- Dec: Decrease, SC two stitches together
- MR: Magic ring
Pattern Notes
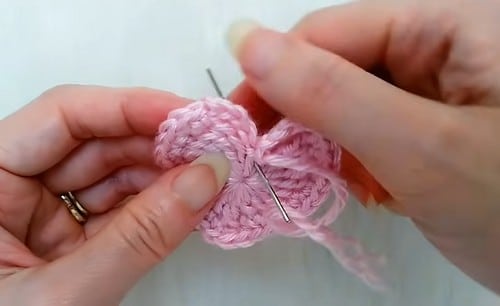
This pattern is designed for beginners. The body and nose use standard amigurumi shaping, while the hat uses a slow graduated increase. The beard is created using simple chain loops. Please note that this pattern uses no safety eyes; the face is defined by the placement of the nose, beard, and hat. The hat pattern includes a flexible length instruction: continue increasing until the hat fits comfortably over the body, up to a maximum of round 22. The body closes by fastening off and sewing the opening shut, as no final closing round is specified.
Pattern Instructions
Body
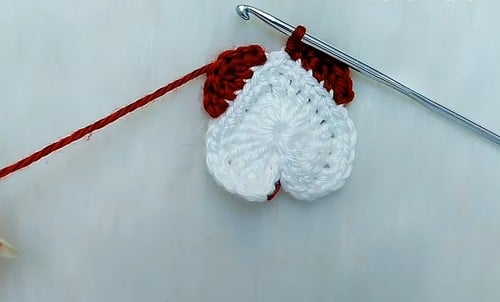
Round 1: MR, 6 SC [6]
Round 2: 2 SC in each stitch around [12]
Round 3: 1 SC, inc, repeat 6 times [18]
Round 4: 2 SC, inc, repeat 6 times [24]
Round 5: 3 SC, inc, repeat 6 times [30]
Checkpoint: You should have a wide flat disc. This is the base of the gnome and should lie flat without ruffling. This is the widest point the body will reach.
Round 6: SC in each stitch around [30]
Round 7: SC in each stitch around [30]
Round 8: SC in each stitch around [30]
Round 9: SC in each stitch around [30]
Round 10: SC in each stitch around [30]
Checkpoint: After five straight rounds, the body is a clear, even-sided cylinder. The base should still sit flat; if it is rocking, the stuffing may be uneven.
Round 11: 3 SC, dec, repeat 6 times [24]
Round 12: SC in each stitch around [24]
Round 13: 2 SC, dec, repeat 6 times [18]
Round 14: SC in each stitch around [18]
Checkpoint: The top of the body is narrowing. Stuff firmly now—this is the last easy access point. The body should feel dense enough to stand without support before you close it.
Finish: Stuff the body firmly with fiberfill before closing. Fasten off and sew the opening closed with a tapestry needle.
Nose
Round 1: MR, 6 SC [6]
Round 2: 2 SC in each stitch around [12]
Round 3: SC in each stitch around [12]
Checkpoint: You should have a small flat disc. It should look like a coin rather than a dome; the stuffing creates the dome shape after closing.
Round 4: Dec, repeat 6 times [6]
Finish: Stuff lightly. Fasten off, leaving a long tail for sewing.
Hat
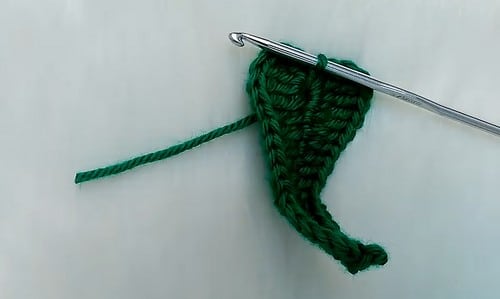
Round 1: MR, 4 SC [4]
Round 2: 1 SC, inc, repeat twice [6]
Round 3: SC in each stitch around [6]
Round 4: 2 SC, inc, repeat twice [8]
Round 5: SC in each stitch around [8]
Round 6: 3 SC, inc, repeat twice [10]
Checkpoint: The hat tip is a narrow cone, pointed at the magic ring end. Try it on the body tip to check the fit is not too tight.
Continue increasing by 2 stitches every other round:
Round 7: SC around [10]
Round 8: 4 SC, inc, repeat twice [12]
Round 9: SC around [12]
Round 10: 5 SC, inc, repeat twice [14]
Round 11: SC around [14]
Round 12: 6 SC, inc, repeat twice [16]
Round 13: SC around [16]
Round 14: 7 SC, inc, repeat twice [18]
Round 15: SC around [18]
Round 16: 8 SC, inc, repeat twice [20]
Round 17: SC around [20]
Round 18: 9 SC, inc, repeat twice [22]
Round 19: SC around [22]
Round 20: 10 SC, inc, repeat twice [24]
Round 21: SC around [24]
Round 22: 11 SC, inc, repeat twice [26]
Checkpoint: Try the hat over the body before working round 22. If it already sits comfortably and at the length you want, fasten off rather than adding more width. The pattern says “until the hat fits”—the round count is a maximum, not a requirement. Fasten off.
Beard
Attach white yarn to the front of the body at approximately rounds 12 to 13.
Work chain loops across the beard area: ch 6 to 8, sl st back into the same attachment stitch to form each loop. Repeat across the front section until the beard is as full as you want it.
Checkpoint: Hold the body facing you after every few loops. The beard should be filling the front of the body below where the nose will sit. If it is drifting to one side, your attachment points have moved off-centre. Fasten off and weave in all ends.
Assembly
Work in this order, and pin everything before sewing anything.
- Position the beard: Ensure the loops are centred from the front.
- Pin the nose: Place the nose at the top edge of the beard, where the loops meet the body. Step back and check that it is centred both horizontally and at the right height.
- Place the hat: Put the hat over the body with the opening sitting low enough to partially cover the top of the nose. The hat-over-nose overlap is the classic gnome look. If the hat is sitting above the nose with a visible gap, push it down.
- Sew: Sew the nose in place first, then sew or leave the hat removable as preferred.
Tips for Success
- Fit Check: Try the hat on the body before you reach round 22. At 2.5 mm with lightweight cotton, the hat may fit comfortably at round 18 or 19. Stopping early gives a shorter, perkier hat; continuing to 22 gives a longer drape.
- Beard Consistency: Beard loop length consistency matters more than chain count precision. Anchor all your loops at the same stitch height and keep the chains at the same tension. Uneven loops draw the eye immediately, even when no individual loop is wrong.
- Nose Placement: Position the nose before the hat goes on, not after. The hat-to-nose relationship is what makes the gnome face read correctly, and you need to see both at once to judge it.
Frequently Asked Questions
What size hook should I use for this pattern?
The pattern recommends a 2.5 mm or 3.0 mm crochet hook. The gauge is estimated at 2.5 mm with cotton or acrylic yarn. Using a smaller hook helps ensure tight stitches so the stuffing does not show through.
Can I use a different color scheme?
Absolutely. While the classic version uses a red hat, white beard, and beige body, you can customize the colors to match your decor. Try a pale blue hat for a winter theme or a burnt orange hat for autumn.
How do I make the beard look fuller?
You can adjust the fullness by changing the chain length. The pattern suggests chaining 6 to 8 stitches for each loop. For a more dramatic, fluffy beard, you can chain 10 to 12 stitches per loop.
Do I need safety eyes for this gnome?
No, this pattern does not use safety eyes. The face is defined by the placement of the nose, the beard, and the hat. The nose is a small stuffed piece sewn onto the body.
How tall will the finished gnome be?
The finished height is approximately 5 to 7 inches, including the hat. The exact height may vary slightly depending on your yarn weight and tension.
Pin This Crochet Pattern!