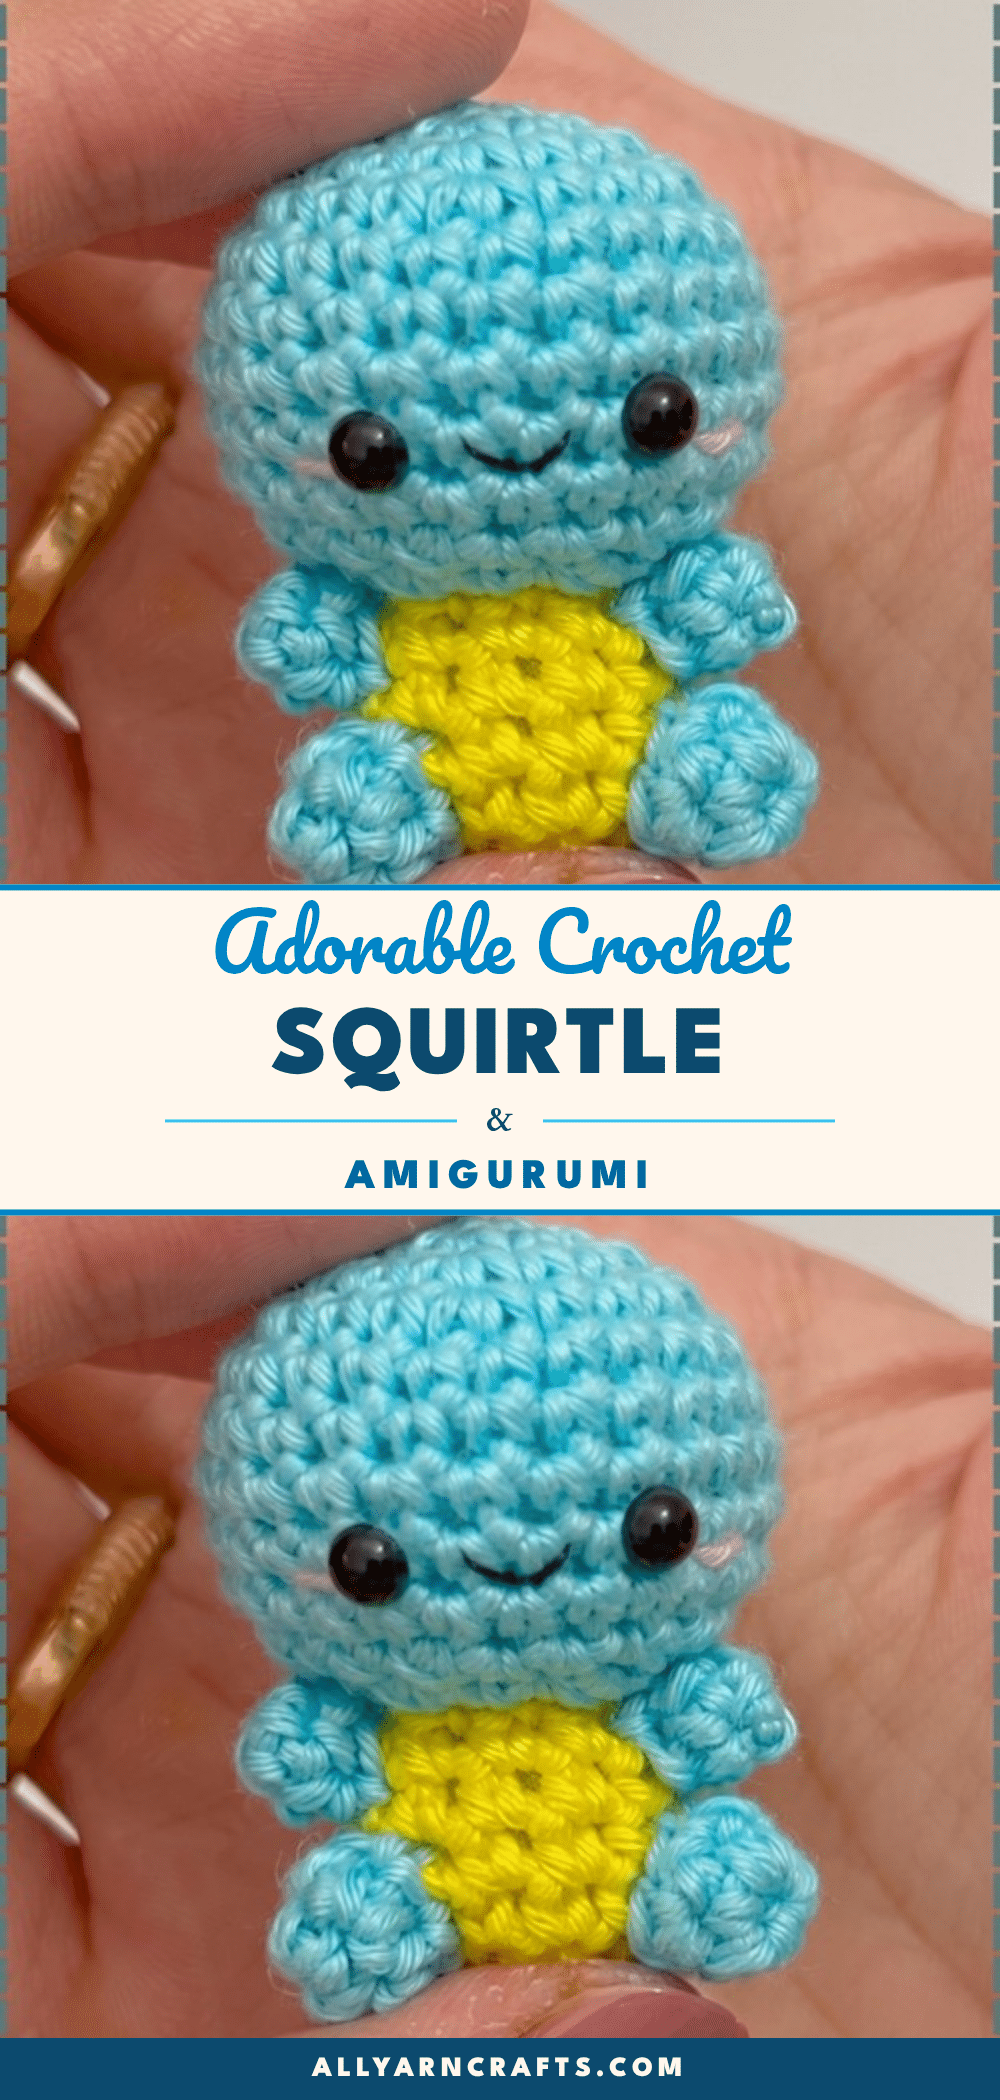
Did you accidentally pull your yarn too tight in the first round, leaving yourself with a tiny hole that won’t even fit your hook through? It happens to the best of us, and for a moment, you might panic that your Squirtle is doomed before it even begins. But here is the good news: this project is incredibly forgiving. The tight stitches actually help keep the stuffing secure, and the pattern is designed to expand quickly from that small start. Once you get past that initial hurdle, you will find that creating this pocket-sized Pokémon plush is much more approachable than it looks.
Maker Notes
What makes this mini Squirtle so delightful is the structural payoff of the tail. It is worked in a simple spiral of increases that naturally wants to curve when you hold it. You don’t need to fight that curve; instead, you just need to sew it to the back of the shell at a slight upward angle, and it completes the silhouette perfectly without any wire or complex shaping tricks. The proportions are intentionally quirky—half the toy is the head, a wide aqua dome that dwarfs the little body sitting underneath. It is small enough to close your hand around, making it perfect for a keyring, a desk companion, or a pocket-sized friend.
Project Overview
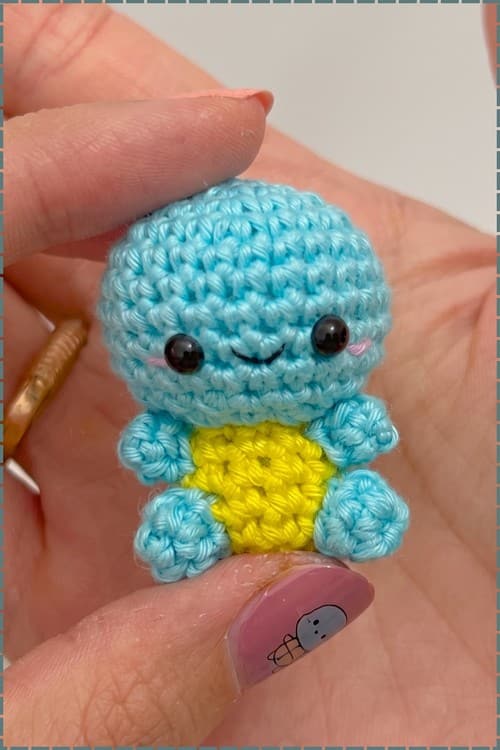
This free crochet Squirtle amigurumi pattern creates a recognizable Pokémon plush using simple stitches. The design features a large head, a flat yellow belly patch, and a brown shell with a white rim. It is an excellent project for using up yarn scraps, as the pieces are few and the finished size is compact. The pattern is suitable for makers looking for a quick project that can be completed in a few short sittings.
Materials
- Light blue yarn: For the head, body, limbs, and tail.
- White or yellow yarn: For the front shell plate.
- Brown yarn: For the back shell.
- Pink or red yarn: Small amount for the mouth.
- Crochet hook: 2.5 mm or 3.0 mm.
- Safety eyes: One pair, 6 mm.
- Fiberfill stuffing.
- Yarn needle and scissors.
Yarn Weight Note: The pattern does not specify a weight, but a fingering or sport weight used with a 2.5–3.0 mm hook is recommended. This combination gives a compact result with tight enough stitches to hold stuffing in. If you use heavier yarn, the toy will be larger and softer, but be aware that the shell proportions will read differently at a bigger scale.
Gauge and Finished Size
Finished Size: Approximately 10–13 cm tall when seated, depending on yarn weight and hook size.
Gauge: Use a hook smaller than your yarn calls for. Loose stitches at this small scale will let the stuffing show through. The head should reach a flat disc of about 5 cm across by round 5.
Abbreviations
- sc: single crochet
- inc: increase (2 sc in the same stitch)
- dec: invisible decrease
- MR: magic ring
Work in continuous rounds unless stated otherwise.
Pattern Notes
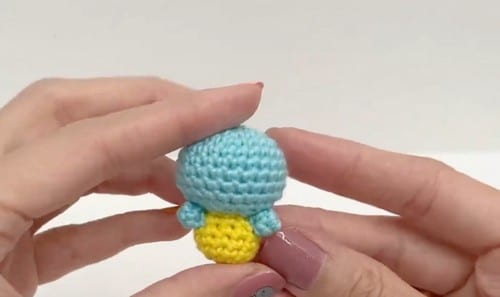
The head is disproportionately large compared to the body, which is exactly right for the character. The head reaches 30 stitches at its widest point, while the body only reaches 24. This disproportion is part of what makes the character recognizable. Arms and legs use the same round sequence; make all four at once to keep tension consistent. The shell front should lie completely flat like a small circular coaster; if it is cupping, go up half a hook size for the shell pieces only.
Pattern Instructions
Head
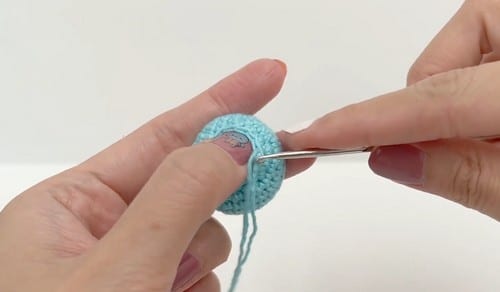
Work in light blue.
- Round 1: MR, 6 sc into the ring [6]
- Round 2: 2 sc in each stitch around [12]
- Round 3: (1 sc, 1 inc) repeat 6 times [18]
- Round 4: (2 sc, 1 inc) repeat 6 times [24]
- Round 5: (3 sc, 1 inc) repeat 6 times [30] — By round 5 you should have a flat, even disc about 5 cm across. If it is already doming upward, loosen your tension for the even rounds ahead.
- Round 6: Sc in each stitch around [30]
- Round 7: Sc in each stitch around [30]
- Round 8: Sc in each stitch around [30]
- Round 9: Sc in each stitch around [30] — By round 9 the sphere should be noticeably three-dimensional with straight parallel sides. The opening is still wide. This is where safety eyes go in — between rounds 8 and 9, 5 or 6 stitches apart. Lock washers from the inside before continuing.
- Round 10: Sc in each stitch around [30]
- Round 11: (3 sc, 1 dec) repeat 6 times [24]
- Round 12: (2 sc, 1 dec) repeat 6 times [18]
- Round 13: (1 sc, 1 dec) repeat 6 times [12] — After round 13 the head should be nearly closed, a tight sphere with a small opening. Stuff firmly now before the last round — push filling toward the cheeks and back of the head.
- Round 14: Work 6 dec around [6]. Fasten off. Pull tail through remaining stitches and close the opening.
Body
Work in light blue.
- Round 1: MR, 6 sc [6]
- Round 2: 2 sc in each stitch around [12]
- Round 3: (1 sc, 1 inc) repeat 6 times [18]
- Round 4: (2 sc, 1 inc) repeat 6 times [24] — By round 4 the body base should be a flat disc sitting evenly. If one side is pulling up, your magic ring tension is uneven — this is the time to notice it, not after six more rounds.
- Round 5: Sc in each stitch around [24]
- Round 6: Sc in each stitch around [24]
- Round 7: Sc in each stitch around [24]
- Round 8: Sc in each stitch around [24] — By round 8 the body is a compact cylinder, shorter and wider than the head.
- Round 9: (2 sc, 1 dec) repeat 6 times [18]
- Round 10: Sc in each stitch around [18]. Fasten off leaving a long tail for sewing.
Arms and Legs — Make 4
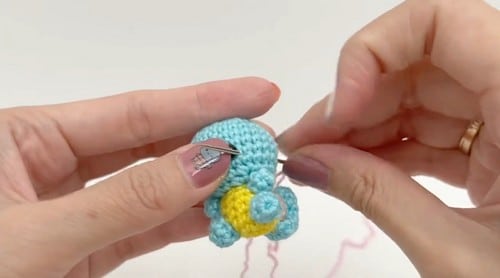
Work in light blue. Legs can be lightly stuffed; arms are left flat. All four pieces use the same rounds. Make them back to back to keep tension matched.
- Round 1: MR, 6 sc [6]
- Round 2: Sc in each stitch around [6]
- Round 3: Sc in each stitch around [6]
- Round 4: Sc in each stitch around [6]. Fasten off leaving a tail for sewing.
Shell Front
Work in white or yellow.
- Round 1: MR, 6 sc [6]
- Round 2: 2 sc in each stitch around [12]
- Round 3: (1 sc, 1 inc) repeat 6 times [18]
- Round 4: (2 sc, 1 inc) repeat 6 times [24] — The shell front should lie completely flat at round 4, like a small circular coaster. If it is cupping, go up half a hook size. Flatness matters here because it sits against the body.
Fasten off. Using brown yarn, embroider hexagonal shell lines across the surface.
Shell Back
Work in brown.
- Round 1: MR, 6 sc [6]
- Round 2: 2 sc in each stitch around [12]
- Round 3: (1 sc, 1 inc) repeat 6 times [18]
- Round 4: (2 sc, 1 inc) repeat 6 times [24]
- Round 5: Join white yarn, sc in each stitch around to create the shell rim [24] — After round 5 the shell back should look like a brown disc with a clean white border running around its edge. That color ring is the rim that separates shell from body when assembled.
Fasten off.
Tail
Work in light blue.
- Round 1: MR, 4 sc [4]
- Round 2: (1 sc, 1 inc) repeat 2 times [6]
- Round 3: (2 sc, 1 inc) repeat 2 times [8]
- Round 4: Sc in each stitch around [8]
- Round 5: (1 sc, 1 inc) repeat 4 times [12] — By round 5 the tail should already be starting to curve naturally as you hold it. Don’t fight this. That curve is the shape you want and it will read correctly once the tail is attached to the shell at a slight upward angle.
Fasten off leaving a tail for sewing.
Assembly
Pin everything before a single stitch goes in. Squirtle’s proportions rely on placement — the arms sit high, the legs angle outward enough to let him sit, and the shell needs to be centered on the back so the rim frames the body evenly. Assemble in this order:
- Sew the head securely onto the body at the flat opening. Check that the eyes are facing forward before you commit — rotate the head until the face is centered, then stitch around the join.
- Attach the arms to the upper sides of the body, one on each side at roughly round 6–7 height. Pin first and check symmetry from the front.
- Sew the legs to the bottom of the body so the figure sits evenly. Both legs should angle slightly outward — straight down and the figure tips forward.
- Center the shell back on the body back and sew around the rim. The white border should be visible from the sides.
- Sew the shell front to the front of the body in the same position — or position it slightly lower, which is more accurate to the character’s look.
- Attach the tail to the back of the shell, angling slightly upward so it curves away from the body naturally.
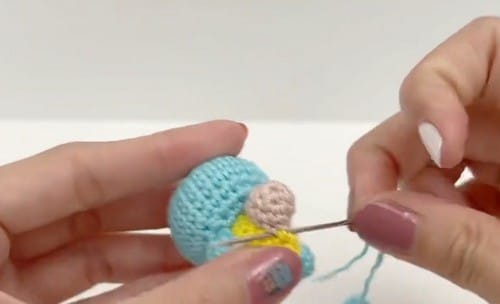
- Embroider the mouth using pink or black yarn between the eyes and chin — a small curved line or a simple V shape.
Tips
- Use a hook smaller than your yarn calls for, because loose stitches at this size let the stuffing show through.
- It is small enough to close a hand around, so the stitches stay tight and the stuffing needs pushing in with something pointed.
- Arms and legs use the same round sequence — make all four at once to keep tension consistent.
- Set safety eyes approximately 5 or 6 stitches apart and lock the washers from the inside before you continue.
- For toys going to children under three, embroider the eyes instead using black yarn after the head is fully closed and stuffed.
- If your shell front is cupping instead of lying flat, go up half a hook size for the shell pieces only.
FAQs
What yarn weight does this pattern use?
The pattern doesn’t specify, which gives you some flexibility. A sport or fingering weight at 2.5–3.0 mm is the most common approach for this kind of amigurumi and gives clean stitch definition. If you use DK weight, the finished toy will be noticeably larger — not a problem, just something to plan for.
The head is much bigger than the body. Is that right?
Yes. Squirtle’s head is intentionally large relative to the body — the head goes to round 14 at 30 stitches across its widest point, while the body only reaches 24. That disproportion is part of what makes the character recognizable. It will look odd as separate pieces and right once assembled.
Can I add wire to the tail to make it poseable?
The pattern doesn’t include wire. The tail’s increase spiral creates a natural curl without armature. If you want a stiffer tail, you could work a chenille stem through the center before sewing it down — but the yarn will curl satisfyingly on its own once it is attached at a slight upward angle.
My shell front is cupping instead of lying flat. What do I do?
Go up half a hook size for the shell pieces only. The flat disc needs zero curl, and if your tension is tight it will dome. Alternatively, block the piece by dampening it and pressing it flat under a book for a few hours.
Is this pattern safe for toddlers?
This pattern uses 6 mm safety eyes which are suitable for decorative display and supervised use by children over three. For any toy going to a baby or toddler, replace with embroidered eyes and make sure every sewn piece is stitched down firmly enough to resist a hard tug. Run a final check on the shell attachment in particular — it covers a wide surface area and needs stitches all the way around its edge.
Pin This Crochet Pattern!