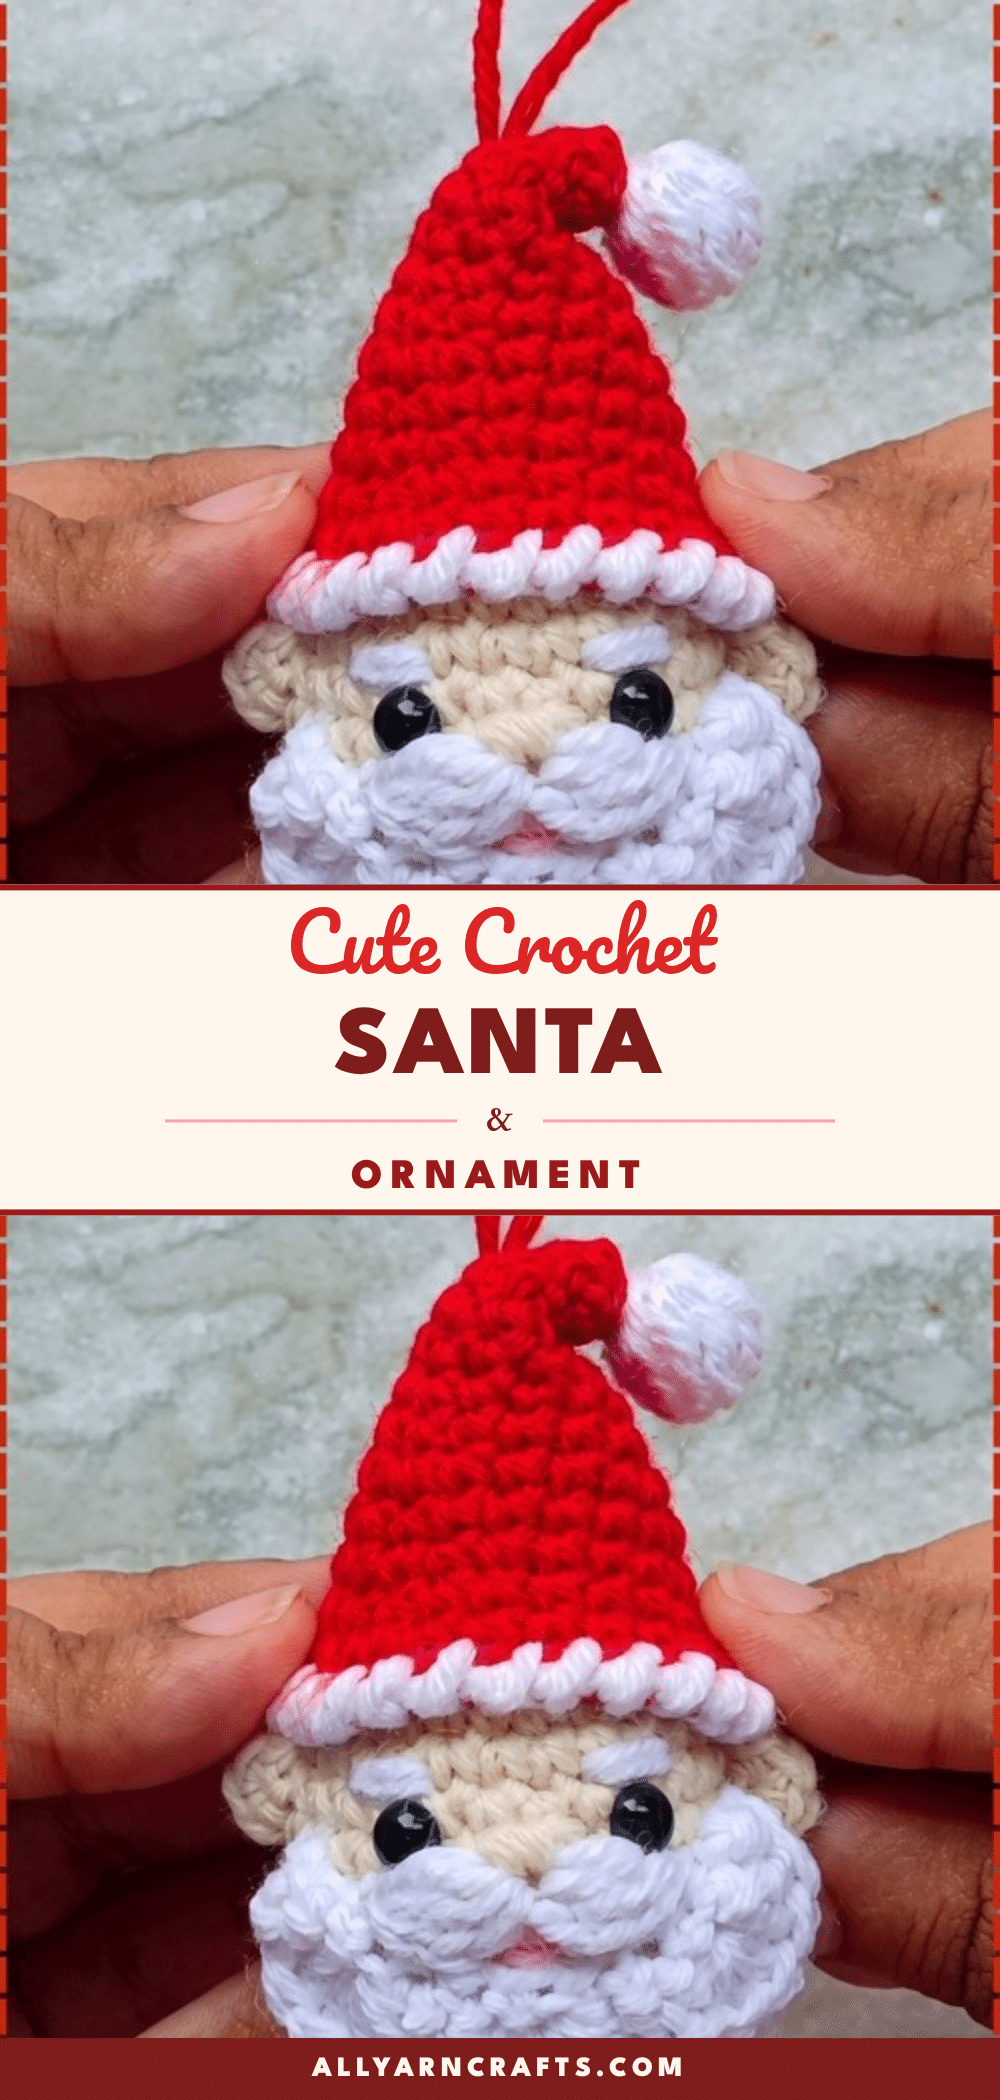
There is something deeply satisfying about the quiet rhythm of amigurumi. A small batch of yarn, a hook that fits perfectly in your hand, and the steady counting of stitches that slowly brings a character to life. This cozy project ritual transforms simple scraps into a festive keepsake. With this Cute Crochet Santa Amigurumi Ornament, you can create a charming holiday accent that fits right into that peaceful evening crafting session.
Small Details That Make It Better
While the pattern is straightforward, the charm of this Santa lies in the layering. The face is worked flat and round in cream yarn, but the personality comes from the components layered on top. The wide white beard worked in clusters gives him a textured, bumpy look, while the tall red hat leans forward in a classic, whimsical style. Because the head is palm-sized, it is the perfect scale for a tree ornament or a gift tag tie. Using scrap red, white, and beige yarn allows you to make a whole batch quickly, ensuring you have plenty of these festive friends ready for the holidays.
Project Overview
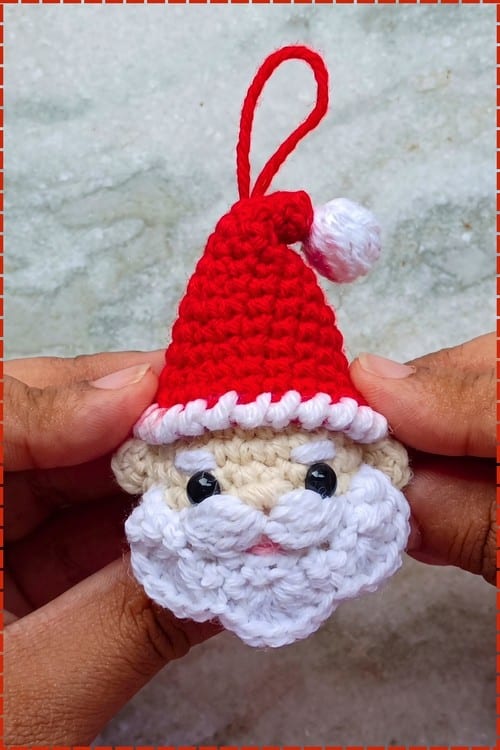
This pattern creates a small, flat amigurumi Santa head designed primarily as an ornament. The piece features a cream face, a wide white beard, a pointed red hat with a white brim, and a fluffy pom-pom. It is a beginner-to-intermediate project that takes roughly 2–3 hours to complete, including assembly.
Materials and Tools
- Yarn in skin color (beige)
- Red yarn
- White yarn
- Pink yarn (small amount)
- 3 mm crochet hook
- Yarn needle
- Stitch marker
- Scissors
- Polyfill stuffing
- 4 mm safety eyes (one pair)
Note: Yarn weight is not specified. A sport or light fingering weight at 3 mm keeps the ornament compact and tree-proportioned. Heavier yarn will produce a larger piece — workable, but it reads more as a display toy than a hanging ornament.
Gauge and Finished Size
Finished size: approximately 6–7 cm tall without hat (varies by yarn and tension).
Abbreviations
- sc — single crochet
- inc — increase (2 sc in the same stitch)
- dec — invisible decrease
- ch — chain
- dc — double crochet
- sl st — slip stitch
Work in continuous rounds unless stated otherwise. Use a stitch marker to track the start of each round.
Pattern Notes
The head takes the longest to make, while the other pieces go quickly. The beard clusters are the one part that requires the most attention to ensure they sit correctly. If you are looking for other festive ideas, this ornament pairs well with handmade gifts like the easy Father’s Day crochet gifts often found on our blog.
Pieces List
- Head — 1 piece (skin color / beige)
- Ears — 2 pieces (skin color / beige)
- Beard — 1 piece (white)
- Mustache — 1 piece (white)
- Hat — 1 piece (red with white trim)
- Pom pom — 1 piece (white)
Safety Eye Timing
Safety eyes go in between rounds 9 and 10 of the head — after the sphere reaches full width, before any decreasing begins. Do not wait. Once you start round 10 the opening closes fast and seating the washers becomes difficult. For toys intended for children under three, skip safety eyes entirely. Embroider the eyes instead using black yarn after the head is fully closed and stuffed. A small satin stitch cluster at the same position works well and carries no choking risk.
Stuffing Guide
Head: Stuff firmly. The cheeks should hold their shape when you press them lightly. Use small pieces of stuffing and push them toward the walls before adding more. Do not pack the very top of the head. Leaving it slightly softer lets the hat sit flush rather than being lifted by a mound.
Ears, beard, and mustache: Not stuffed — they are flat pieces sewn directly to the surface.
Hat: Not stuffed — the cone shape is structural, held by the increase pattern.
Pattern Instructions
Head
Work in skin color (beige).
- Round 1: Magic circle, ch 1, 6 sc in the circle [6]
- Round 2: 2 sc in each stitch around [12]
- Round 3: (1 sc, 1 inc) repeat 6 times [18]
- Round 4: (2 sc, 1 inc) repeat 6 times [24] — Should look like a small flat disc with a gentle dome. If it is cupping into a bowl shape, loosen your tension slightly.
- Round 5: Sc in each stitch around [24]
- Round 6: Sc in each stitch around [24]
- Round 7: Sc in each stitch around [24]
- Round 8: Sc in each stitch around [24]
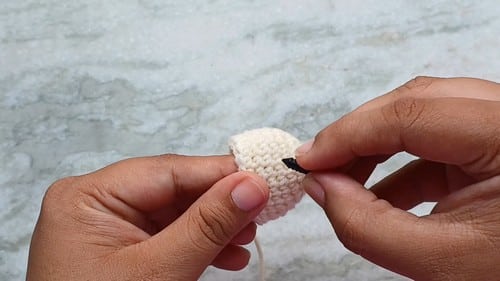
- Round 9: Sc in each stitch around [24] — The sphere should be at full width here — sides straight, opening still open enough to work inside. If the shape is pulling inward already, your tension is too tight. Place 4 mm safety eyes between rounds 6 and 7, approximately 3 stitches apart. Lock washers from the inside before continuing.
- Round 10: (1 sc, 1 dec) repeat around [16] — After this round the sphere is visibly closing. The fabric pulls inward around the eyes. This is correct — if your decrease row looks uneven, check that you are working invisible decreases (insert hook through front loops of the next two stitches together) rather than standard decreases, which leave a visible ridge. Stuff the head firmly now, especially in the cheeks. Shape it with your fingers before continuing.
- Round 11: Dec in every stitch around [8] — If the opening is pulling to one side rather than closing evenly, your stuffing may be off-center. Adjust before pulling the tail through. Fasten off. Thread tail through remaining 8 stitches, pull closed, and weave in.
Ears — Make 2
Work in skin color (beige).
- Magic circle
- Work 4 sc in the ring [4]
- Close the ring and fasten off, leaving a long sewing tail
These are flat and minimal by design. Placement does more work than size here.
Beard
Work in white.
- Foundation: Ch 12
- Row 1: Starting in the second ch from hook, work 3 sc, 1 inc, 3 sc, 1 inc, 3 sc [13]
- Row 2: Turn, skip 2 stitches, 5 dc in the next stitch, skip 1 stitch, sl st — repeat this scallop sequence across for 3 scallops total — Each scallop is 5 dc clustered into one stitch. If your scallops are flat instead of rounded, you may have worked fewer than 5 dc. Count each cluster before moving on.
Fasten off, leaving a long tail for sewing.
Mustache
Work in white.
- Ch 3
- Work 2 dc together in the first chain (first puff)
- Repeat in the adjacent chain to form the second puff [two puffs joined at center]
Fasten off, leaving a long tail for sewing. Both puffs should match in height — if one droops, the tension varied between them.
Hat
Work in red.
- Round 1: Magic circle, 6 sc in the circle [6]
- Round 2: Sc in each stitch around [6]
- Round 3: (1 sc, 1 inc) repeat 3 times [9]
- Round 4: Sc in each stitch around [9]
- Round 5: (2 sc, 1 inc) repeat 3 times [12]
- Round 6: Sc in each stitch around [12]
- Round 7: (3 sc, 1 inc) repeat around [15]
- Round 8: Sc in each stitch around [15]
- Round 9: (4 sc, 1 inc) repeat around [18] — By round 9 the cone shape should be obvious — narrow at the tip, flaring toward the base. If it looks tubular, check that your increases are spread evenly across the round.
- Round 10: Sc in each stitch around [18]
- Round 11: (5 sc, 1 inc) repeat around [21]
- Round 12: Sc in each stitch around [21]
- Round 13: (6 sc, 1 inc) repeat around [24] — The brim opening should lie flat at this point. Test it against a surface. If it flares up at the edges, the increases were too frequent; if it pulls inward, too few. At 24 stitches it should sit flush.
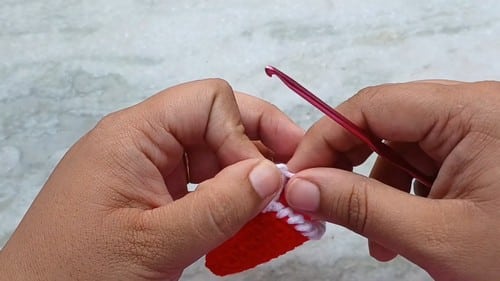
- Round 14: Change to white yarn and work reverse single crochet around for the brim trim
Fasten off and weave in ends.
Pom Pom
Work in white.
- Ch 3
- Work 2 dc together in the first chain (first puff)
- Repeat for the second puff
Alternatively, wrap yarn around two fingers several times and tie off the center — this gives a rounder, fluffier result. Attach to the tip of the hat before putting the hat on the head.
Assembly
Pin everything before committing to a single stitch. Faces are defined by millimeters of placement, and moving a beard 2 stitches lower completely changes the expression. Attach in this order:
- Embroider a small nose between the eyes using beige yarn — a few straight stitches, gently tensioned to create a subtle bump.
- Embroider white eyebrows above each eye, one curved arch per side.
- Add a small pink mouth between rounds 8 and 9, centered below the nose.
- Sew the ears on each side of the head between rounds 6 and 7, roughly 4 stitches out from the outer edge of each eye.
- Center the mustache directly under the nose and sew down.
- Lay the beard under the mustache so its upper edge slightly overlaps the mustache base. Sew along the foundation chain edge.
- Set the hat on top — a slight forward angle looks more natural than perfectly vertical. Secure with a few stitches through the brim.
Check from the front and both sides before you declare it done. One ear being a half-round higher than the other is visible in photos even when it looks fine in hand.
Tips
- Position the eyes before the beard goes on, because the beard hides your spacing once it is attached.
- If the shape is pulling inward already, your tension is too tight.
- If your decrease row looks uneven, check that you are working invisible decreases (insert hook through front loops of the next two stitches together) rather than standard decreases, which leave a visible ridge.
- If the opening is pulling to one side rather than closing evenly, your stuffing may be off-center. Adjust before pulling the tail through.
- If your scallops are flat instead of rounded, you may have worked fewer than 5 dc. Count each cluster before moving on.
- Test the hat brim against a surface. If it flares up at the edges, the increases were too frequent; if it pulls inward, too few.
- One ear being a half-round higher than the other is visible in photos even when it looks fine in hand.
Yarn Substitution and Size Scaling
Any smooth yarn holds up well here. Acrylic is the most forgiving — it keeps shape, takes a gentle block if needed, and is easy to find in the colors this pattern requires. Cotton works too, though it has less stretch and may feel stiffer to work at tight tension.
- To scale down: Move to 2.5 mm hook and fingering weight. The finished head will be closer to 4 cm — doll-scale.
- To scale up: DK weight at 3.5 mm gives a chunkier piece around 8–9 cm.
Toy Safety
Safety eyes with washers are secure for decorative ornaments and supervised play for children over three. For any toy going to a baby or toddler, embroider everything. Pull hard on every sewn component before giving the piece to a child — if it shifts under pressure, it is not attached securely enough.
FAQs
Can I use a different hook size?
Yes — the pattern doesn’t specify, so match your hook to your yarn. What matters is that the fabric is dense enough that stuffing doesn’t show through. If you can see daylight between stitches, go down half a size.
The beard scallops aren’t lying flat against the face. What should I do?
The foundation chain is probably pulling away from the head rather than sitting flush. When you sew the beard on, stitch through the foundation chain edge rather than the scallop edge, and run the needle through the head in two or three spots to anchor the width.
Do I need to add a hanging loop to use this as an ornament?
The pattern doesn’t include one. Cut a doubled length of yarn or thin satin ribbon, fold it in half, and sew the folded end under the hat at the crown before securing the hat to the head. Tie the ends and trim.
Can I make this larger for a display toy?
Yes. Using heavier yarn (like DK) with a larger hook (3.5 mm) will produce a piece around 8–9 cm. This works well as a display toy, though it will be larger than the intended ornament size.
Is this pattern suitable for beginners?
It is rated beginner to intermediate. The shaping is straightforward, but the assembly requires careful placement of facial features to get the expression right.
Pin This Crochet Pattern!