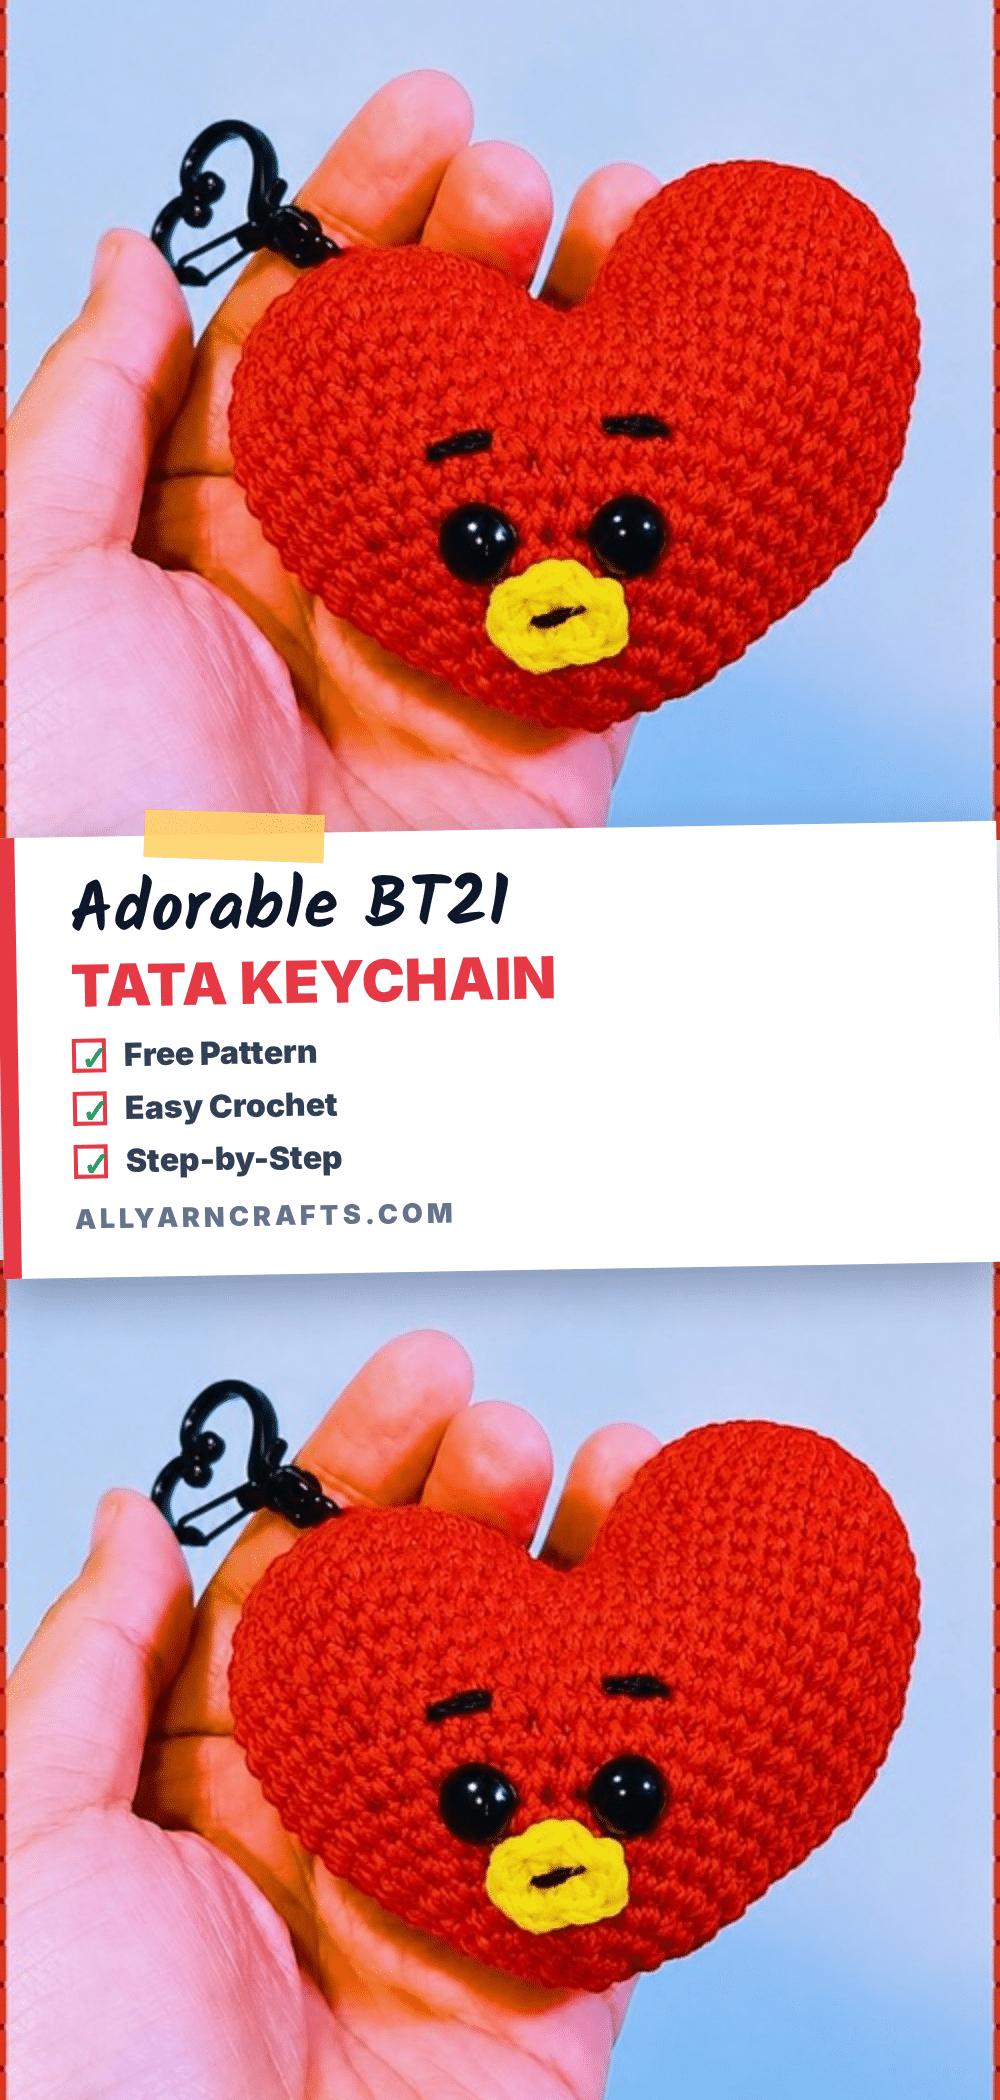
The yarn is red, the hook is in hand, and the magic ring is just beginning to tighten. There is a specific kind of magic that happens when you are working on a small amigurumi project like the BT21 Tata keychain. It starts with a simple loop of yarn and quickly transforms into a recognizable character. As you work through the rounds, the shape of the heart begins to emerge, and you can feel the tension settling into the perfect spot for the eyes. This project is a perfect example of how a few scraps of yarn and a bit of patience can result in a charming, portable companion.
Why This Project Works
The BT21 Tata keychain is a standout piece because it relies on a distinct silhouette rather than complex detailing. The heart-shaped head is immediately recognizable, and the small, stubby limbs keep the proportions cute without requiring advanced shaping techniques. This pattern is ideal for crocheters who want a quick, satisfying project that results in a functional accessory. The compact size makes it perfect for testing new yarns or practicing tension consistency. Plus, the two-color scheme allows for easy customization, whether you want to stick to the classic red and blue or experiment with a monochrome look. It is a project that fits easily into a bag, making it a great candidate for crocheting on the go.
Project Overview
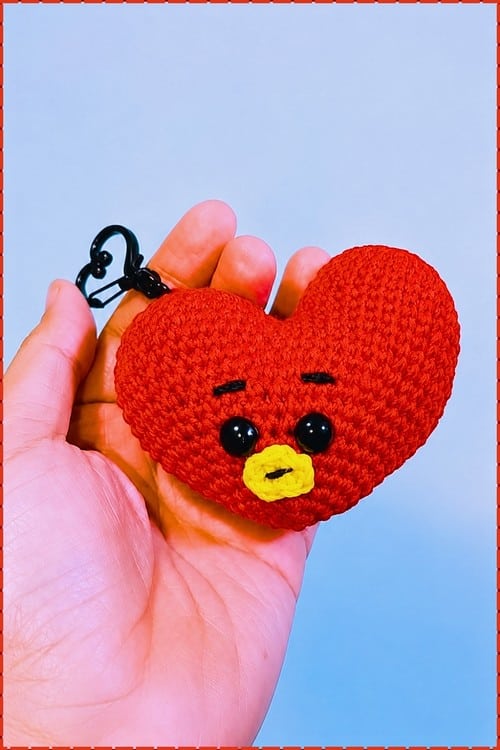
This pattern creates a small, heart-shaped amigurumi character inspired by the popular BT21 line. The finished piece is designed to be attached to a keychain, bag, or backpack. It features a double-hump head that forms a heart shape, a small cylindrical body, and short limbs. The project is worked in continuous rounds and assembled by sewing the pieces together.
Quick Facts
- Finished Size: Approximately 8 to 10 cm tall, estimated.
- Difficulty: Beginner to intermediate.
- Time: 2 to 3 hours estimated.
- Piece Count: 7 pieces (head with 2 humps joined, body, 2 arms, 2 legs).
Materials
- Red Yarn: DK weight, approximately 20 to 25 metres for the head.
- Blue Yarn: Same weight as red, approximately 15 to 20 metres for body, arms, and legs.
- Yellow Yarn: Small amount for the embroidered mouth.
- Crochet Hook: Suited to your yarn, typically 2.5 mm to 3.5 mm.
- Fibrefill: Polyester stuffing.
- Eyes: Black felt pieces cut into small circles, or 1 pair of safety eyes.
- Tools: Tapestry needle, scissors.
- Keychain: Keychain ring or clasp (optional).
All yardage is approximate. Attach a keychain ring through the crown of the joined head before closing if you want it wearable.
Gauge and Finished Size
The gauge is not strictly specified, but the finished size should be approximately 8 to 10 cm tall. Ensure your tension is consistent, especially when making the two head humps, to ensure they join evenly.
Abbreviations
- sc: single crochet
- inc: two sc in the same stitch
- dec: invisible decrease
- R: round
Pattern Notes
- This pattern uses black felt beads or safety eyes.
- Safety eyes must go in before the head is stuffed and closed — insert them after round 11, once the head opening is still wide enough for the washer.
- For children under three, skip both felt and safety eyes. Embroider two small filled circles in black yarn instead, using a satin stitch. Knot securely on the inside before trimming.
Pattern Instructions
Head Humps (Make 2) — Red
Make two identical humps. It is crucial to make both in the same session at the same tension.
R1: 6 sc into magic ring (6)
R2: inc in each st around (12)
R3: (1 sc, 1 inc) repeat 6 times (18)
R4: (2 sc, 1 inc) repeat 6 times (24). By round 4 each hump should lie flat as a disc with no cupping. If it is already forming a bowl shape, loosen your tension slightly.
R5: sc in each st around (24)
R6: sc in each st around (24)
R7: sc in each st around (24). By round 7 each hump should look like a shallow dome, beginning to form a half-sphere. Both humps must reach the same height before joining. Fasten off the first hump. Keep yarn attached on the second hump and do not cut.
Joining and Shaping — Red
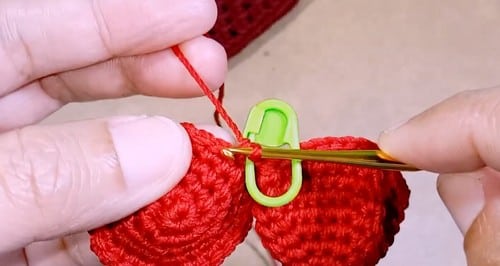
R8: Join both humps and sc evenly around for a total of 48 sts (48). Count carefully here. The join creates a figure-of-eight shape at first — work steadily around the full perimeter of both humps.
R9: sc in each st around (48)
R10: sc in each st around (48)
R11: sc in each st around (48). By round 11 the joined head should look like a heart shape when viewed from above, with two clear domes and a visible dip between them. Insert safety eyes or felt pieces now, above the centre dip, before the opening narrows further.
R12: (6 sc, 1 dec) repeat 6 times (42)
R13: (5 sc, 1 dec) repeat 6 times (36)
R14: (4 sc, 1 dec) repeat 6 times (30)
R15: (3 sc, 1 dec) repeat 6 times (24). By round 15 the head should be visibly closing, roughly half-sphere shape from the front.
R16: (2 sc, 1 dec) repeat 6 times (18). Stuff the head firmly now before the opening closes further.
R17: (1 sc, 1 dec) repeat 6 times (12)
R18: dec 6 times (6). Fasten off and close the opening by weaving the tail through the remaining stitches.
Body — Blue
R1: 6 sc into magic ring (6)
R2: inc in each st around (12)
R3: (1 sc, 1 inc) repeat 6 times (18). By round 3 the body base should be a flat disc, slightly smaller than one hump alone.
R4: sc in each st around (18)
R5: sc in each st around (18)
R6: sc in each st around (18)
R7: sc in each st around (18)
R8: sc in each st around (18). By round 8 the body should look like a short even cylinder.
R9: (1 sc, 1 dec) repeat 6 times (12). Stuff the body lightly — just enough to give it shape. Over-stuffing here makes it too wide relative to the head.
R10: sc in each st around (12). Fasten off leaving a long tail for sewing.
Legs (Make 2) — Blue
R1: 6 sc into magic ring (6)
R2: sc in each st around (6)
R3: sc in each st around (6). Fasten off, leave a long tail.
Arms (Make 2) — Blue
R1: 5 sc into magic ring (5)
R2: sc in each st around (5)
R3: sc in each st around (5). Fasten off, leave a long tail.
Assembly
Pin every piece before sewing. The proportions look different once the piece is standing than they do laid flat, so hold it upright to check placement.
- Body: Sew the body to the bottom centre of the head, positioning it below the centre dip of the heart shape. The top of the body should sit flush against the lower curve of the head join.
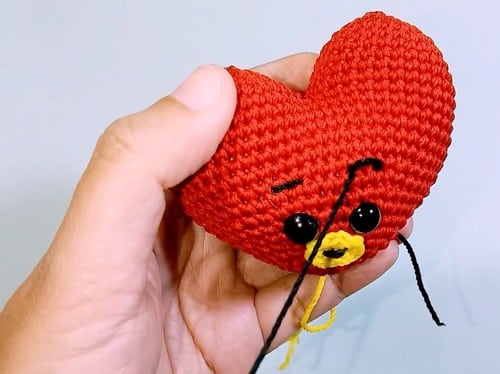
- Mouth: Embroider the oval mouth in yellow yarn in the centre front of the head, just below where the eyes sit and centred between the two humps. A few straight stitches in an oval outline work well at this scale.
- Arms: Attach arms to the sides of the body, one on each side, at approximately round 5 of the body. The arms should hang downward naturally.
- Legs: Attach legs to the bottom of the body, spaced evenly, pointing straight down.
- Weave in all ends and shape the piece by hand.
Tips
- Tension Consistency: Make both humps in the same session at the same tension. Even a small difference in hook pressure between them makes the join uneven.
- Counting: When working the join round at round 8, count to 48 before moving on. This is the round most likely to come out short or long, and catching it here saves ripping back the decrease section.
- Stuffing: The head needs firm stuffing throughout — the double-hump shape relies on the fabric holding its dome on each side. Pack fibrefill into each hump individually before the decrease rounds close the gap between them. The body gets light stuffing only, just enough to keep it from collapsing. Arms and legs get no stuffing.
- Shaping: If the body looks too round after joining, squeeze it gently before the seam sets — it will flatten slightly with handling.
FAQ
How do I attach a keychain ring?
Before closing round 18, cut a short length of yarn, fold it in half, thread the folded end through the keychain ring, then pass both tails through the magic ring at the crown of the head and knot them on the inside. Alternatively, use a lobster clasp clipped to a loop of yarn sewn through the crown after finishing.
My two humps came out slightly different sizes. Can I still join them?
Yes, but the heart shape will be asymmetrical. If the difference is significant, you may need to adjust your tension on the second hump or block the finished piece to help even out the shape.
Can I use this pattern for a larger gift?
This pattern is designed for a keychain size (8-10 cm). If you want a larger plush, you would need to increase the hook size and yarn weight, and likely add more rounds to each section, which would require recalculating the stitch counts.
What if I don’t have safety eyes?
You can use black felt pieces cut into small circles. For a safer option for young children, embroider two small filled circles in black yarn using a satin stitch.
Can I make this in a different color?
Absolutely. The pattern works with any color combination. Try a monochrome look by using the same red for the body, or swap the red head for dusty rose or burgundy for a softer look.
Pin This Crochet Pattern!