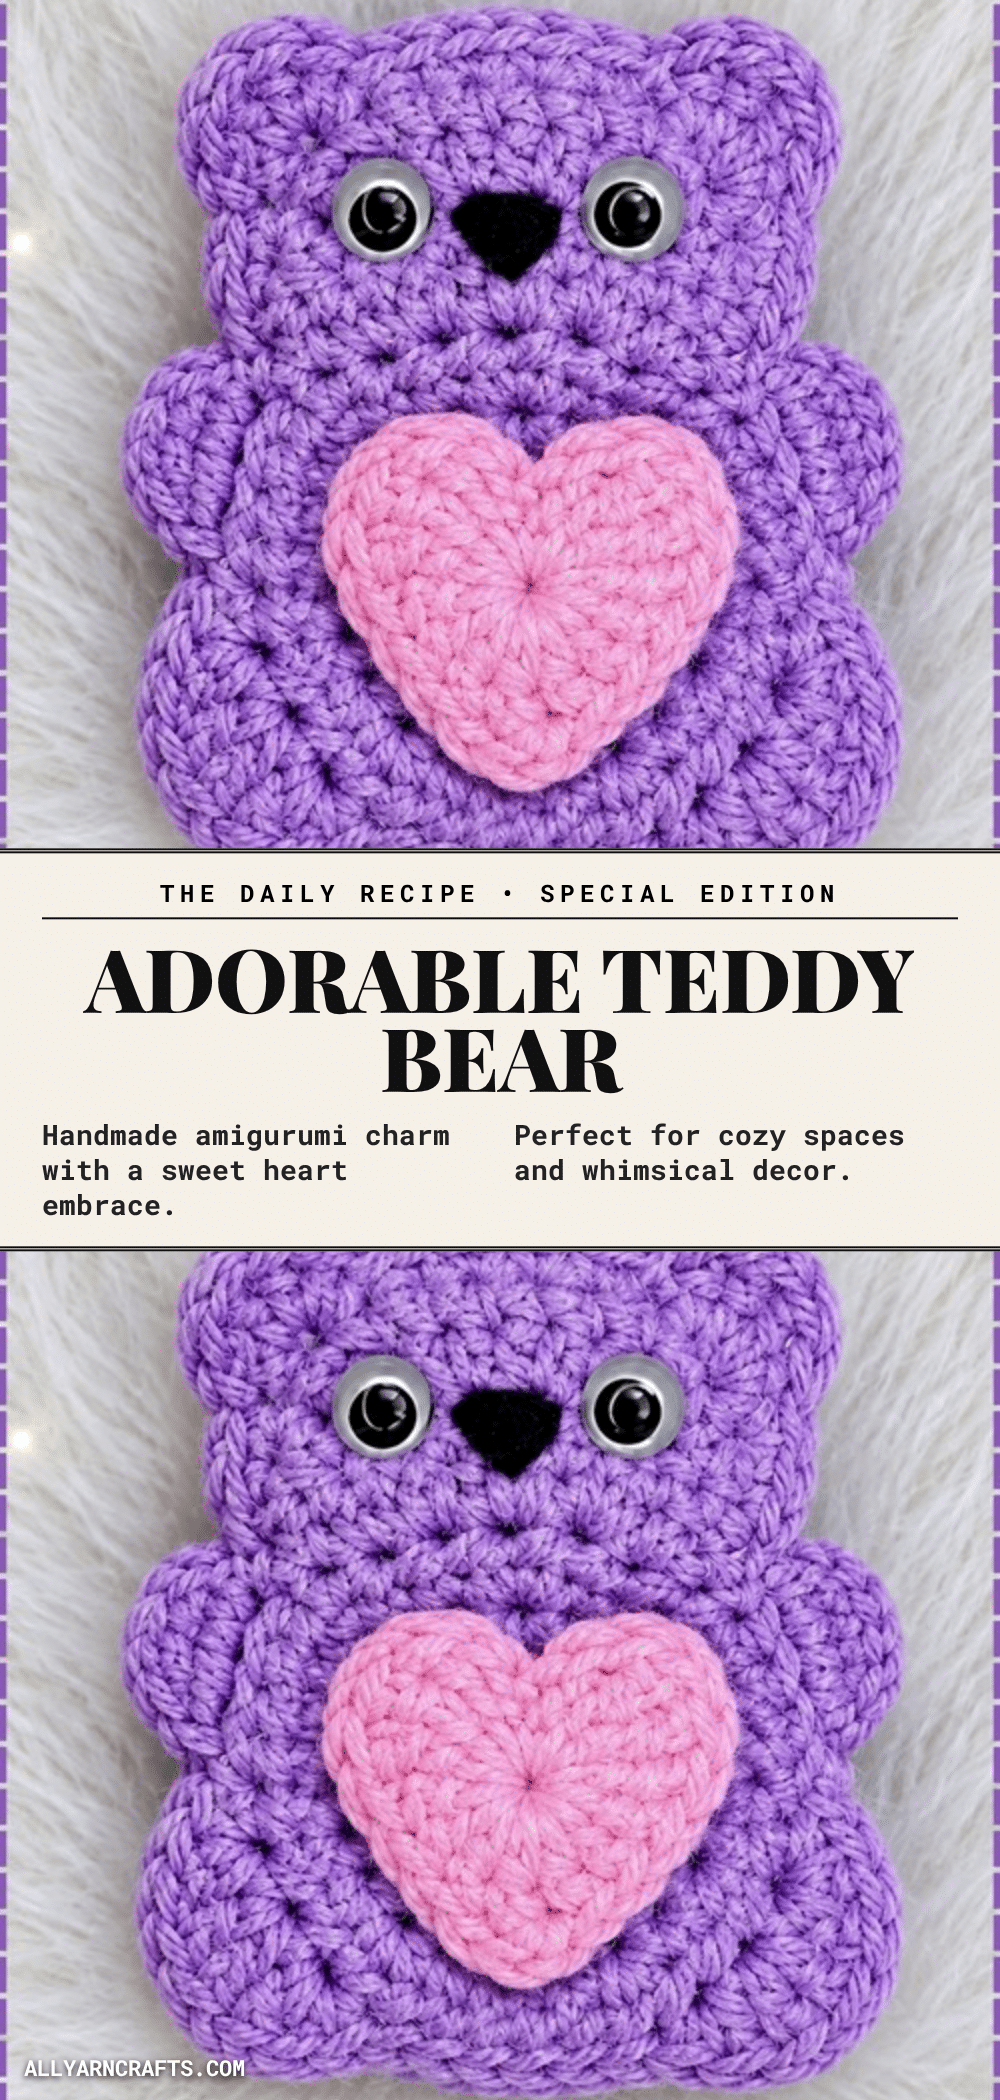
This adorable Teddy Bear Holding Heart Amigurumi is the perfect handmade gift for Valentine’s Day, anniversaries, or simply to brighten someone’s day. Unlike traditional stuffed amigurumi, this design is worked flat in one continuous piece, which means you skip the complex stuffing and assembly steps. It is an ideal project for beginners who want to create a charming character without the frustration of sewing together multiple parts. With its simple flat construction and cute heart detail, this bear makes a delightful market-table item or a sweet pocket hug for a friend.
Gift and Use Ideas
Because this teddy bear is worked flat, it is incredibly versatile. You can slip it into a greeting card, tuck it into a lunchbox, or place it in a classroom kindness jar. The flat profile makes it easy to store and ship, making it a great option for selling at craft fairs or sending as a care package. While the source pattern suggests a purple body with a pink heart, you can easily swap yarn colors to match any theme. The simplicity of the design allows you to make a batch quickly, perfect for last-minute gifts or party favors.
Project Overview
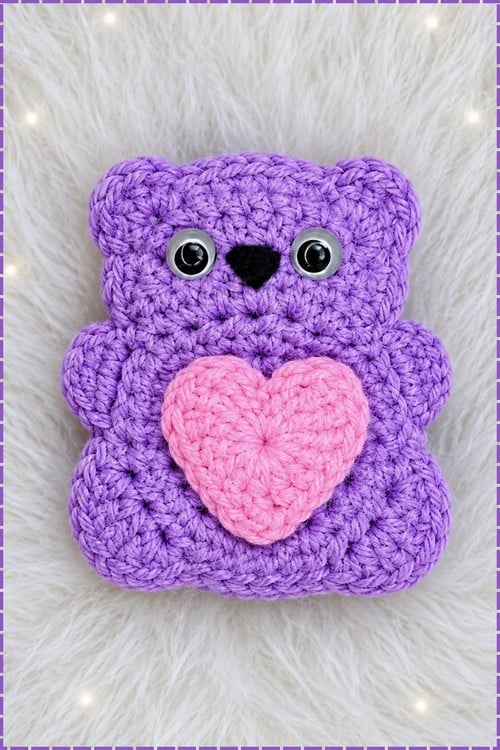
This crochet teddy bear is worked flat as a single solid piece with ears, arms, and legs extending from the body outline. A separate heart is stitched onto the belly, and the face features simple embroidered details. This construction method minimizes sewing and stuffing, making it accessible for novice crocheters. The pattern requires seven elements in total: one continuous body/head piece, two ears, two arms, two legs, one heart, and one muzzle.
Materials
- Brown yarn for the teddy body
- White yarn for the muzzle
- Red or pink yarn for the heart
- Black thread or yarn for face embroidery
- 2.5 mm or 3 mm crochet hook
- Fiberfill stuffing
- Tapestry needle
- Scissors
- Optional: Googly eyes with black centres or felt triangle nose
Gauge and Finished Size
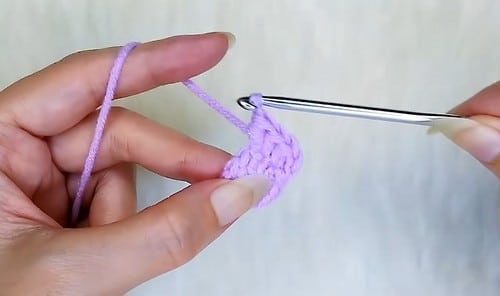
Specific gauge and finished measurements are not provided in the source pattern. The size will depend on your yarn weight and tension. The pattern is designed to be worked in a flat shape, so the final dimensions will be determined by the number of rounds used for the limbs.
Abbreviations
- SC: single crochet
- Inc: increase, work 2 SC into the same stitch
- Dec: decrease, SC two stitches together
- MR: Magic Ring
- DC: Double Crochet
- HDC: Half Double Crochet
- Sl st: Slip Stitch
Pattern Notes
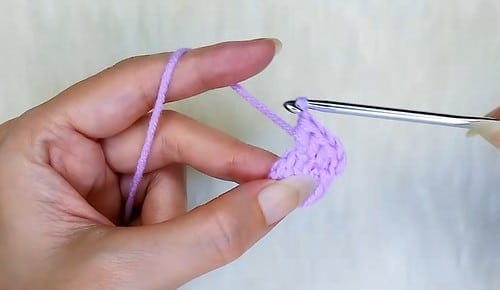
- Flat Construction: The bear is worked flat rather than stuffed round. This skips most stuffing and sewing.
- Assembly: There is very little sewing involved. The heart placement is the only decision that needs a second look.
- Face Details: There is no muzzle and no mouth in the base shape; these are added during assembly. The face stays simple with googly eyes or embroidery.
- Parts List: The pattern consists of seven elements: one bear body (worked flat), the heart, the nose, the eyes, two ears, two arms, and two legs.
- Timing: Make all four limbs, the heart, and the muzzle after the head and body are closed so you can test placement against the finished figure before sewing anything.
Pattern Instructions
Head and Body
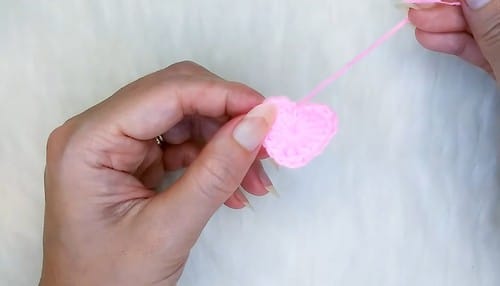
Worked as one continuous piece.
- Round 1: MR, 6 SC [6]
- Round 2: 2 SC in each stitch around [12]
- Round 3: 1 SC, inc, repeat around [18]
- Round 4: 2 SC, inc, repeat around [24]
- Checkpoint: A flat disc — the top of the head. Should lie without ruffling.
- Safety Eyes: If using safety eyes, insert them now while the piece is fully open. Space them evenly above where the muzzle will sit.
- Rounds 5 to 8: SC in each stitch around [24]
- Checkpoint: After four straight rounds the head should be a clear dome. From the side it reads as spherical rather than conical.
- Round 9: 2 SC, dec, repeat around [18]
- Round 10: 1 SC, dec, repeat around [12]
- Stuffing: Stuff the head firmly before continuing — the neck section that follows is narrow and difficult to fill later.
- Checkpoint: The head should feel fully round and firm before you work round 11. A soft head at this point will collapse once the body weight is below it.
- Round 11: 1 SC, inc, repeat around [18]
- Round 12: SC in each stitch around [18]
- Round 13: SC in each stitch around [18]
- Round 14: SC in each stitch around [18]
- Round 15: SC in each stitch around [18]
- Round 16: 1 SC, dec, repeat around [12]
- Round 17: Dec in every stitch [6]
- Fasten off and sew the bottom closed.
Ears (Make 2)
- MR, 5 SC [5]
- Fasten off leaving a long tail for sewing.
- Sew to the top sides of the head at approximately rounds 3 to 4, positioned slightly forward rather than directly on the crown.
Arms and Legs (Make 4 — 2 Longer for Arms, 2 Shorter for Legs)
- MR, 5 SC [5]
- Work 1 to 2 rounds of 5 SC depending on the desired length.
- Checkpoint: Make all four pieces before deciding length. Arms should be noticeably longer than legs when laid side by side. Both pieces of each pair should match.
- Keep limbs lightly stuffed or unstuffed.
- Fasten off leaving a long tail for sewing.
Heart
Work the following stitch sequence into and around a magic ring:
- Ch 2
- Work 2 DC into the ring
- Work 2 HDC into the ring
- Ch 1
- Work 1 DC into the ring
- Ch 1
- Work 2 HDC into the ring
- Work 2 DC into the ring
- Ch 2
- Sl st into the ring
- Pull the magic ring tight to shape the heart.
- Checkpoint: Two bumps at the top and a point at the bottom. Flatten and shape with your fingers before sewing.
- Fasten off leaving a tail for sewing.
Muzzle
- MR, 6 SC [6]
- Fasten off leaving a long tail for sewing.
- Sew the flat circle to the centre of the face.
Face Details
- If using safety eyes: Insert them evenly on either side of the muzzle position, slightly above centre, while the head is still open (during round 4 above).
- For toys going to children under three, embroider the eyes with black thread instead after full assembly.
- After the muzzle is sewn on, stitch a small T-shape or V-shape on the muzzle using black thread to form the nose and mouth.
- Keep the nose centred and the stitches small.
Assembly
- Pin everything before sewing.
- Sew ears to the head first, at rounds 3 to 4, one on each side. Pin both simultaneously and check from the front.
- Sew the muzzle centred on the face between the eyes.
- Embroider the nose and mouth on the muzzle.
- Sew arms to the sides of the body. Position them slightly forward so they curve toward the front where the heart will sit.
- Sew legs to the bottom of the body, spaced evenly so the bear sits balanced.
- Hold the heart between the arms and check placement before sewing — it should sit centred on the chest between both arm attachment points.
- Sew the heart securely to the front of the body.
Stuffing Guide
- Head: Firm — stuff before round 11 narrows the opening past comfortable access.
- Body: Moderately stuffed, slightly softer than the head. A very firm body makes the proportions feel rigid.
- Arms: Light or none — the pattern specifies lightly stuffed or unstuffed so the arms can curve toward the heart naturally.
- Legs: Light. Overstuffed legs sit at stiff outward angles rather than hanging straight.
- Ears and Muzzle: Unstuffed — both are flat pieces.
- Heart: Stays unstuffed — its shape comes from the stitching.
Toy Safety
- If using safety eyes, they must go in during or after round 4 while the head is fully open. After round 9 the opening is too narrow to reach the washers from inside.
- For children under three, embroider the eyes. No safety hardware.
- Weave in all yarn tails through multiple stitches in two directions so they cannot pull free.
Tips
- If magic rings and invisible decreases sound like another language, start with a video tutorial to make everything click.
- If the arms and legs look the same length, remember the pattern gives you the choice of 1 or 2 additional rounds of 5 SC on each limb. Work 1 round for the legs and 2 rounds for the arms, or vary more if needed. The key is making both pieces of each pair identical, then making the two pairs visibly different from each other when laid side by side.
- If the heart is not holding its shape after sewing, the magic ring needs to be pulled fully tight before the piece is pinned to the body, and the slip stitch at the centre needs to be snug. If the heart is still losing its shape under handling, a few stitches of black yarn embroidered along the outline of the heart will stiffen the edge and reinforce the silhouette.
- If the muzzle is not sitting flat against the face — it is puckering — sew the muzzle through multiple stitches around its perimeter rather than tacking at a few points. Work around the entire circle edge with evenly spaced stitches, keeping the needle tension loose enough that the muzzle lies flat rather than drawing toward the centre.
FAQs
Why do my arms and legs look the same length?
The pattern gives you the choice of 1 or 2 additional rounds of 5 SC on each limb. Work 1 round for the legs and 2 rounds for the arms, or vary more if needed. The key is making both pieces of each pair identical, then making the two pairs visibly different from each other when laid side by side.
My heart is losing its shape. How do I fix it?
The magic ring needs to be pulled fully tight before the piece is pinned to the body, and the slip stitch at the centre needs to be snug. If the heart is still losing its shape under handling, a few stitches of black yarn embroidered along the outline of the heart will stiffen the edge and reinforce the silhouette.
How do I stop the muzzle from puckering?
Sew the muzzle through multiple stitches around its perimeter rather than tacking at a few points. Work around the entire circle edge with evenly spaced stitches, keeping the needle tension loose enough that the muzzle lies flat rather than drawing toward the centre.
Can I use safety eyes for this pattern?
Yes, but you must insert them during or after round 4 while the head is still fully open. After round 9 the opening is too narrow to reach the washers from inside. For toys going to children under three, embroider the eyes instead.
Is this pattern suitable for beginners?
Yes, it suits beginners and anyone making a batch quickly. The flat construction skips complex stuffing and sewing, making it a great entry-level amigurumi project.
Pin This Crochet Pattern!