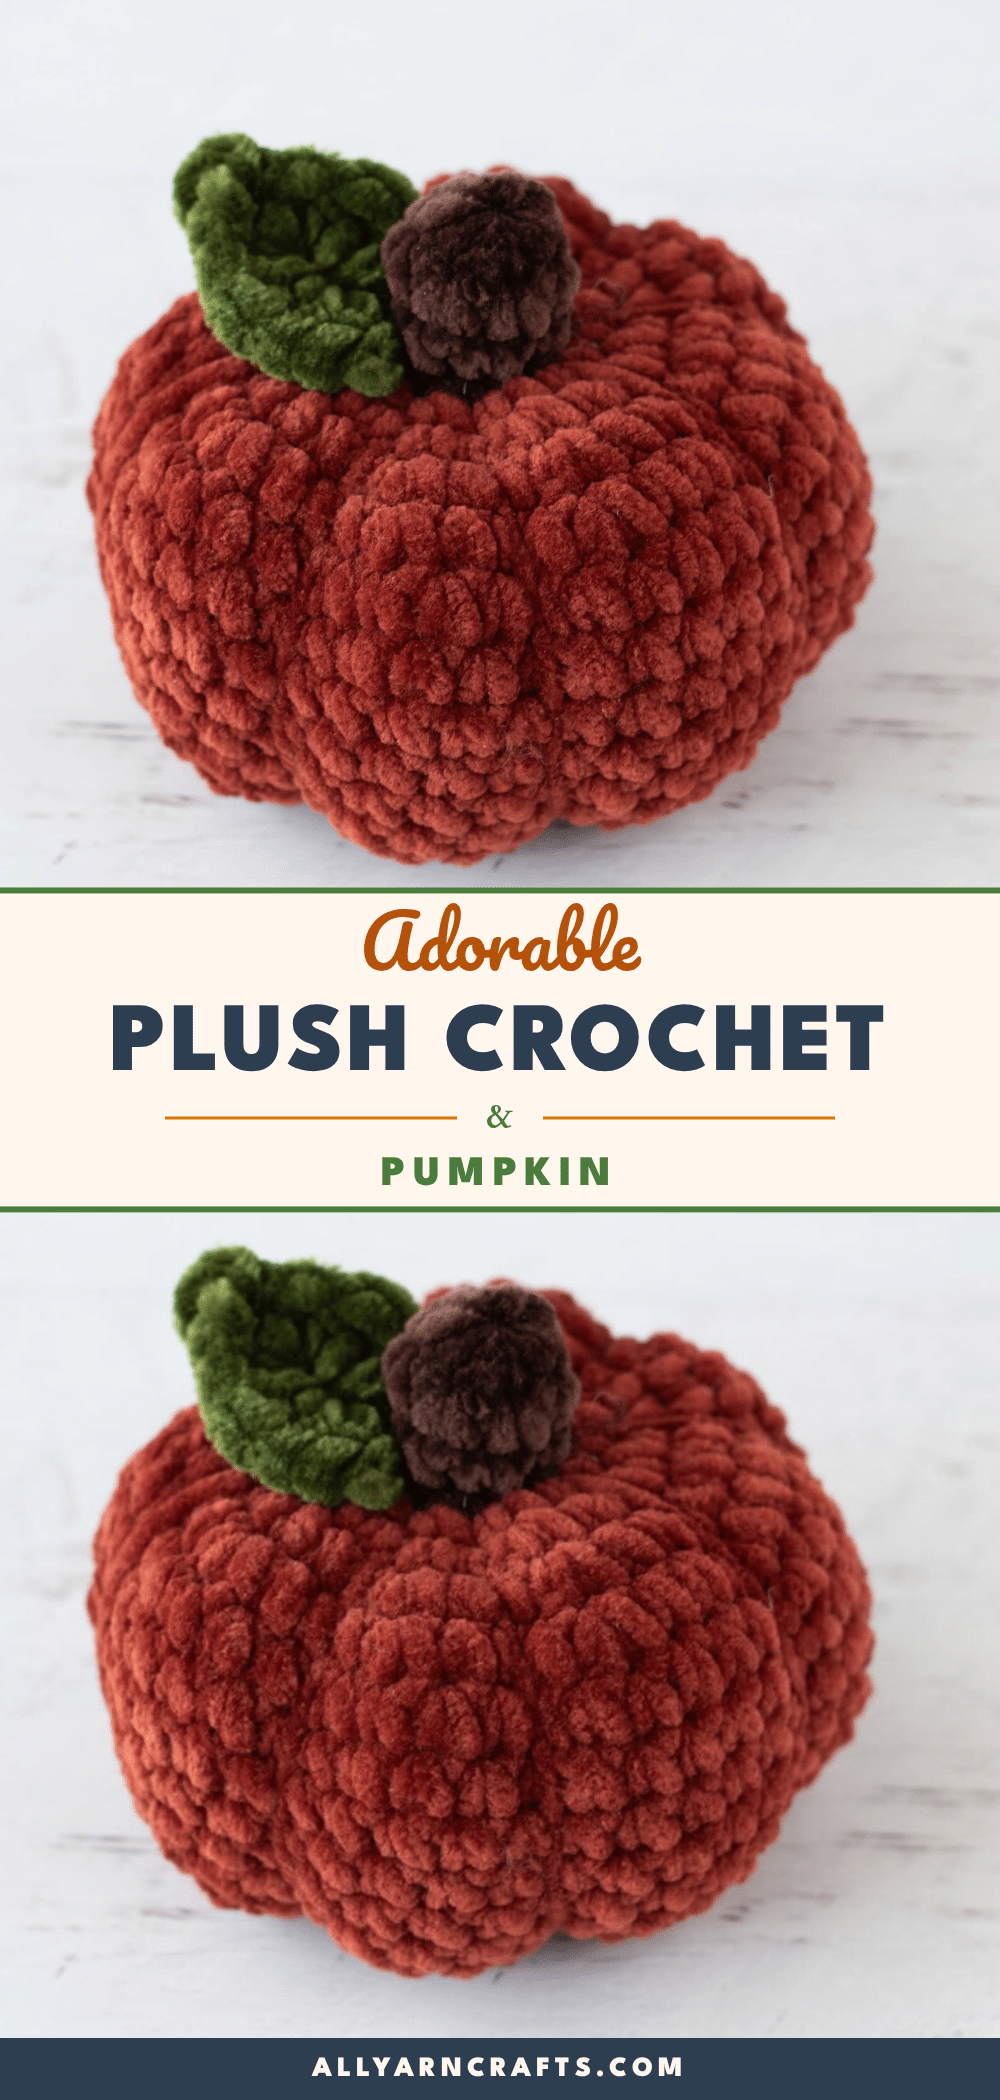
Transform your autumn decor with this adorable plush crochet pumpkin pattern, a perfect handmade gift for friends or a charming centerpiece for your Halloween table. Designed for speed and simplicity, this amigurumi project works up quickly using super bulky yarn, making it an ideal choice for last-minute holiday crafting or a relaxing weekend stitch-along. Whether you are looking to add a touch of seasonal warmth to your mantel or need a unique item for a craft fair, this squishy pumpkin delivers big style with minimal effort.
Gift and Use Ideas
One of the best aspects of this plush pumpkin is its versatility. Because it is constructed from soft, super bulky yarn, it has a delightful, cuddly texture that invites touch. It makes a wonderful housewarming gift for new homeowners who love cozy, handmade accents. You can also create a “pumpkin patch” by making several in varying sizes to scatter across a bookshelf, dining table, or windowsill. For those who enjoy selling their crafts, the quick work-up time means you can produce multiple units efficiently for market tables. Additionally, because the construction is sturdy yet soft, it is safe for older children to play with, adding a playful element to fall-themed rooms.
Project Overview
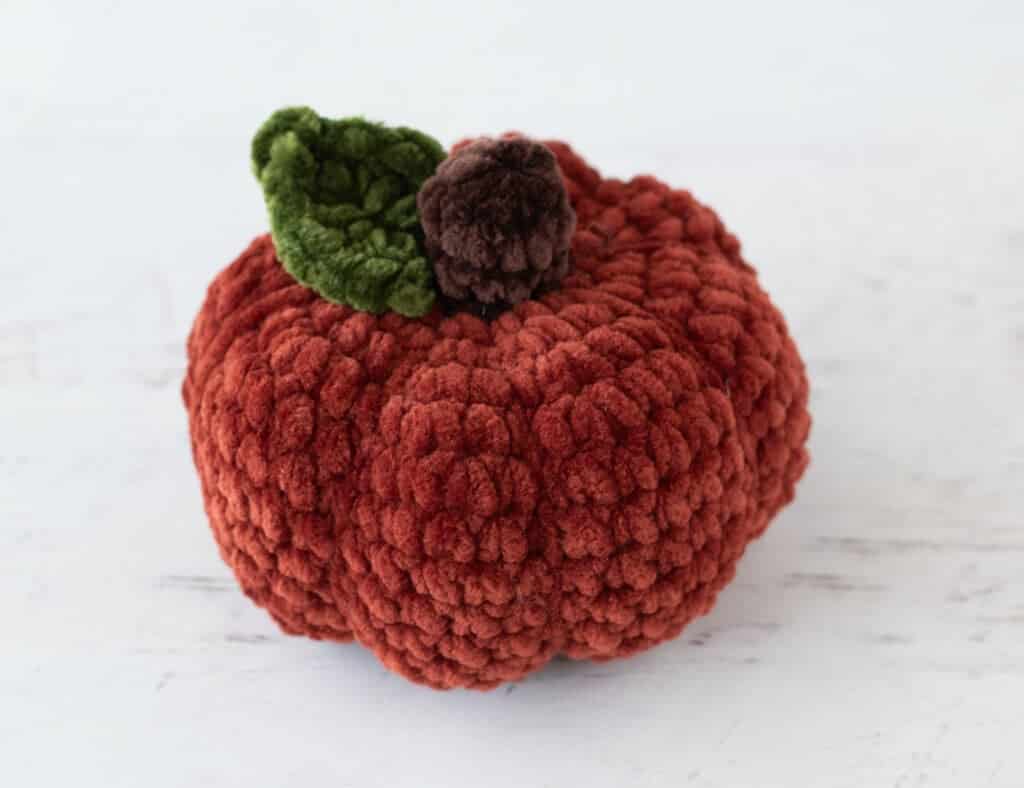
This plush crochet pumpkin is a beginner-friendly amigurumi project worked from the top down. It features a clever construction method that eliminates the need for sewing the main body together. Instead, the pumpkin is shaped by wrapping yarn through the center to create defined sections. The project uses simple stitches and super bulky weight yarn, allowing it to work up in just one evening. The final result is a squishy, plump pumpkin approximately 4 inches wide and tall, topped with a cute leaf detail.
Materials
- Yarn:
- Orange (Harvest): Premier Parfait Chunky, size 6 super bulky weight, 100% polyester, 131 yds/120m per 3.5 oz skein. Approximately 45 yards. (Available at Herrschners, Amazon, or Etsy).
- Brown (Chocolate): Premier Parfait Chunky, size 6 super bulky weight. Approximately 7 yards.
- Green (Leaf): Himalaya Dolphin Baby, size 6 super bulky, 100% polyester, 131yds/120m per 3.5oz/100g skein #80361. Approximately 2 yards.
- Crochet Hook: US H8/5.00 mm
- Notions: Stitch markers, fiberfill, tapestry needle, and scissors.
Note: The Himalaya Dolphin Baby yarn is identical in weight and feel to Premier Parfait, making them interchangeable for this chenille-style project.
Gauge and Finished Size
Gauge: The creator’s gauge is 6 sc to 2 inches. However, gauge is not critical for this pattern. You may use other weights of yarn and adjust your hook size to fit your needs.
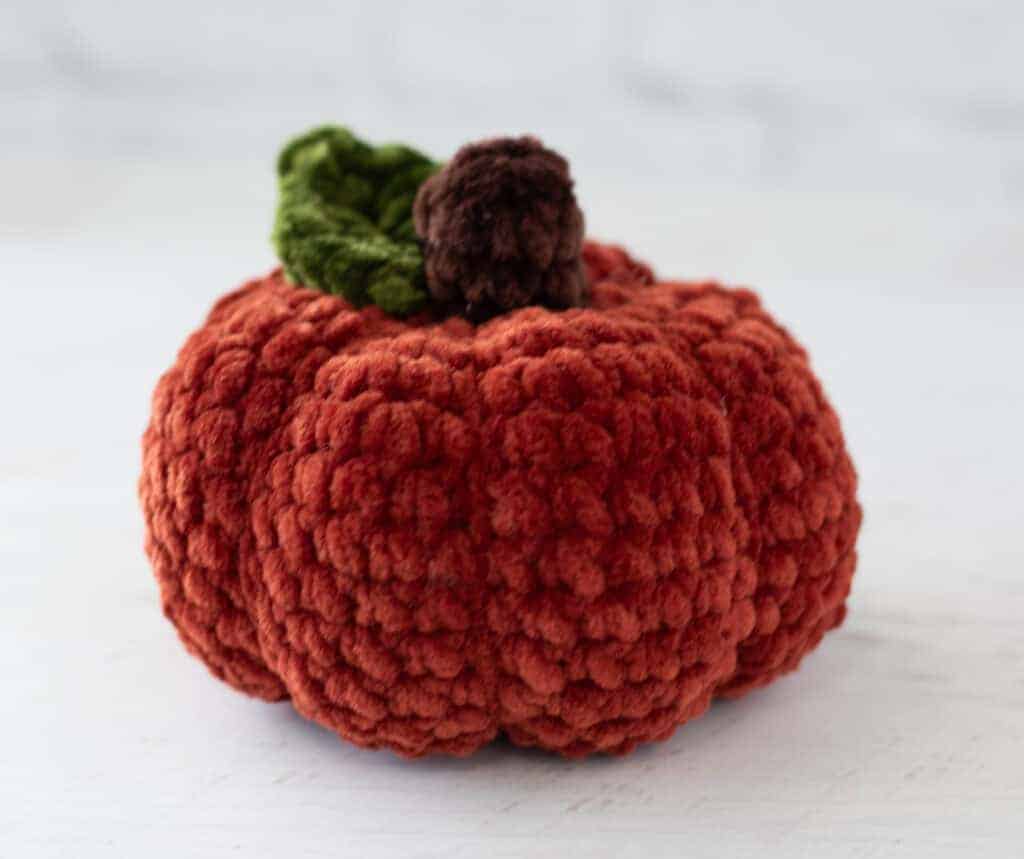
Finished Size: The pumpkin is approximately 4” wide x 4” tall. Note that the height can vary depending on how tightly you cinch the pumpkin sections during assembly.
Abbreviations
- sc = single crochet
- sc2tog = single crochet 2 together
- sl st = slip stitch
- st(s) = stitch(es)
- hdc = half double crochet
- ch = chain
- picot: ch 2, sl st in second ch from hook
Pattern Notes
This pumpkin is constructed top down in one piece starting at the stem, which means there is no sewing required for the main body. You will only need to sew the leaf on and perform a wrapping technique to create the pumpkin’s segmented shape. This method is mindless and satisfying, making it perfect for crocheters who want to avoid tedious assembly. The pattern uses simple stitches and a clever construction that ensures a professional finish with minimal effort.
Pattern Instructions
Plush Pumpkin
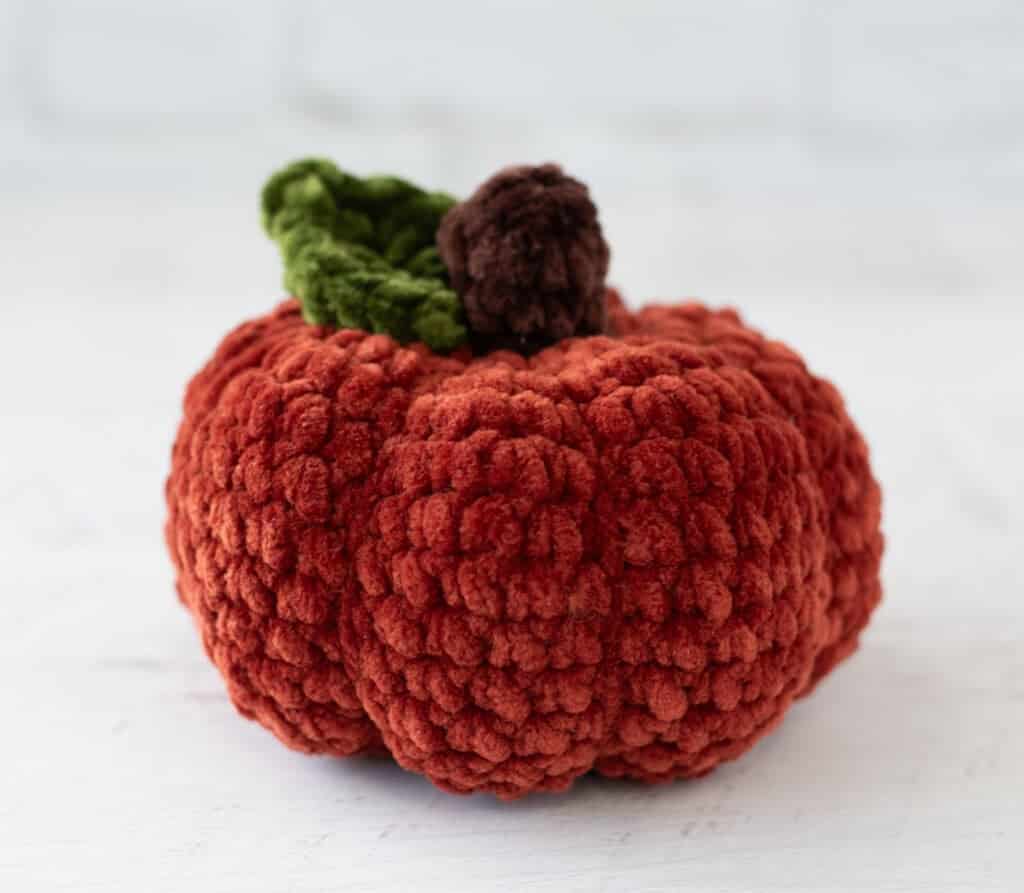
With brown yarn, make a magic ring. Pumpkin is worked in continuous rounds.
- R1: 6 sc into ring. (6 st)
- R2-3: Sc around. (6 st)
- R4: *Sc in next 2 st, 2 sc in next, repeat from * around. Change to orange yarn in last stitch. (8 st)
- R5: 2 sc in ea st (16 st)
- R6: *sc in next st, 2 sc in next. Repeat from * around. (24 st)
- R7: *sc in next 2 st, 2 sc in next. Repeat from * around. (32 st)
- R8: *sc in next 3 st, 2 sc in next. Repeat from * around. (40 st)
- R9-16: sc around. (40 st)
- R17: *sc in next 3 st, sc2tog. Repeat from * around. (32 st)
- Begin stuffing the pumpkin.
- R18: *sc in next 2 st, sc2tog. Repeat from * around. (24 st)
- R19: *sc in next st, sc2tog. Repeat from * around. (16 st)
- R20: * sc2tog. Repeat from * around. (8 st)
- Finish: Fasten off, leaving 3-4 feet of yarn for wrapping the pumpkin sections. Then firmly stuff the rest of the pumpkin and weave end through last stitches, pull tight and knot off.
Pumpkin Leaf
With green yarn, chain 5 and join to form a ring.
- Leaf: ch 1, work (4 hdc, picot, 4hdc, ch 1, sl st) in ch-5 loop. Leaf made. Fasten off, leaving a long strand for sewing.
Assembly
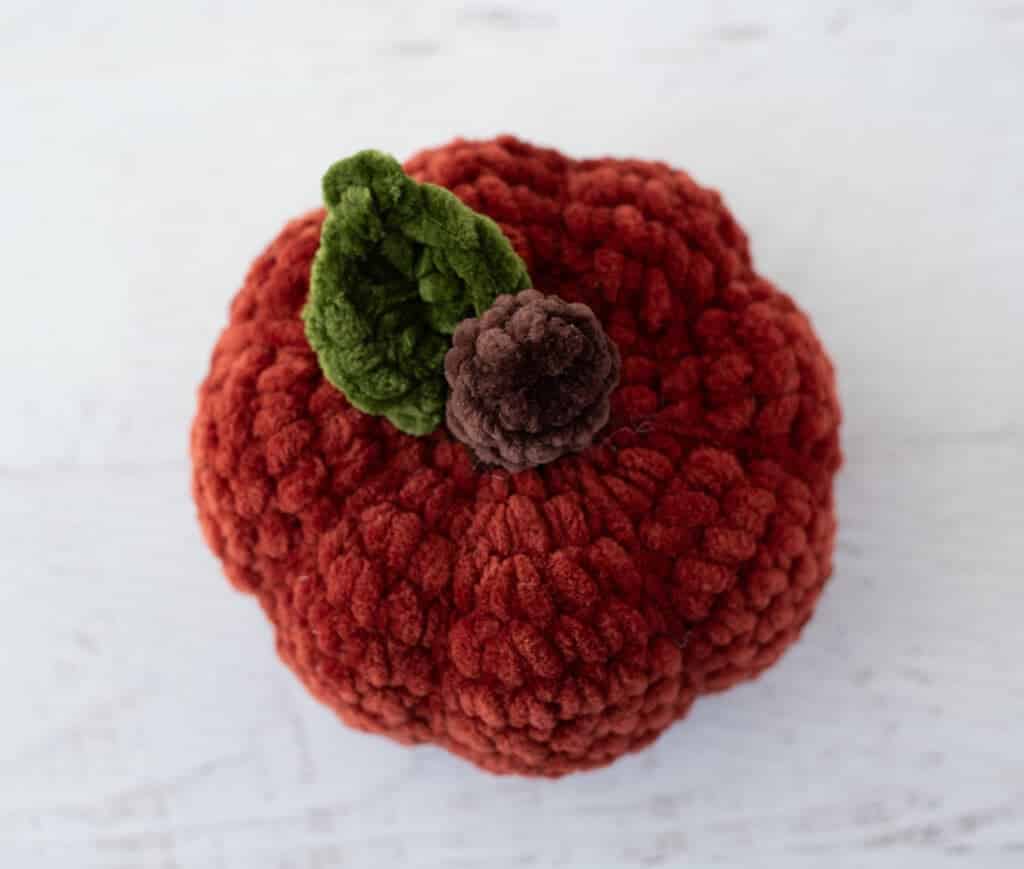
Shape the Pumpkin Sections
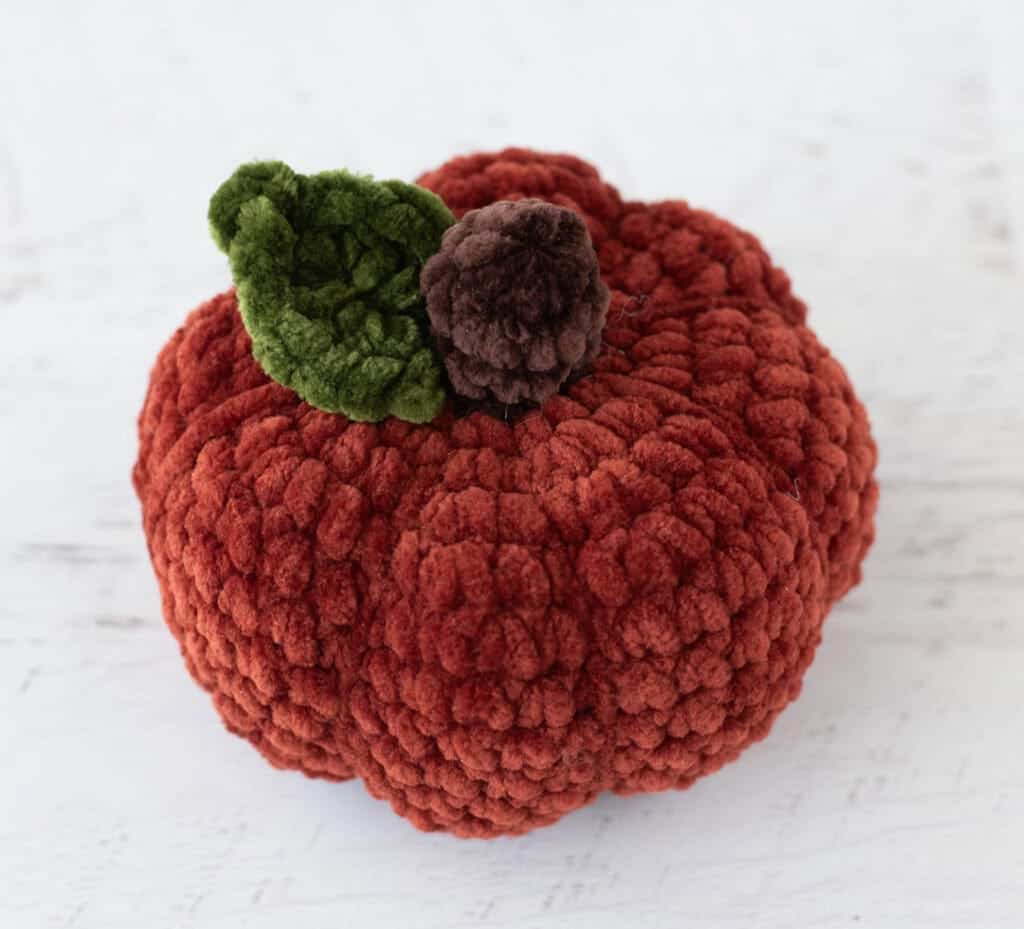
Thread a tapestry needle with the long yarn strand left from finishing the bottom of the pumpkin. Insert the needle all the way through the center, through the stuffing, towards the top center of the pumpkin to the base of the stem, and pull yarn through. Wrap yarn around the outside of the pumpkin and then reinsert yarn back through the center of the pumpkin, coming out at the base of the stem on the opposite side. Pull yarn tight to create an indentation. Continue to make each section by stitching through the center of the pumpkin. Pull tight after each pass. It is easiest to first divide the pumpkin in half, then in quarters, and again to get 8 equal sections. Tie off yarn and secure.
Sew the Leaf
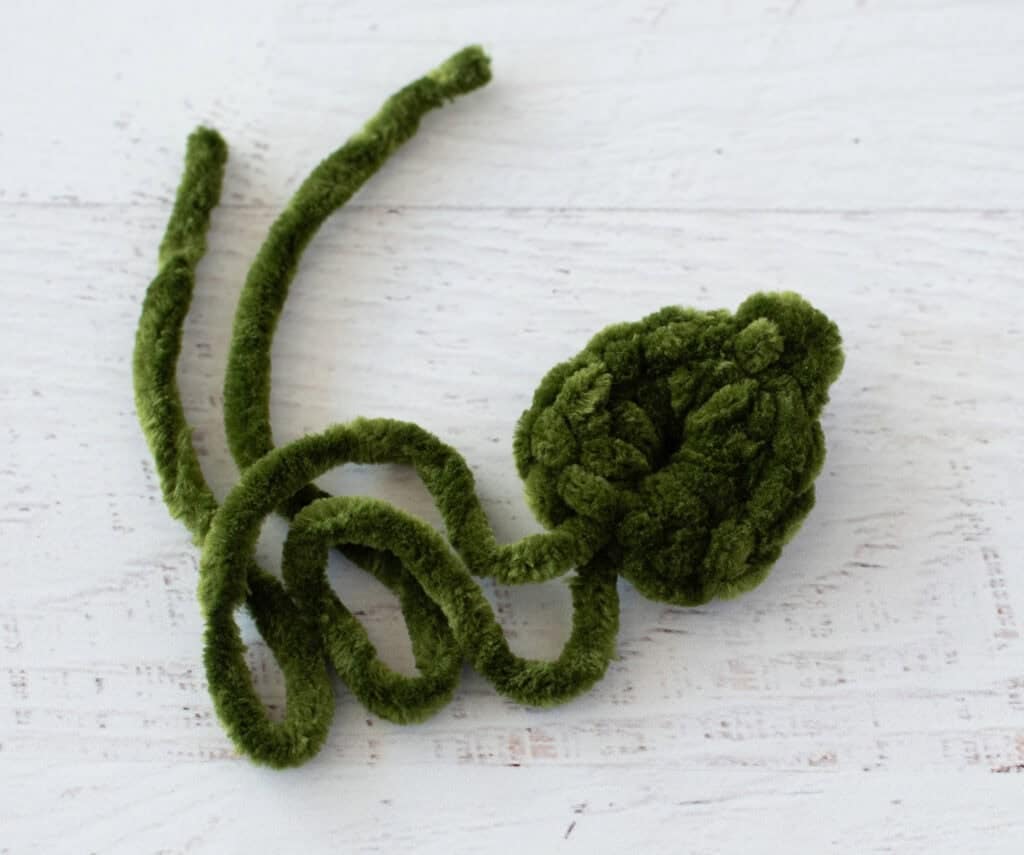
Sew the leaf in place on top of the pumpkin at the base of the stem. Weave in ends.
Tips
- Yarn Choice: The creator recommends Premier Parfait Chunky for the body and Himalaya Dolphin Baby for the leaf. Both are soft, super bulky chenille-style yarns that provide a beautiful plush finish.
- Hook Size: Use a smaller than normal hook size for the yarn weight to ensure tight stitches and prevent stuffing from showing.
- Sectioning: When shaping the pumpkin, take your time dividing the sections. Starting with halves, then quarters, and finally eighths helps ensure even spacing.
- Resources: For help with basic stitches, refer to standard crochet tutorials for slip stitch, single crochet, and chain stitch techniques.
FAQs
Can I use a different yarn weight?
Yes, gauge is not important in this pattern. You may use other weights of yarn, but you will need to adjust your hook size to fit your needs and potentially modify the stitch counts to achieve the desired size.
How do I make the pumpkin sections even?
The easiest method is to visually divide the pumpkin in half first, then quarters, and finally eighths before stitching. This ensures that the indentations are symmetrical and the pumpkin looks balanced.
Is this pattern suitable for beginners?
Yes, this plush crochet pumpkin is beginner-friendly. It uses simple stitches like single crochet and decreases, and the construction method avoids complex sewing.
What size hook should I use?
The pattern recommends a US H8/5.00 mm hook for the specified super bulky yarn. Using a slightly smaller hook than usual for the yarn weight helps create a tight fabric.
Can I use this pattern for other holiday decor?
While designed for fall, the simple construction can be adapted for other seasons by changing the yarn colors. For example, you could use white yarn for a ghost or green yarn for a Christmas ornament.
Pin This Crochet Pattern!