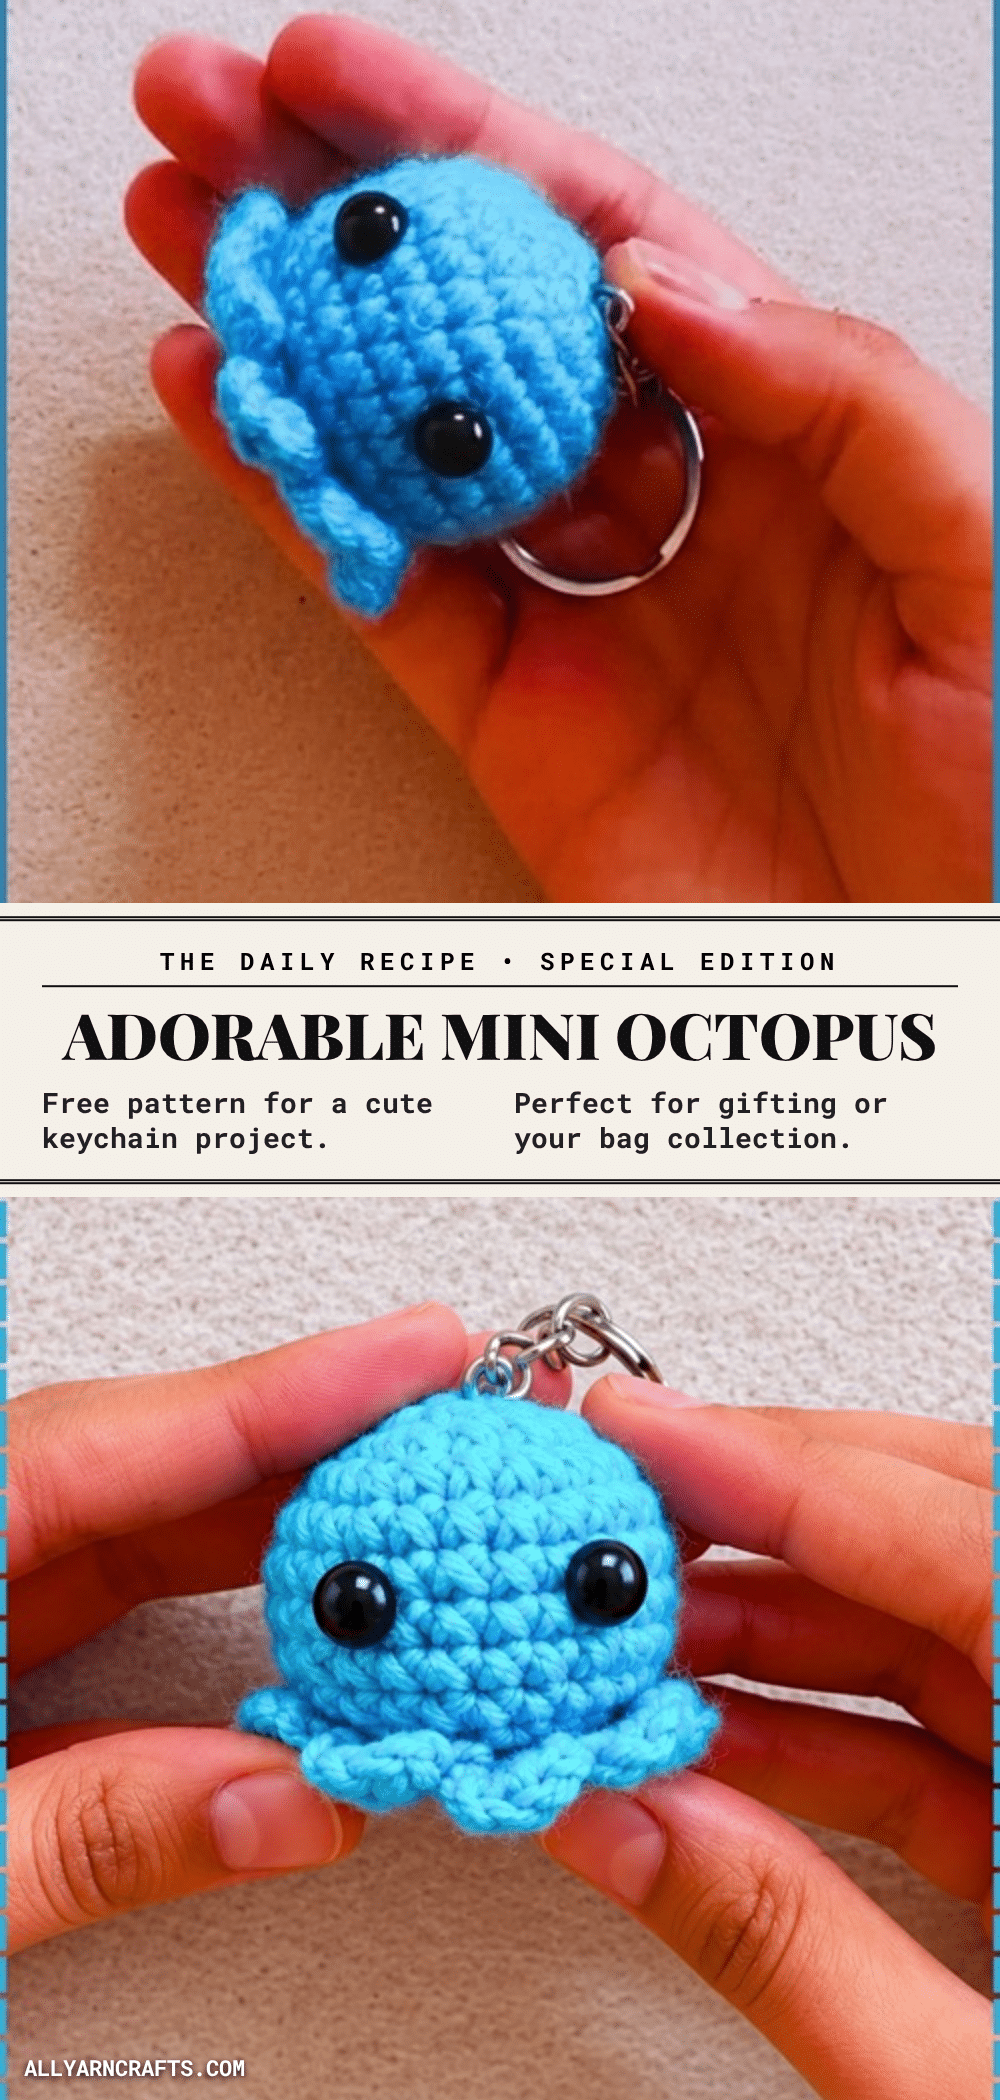
This adorable mini octopus keychain is the perfect project for crocheters looking to create a durable, portable, and charming handmade accessory. Unlike larger plushies that can get lost or damaged, this compact amigurumi is designed to survive daily backpack abuse, making it an ideal gift for students, teachers, or anyone who loves ocean-themed decor. The pattern utilizes a continuous round technique that eliminates seams and keeps the tentacles securely attached, ensuring your little friend stays together even with heavy use.
Gift and Use Ideas
While this mini octopus is undeniably cute, its practical design makes it a functional item as well. The bright blue yarn (or your chosen color) stands out against dark bags and keys, making it easy to spot. Because the tentacles are worked as loose chains that hang freely, the piece has a natural movement when it swings, adding a playful dynamic to your keys or zipper pulls. It is an excellent project for making a stack of gifts for a whole class or work team, as one ball of yarn can yield multiple keychains. It also serves as a charming standalone desk toy or a small addition to a larger amigurumi collection.
Project Overview
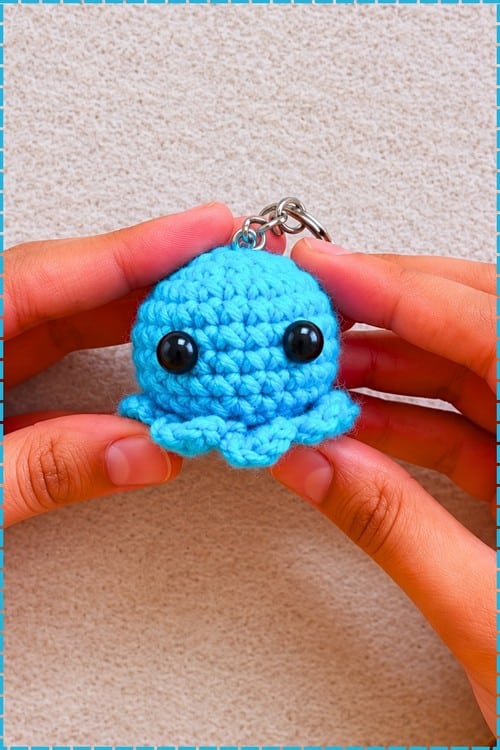
This pattern creates a small, continuous amigurumi body with integrated tentacles. The octopus is worked in continuous rounds from the crown down to the base, where the tentacles are attached directly to the outer loops of the final decrease round. The design emphasizes durability and ease of construction, avoiding the need to sew on separate limbs.
Materials
- Yarn in your chosen color — weight to suit a 2.5mm hook
- 2.5mm crochet hook
- Scissors
- Stitch marker
- Yarn needle
- Keyring
- Two decorative or safety eyes
- Hot glue gun (for attaching decorative eyes)
- Stuffing material
Gauge and Finished Size
Specific gauge and finished measurements are not provided in the source pattern. The project is designed to be worked to the stitch counts provided below, resulting in a small keychain-sized amigurumi.
Abbreviations
Standard US crochet abbreviations are used:
- mc: Magic ring
- sc: Single crochet
- inc: Increase (2 sc in same stitch)
- dec: Decrease (2 sc together)
- sl st: Slip stitch
- dc: Double crochet
- ch: Chain
- flo: Front loop only
- blo: Back loop only
Pattern Notes
- Continuous Rounds: Work in continuous rounds. Mark the first stitch of every round and move the marker up. At only 24 stitches, the round count is easy to lose if you stop paying attention.
- Eye Attachment: The pattern uses a hot glue gun to attach decorative eyes rather than push-through safety eyes. The eyes are surface-glued. See the safety note below for important guidance on this before choosing your finishing method.
- Tentacle Attachment: The tentacles attach to the outer loops left free from round 10 (the front-loop-only decrease round). Find those standing loops around the widest visible edge of the body just above the base.
- Stuffing Timing: The round 10 front-loop decrease already starts narrowing the opening — round 11 closes it almost completely. Get the stuffing in before round 11, not after.
Pattern Instructions
Body
Work in continuous rounds. Mark the first stitch of every round and move the marker up.
R1: Magic ring, chain 1, 6 single crochet into the ring. Mark the first stitch (6)
R2: 2 single crochet in each stitch around (12)
R3: 2 single crochet in the first stitch, 1 single crochet in the next, repeat around (18)
R4: 2 single crochet in the first stitch, 1 single crochet in each of the next 2 stitches, repeat around (24)
Shape checkpoint, round 4: a flat disc at 24 stitches. Still completely flat — the sides have not begun to rise yet. If it is cupping, your tension is too tight.
R5 to R9: 1 single crochet in each stitch around for 5 rounds (24)
Shape checkpoint, round 9: a rounded dome, the body fully widened and the straight section complete. The eyes go in before round 10 — see the safety eye timing note below. Do not continue past round 9 without placing or marking eye position.
R10: 1 single crochet, 1 single crochet decrease using the front loops only, repeat around (16)
Shape checkpoint, round 10: the front-loop-only decrease pulls the fabric inward while leaving the back loops standing free. The body should be narrowing now, and the back loops from round 10 will be used as the attachment points for the tentacles. Do not pick up both loops in this round.
R11: 8 single crochet decreases, picking up only the back loops of each stitch (8)
Shape checkpoint, round 11: the body closes rapidly. Stuff firmly before this round — after 8 back-loop decreases bring the count to 8 stitches, the opening is very small.
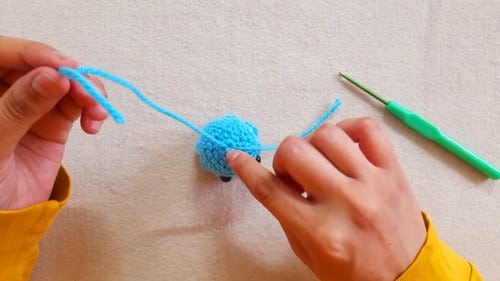
Closing: Stuff the body firmly at this point through the remaining opening. Work 1 to 3 additional single crochet as needed to reach the desired closing point. Thread the yarn tail onto the needle, weave through the outer loops of the last row, pull tight to close. Secure and trim — leave the yarn attached if you want to work the tentacles immediately from this yarn.
Safety Eye Timing
Place eyes between rounds 5 and 7, while the body is still open and the opening is wide enough to fit washers from the inside. The pattern says the ideal placement is between rows 5 and 7 with approximately 4 stitches between them. Check symmetry from the front before pressing washers on.
If this octopus is going to a child under three, skip the decorative glued eyes entirely. Embroider two small solid circles in black yarn at the same position — between rounds 5 and 7, 4 stitches apart. Embroidered eyes on a small stuffed surface are secure and have no detachable parts.
The original pattern uses hot glue to attach decorative eyes rather than safety eyes with washers. Hot glue on yarn surface can fail with handling, particularly on a keychain that gets used daily. If the octopus will be handled frequently or given to an older child, push-through safety eyes with fully seated washers are the more durable option.
Tentacles
The tentacles attach to the outer loops left free from round 10 (the front-loop-only decrease round). Find those standing loops around the widest visible edge of the body just above the base.
Instructions:
- Attach yarn to the outer loop of one single crochet from round 10.
- Chain 2, work 2 double crochets into the next stitch, chain 2, slip stitch into the following stitch.
- Repeat this sequence 8 times total to complete the full set of tentacles.
- Secure the yarn, weave the ends through the surrounding stitches, and trim.
Shape checkpoint after tentacles: eight small looped clusters hanging from the base of the body, evenly distributed around the circumference. Each cluster — chain 2, 2 double crochet, chain 2, slip stitch — creates one tentacle. They should all be the same size. If some read larger, your tension on the chain 2 varied — work all chains at the same looseness.
Keyring Attachment
Thread a length of yarn through the top of the magic ring at the crown of the body. Thread both yarn ends through the keyring loop. Tie a firm double knot. Thread the tails back into the body and trim.
The magic ring at the crown is the attachment point — it is already a closed loop of yarn and threading through it gives the keyring a solid anchor. Do not attach the ring through a single stitch elsewhere on the body; a single stitch pulled by a keyring will eventually distort or pull through.
Assembly
No separate assembly beyond the keyring and eye attachment is required. The tentacles are worked directly onto the body edge. Everything else is part of the same continuous make. Add the eyes last — after the body is closed, stuffed, and the tentacles are complete, so the face orientation is correct relative to the assembled piece.
Tips
- Stuffing: Stuff the body firmly before you close it, because a soft one flattens the moment it goes in a bag. Push stuffing into the top of the dome first, then pack toward the sides.
- Efficiency: Why I love this one: the tentacles are worked in one continuous pass around the edge, not eight separate pieces sewn on individually. That single decision makes this pattern dramatically more enjoyable to finish than most octopus patterns I have tried.
- Finding Loops: If you cannot find the front loops from round 10 to attach the tentacles, look for the ridge that formed when you worked the front-loop-only decreases. It sits just above the base of the body. The loop facing outward along that ridge, pointing slightly away from the body, is the loop the tentacles attach to.
- Tentacle Consistency: The tentacles look uneven if your chain 2 sections vary in length. Work all chain 2 sequences at the same tension — slightly looser than your single crochet tension — and count every chain before moving to the double crochets.
FAQ
Can I make this without the keyring as a standalone toy?
Yes. Skip the keyring step entirely and leave the magic ring crown unattached. The octopus works as a small standalone toy without any changes to the pattern.
Can I add more tentacles?
The pattern gives 8 tentacles to match the outer loops of round 10, which has 16 stitches after the front-loop decreases — 8 slip stitches and 8 double-crochet clusters alternating. More than 8 would require the clusters to share stitch anchors, which would crowd the base. Stick to 8 for the cleanest result.
Why are my tentacles uneven?
The chain 2 sections at the start and end of each tentacle cluster are the variable element. If your chains vary in length, the tentacles will too. Work all chain 2 sequences at the same tension — slightly looser than your single crochet tension — and count every chain before moving to the double crochets.
Is this pattern safe for toddlers?
If this octopus is going to a child under three, skip the decorative glued eyes entirely. Embroider two small solid circles in black yarn at the same position — between rounds 5 and 7, 4 stitches apart. Embroidered eyes on a small stuffed surface are secure and have no detachable parts. The keyring itself is also not appropriate for children under three.
Where do I attach the keyring?
Thread a length of yarn through the top of the magic ring at the crown of the body. The magic ring is the strongest point and provides a solid anchor. Do not attach the ring through a single stitch elsewhere on the body, as it may distort or pull through.
Pin This Crochet Pattern!