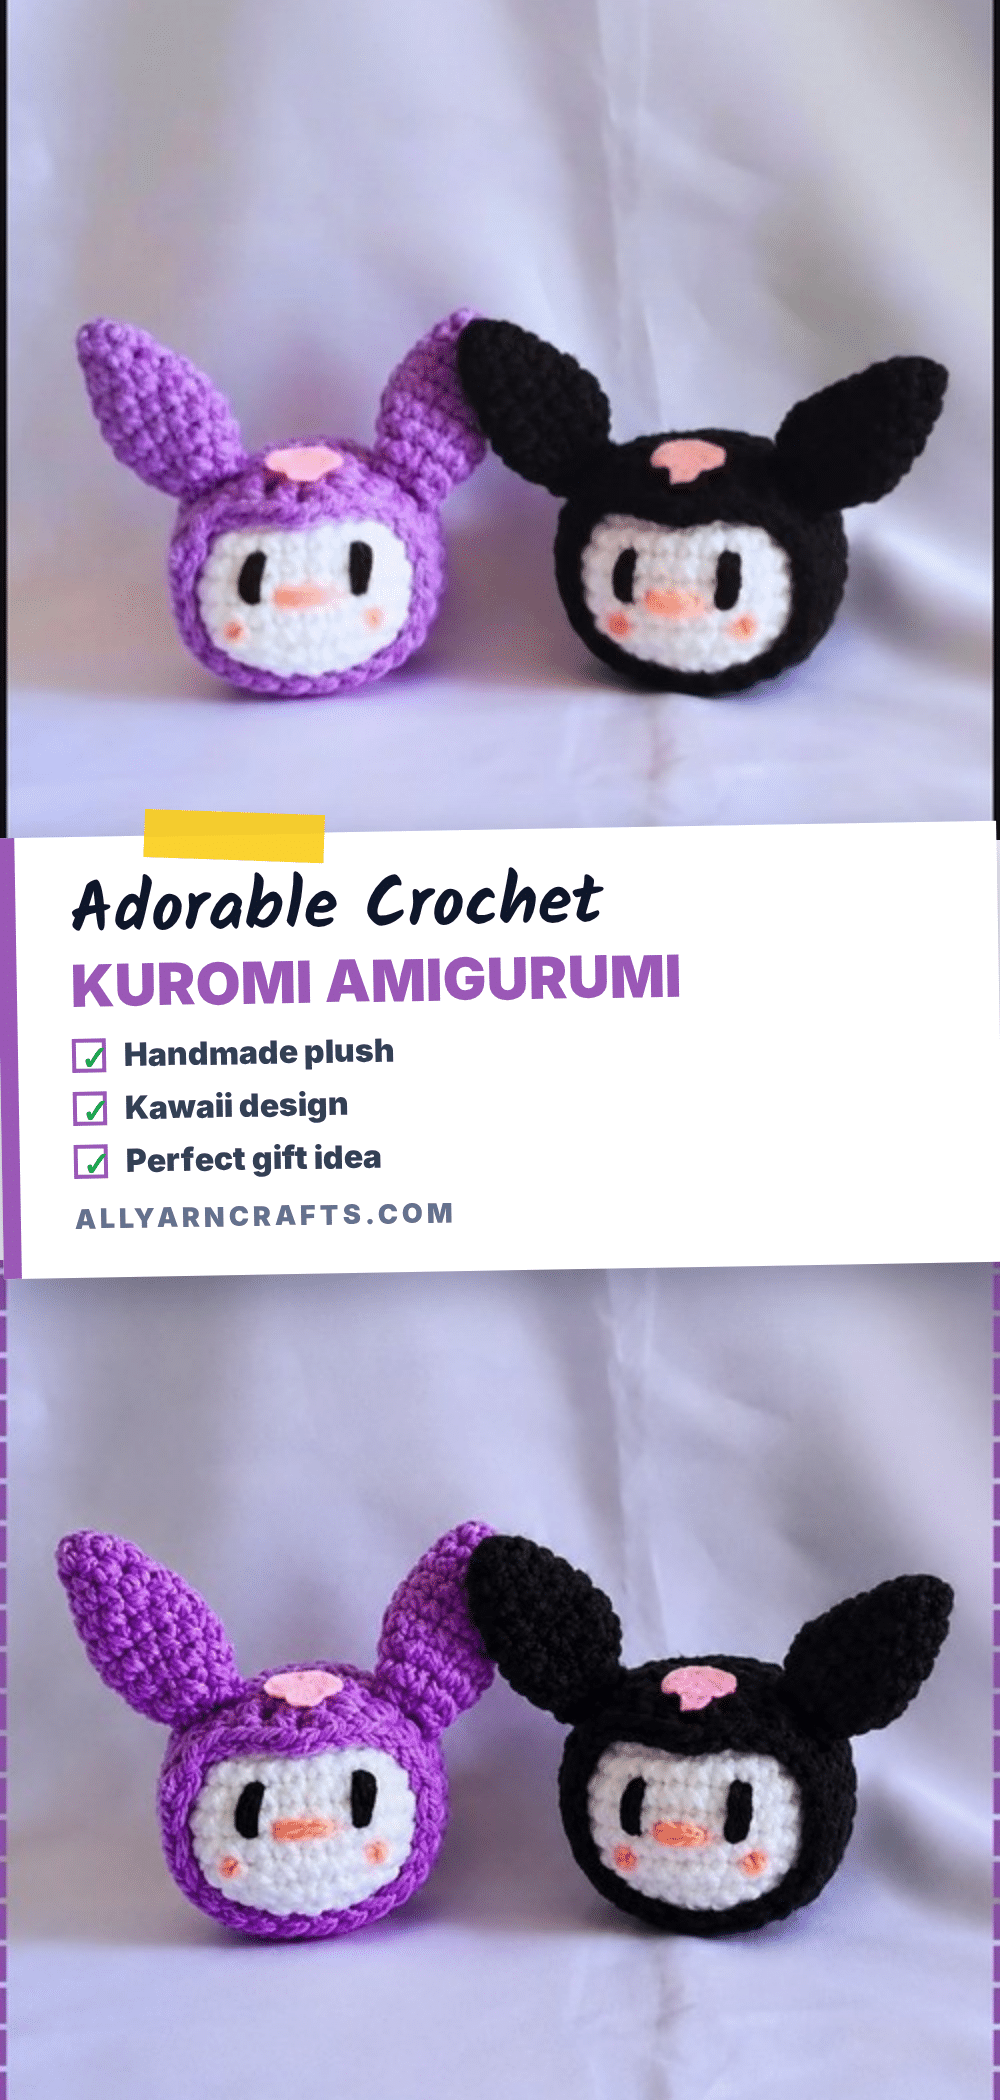
There is something undeniably charming about bringing a character to life with just yarn and a hook. This Kuromi amigurumi pattern captures the mischievous spirit of the Sanrio character through a compact, spherical design that is perfect for desk companions or backpack charms. The construction relies on a clever layering technique where a shaped hood sits over a separate head piece, creating that iconic silhouette without complex shaping. Whether you are a seasoned amigurumi maker or a beginner looking for a manageable project, this pattern offers a rewarding way to practice tension control and assembly.
Seasonal Styling Ideas
While Kuromi is a year-round favorite, this pattern is particularly delightful for seasonal crafting. The black and white color palette makes it an excellent choice for Halloween decor, fitting seamlessly into autumn displays. You can also swap the standard black yarn for a deep purple or silver thread to create a “winter wonderland” version for the holidays. Because the finished size is small, these plushies make thoughtful handmade gifts for friends who love Sanrio art, or as unique accents for nursery shelves and book nooks.
Project Overview
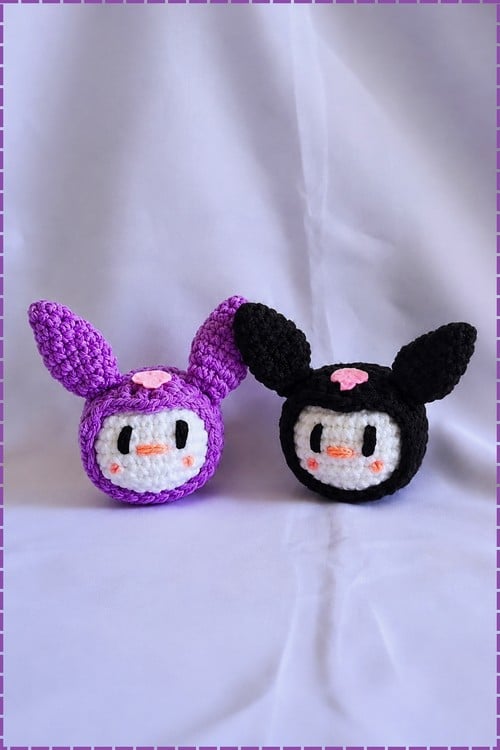
This project involves creating three main components: a head, a hood, and two ears. The head and hood share identical construction through the first eleven rounds, diverging only when the hood begins to shape its pointed peak. The hood is designed to sit over the head like a hat, rather than being a single integrated piece. Facial features are embroidered rather than using safety eyes, which adds a softer, more artistic finish and eliminates the need for plastic components.
Materials
- Black Yarn: Primary color for the head and hood. Approximately 60 to 80 metres estimated.
- White Yarn: Small amount for the skull emblem detail.
- Pink Yarn: Small amount for the nose embroidery.
- Black Yarn (Contrast): Same or contrast weight for eye embroidery.
- Crochet Hook: 2.5 mm or 3 mm.
- Stuffing: Polyester fiberfill.
- Notions: Yarn needle, stitch marker, and scissors.
Gauge and Finished Size
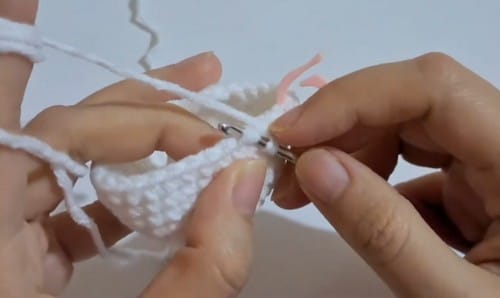
The finished size is approximately 8 to 10 cm. This estimate is based on construction and typical DK-weight amigurumi proportions. To ensure the hood sits evenly over the head, maintain consistent tension between both main pieces. If the flat disc at the beginning of the pattern begins to cup upward, your tension is likely too tight.
Abbreviations
Standard US crochet abbreviations are used:
- SC: Single Crochet
- HDC: Half Double Crochet
- DC: Double Crochet
- Inc: Increase (2 SC in the same stitch)
- Dec: Decrease (2 SC together)
- MC: Magic Ring
Pattern Notes
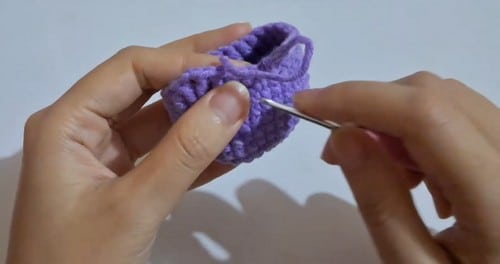
The head and hood share the same construction through row 11. This means you are working the same increase-and-plain structure twice before they diverge. Mark row 11 on both pieces as you go so you do not accidentally continue into the wrong ending for each. The hood’s shaped peak in rows 12 and 13 uses HDC and DC stitches alongside SC. These taller stitches push upward in one section while the surrounding SC rounds stay low, creating the point. Keep your tension consistent between both main pieces so the hood sits evenly over the head when assembled.
Pattern Instructions
Head
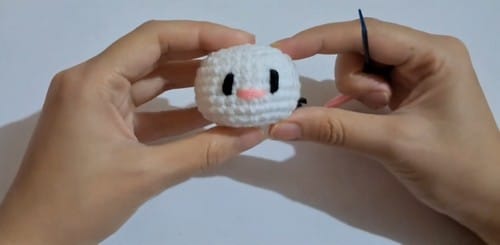
Work in continuous spiral rounds unless otherwise stated.
- Row 1: Magic ring, 6 SC [6]
- Row 2: Inc in every stitch [12]
- Row 3: (1 SC, 1 inc) repeat to end [18]
- Row 4: (2 SC, 1 inc) repeat to end [24]
- Row 5: (3 SC, 1 inc) repeat to end [30]. The piece should be a flat disc at this point, lying completely level; if it is beginning to cup upward, your tension is too tight.
- Rows 6 to 10: SC in every stitch, 5 rounds [30]. By row 10 the piece should be a clear dome, sitting upright on a flat surface without support.
- Row 11: (3 SC, 1 dec) repeat to end [24]
- Row 12: (2 SC, 1 dec) repeat to end [18]
- Row 13: (1 SC, 1 dec) repeat to end [12]. The opening is now small enough that the head holds its shape.
- Stuffing: Stuff firmly before continuing. Push fiberfill evenly through the remaining opening.
- Final Row: Dec in every stitch [6]. Cut yarn, thread tail through front loops of remaining stitches, pull to close, and weave in end.
Hood
The hood follows the same construction as the head from rows 1 through 11. Work those rows identically, then continue as follows.
- Rows 1 to 11: Same as head rows 1 to 11. By row 11 you have 24 stitches and the piece should look identical to the head at that stage. Do not stuff this piece.
- Row 12: 1 SC, 1 HDC, 3 DC (each into their own stitch), 1 HDC, 18 SC [24]. The taller stitches in this row begin pushing the peak upward on one side; the flat SC section is the back of the hood.
- Row 13: 1 SC, 1 HDC, 1 DC, then into the same stitch work (1 DC, chain 2, 1 DC), then 1 DC, 1 HDC, 18 SC [26 stitches plus the 2-chain space]. The chain-2 space at the peak forms the tip of Kuromi’s hood point. The piece should now have a clear pointed apex on one side and a flat curved back on the other.
- Finish: Finish with an invisible join. Thread the yarn tail onto a needle, insert into the second-to-last stitch, return through the back loop of the last stitch, pull gently, and fasten off.
Ears — Make 2
- Row 1: Magic ring, 3 SC [3]
- Row 2: Inc in every stitch [6]
- Row 3: SC in every stitch [6]. A very small flat shape at this point, barely bigger than a coin.
- Row 4: (1 SC, 1 inc) repeat [9]
- Row 5: SC in every stitch [9]
- Row 6: (2 SC, 1 inc) repeat [12]. The ear is building into a small oval that is wider at the base than at the tip.
- Row 7: SC in every stitch [12]
- Row 8: (2 SC, 1 dec) repeat [9]
- Row 9: (1 SC, 1 dec) repeat [6]. The ear should be a narrow pointed oval, pinching toward the tip.
- Finish: Leave it unstuffed and flat. Fasten off and leave a long tail for sewing.
Assembly
Assemble in this order, and pin before sewing every piece.
- Embroider the Face: Embroider the eyes on the head first, before the hood goes on, since access becomes limited once the hood is placed. Use black yarn to work vertical straight stitches between rows 6/7 and 8/9 on each eye, placed 3 stitches apart on the face. Embroider the nose in pink yarn as a horizontal stitch between the two eyes, positioned just below them. Embroider the mouth below the nose.
- Attach the Hood: Place the hood over the head, aligning the pointed peak to the front and the flat SC section to the back. The hood should sit like a hat with the peak above the face. Pin it at four or five points around the edge before sewing. Sew the hood to the head around the lower edge, taking small stitches all the way around so it does not gap or shift.
- Attach the Ears: Sew the ears onto the hood between rows 11 and 12, positioning them on either side of the peak. Pin both ears before sewing either one to check symmetry from the front.
- Skull Emblem: Embroider the skull emblem onto the front of the hood in white yarn, centred below the peak.
Tips
- Don’t let the stitch counts scare you off! Beginners can follow video tutorials to crochet this plushie right along with the pattern.
- The most common positioning mistake is placing the ears too far back on the hood. They should sit close to the peak, not near the side seam, to read as Kuromi’s characteristic look.
- Only the head gets stuffed. The hood is worked over the head like a covering and stays completely empty. Stuffing it would make it rigid and prevent it from sitting flush against the head when assembled.
FAQs
Does the hood actually stay on the head?
Yes, the hood is designed to sit over the head like a hat. It is sewn to the lower edge of the head, creating a fixed silhouette. The peak aligns to the front, and the flat back sits at the rear.
Can I use safety eyes instead of embroidery?
This pattern uses embroidered eyes for a softer look and to avoid plastic components. If you prefer safety eyes, insert them before row 11 while the head is still open, and skip the embroidery step. Note that for any version going to a child under three, embroidered eyes are the safer choice.
Why are the ears attached to the hood?
The ears are attached to the hood between rows 11 and 12 to ensure they sit correctly relative to the peak. If attached to the head, they might not align with the hood’s point, losing the character’s distinct appearance.
What yarn weight should I use?
The pattern estimates 60-80 metres for the head and hood, which suggests a DK-weight yarn. Using a 2.5 mm or 3 mm hook with this weight will help achieve the correct finished size of 8-10 cm.
How do I fix a cupping base?
If the flat disc at the beginning of the pattern begins to cup upward, your tension is likely too tight. Try using a slightly larger hook or relaxing your grip on the yarn to keep the piece flat.
Pin This Crochet Pattern!