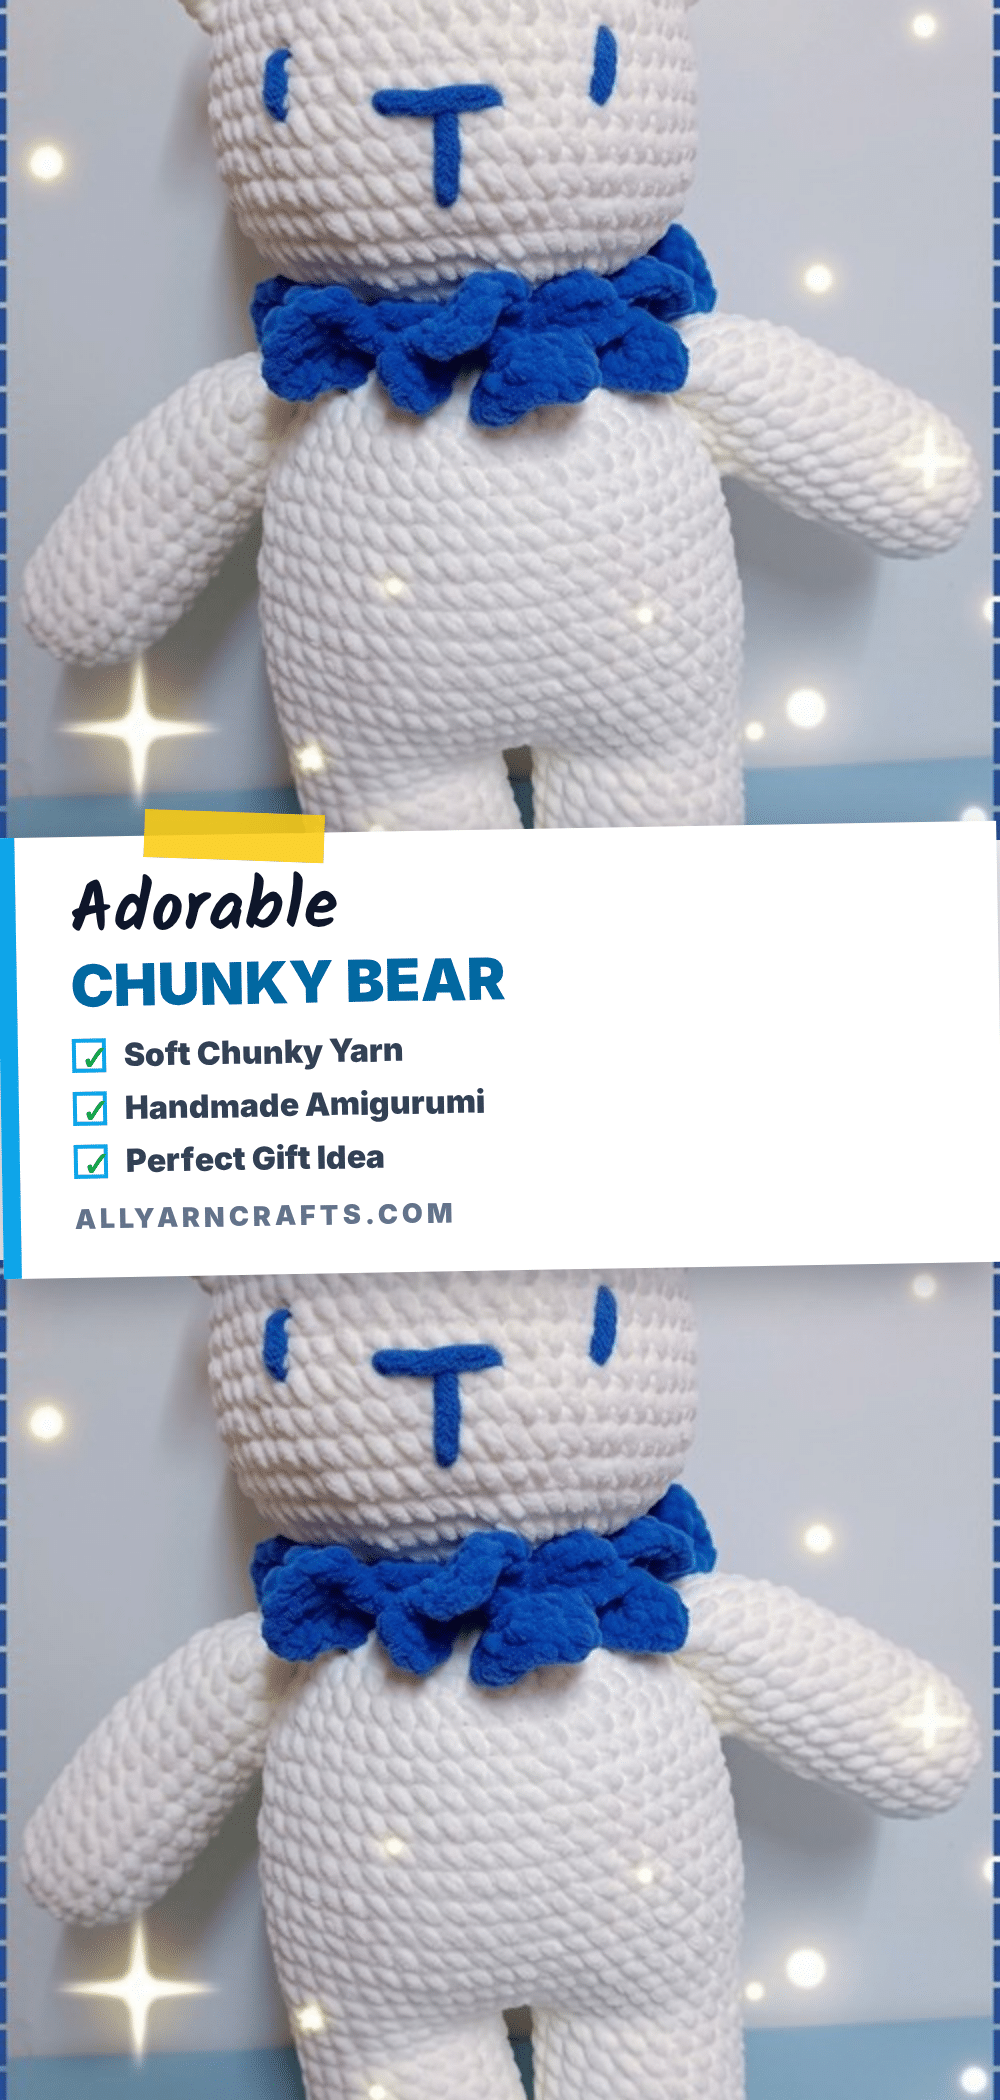
There is something undeniably magical about the cloud-soft texture of chunky yarn, turning simple stitches into a cuddle toy that feels like a warm hug. This adorable chunky yarn bear amigurumi pattern is the perfect project for makers looking to create a plush companion that is as easy to make as it is delightful to hold. Whether you are crafting a gift for a nursery, a get-well present, or a cozy addition to your own shelf, the puffy chenille texture and simple embroidered face make this bear a standout piece. It is a project that balances quick progress with a professional, high-end finish.
Seasonal Styling Ideas
While the classic white chenille bear is a timeless staple for any nursery or child’s room, the beauty of this pattern lies in its versatility. The chunky yarn and simple construction allow for endless seasonal styling without needing to alter the pattern itself. For the holidays, swap the blue collar for festive red or green yarn to instantly transform the bear into a Christmas gift that feels special and handmade. In spring, try a pastel pink or mint green to create a sweet Easter bunny-adjacent friend. The texture of the yarn catches the light beautifully, making it an excellent subject for photography, whether it is sitting on a rocking chair for a newborn announcement or nestled in a Valentine’s Day basket. Because the bear is made from durable polyester or microfiber, it holds up well to hugs and play, making it a practical yet sentimental keepsake.
Project Overview
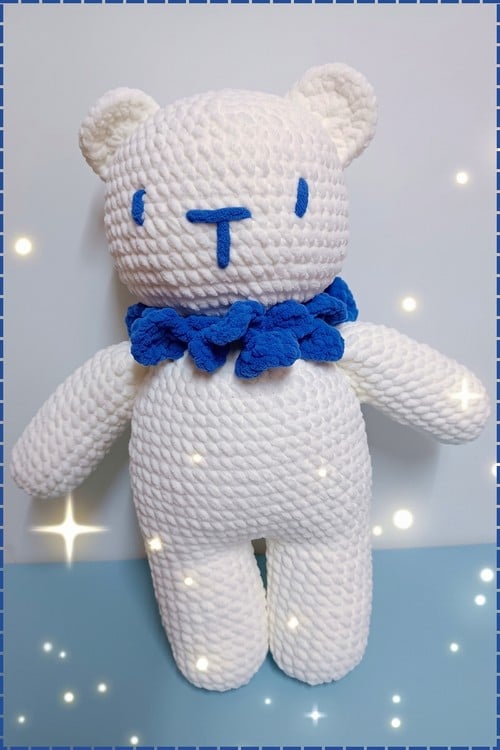
This amigurumi project creates a soft, puffy bear using chunky chenille or microfiber yarn. The design features a simple, charming face made of three embroidered blue lines on a white head, round ears, and a ruffled collar. The bear is constructed from seven separate pieces—head, body, two arms, two legs, ears, muzzle, and tail—which are stuffed and assembled. The chunky yarn is forgiving of uneven tension, making this an accessible project for crocheters of various skill levels.
Materials
- Yarn: Chunky polyester or microfiber yarn (such as Ice Strip yarn). White is used for the body and head, blue for the collar, and black for the nose embroidery.
- Crochet Hook: A hook sized for bulky yarn, typically 5 mm to 7 mm.
- Safety Eyes: Two safety eyes.
- Stuffing: Fiberfill stuffing.
- Tools: Stitch markers, yarn needle, and scissors.
Gauge and Finished Size
Specific gauge and finished measurements are not provided in the source pattern. The size will vary based on the specific brand of chunky yarn and hook size used. The pattern notes that the head disc at Round 4 should be wide enough to span the palm comfortably.
Abbreviations
- SC: Single crochet
- Inc: Increase (2 SC into the same stitch)
- Dec: Decrease (2 stitches crocheted together)
Note: All pieces are worked in continuous rounds unless stated otherwise.
Pattern Notes
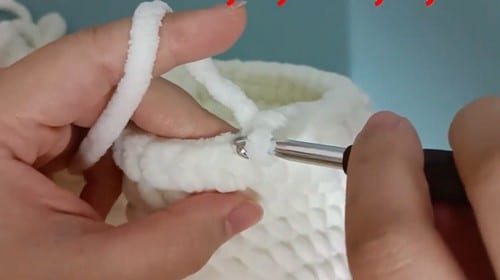
Chenille yarn is known for forgiving uneven tension, which helps maintain a neat appearance even if your stitches vary slightly. The most critical step in this pattern is placing the face lines evenly; take your time with the embroidery to ensure the bear looks balanced. The pattern allows for two construction methods regarding the head and body: you can fasten off the head and sew the body on separately for better positioning control, or continue crocheting from the head to build the body in one piece to avoid a seam.
Pattern Instructions
Head and Body
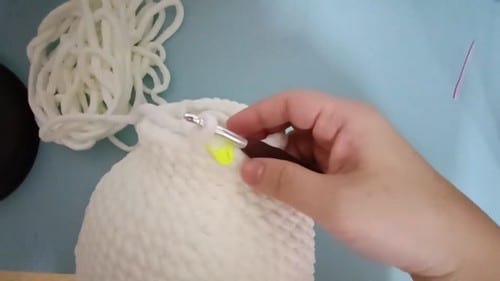
Make 1 piece. Work in continuous rounds.
- Round 1: Magic ring, 6 SC. [6]
- Round 2: Work 2 SC in each stitch around. [12]
- Round 3: Work 1 SC then 1 inc and repeat around. [18]
- Round 4: Work 2 SC then 1 inc and repeat around. [24]. By round 4, the piece should be a flat even disc, lying level without curling, wide enough to span the palm comfortably.
- Round 5: Work 1 SC in each stitch around. [24]
- Round 6: Work 1 SC in each stitch around. [24]
- Round 7: Work 1 SC in each stitch around. [24]. Insert the safety eyes now between rounds 6 and 7, 4 to 5 stitches apart, before continuing. The dome is fully open and the inside is accessible.
- Round 8: Work 1 SC in each stitch around. [24]. By round 8, the shape should be a clear open dome, rounded from all sides, with the eyes visible at roughly the equator of the sphere.
- Round 9: Work 2 SC then 1 dec and repeat around. [18]
- Round 10: Work 1 SC then 1 dec and repeat around. [12]. Stuff the head firmly through the narrowing opening before this round closes it further. Push filling upward toward the crown first so the top stays round. Fasten off or continue into the body, depending on your construction method.
Ears — Make 2
- Round 1: Magic ring, 6 SC. [6]
- Round 2: Work 1 SC then 1 inc and repeat around. [9]. Fasten off leaving a long tail for sewing. Flatten the ear gently between your fingers before pinning to the head. Sew to the top of the head around rounds 3 or 4.
Arms — Make 2
- Round 1: Magic ring, 5 SC. [5]
- Rounds 2 to 5: Work 1 SC in each stitch around. [5]. By round 4, the arm is a narrow tube, closed at one end and open at the other. Lightly stuff the lower portion only. Flatten the top opening. Sew to the sides of the body just below the neck.
Legs — Make 2
- Round 1: Magic ring, 6 SC. [6]
- Round 2: Work 1 SC then 1 inc and repeat around. [9]
- Rounds 3 to 6: Work 1 SC in each stitch around. [9]. By round 6, the leg is a short stocky tube, slightly wider than the arm, with a closed base. Stuff the legs with fiberfill. Sew to the bottom of the body, positioned slightly forward so the bear balances in a seated pose without tipping.
Muzzle
- Round 1: Magic ring, 6 SC. [6]
- Round 2: Work 2 SC in each stitch around. [12]. Fasten off leaving a long tail for sewing. Sew centred on the face, just below the eyes.
Tail
- Round 1: Magic ring, 5 SC. [5]. Fasten off leaving a tail for sewing. Sew to the back centre of the body.
Nose
Using black yarn, embroider a small triangle or V shape on the upper muzzle. Add a short vertical stitch below the nose if desired.
Assembly
Pin everything before sewing anything. Chunky yarn makes repositioning after the first stitch is in much harder than with smooth yarn, and the pieces are large enough that a single stitch off-centre is visible from across the room.
- Ears: Attach first, onto the top of the head at rounds 3 or 4. Pin both at the same time and check from the front for height symmetry. Flatten each before pinning.
- Muzzle: Attach next, centred on the face below the eyes. The nose embroidery goes onto the muzzle, so get the muzzle right before touching the black yarn. Embroider the nose on the muzzle once it is sewn.
- Arms: Attach to the sides of the body just below the neck. Pin both at the same time to judge whether they sit level.
- Legs: Attach to the bottom of the body, angled slightly forward rather than straight down. Test the seated balance with pins in place before committing to any stitches.
- Tail: Attach last, to the back centre of the body.
Tips
- Stuffing: Stuff the head firmly to hold its round shape. The body should be firm but a fraction softer than the head. Arms should be lightly stuffed in the lower half only; fully stuffed arms on chunky yarn stick out rather than draping naturally. Legs should be stuffed but not packed tight, and the tail requires no stuffing.
- Safety Eyes: For toys intended for children under three, skip the safety eyes and embroider two small black ovals in the same position (between rounds 6 and 7) instead. Ensure washers are pushed firmly from the inside until they click.
- Balance: If your bear will not sit upright, the issue is likely the leg angle. Unpick the leg joins, repin with the legs angled more forward so the weight sits over the feet, and check balance before sewing again.
- Yarn Substitution: You can use standard worsted or aran weight yarn on a 4 mm hook. This will result in a much smaller, firmer bear with clearer stitch definition, roughly half the size of the chunky version.
FAQs
What does it mean to “continue into the body” or “fasten off”?
The pattern allows for two construction methods. You can fasten off the head and sew the body on as a separate piece, which gives more control over positioning. Alternatively, you can keep crocheting from where the head closes and build the body as a continuation in the round, which avoids a visible seam. Both methods work well.
My bear will not sit upright. What do I change?
This is usually due to the leg angle. The legs need to point slightly forward rather than straight down so the bear’s weight sits over its feet. Unpick the leg joins, repin with the legs angled more forward, and test the balance before sewing again.
Can I use a different yarn?
Yes. Standard worsted or aran weight yarn on a 4 mm hook works well. The stitch counts remain the same, but the finished size will be roughly half compared to chunky microfiber yarns like Ice Strip. The stitch definition will be clearer, making counting easier.
How do I ensure the safety eyes are secure?
Insert the eyes between rounds 6 and 7 of the head while the dome is still open. Push the washers firmly from the inside until they click down against the fabric. For added security, especially for toys, ensure the washers are seated tightly.
Why is the muzzle attached before the nose embroidery?
The muzzle is a separate crocheted piece that provides a structured base for the face. The nose is embroidered directly onto this muzzle piece. Attaching the muzzle first ensures the nose is centred correctly relative to the eyes and the rest of the head.
Pin This Crochet Pattern!