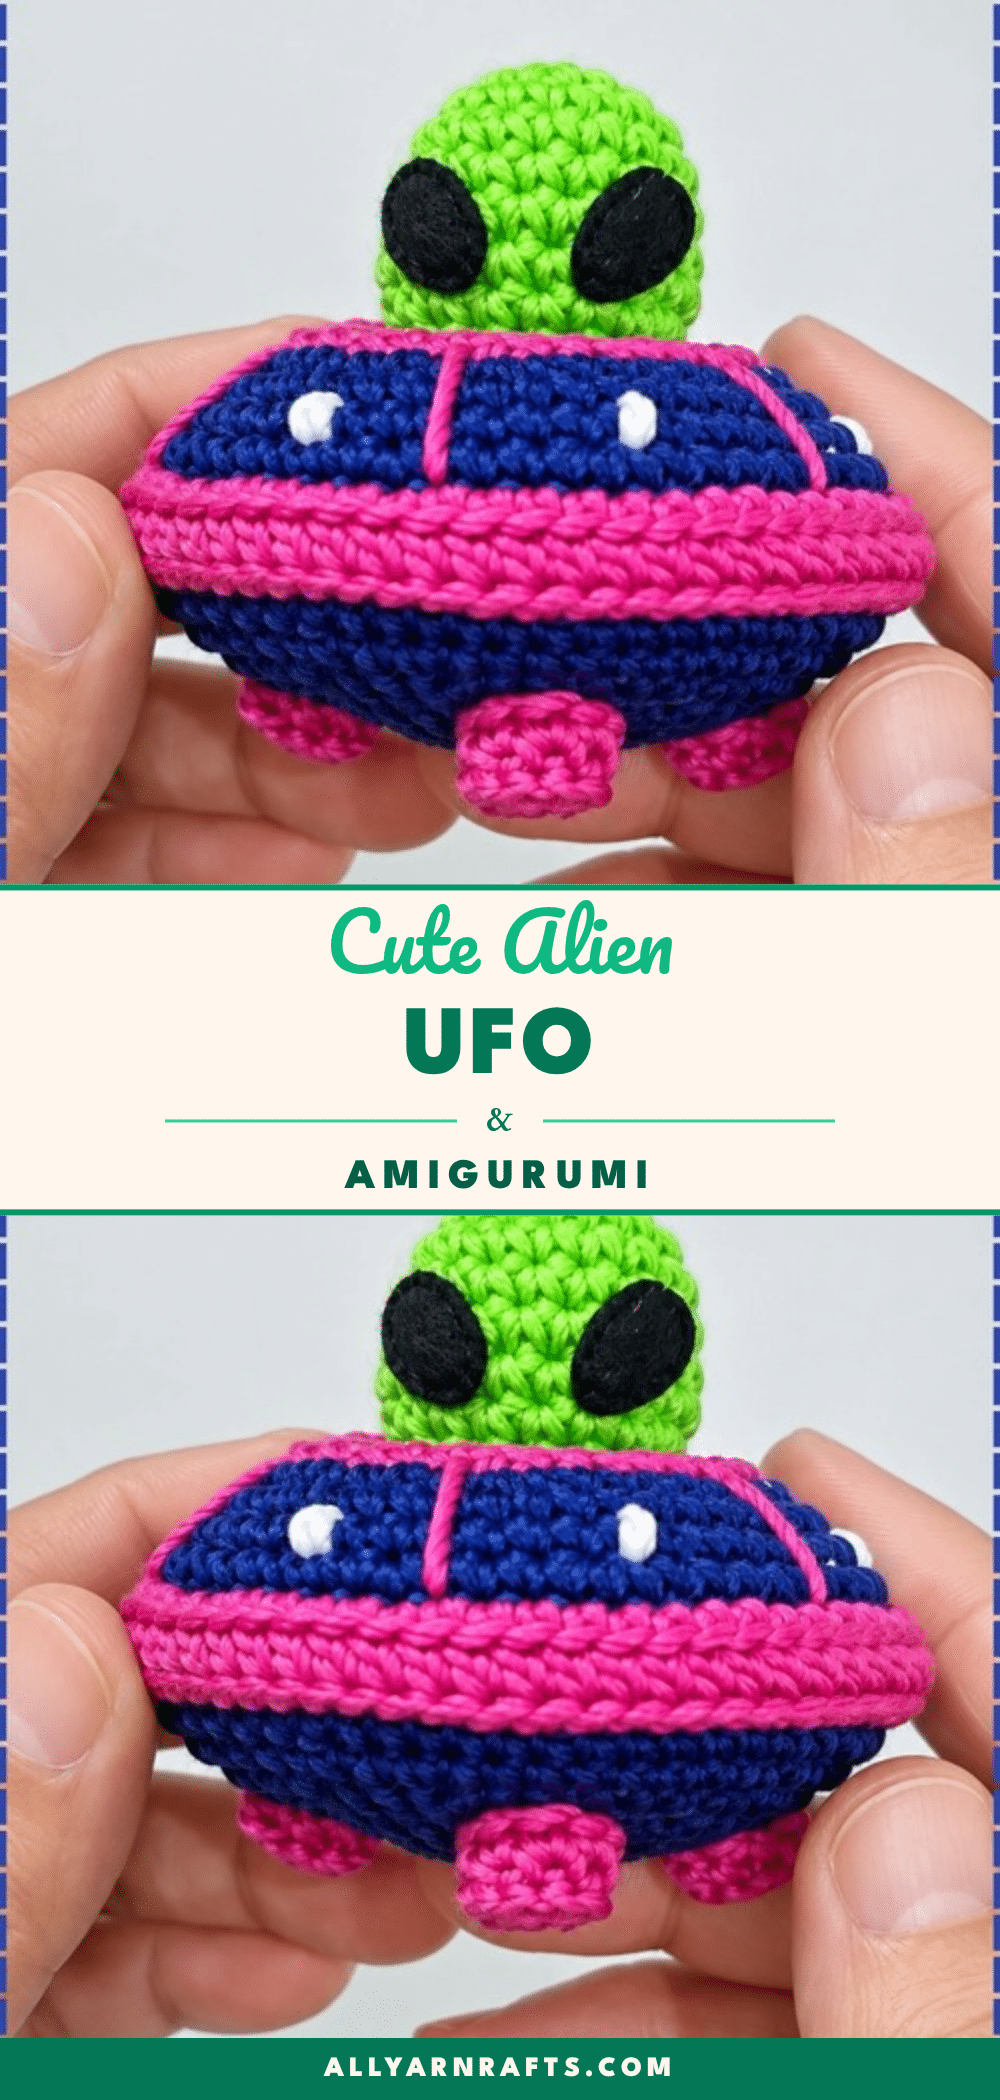
Give a space-obsessed friend or a curious child a handmade gift they will actually keep. This crochet alien and UFO amigurumi is a palm-sized desk companion, a shelf display for sci-fi books, or a charming addition to a space-themed birthday basket. The pattern creates a distinct pilot and a saucer that balances on three small feet, making it a satisfying project for makers who enjoy quirky, character-driven amigurumi.
Gift and Use Ideas
This project works beautifully as a novelty gift for adults who collect desk toys or as a playful prop for a child’s bedroom. The bright colors and simple shapes make it an excellent market-table item for craft fairs, appealing to a wide audience. You can also use the UFO as a small storage vessel for buttons or jewelry, or simply display the alien as a standalone character. The compact size means it uses very little yarn, making it a perfect way to use up scraps from larger projects.
Project Overview
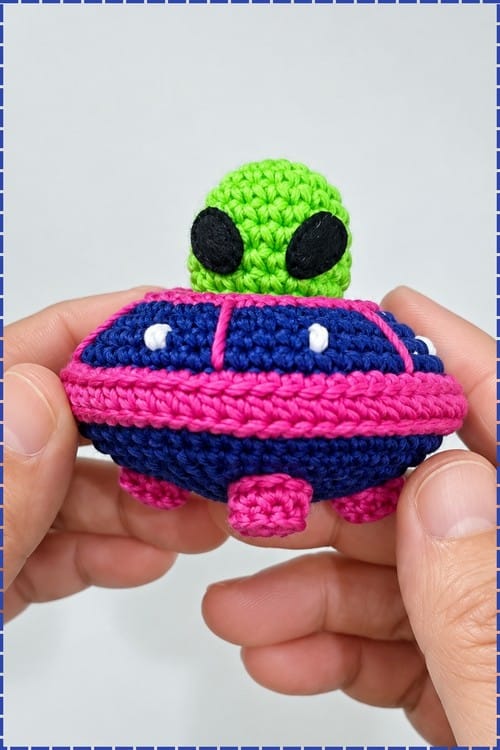
This pattern creates a composite amigurumi featuring a green alien head and a two-toned flying saucer. The UFO consists of a domed top section and a flat bottom section, joined to create a saucer shape with a visible ridge detail. Three small feet support the saucer, and the alien head is attached to the top center. The project uses three colors of yarn, black felt for the eyes, and fiberfill stuffing.
Materials
- Yarn: Approximately 40 to 50 g total in 3 colors (one for the alien, two for the UFO). The source pattern does not specify a yarn weight, but the hook size suggests a standard worsted or DK weight.
- Hook: Size 3 mm or 4 mm (the source lists “3 or 4” ambiguously, so choose based on your yarn weight to achieve a tight stitch).
- Stuffing: Approximately 20 to 30 g of fiberfill.
- Eyes: Black felt cut into tear shapes.
- Tools: Craft glue, yarn needle, small sharp scissors, and pins.
Gauge and Finished Size
The finished UFO saucer measures approximately 8 to 9 cm across at its widest point when using a 3 mm hook. This is an estimate based on the stitch counts provided.
Abbreviations
- SC: Single crochet
- Inc: Increase (two single crochet in the same stitch)
- Dec: Decrease
- Magic Ring: Adjustable starting loop for working in the round
- Stitch Counts: Appear in brackets [ ] at the end of each round.
Pattern Notes
The alien head is worked in joined rounds, requiring a slip stitch and chain 1 at the end of every round. The UFO sections do not explicitly mention joining; however, to avoid a visible vertical seam on the saucer, it is recommended to work the UFO halves in a continuous spiral with a stitch marker. The alien head, however, should follow the joined round instructions.
Change colors on the final yarn over of the last stitch in the previous round to keep the transition flat. Keep your tension tight to prevent stuffing from showing through. The UFO bottom section begins with 7 stitches in the magic ring, and the increase ladder runs on sevens (14, 21, 28, etc.) until Round 9, which jumps to 60 stitches to match the top section.
Pattern Instructions
Alien Head
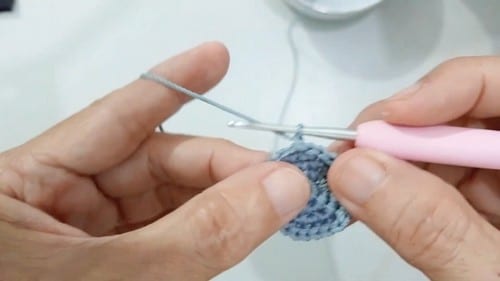
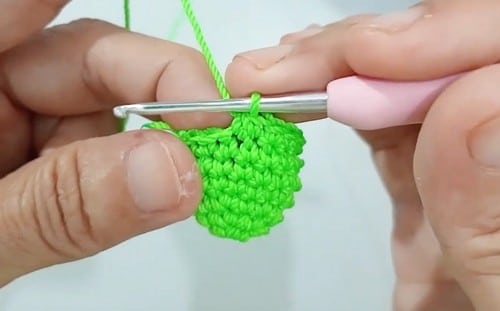
Worked in joined rounds. Slip stitch and chain 1 at the end of each one.
- Round 1: Magic ring, 6 SC, slip stitch and chain 1 [6]
- Round 2: 6 Inc, slip stitch and chain 1 [12]
- Round 3: 1 SC, 1 Inc, repeat around, slip stitch and chain 1 [18]. Checkpoint: A small flat disc lying down without cupping. Keep the faint vertical seam on the back of the head.
- Round 4: SC in each stitch around, slip stitch and chain 1 [18]
- Round 5: SC in each stitch around, slip stitch and chain 1 [18]
- Round 6: SC in each stitch around, slip stitch and chain 1 [18]
- Round 7: SC in each stitch around, slip stitch and chain 1 [18]. Checkpoint: Four straight rounds give a short open cylinder. If sides are flaring, tension loosened in rounds 4-7.
- Round 8: 4 SC, 1 Dec, repeat around [15]
- Round 9: 3 SC, 1 Dec, repeat around [12]. Checkpoint: Every decrease round has exactly 3 repeats. If it won’t divide, check your stitch count.
- Round 10: 2 SC, 1 Dec, repeat around [9]. Fill with fiberfill. Push in with the blunt end of your hook and shape the head.
- Round 11: 1 SC, 1 Dec, repeat around [6]. Checkpoint: A small opening is left at the base. Thread the tail through the front loops of the 6 stitches and pull tight to close. Cut yarn and hide tail.
- Eyes: Glue two tear-shaped eyes cut from black felt slightly above the midpoint, spaced wide apart.
UFO Top Section
- Round 1: Magic ring, 6 SC [6]
- Round 2: 6 Inc [12]
- Round 3: 1 SC, 1 Inc, repeat [18]
- Round 4: 2 SC, 1 Inc, repeat [24]. Checkpoint: A flat disc. Ruffling indicates loose increases.
- Round 5: SC around [24]
- Round 6: Switch to Color B, working in back loops only, 1 SC, 1 Inc, repeat around [36]. Checkpoint: The back loop round leaves a visible ridge. This is the mechanical detail line.
- Round 7: Switch back to Color A, SC around [36]
- Round 8: 2 SC, 1 Inc, repeat around [48]
- Round 9: SC around [48]. Checkpoint: Even rounds 5, 7, and 9 create the dome curve.
- Round 10: 3 SC, 1 Inc, repeat around [60]
- Round 11: Switch to Color B, SC around [60]. Checkpoint: A domed disc finishing at 60 stitches. Measure against the bottom section to ensure both match. Cut yarn leaving a long tail.
- Details: Embroider vertical lines and small lights around the UFO using Color B.
UFO Bottom Section
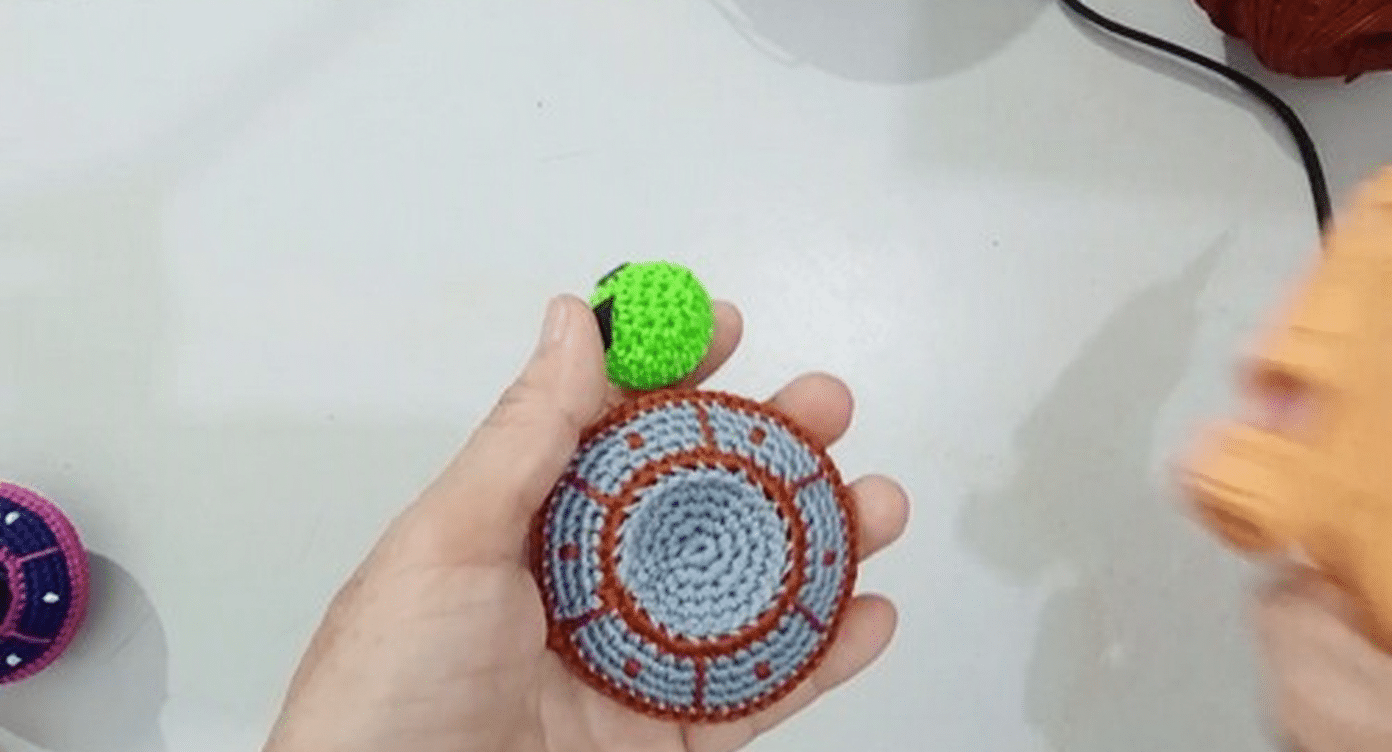
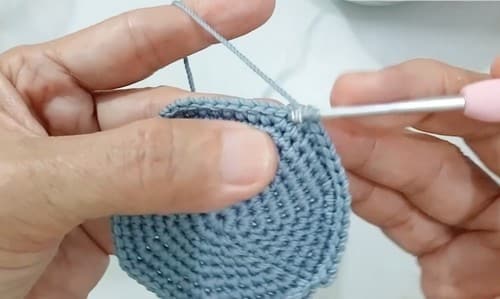
- Round 1: Magic ring, 7 SC [7]
- Round 2: 7 Inc [14]
- Round 3: 1 SC, 1 Inc, repeat [21]
- Round 4: 2 SC, 1 Inc, repeat [28]. Checkpoint: This piece lies completely flat.
- Round 5: 3 SC, 1 Inc, repeat [35]
- Round 6: 4 SC, 1 Inc, repeat [42]
- Round 7: 5 SC, 1 Inc, repeat [49]
- Round 8: 6 SC, 1 Inc, repeat [56]. Checkpoint: Still flat and noticeably wider than the top at the same round.
- Round 9: 13 SC, 1 Inc, repeat around until the stitch count matches the top piece [60]. Checkpoint: This works out to exactly 4 repeats.
- Round 10: Switch to Color B, SC around [60]. Leave a long tail for sewing.
Feet, Make 3
- Round 1: Magic ring, 8 SC [8]
- Round 2: Working in back loops only, SC in each stitch around [8]. Checkpoint: A tiny disc with a raised edge. All three must match. Slip stitch and cut yarn.
Assembly
Close the alien head first by threading the tail through the front loops of the final 6 stitches and pulling tight. Place the UFO top and bottom sections together with rims aligned and pin around the edge. Sew the two halves together using the outer loops, working evenly to keep the seam straight. Stop before closing completely and fill the UFO with fiberfill through the gap, stuffing lightly to maintain the flat profile. Finish the seam.
Attach the three feet to the underside in a triangle, spacing them evenly. Sit the UFO on a flat surface to check it does not rock before securing the feet. Attach the alien to the top center of the dome, ensuring it sits squarely. Add the embroidered vertical lines and lights last.
Tips
- Tension: Keep tension tight to prevent stuffing from showing through, especially in the UFO sections.
- Seams: For the alien, keep the faint vertical seam on the back of the head. For the UFO, working in a spiral avoids a visible radial line.
- Stuffing: Stuff the UFO through the gap in the rim seam, working stuffing out toward the edges first. A center-heavy saucer will dome upward incorrectly.
- Eyes: Glued felt is not safe for children under three. For young children, embroider the eyes using satin stitch instead.
- Attachment: Sew the feet and alien rather than gluing if the toy will be handled by small children.
FAQs
Why does the UFO bottom section start with 7 stitches?
The bottom section begins with 7 stitches to create a wider flat base that eventually matches the 60-stitch circumference of the top section. It is not a mistake; it is a specific shaping technique.
How do I prevent the UFO saucer from looking like a ball?
Stuff the UFO lightly. If you pack it too firmly, it will lose its flat saucer profile and become spherical. Stuff from the edges inward.
Can I use safety eyes instead of felt?
Yes, but you must insert them before Round 10 of the alien head, as that is when you stuff the head. After stuffing, there is no room to attach the washer. Small eyes are recommended due to the small head size.
What yarn weight should I use?
The source pattern does not specify a weight, but suggests a 3 mm or 4 mm hook. A standard worsted weight or DK weight yarn will work well with these hook sizes.
How do I make the UFO sit flat?
Ensure the three feet are spaced evenly in a triangle on the underside. Check the balance on a flat surface before sewing the feet securely.
Pin This Crochet Pattern!