Have you ever finished a round only to realize you lost count and now your circle looks more like a potato than a hat? It is a rite of passage for every amigurumi maker. The good news is that this crochet snail is incredibly forgiving. The long body hides minor tension inconsistencies, and the rolled shell is where the magic happens. You do not need perfect stitches to make this little guy; you just need patience and a willingness to roll with the punches.
Maker Notes
There is something deeply satisfying about a snail pattern because it allows for so much personality through color. While the source pattern suggests earthy tones like a tan body and brown shell, I love pushing this into brighter territory. A lime green body with a coral shell reads almost tropical and would look stunning on a bookshelf. If you are working with leftover yarn, variegated yarn for the shell is a fantastic choice because the spiral naturally showcases color shifts in short, looping bands. For a nursery-friendly look, try a solid body in a contrast color to make the shell pop, or reverse the palette for a subtle tone-on-tone effect.
Project Overview
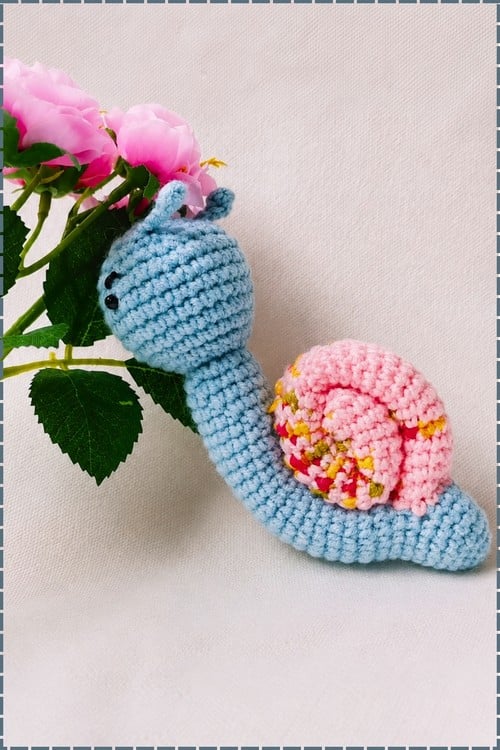
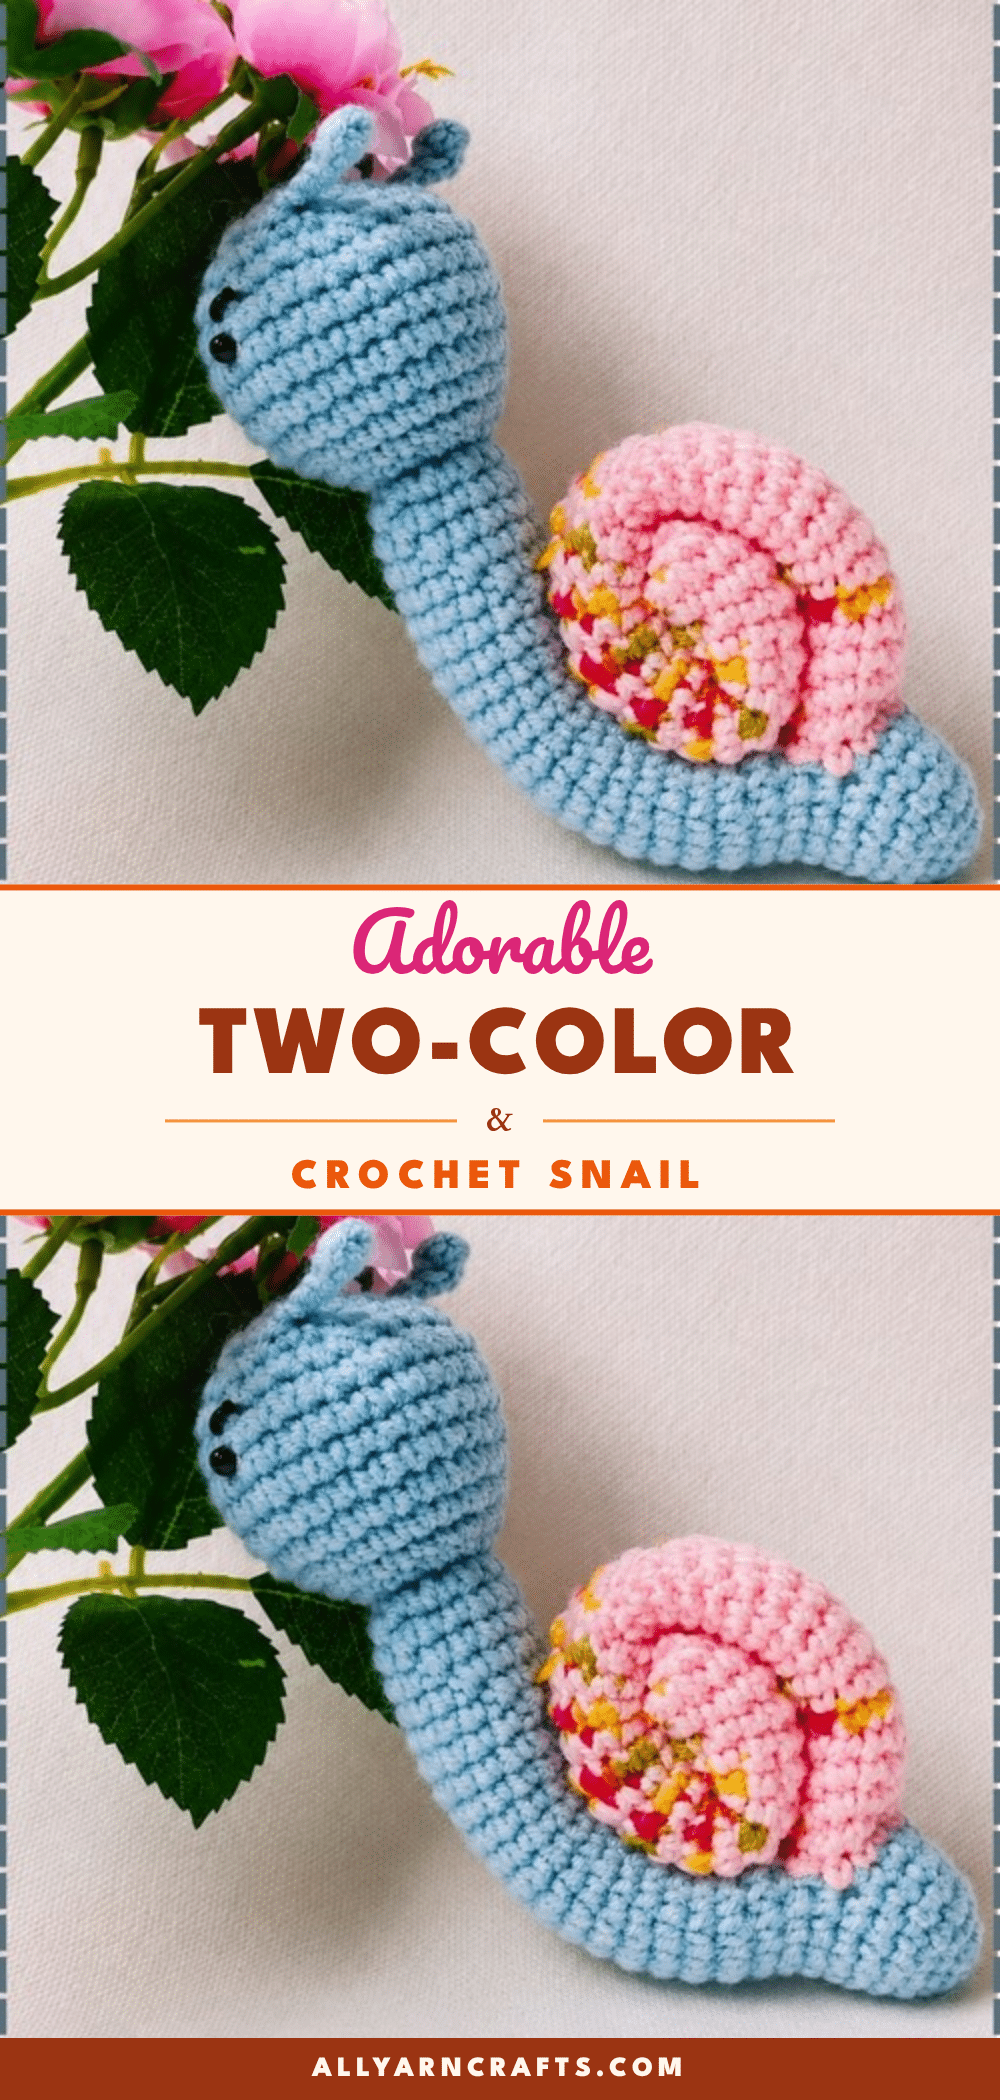
This project creates a charming two-color snail with a distinct rolled shell. It is designed for beginners to intermediate crocheters and takes approximately 3 to 5 hours to complete. The finished piece is approximately 6 to 7 inches long when using worsted weight yarn. The construction relies on two main components: a long body worked in continuous rounds and a flat strip for the shell that is rolled and sewn into a spiral.
Materials
- Yarn in two colors for the body and shell (worsted weight recommended)
- A 3.5 mm to 4.0 mm crochet hook
- Safety eyes
- Fiberfill
- A yarn needle
- Scissors
- A stitch marker
Gauge and Finished Size
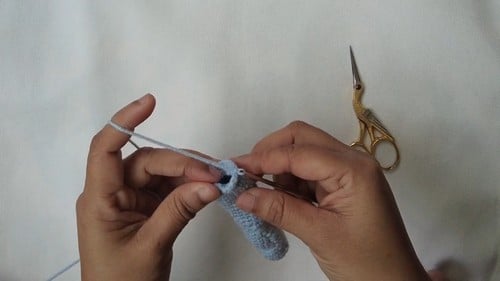
Finished size: Approximately 6 to 7 inches long with worsted weight yarn (estimate only).
Abbreviations
- sc: single crochet
- inc: increase (2 sc in one stitch)
- dec: decrease (single crochet 2 stitches together)
Pattern Notes
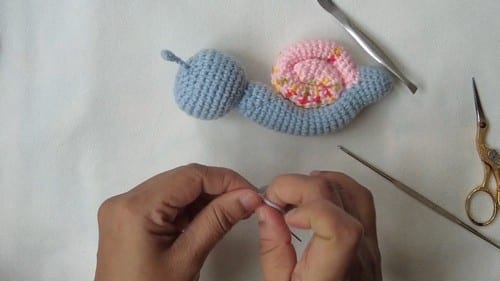
Work in continuous rounds. Move your stitch marker up at the start of every round. Keep tension firm so the stuffing stays hidden, especially during the long body section. If you are still learning how amigurumi patterns work, feel free to follow along with video tutorials while checking the written pattern.
Pattern Instructions
Body
Work in continuous rounds. Move your stitch marker up at the start of every round. Keep tension firm so the stuffing stays hidden, especially during the long body section.
- Round 1: Magic ring with 6 sc (6)
- Round 2: Inc in each stitch around (12)
- Round 3: (1 sc, 1 inc) repeat 6 times (18)
- Round 4: (2 sc, 1 inc) repeat 6 times, and the piece should now be a flat circle with no visible curl at the edges (24)
- Round 5: Sc in each stitch around (24)
- Round 6: Sc in each stitch around (24)
- Round 7: Sc in each stitch around (24)
- Round 8: Sc in each stitch around, and by this round the head should look like a deep rounded bowl sitting upright (24). Place safety eyes between rounds 6 and 7, about 4 to 5 stitches apart, before the opening closes in the next step.
- Round 9: (2 sc, 1 dec) repeat 6 times (18)
- Round 10: (1 sc, 1 dec) repeat 6 times (12). Stuff the head firmly with fiberfill before the opening gets any smaller.
- Round 11: Sc in each stitch around (12)
- Round 12: Sc in each stitch around (12)
- Round 13: Sc in each stitch around (12)
- Round 14: Sc in each stitch around (12)
- Round 15: Sc in each stitch around (12)
- Round 16: Sc in each stitch around (12)
- Round 17: Sc in each stitch around (12)
- Round 18: Sc in each stitch around (12)
- Round 19: Sc in each stitch around (12)
- Round 20: Sc in each stitch around (12)
- Round 21: Sc in each stitch around (12)
- Round 22: Sc in each stitch around, and by here the body should look like a long, even tube extending back from the head with no bulging or tapering (12)
- Round 23: Sc in each stitch around (12)
- Round 24: Sc in each stitch around (12)
- Round 25: Sc in each stitch around (12)
- Round 26: Sc in each stitch around (12)
- Round 27: Sc in each stitch around (12)
- Round 28: Sc in each stitch around (12)
- Round 29: Sc in each stitch around (12)
- Round 30: Sc in each stitch around (12)
- Round 31: (1 sc, 1 dec) repeat 4 times, and the tail should taper slightly rather than ending in a flat open circle (8). Fasten off, leaving a long tail.
Shell
- Chain 41
- Row 1: Starting in the second chain from the hook, work 1 sc in each chain across (40)
- Row 2: Chain 1, turn, work 1 sc in each stitch across (40)
- Continue repeating Row 2 until the strip is approximately 2 inches wide.
- Fasten off, leaving a long tail for sewing.
Keep your tension even across every row. One tight side will make the strip curl on its own before you want it to, and the spiral will tilt instead of stacking in flat rings.
Antennae (Make 2)
- Chain 5
- Slip stitch back down the chain to create a small cord
- Fasten off, leaving a tail for sewing
Assembly
Roll the shell strip from one short end, working tightly and evenly like a cinnamon roll. Thread your yarn needle and sew through the layers as you roll to lock each ring in place. Keep checking the top and bottom as you go; the spiral should stack flat, not cone up. Place the finished shell at the centre of the body, sitting toward the back third rather than right on top of the head. Pin it at two points on opposite sides before you sew so it does not slide while you work around it. Sew down through the shell into the body at several points around the base. Attach the antennae to the top of the head, evenly spaced so the face reads straight rather than tilted. If you want an embroidered smile, use black thread and a single curved stitch just below the eyes. Keep it short; a long smile looks wide rather than gentle.
Tips
- Even Tension: Keep your tension even across every row of the shell. One tight side will make the strip curl on its own before you want it to, and the spiral will tilt instead of stacking in flat rings.
- Head Stuffing: Pack the head firmly. This is the part that shows most from the front, and a soft head loses its rounded shape quickly.
- Body Stuffing: Stuff the body lightly throughout the long tube section; you want it flexible rather than rigid, and over-stuffing from rounds 11 onward makes the body look inflated.
- Shell Area: Most importantly, go easy near the area where the shell will sit, roughly rounds 15 to 22 or so. Too much stuffing there pushes outward and stops the shell from sitting flat.
- Safety Eyes: Safety eyes must go in before round 9 closes the head. Once that round is complete, the opening is too narrow to get your fingers inside and lock the backing on safely. For any toy going to a child under three, skip the safety eyes entirely and embroider the eyes using a small satin stitch or French knot in dark yarn.
- Finishing: Weave all ends in securely and trim close.
FAQs
How do I keep the spiral from unrolling while I sew?
Hold the roll in one hand with light pressure and sew through the layers every few stitches as you work rather than rolling the whole thing first. It takes a little longer, but the spiral stays where you put it.
Can I use the same color for both pieces?
Yes, though the whole snail reads as one shape from a distance. A contrast shell is what gives it the classic silhouette. Even a lighter or darker shade of the same color makes a difference.
My body rounds look twisted. What happened?
That is just how continuous rounds spiral naturally. Keep your marker in the first stitch and do not try to line up rounds visually; the slight lean disappears once the shell is on and draws the eye.
Does the body need to be stuffed before I close the tail?
Stuff the head right after round 10 and keep adding small amounts through the body as you go. The opening at round 31 is only 8 stitches wide, which is still workable, but the earlier you stuff the easier it is.
Where can I find more cute amigurumi ideas?
If you enjoy this pattern, you might also like our adorable crochet chick amigurumi or our crochet pigeon keychain pattern for more adorable animal projects.
Pin This Crochet Pattern!