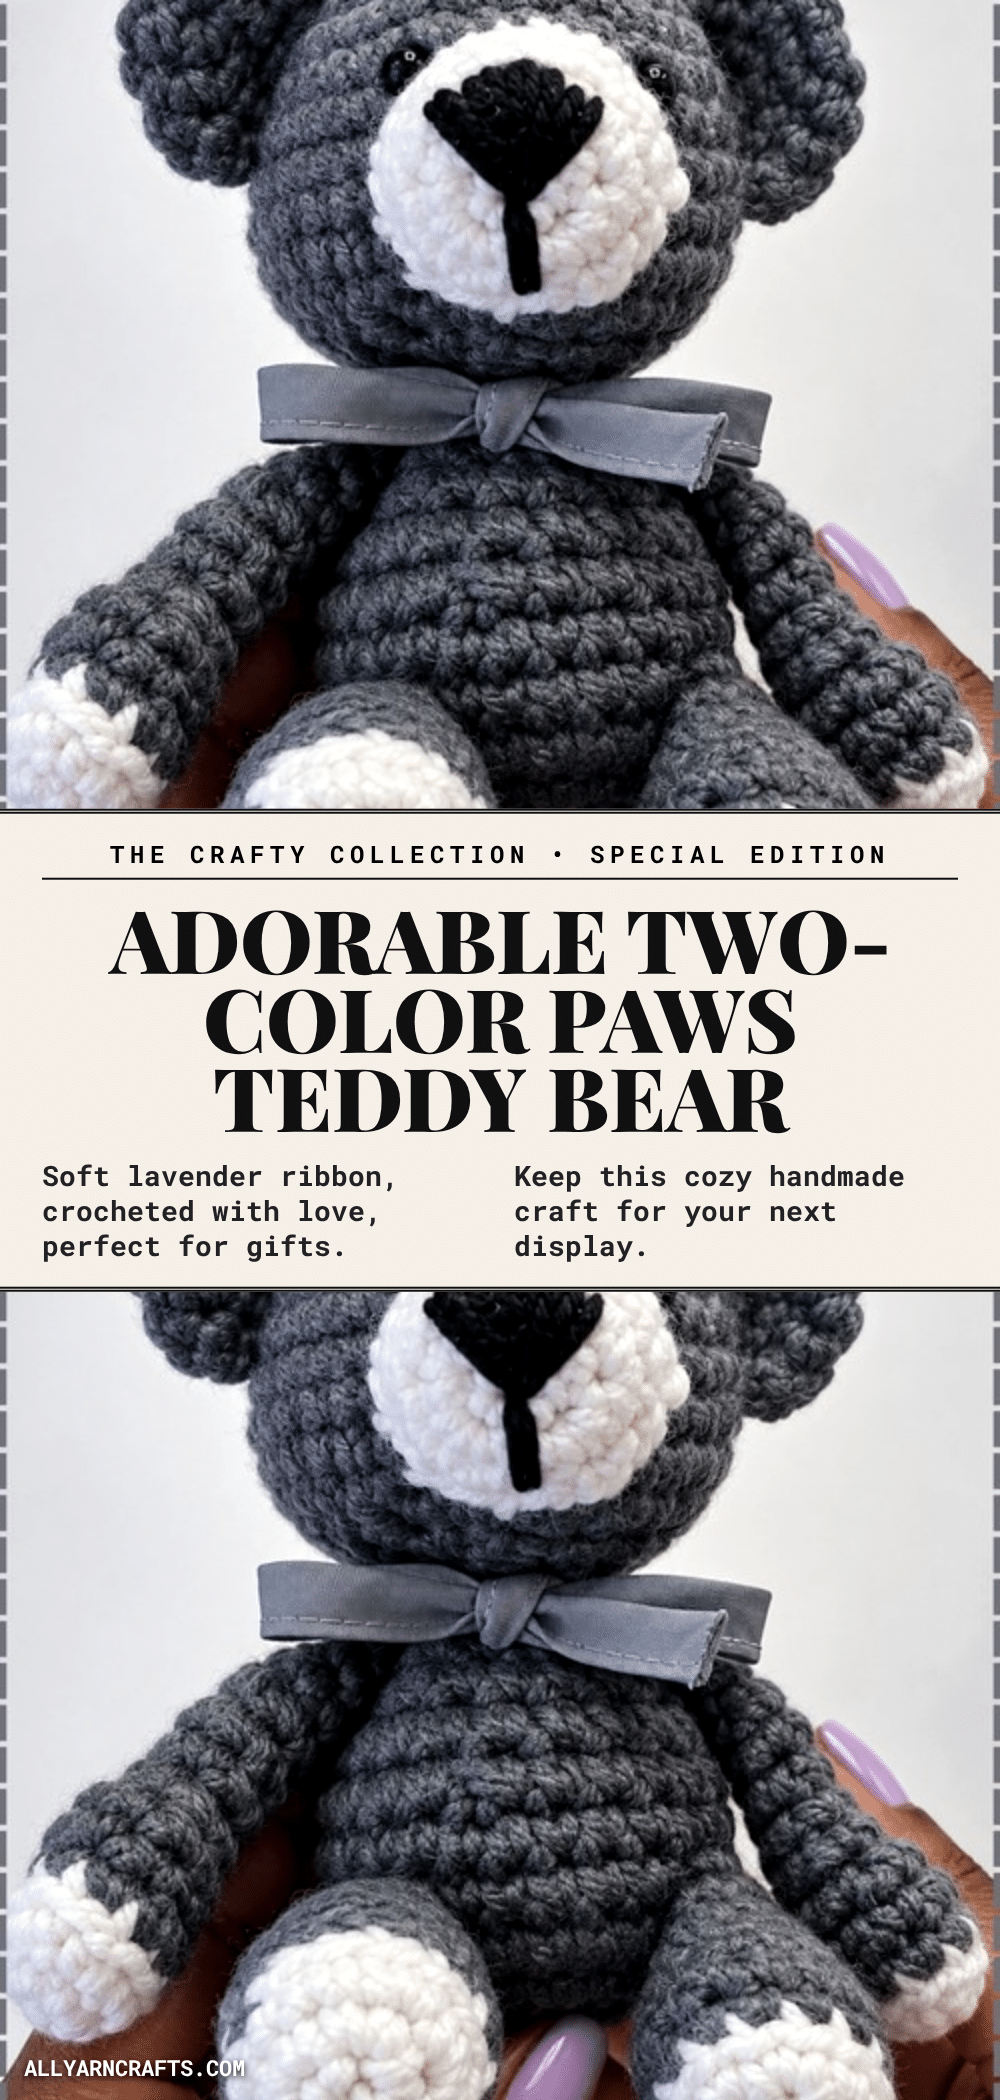
The yarn is ready on the table, the hook is in your hand, and you are about to start a project that balances simplicity with serious charm. This two-color paws teddy bear amigurumi pattern is a perfect maker moment. It is an easy handoff for a new baby or a delightful first birthday gift. The design features a charcoal body with contrasting white paw pads and a muzzle, finished with a ribbon at the neck. Beginners will appreciate that the color changes are handled without complex shaping puzzles, making it a manageable yet rewarding build.
Why This Project Works
This teddy bear is designed to be a sturdy companion. The straight legs and flat, round ears give it a classic, sit-ready posture that looks great on a nursery shelf or beside framed baby photos. The two-tone construction adds visual interest without adding difficulty. The white paw pads and muzzle pop against the main gray body, creating a high-contrast look that is easy on the eyes. Because the bear is roughly 7 to 9 inches tall, it is the perfect size for a toddler to hug at nap time or for an adult to keep as a desk keepsake. The construction is straightforward, using basic stitches and a continuous spiral, so you can focus on the satisfying process of watching the bear take shape.
Project Overview
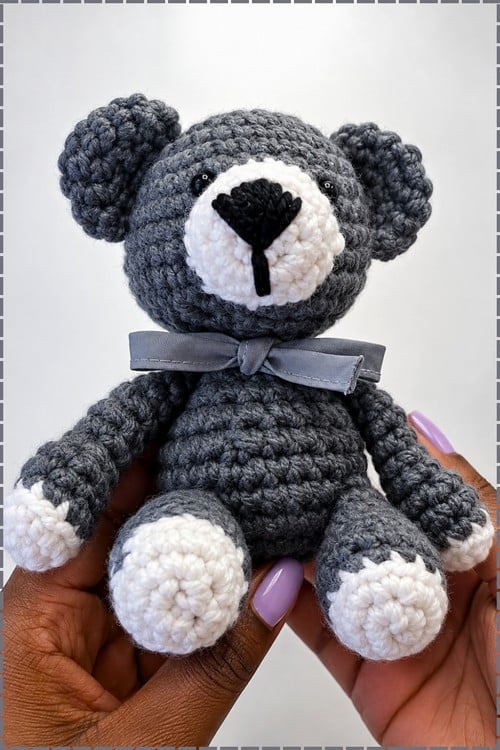
This pattern creates a charcoal gray crochet teddy bear with white paw pads, a white muzzle, and a gray satin bow. The bear features straight legs, round ears, and a ribbon tie at the neck. It is worked in separate pieces—head, body, arms, legs, ears, and muzzle—which are then assembled. The pattern is suitable for beginners who want to practice color changes and basic amigurumi shaping.
Materials
- Main body yarn in gray or your chosen bear color
- White yarn for the paw bases and muzzle
- Crochet hook suitable for your yarn weight
- Polyester stuffing
- Stitch marker
- Tapestry needle
- Safety eyes or embroidery thread for eyes
- Ribbon for the neck
Gauge and Finished Size
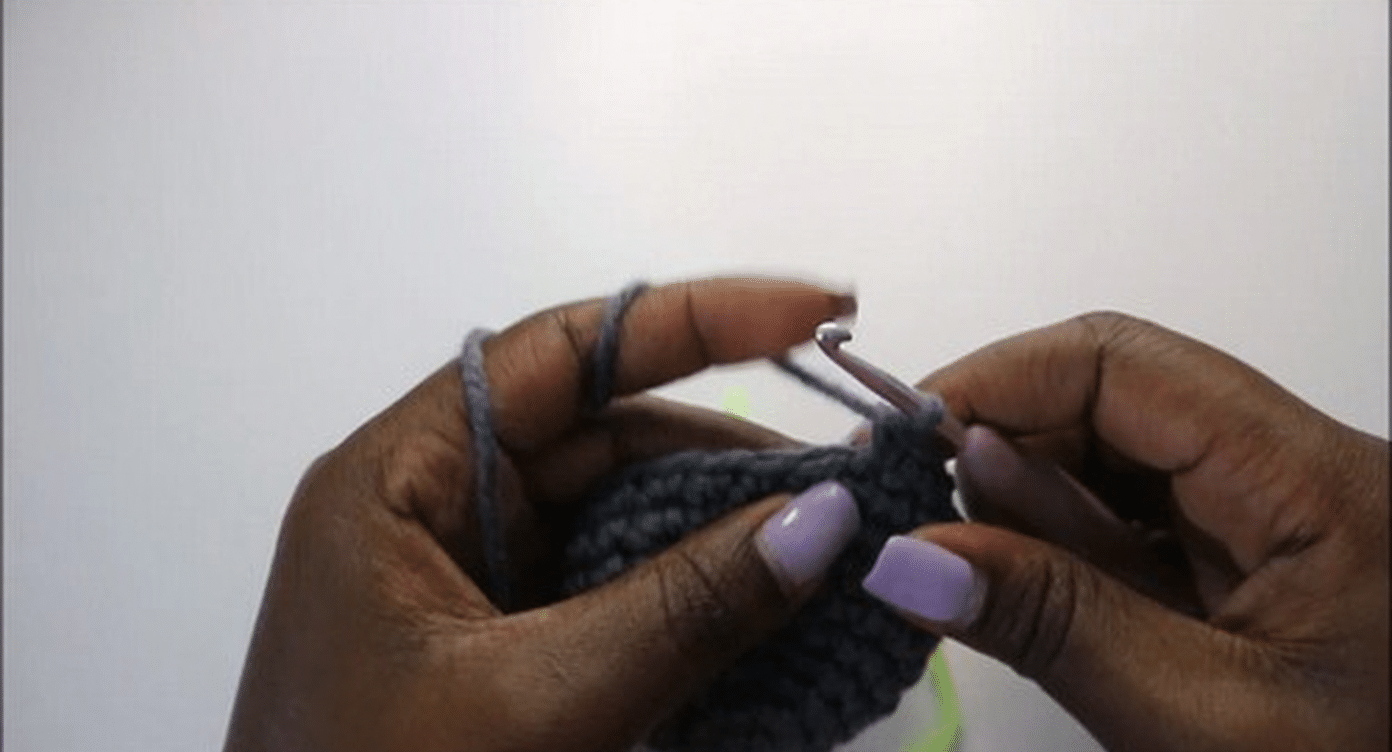
The pattern does not specify a strict gauge. Using a DK or light worsted yarn on a 3.5 mm to 4.0 mm hook typically yields a finished height of roughly 7 to 9 inches. The total time to complete the project is approximately 3 to 4 hours, though this is an estimate based on experience.
Abbreviations
- sc: single crochet
- inc: increase, two sc into one stitch
- dec: decrease, two stitches worked together into one
- BLO: back loop only
Stitch counts in brackets at the end of each round.
Pattern Notes
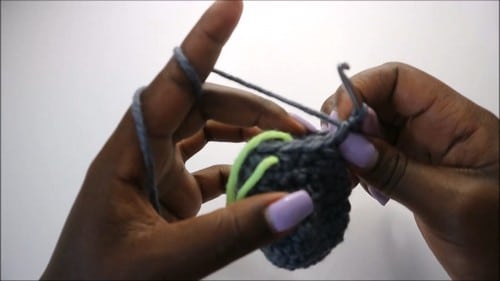
- All pieces are worked in a continuous spiral unless stated otherwise. Do not join at the end of each round.
- Move your stitch marker at the start of every round.
- Stitch counts are provided in brackets at the end of each round.
Pattern Instructions
Head
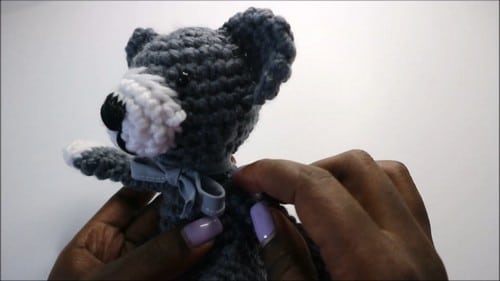
Round 1: magic ring with 6 sc [6]
Round 2: increase in each stitch around [12]
Round 3: 1 sc, 1 inc, repeat 6 times [18]
Round 4: 2 sc, 1 inc, repeat 6 times [24]
Round 5: 3 sc, 1 inc, repeat 6 times [30]. Checkpoint: a flat disc still lying level on the table. Insert safety eyes between rounds 6 and 7 after completing round 6, before the head begins closing.
Round 6: 30 sc [30]
Round 7: 30 sc [30]
Round 8: 30 sc [30]
Round 9: 30 sc [30]. Checkpoint: a full round head sitting upright with the opening still wide. If you have not placed the safety eyes yet, this is the last practical point to do so before the decreases close the head.
Round 10: 3 sc, 1 dec, repeat 6 times [24]
Round 11: 2 sc, 1 dec, repeat 6 times [18]
Round 12: 1 sc, 1 dec, repeat 6 times [12]. Checkpoint: the head has closed to a small opening. Stuff firmly through the remaining gap before the next step. Stuff firmly. Slip stitch and leave a long tail for sewing.
Body
Round 1: magic ring with 6 sc [6]
Round 2: increase in each stitch around [12]
Round 3: 1 sc, 1 inc, repeat around [18]
Round 4: 2 sc, 1 inc, repeat around [24]. Checkpoint: a flat disc the same starting construction as the head, except the body will stay narrower throughout.
Round 5: 24 sc [24]
Round 6: 24 sc [24]
Round 7: 24 sc [24]. Checkpoint: a barrel-shaped tube sitting at its widest point. The body is intentionally narrower than the head.
Round 8: 2 sc, 1 dec, repeat 6 times [18]
Round 9: 18 sc [18]
Round 10: 1 sc, 1 dec, repeat 6 times [12]. If the opening is still too wide to close neatly after this round, work one additional decrease round before slip stitching.
Round 11: 12 sc [12]. Checkpoint: the body is closing toward a narrow top that will accept the head base at assembly. Stuff firmly. Slip stitch and leave a long tail.
Arms, Make Two
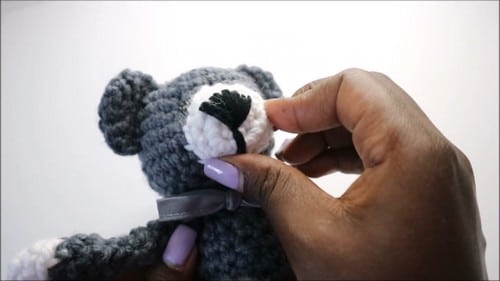
Round 1: using white yarn, magic ring with 6 sc [6]
Round 2: 1 sc, 1 inc, repeat around [9]. Checkpoint: a small flat oval disc in white forming the paw pad.
Round 3: change to gray yarn, work 9 sc in back loops only [9]. The front loops left by this round form a visible white-to-gray ridge on the right side. If the ridge is not sitting cleanly on the right side, check that only the back loops were used. Checkpoint: the ridge reads as a clear colour join around the paw.
Round 4: 9 sc [9]
Round 5: 1 sc, 1 dec, repeat 3 times [6]
Round 6: 6 sc [6]
Round 7: 6 sc [6]
Round 8: 6 sc [6]
Round 9: 6 sc [6]
Round 10: 6 sc [6]
Round 11: 6 sc [6]. Checkpoint: a long narrow gray tube with a white paw base and a visible ridge at the join. Do not stuff. Leave a tail for sewing.
Legs, Make Two
Round 1: using white yarn, magic ring with 6 sc [6]
Round 2: increase in each stitch around [12]. Checkpoint: a flat white disc forming the foot pad base.
Round 3: change to gray yarn, work 12 sc in back loops only [12]. Same ridge construction as the arms. Check from the right side that the white-gray join reads as a clean line. If the ridge is pulling inward, the back loop round was worked too tightly.
Round 4: 12 sc [12]
Round 5: 1 sc, 1 dec, repeat 4 times [8]. Checkpoint: the leg narrows above the foot pad into a tube.
Round 6: 8 sc [8]
Round 7: 8 sc [8]
Round 8: 8 sc [8]. Checkpoint: a short compact leg tube with a white foot base, firm enough to support the body once stuffed. Stuff firmly. Leave a tail for sewing.
Ears, Make Two
Round 1: magic ring with 6 sc [6]
Round 2: increase in each stitch around [12]. Checkpoint: a flat disc about the size of a large coin.
Round 3: 12 sc [12]. Checkpoint: the ear has slight depth now and will flatten into a half-moon shape when pressed. If the ear cups inward before flattening, the tension is tight but the ear will still close correctly. Flatten the ear so both layers align. Single crochet 6 stitches across both sides to close. Leave a tail for sewing.
Muzzle
Round 1: using white yarn, magic ring with 6 sc [6]
Round 2: increase in each stitch around [12]. Checkpoint: a small flat white circle.
Round 3: 12 sc [12]. Checkpoint: the muzzle has slight cup depth and will sit proud of the face once stuffed and sewn on. Leave a tail for sewing. Stuff lightly before closing when sewing onto the head.
Assembly
Pin every piece before sewing. The muzzle position controls the whole face and is worth adjusting by one stitch before committing.
- Insert safety eyes between rounds 6 and 7 of the head if not already placed. See Safety Eye Timing above.
- Sew the head to the body using the long tail, passing around the full join twice before knotting.
- Attach both arms at the second round below the neck, one on each side.
- Attach both legs at the fourth round from the bottom of the body.
- Attach both ears at the third round from the top of the head, one on each side.
- Position the muzzle at the seventh round from the top of the head, in the centre of the face. Add a light pinch of stuffing before sewing closed.
- Embroider the nose and mouth onto the muzzle surface using black or dark yarn.
- Make a small pom pom in gray yarn and sew it to the centre back of the body.
Tips
- Safety Eye Timing: The assembly section lists safety eyes as a final step after all pieces are sewn together. At that point, the head is stuffed and closed, and washers cannot be pressed on from inside. Insert the safety eyes into the head before working round 10, while the opening is still wide enough to work comfortably from inside. Position them between rounds 6 and 7 approximately 5 stitches apart, check from the front, then press the washers on before continuing. For any bear going to a child under three, use embroidered eyes in black yarn worked after assembly instead. Two small tight satin stitches at the same position, no hardware involved.
- Color Ridge Correction: The white-to-gray ridge on the arms and legs is visible on the wrong side. You worked round 3 in front loops instead of back loops. The ridge always appears on the opposite side to the loops you worked into. Rip back to round 3 only and redo it in back loops to shift the ridge to the correct side.
- Muzzle Stability: If the muzzle is not staying in place while you sew it, use a pin through both the muzzle centre and the head to hold it flat while you sew. Thread the needle through the muzzle edge and into the head fabric, working around the full perimeter, and add the stuffing through a small gap just before the last few stitches close it.
- Proportions: The arms are intentionally longer than the body on a sitting bear. If the proportion still looks off, check that the body increase rounds reached 24 stitches before the plain rounds, since a body that stayed narrow will always make the arms look long by comparison.
FAQs
What yarn weight should I use?
The pattern does not specify a yarn weight. A DK or light worsted yarn on a 3.5 mm to 4.0 mm hook is recommended to achieve the approximate finished height of 7 to 9 inches.
Can I make this bear for a baby?
Yes, but for safety, it is recommended to use embroidered eyes instead of safety eyes for any bear going to a child under three years old.
How do I fix the color ridge on the paws?
If the ridge appears on the wrong side, you likely worked the color change round in the front loops. Rip back to round 3 of the limbs and rework it in the back loops only (BLO) to move the ridge to the correct side.
How many pieces do I need to make?
You will make ten pieces total before assembly: 1 head, 1 body, 2 arms, 2 legs, 2 ears, and 1 muzzle.
How long does it take to finish?
The project typically takes approximately 3 to 4 hours to complete, depending on your speed.
If you enjoy making amigurumi, you might also like our adorable crochet snowman or our cute crochet bunny patterns for more cute character builds.
Pin This Crochet Pattern!