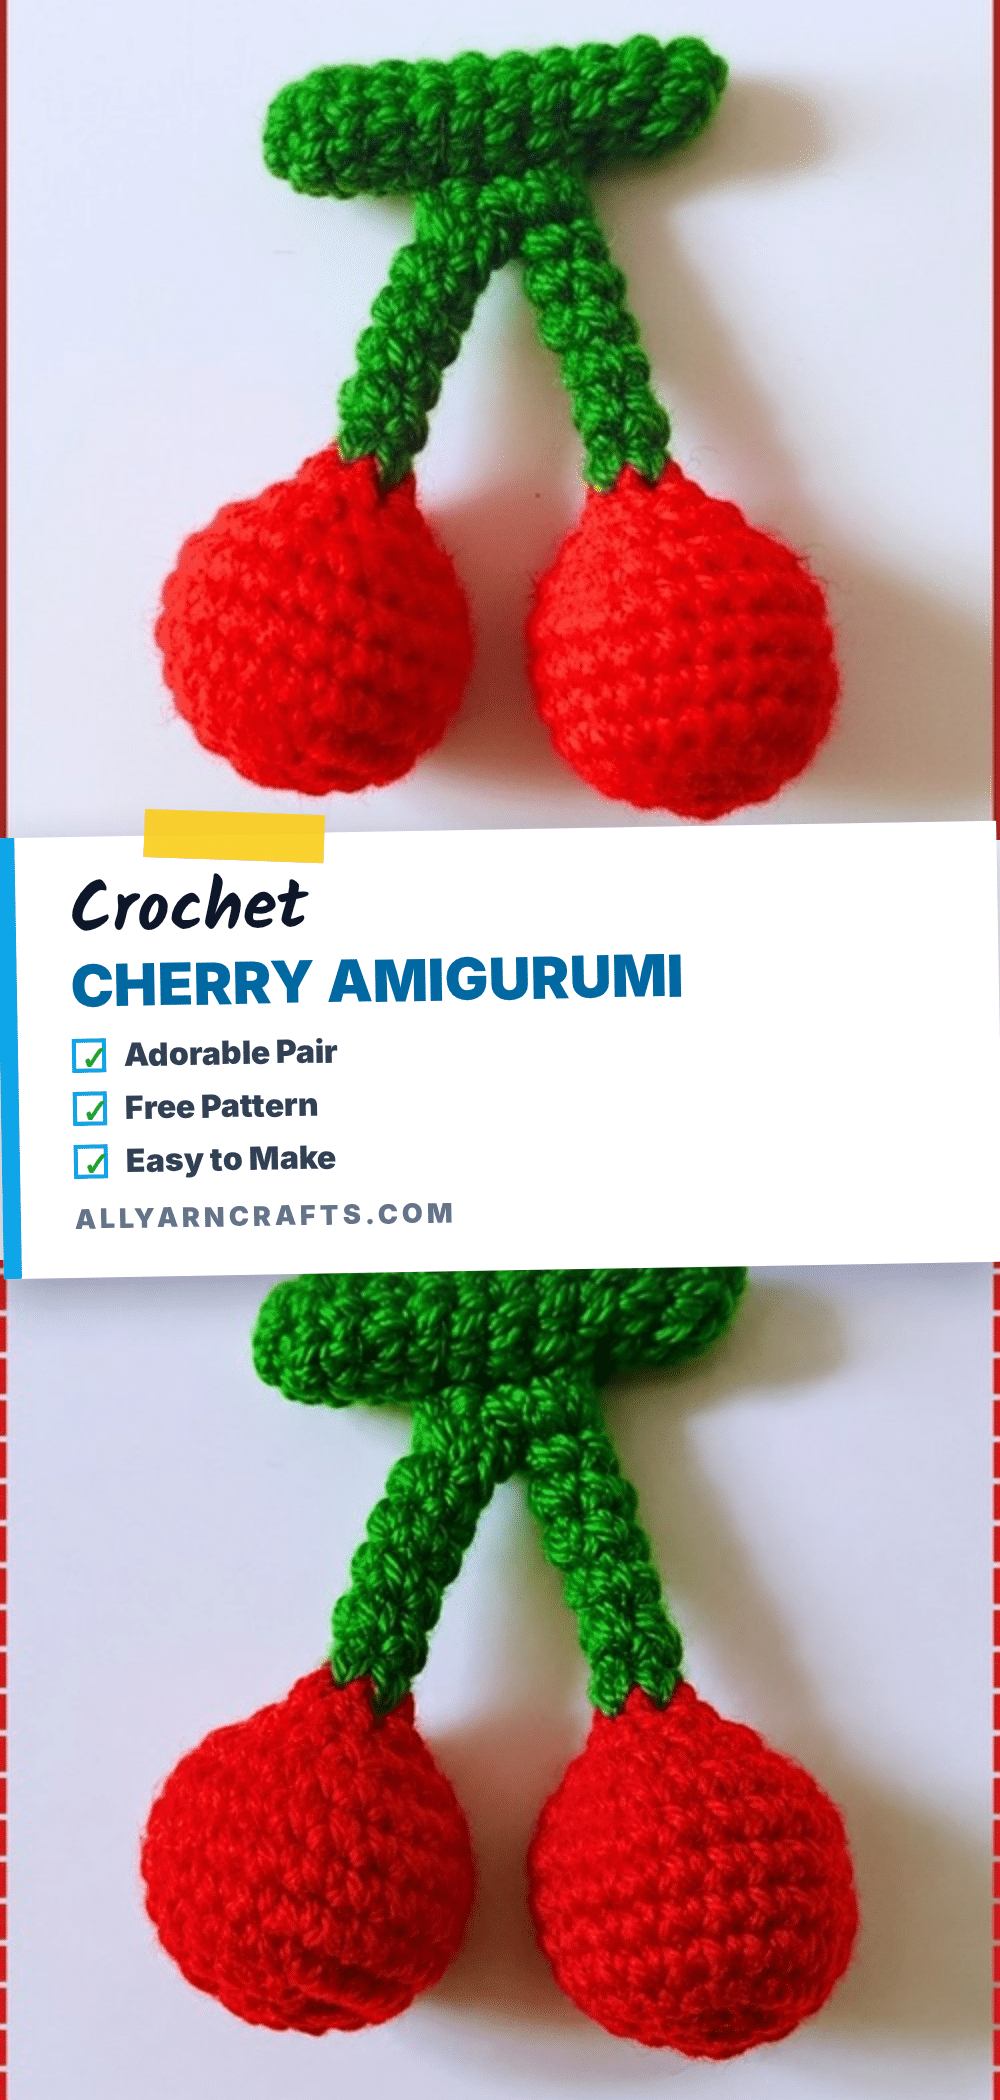
There is something undeniably satisfying about holding a finished amigurumi that is perfectly proportioned and delightfully cute. This mini stuffed cherry pair brings that same joy, offering a bright pop of summer color that is perfect for keychains, bag charms, or simply as a cheerful desk companion. The small scale makes these cherries incredibly tidy to work with, allowing you to create a matching pair in just forty minutes using scrap yarn. The result is a squishy, display-worthy fruit duo that looks as good as it feels.
Why the Finished Piece Stands Out
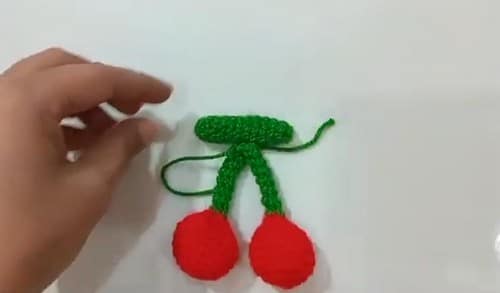
What makes this cherry amigurumi truly special is the moment you attach both cherries to the stem and let them hang together. There is a specific satisfaction in seeing the weight and proportion balance perfectly, a visual harmony that a single sphere on a ring simply cannot achieve. The construction is straightforward, yet the joining and stem work require a touch of neatness that results in a polished finish. Whether you use them as a playful accessory or a decorative element, the tight stitch work ensures the white stuffing remains hidden, keeping the red bodies smooth and the shape intact.
Project Overview
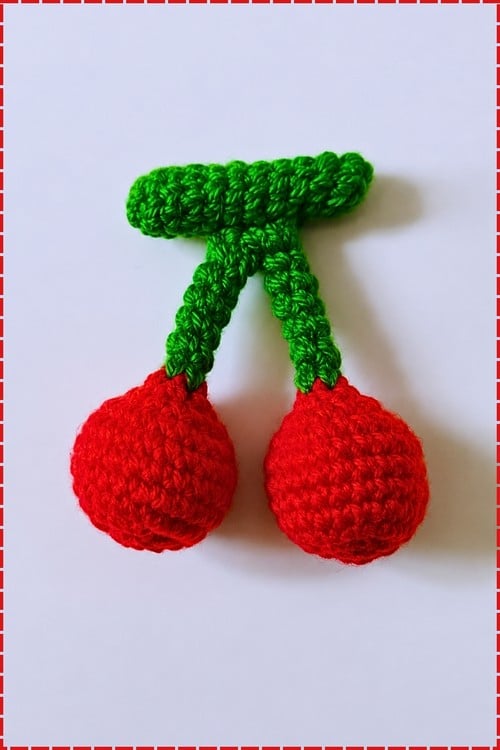
This pattern creates a pair of miniature cherries joined by a single green stem. Each berry is worked separately in continuous spiral rounds from the bottom up, stuffed firmly, and then connected at the top. The stem is worked as a narrow tube, and a small leaf is optionally attached at the join. The small scale requires tight tension to maintain the round shape of the fruit.
Pieces List
- Cherry body: Make 2, identical, worked in red in continuous rounds.
- Stem: Make 1, worked in green from a chain of 10 to 15 stitches.
- Leaf: Make 1, optional, worked in green from a chain of 6.
Materials
- Red yarn for the cherry bodies
- Green yarn for the stem and leaf
- 2.5mm or 3.0mm crochet hook
- Polyester fiberfill stuffing
- Yarn needle
- Scissors
- Optional wire or artificial stem for the stalk if you want rigidity
Gauge and Finished Size
The finished size sits at roughly 3 to 4cm per cherry with DK yarn on a 2.5mm hook. This is an estimate derived from the stitch counts rather than a formal pattern measurement. Allow 30 to 45 minutes for the full pair.
Because of the small scale, tension must stay tight throughout the project; otherwise, the berries will lose their round shape. A tight hook size is recommended to keep the white stuffing completely hidden inside the red yarn.
Abbreviations
- sc: single crochet
- inc: increase, 2 sc in one stitch
- dec: decrease, invisible decrease recommended
- ch: chain
- sl st: slip stitch
- hdc: half double crochet
- MR: magic ring
- st / sts: stitch / stitches
Pattern Notes
This project works up quickly from the bottom of each sphere upward. Red yarn forms each round cherry in continuous spiral rounds, while green stitches form two joined stem tubes that cap off the top band. Stuff both berries tightly with fiberfill before working the green decreases. Keep your stem single crochet stitches firm to prevent the green tubes from twisting out of shape.
There are no safety eyes in this pattern, and face details are not included. The construction is designed to be simple, focusing on the shape and the satisfying connection of the pair.
Pattern Instructions
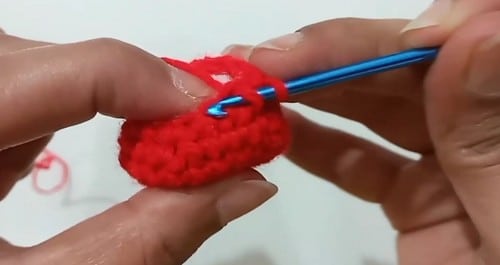
Cherry Body (Make 2, Red Yarn)
Round 1: MR, work 6 sc into the ring. [6] — Checkpoint: A tight, closed disc. On red yarn, a gap at the magic ring center is especially visible once the cherry is stuffed, since the pale fiberfill shows through. Pull the tail fully before round 2.
Round 2: Inc in every stitch around. [12]
Round 3: [Sc 1, inc] — repeat around. [18] — Checkpoint: Still lying flat, now roughly 3cm across. The disc should be even with no corners or points. If the edge is beginning to cup, your tension is tight, which will produce a smaller, denser cherry — fine for a keychain, but both cherries need to match, so keep the same tension for the second one.
Rounds 4 to 6: Sc in each stitch around for 3 rounds. [18] — Checkpoint: By round 6, the piece should be sitting as a clear bowl with straight walls and visible depth. Hold it with the opening up — it should look like a small cup, not a disc or a full sphere. The three even rounds are what give the cherry its height before it closes.
Round 7: [Sc 1, dec] — repeat around. [12]
Stuffing: Fill the cherry with fiberfill through the opening before round 8 closes it.
Round 8: Dec in every stitch around until the hole is closed. [6 before closing] Fasten off and weave in ends.
Stem (Green Yarn)
Foundation: Ch 10 to 15, or your desired stem length. A longer chain gives a longer stalk between the two cherries.
Return: Sl st back down every chain stitch toward the start to create a thicker, firmer stalk. — Checkpoint: The finished stem should feel noticeably more substantial than a plain chain — less floppy, with the slip stitches giving it a slight spine. If it still feels very soft, work a second pass of sl st back along the stem.
Fasten off. Leave tails at both ends for attaching to the cherry tops.
Leaf (Optional, Green Yarn)
Foundation: Ch 6.
Return: Starting from the 2nd ch from hook, work: sl st, sc, hdc, sc, sl st. [5 stitches] — Checkpoint: A small pointed oval that tapers at both ends. The hdc at the center sits tallest, giving the leaf a gentle arch rather than a flat strip.
Fasten off. Leave a tail for sewing.
Assembly
Attach the stem before the leaf, since the stem placement determines where the leaf sits. Thread both stem tails onto a needle and sew each end into the closing point at the top of each cherry, working the tail through several stitches in different directions so the stalk cannot pull free under the weight of a keyring. A single stitch anchor on each cherry will come loose with handling.
Hold both cherries on the stem together before sewing either one permanently — let them hang and check that both are at the same height and that the stem length between them looks proportional to the cherries. Adjust the attachment point if one cherry is riding higher than the other.
If adding the leaf, sew it to the base of the stem at the midpoint between the two cherries, or at the point where the stem would visually branch. One stitch through the base and one through the tip anchors it without distorting the leaf shape.
For a keychain, thread the ring through the stem midpoint rather than through one cherry. This distributes the hanging weight evenly across the pair and the cherries hang at the correct balanced angle.
Tips
- Stuffing: Stuff each cherry firmly but not to capacity. A well-packed cherry holds its round shape and does not flatten at the base when it hangs on a stem, but over-stuffing at round 8 forces the remaining stitches apart and the closing pull leaves a small star-shaped gap at the base. Add the fill at round 7 before the opening narrows, pushing fiberfill down toward the closed crown first and then filling the middle. Stop when the cherry feels solid when gently squeezed and the stitches are not showing any sign of opening. The two cherries should feel and look identical in firmness and size before you attach the stem — a weight difference between them will make the pair hang unevenly.
- Securing Tails: Weave every yarn tail at least two centimetres into the body before trimming — the closing tails at the top and base of each cherry are the most critical, since those are the points where the stem attaches and where the most stress concentrates. The stem attachment needs at least three or four passes of the needle through both the stem tail and the cherry body before weaving in. Test by holding the finished piece by the stem midpoint and giving a light downward tug on each cherry. If either moves on the stalk, reinforce the attachment before use.
- Stem Rigidity: Not necessarily — the slip stitch return row gives the chain enough body to hang well. Wire is worth adding if you want the stem to hold a curved or angular position rather than hanging naturally, or if you find a plain chain-and-slip-stitch stem too floppy at the connection points. Floral wire in the right gauge sits neatly inside the stitch channel.
- Blocking: Block them. Dampen both cherries, squeeze them gently into matching sphere shapes, and leave to dry. DK or sport yarn responds well to wet blocking and size differences from slight tension variation between the two pieces will be minimal after drying. For next time, work both cherries in the same session to keep tension consistent.
- Multiple Cherries: Yes — chain a longer stem and attach a cherry at each end and one in the middle, or space three across the stem length. The attachment method is the same regardless of how many cherries you add. A three-cherry version is slightly heavier on a keychain but proportionally looks very natural.
- Attachment Technique: Thread both tails onto separate needles and sew each into the crown of the cherry in an X pattern — two passes at right angles to each other — before weaving the tails into the body. That gives four anchor points at each cherry top rather than one, and the stalk will not pull free under normal keychain stress.
Color and Customisation Ideas
The construction works for any small fruit pair with a colour change. Dark purple for a pair of grapes, deep burgundy for a more realistic sour cherry, or pale yellow-orange for a mirabelle. Two different red tones — one scarlet, one crimson — on the same stem gives a more natural look than perfectly matched pairs, since real cherries vary on the same branch.
For a seasonal version, white cherries with a pale pink blush (worked by switching from white to very pale pink for rounds 5 and 6) read as blossom-season cherries. A gold or yellow yarn makes a pair of yellow cherries that works well in an autumn fruit basket set alongside a miniature pear or apple made from different patterns. If you want the stem to hold a specific shape rather than hanging loose, insert a short length of floral wire before working the return row of sl st. The wire is enclosed by the slip stitches and the stem can be bent into a gentle curve that stays in position.
Toy Safety
Both cherries will go into small hands. Weave every yarn tail at least two centimetres into the body before trimming. This ensures durability and safety for young children who might handle the finished amigurumi.
FAQs
Can I use a larger hook for this pattern?
While the pattern suggests a 2.5mm or 3.0mm hook, using a larger hook may result in looser tension. Because the cherries are small, loose tension can cause the stuffing to show through or the shape to lose its roundness. It is best to stick to the recommended hook size for the best results.
How do I make the stem stiffer?
If you want the stem to hold a specific shape, you can insert a short length of floral wire before working the return row of slip stitches. The wire is enclosed by the slip stitches, allowing you to bend the stem into a curve that stays in position.
Why are my cherries hanging unevenly?
This usually happens if the stuffing is not distributed equally or if the cherries are not the same size. Ensure you stuff both cherries to the same firmness and check that they are identical in size before attaching the stem. You can also adjust the attachment point on the stem to balance them.
Can I make more than two cherries on one stem?
Yes, you can chain a longer stem and attach cherries at each end and one in the middle. The attachment method remains the same, though a three-cherry version will be heavier on a keychain.
Is blocking necessary?
Blocking is not strictly necessary but is recommended to ensure both cherries are identical in size and shape. Dampening the cherries and squeezing them into spheres before they dry helps correct any minor tension variations.
If you enjoyed this mini fruit project, you might also like to explore other accessible patterns, such as an easy crochet top pattern for beginners or ideas for easy fathers day crochet gifts.
Pin This Crochet Pattern!