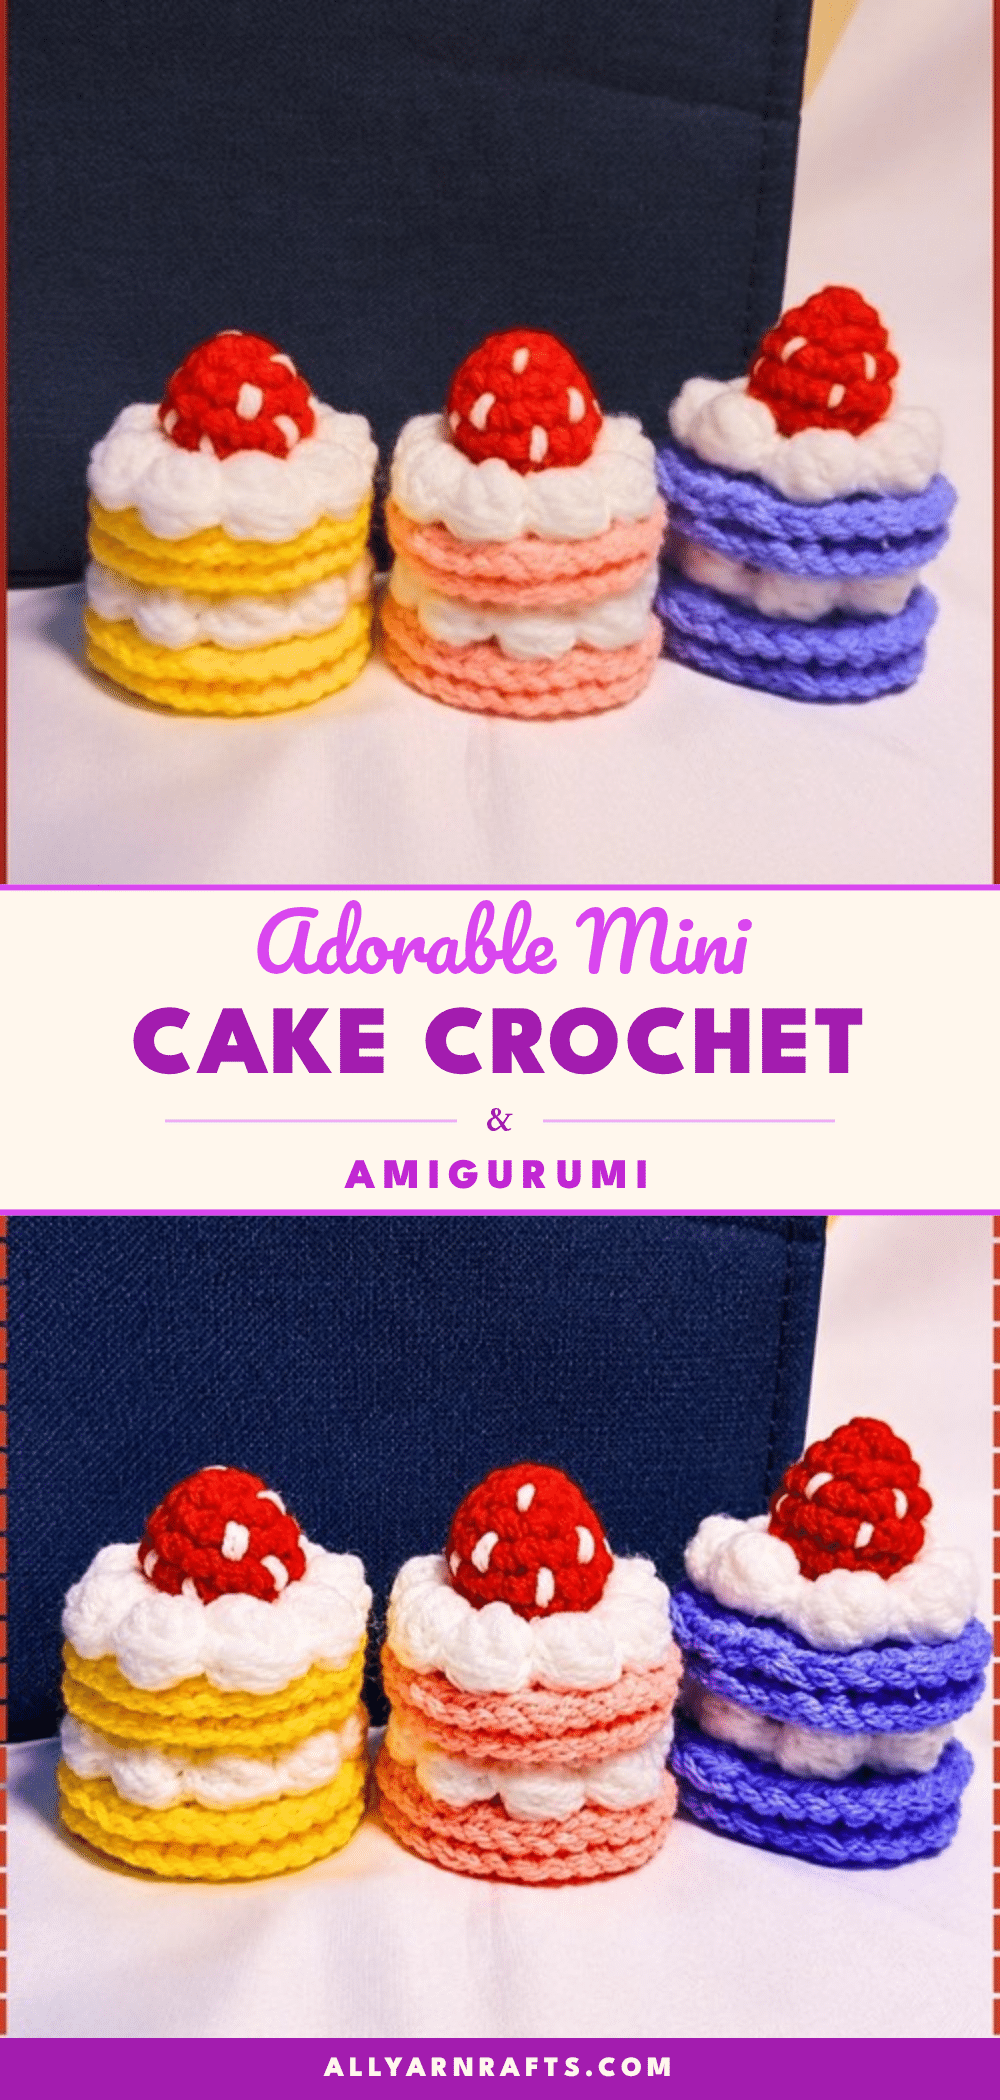
There is something deeply satisfying about the rhythm of increasing rounds, watching a flat disc transform into a structured shape. The texture of the stitches, the tension of the yarn, and the precision of the final join all contribute to the joy of amigurumi. This mini cake pattern captures that magic in a tiny, edible-looking package. By focusing on the interplay between flat sponge layers and textured cream, you get a project that is quick to make but visually complex.
Texture and Stitch Notes
The visual appeal of this mini cake relies heavily on the contrast between the smooth cake layers and the “piped” cream. The cream pieces use a unique bubble stitch that creates a raised, bumpy texture, mimicking the look of frosting swirls without the need for complex piping techniques. This texture is what gives the cake its dimension. The cake layers themselves are kept flat and smooth, providing a stable foundation. The strawberry adds a pop of color and a different structural element, being the only part of the project that is stuffed. This combination of flat discs, textured surfaces, and a small stuffed element makes for a delightful study in shaping and assembly.
Project Overview
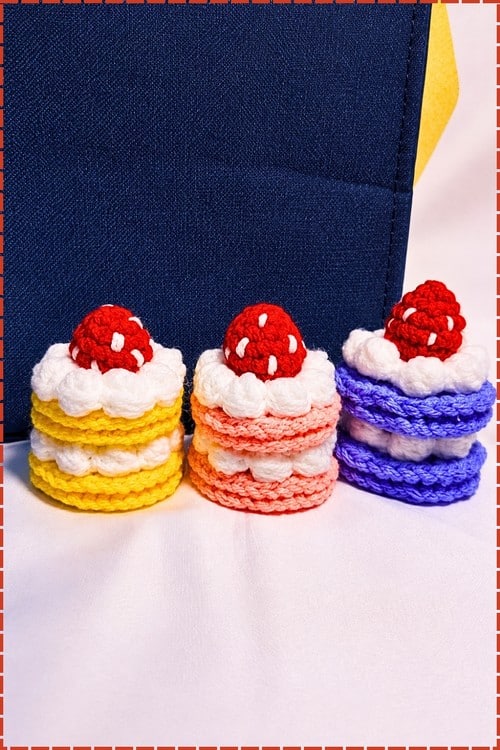
This is a food-shaped decorative amigurumi, not a character toy. It features stacked layers of “sponge” cake separated by textured cream, topped with a strawberry. The project is designed to be small and manageable, making it perfect for using up yarn scraps or as a charming addition to a toy kitchen.
Materials
- Yarn:
- DK or light worsted weight yarn in your chosen cake colour (approx. 20–30 metres).
- White or cream yarn for the cream pieces (approx. 15–20 metres).
- Red or pink yarn for the strawberry (approx. 10 metres).
- Small amount of white yarn for strawberry seed detail.
- Small amount of green yarn for the strawberry top (optional).
- Hook: 3 mm or 3.5 mm crochet hook.
- Notions: Stitch marker, yarn needle, scissors.
- Filling: Small amount of polyester fiberfill (for strawberry only).
- Assembly: Craft glue or hot glue gun.
Note: Yarn quantities are estimates based on piece size. No safety eyes are used in this pattern.
Gauge and Finished Size
There is no specific gauge requirement, but maintaining consistent tension is crucial for the layers to stack evenly. The finished cake will sit approximately 6 to 8 cm tall when stacked, depending on your personal tension.
Abbreviations
Standard US crochet abbreviations are used:
- SC: Single Crochet
- Inc: Increase (2 SC in the same stitch)
- Dec: Decrease (2 SC together)
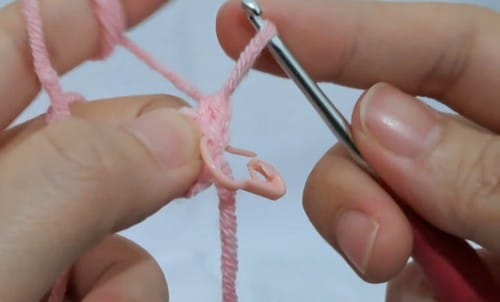
- Magic Ring: Adjustable starting loop.
Pattern Notes
- This is a decorative piece, not a toy for small children, as it uses glue and small parts.
- The four cake pieces are identical; making them all at once helps maintain consistent tension.
- The cream pieces require a special bubble stitch round. Read through this section before starting.
- Only the strawberry is stuffed. The cake and cream pieces must remain flat.
Pattern Instructions
Layer Cake Pieces — Make 4
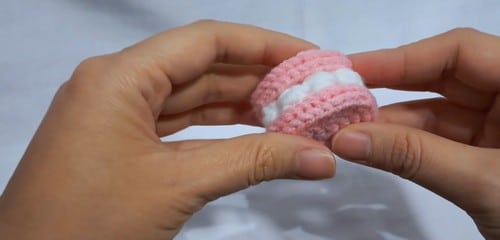
These pieces form the base of the cake. They must be flat discs.
- Round 1: Magic ring, 8 SC [8]
- Round 2: Inc in every stitch [16]. The piece should be a small flat disc, lying level on the table with no curl at all.
- Round 3: (1 SC, 1 inc) repeat around [24].
- Round 4: (2 SC, 1 inc) repeat around [32]. The piece should still be completely flat and noticeably larger than after round 2. If edges begin to ruffle, your tension has loosened.
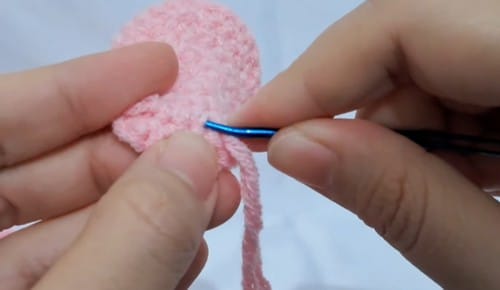
- Finish: Finish with an invisible join. Thread the yarn tail onto a needle, insert the needle into the second-to-last stitch of the round, then bring the needle back through the back loop of the last stitch. Pull gently to close and fasten off.
Cream Pieces — Make 2
These pieces create the textured “frosting” layers.
- Round 1: Magic ring, 6 SC [6]
- Round 2: Inc in every stitch [12]
- Round 3: (1 SC, 1 inc) repeat around [18]. The cream disc should be slightly smaller in diameter than the finished cake disc; this is correct, as the bubble round adds apparent volume.
- Round 4 (Bubble Stitch Round): Make a bubble stitch by working 5 loops onto the hook (insert hook, pull up a loop, repeat 5 times into the same stitch), then yarn over and pull through all loops on the hook, then chain 1 to secure. This is one bubble stitch. Skip the next stitch and work a slip stitch into the stitch after that. Repeat this sequence — one bubble stitch, skip one stitch, slip stitch — around the full round. The round should produce a ring of raised bubble bumps that sit above the surface of the disc, giving the look of piped cream.
Strawberry — Make 1
- Round 1: Magic ring, 6 SC [6]
- Round 2: (1 SC, 1 inc) repeat around [9]
- Round 3: (2 SC, 1 inc) repeat around [12]. The strawberry base should be a small dome beginning to take on an oval rather than circular shape.
- Rounds 4 to 5: SC in every stitch [12]. Add a small amount of stuffing now, before the closing round — the strawberry should be lightly filled, not firm; it is sitting on top of the cream rather than supporting weight.
- Round 6: Worked in front loops only: Dec in every stitch [6]. Working through front loops only creates a small ridge around the base of the strawberry that reads as the stem line. Close the remaining hole by threading the yarn tail through the front loops of the remaining 6 stitches and pulling tight.
- Detailing: Add white seed detail using white yarn and a needle, working small straight stitches scattered across the surface of the strawberry.
Stuffing Guide
Only the strawberry gets stuffed, and lightly at that. A small pinch of fiberfill is enough — the strawberry should feel soft when squeezed, not firm, and should not be so packed that the closing round strains to pull shut. The layer cake pieces are flat discs with no stuffing. The cream pieces are also flat, with their visual volume coming entirely from the bubble stitches rather than any interior filling. If you stuff the cake layers or cream pieces they will dome, and the stacked assembly will not sit flat.
Assembly
Use craft glue or a hot glue gun throughout assembly. Sewing would also work, but glue gives a cleaner result at this scale since the pieces are small and handling them while sewing risks distorting the shape. Assemble in this exact order from bottom to top:
- Take two of the four identical cake pieces and glue them back-to-back, flat sides together, to form one thick layer. Repeat with the remaining two. You now have two double-thick cake discs. Set them under a book while the glue sets so they bond flat rather than curved.
- Place the first thick cake layer flat side down as the base.
- Glue one cream piece on top of it, centred, bubble side facing up.
- Glue the second thick cake layer on top of the cream.
- Glue the second cream piece on top of that layer, bubble side up.
- Position the strawberry in the centre of the top cream piece and glue it down through the closing tail or by running a line of glue around its base.
Let the full stack set for several minutes before handling. The finished cake should sit level — if it tilts, the two doubled cake layers are not quite matching in thickness, which usually means one pair was glued slightly off-centre.
Tips and Troubleshooting
- Flatness: Keep the layers the same width as you stack them, since one wider round makes the whole cake lean. The most likely cause of non-flat discs is tension drift. Round 4 in particular tends to tighten if you are concentrating hard. Work it slightly looser than feels natural and check flatness after each stitch.
- Consistency: Make all four cake pieces in one session if possible, since your tension will be more consistent. If one came out noticeably smaller, remake it rather than using a mismatched layer — the doubling-up in assembly will exaggerate the size difference.
- Bubble Stitches: The chain 1 after pulling through all loops is what locks the bubble into a raised position. If you are skipping it or pulling too tight, the bubble will not pop up. Try holding the bubble in place with your finger while you work the chain 1. The 5 loops need to be pulled through with consistent tension each time.
- Strawberry Closing: At this small size (12 stitches) the round closes quickly and any gap should pull shut when you thread the tail through the remaining stitches. If the gap persists, take the needle through adjacent stitches to close it before fastening off.
- Leveling: Check whether the two doubled cake layers are the same thickness by measuring them against each other before gluing the full stack. A small difference in how firmly the back-to-back pieces bonded can create a lean. Adding a very thin extra layer of glue to the thinner side compensates.
Colour and Customisation Ideas
While the source pattern suggests yellow, coral, and purple for the cake layers, you can use any DK or light worsted weight yarn. Using a contrast shade of white that is one step brighter or shinier than your main yarn for the cream can make the texture pop. Place the needle under a bar of yarn rather than through a stitch for the most visible result when weaving in ends.
Toy Safety
No safety eyes in this pattern — it is a food-shaped decorative piece rather than a character toy. It is not intended for small children due to the use of glue and small detachable parts.
FAQs
Why are my cake layers curling up?
This usually happens if the tension tightens during the increase rounds, particularly Round 4. Try working slightly looser and check the flatness after each stitch. Ensure you are increasing evenly.
Can I sew the layers together instead of gluing?
You can, but glue gives a cleaner result at this small scale. Sewing risks distorting the flat shape of the discs while you handle them.
Why are my bubble stitches flat?
The chain 1 after pulling through all loops is essential to lock the bubble up. If you skip it or pull the yarn too tight, the bubble will collapse. Hold the bubble in place with your finger while chaining 1.
Do I need to stuff the cake layers?
No. The cake and cream pieces must remain flat discs. Stuffing them will cause them to dome, preventing the cake from sitting level.
What size hook should I use?
A 3 mm or 3.5 mm hook is recommended for DK or light worsted weight yarn to ensure the stitches are tight enough to hold the shape but loose enough to allow for the invisible join.
For more inspiration on small crochet projects, you might also enjoy our easy crochet top pattern for beginners or ideas for a Fathers Day crochet gift.
Pin This Crochet Pattern!