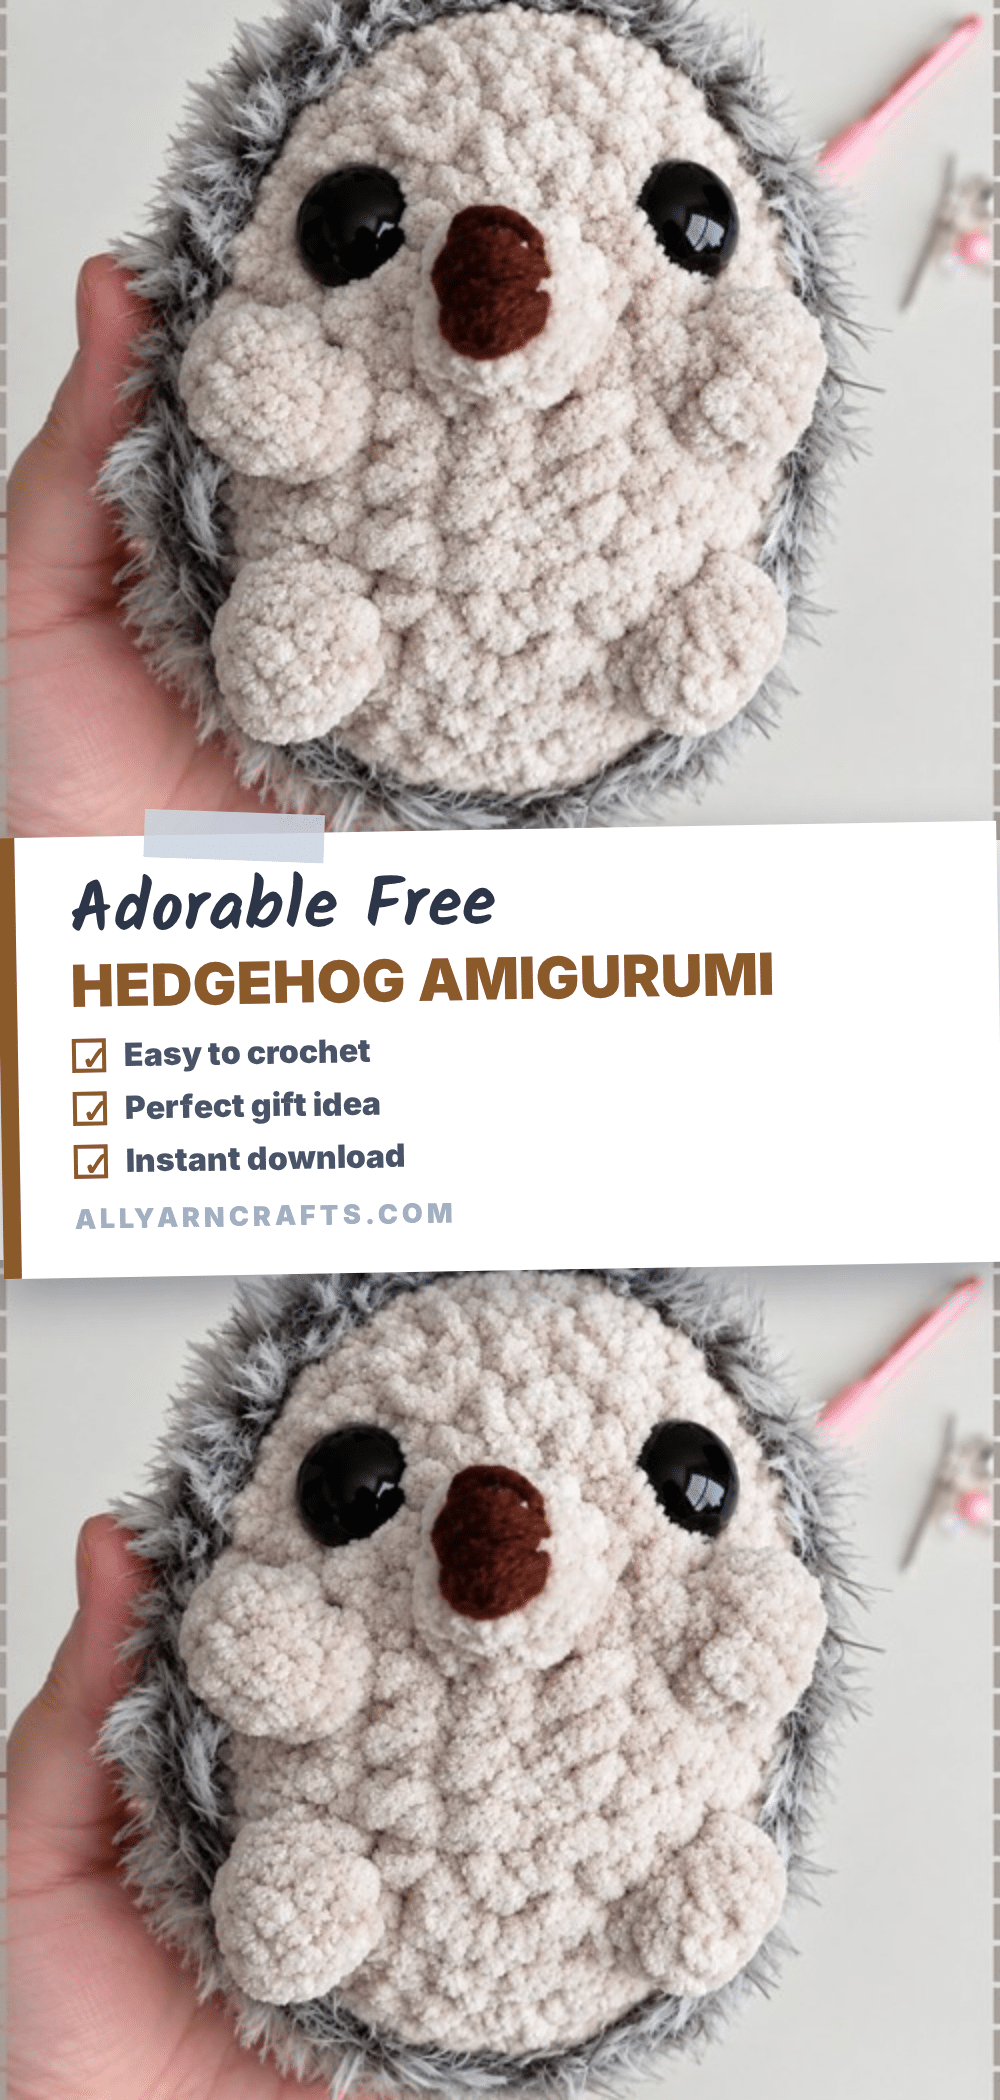
There is a specific kind of magic in reaching into a stash bin and finding a skein of grey plush yarn that begs to become a friend. This project started with that exact moment—a decision to let the texture of Size 6 chenille dictate the form. The yarn is soft, slightly bumpy, and forgiving, hiding uneven tension while creating a squishy, satisfying body. As you work, the stitches disappear into the fiber, and you begin to shape the hedgehog not just by sight, but by feel. The result is a palm-sized companion that feels intentional and cozy, perfect for curling up in a reading nook or adding a touch of woodland charm to an autumn mantel.
Yarn and Color Notes
The choice of yarn here is the star of the show. Using a Size 6 plush or chenille yarn gives the hedgehog a “pebble” shape that is flat and rounded, rather than a tall, cylindrical amigurumi form. This oval foundation creates a naturally elongated silhouette that reads immediately as a hedgehog. The texture of the plush yarn is crucial; it absorbs light and softens the edges, making the final toy look like a soft toy rather than a stiff craft project. For the snout, the same plush yarn keeps the face unified, while the faux fur yarn on the back provides a striking textural contrast. The grey and cream color palette feels organic and calming, but because the stitches are hidden in the pile, you can experiment with different shades of brown or even soft pastels without losing the structural integrity of the pattern.
Project Overview
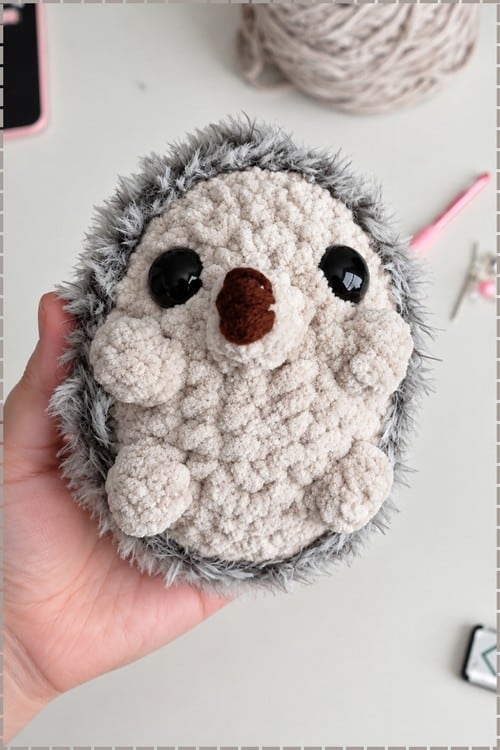
This crochet plush hedgehog amigurumi is a unique take on the classic toy. Instead of the traditional magic ring start, this pattern uses an oval foundation that gives the body a distinct, elongated shape. The arms and feet are not separate pieces sewn on later; they are created directly on the body surface using bobble stitches. The finish involves a surface crochet technique to attach a faux fur “spine” layer, which requires patience but rewards you with a highly tactile, professional-looking plushie.
Materials
- Size 6 plush yarn for the body and snout
- Faux fur yarn for the back texture
- 5.5 mm crochet hook
- Safety eyes, approximately 16 mm, two of them
- Polyfill stuffing
- Darning needle
- Stitch marker
- Black or brown embroidery yarn for the nose
Abbreviations
- SC: single crochet
- Inc: increase, 2 SC into the same stitch
- Dec: decrease, single crochet two stitches together
Pattern Notes
Stitches disappear into the texture of plush yarn, so you will work more by feel than by sight. Chenille hides uneven tension, so the stitches forgive mistakes. Working the fur yarn takes patience because the loops sit hidden, but counting stays manageable throughout. Finishing the nose is the moment the whole face suddenly arrives, and the fur edge rewards slow hands.
Pattern Instructions
Body
The body is worked as one continuous oval piece from the base up.
Round 1: Chain 9.
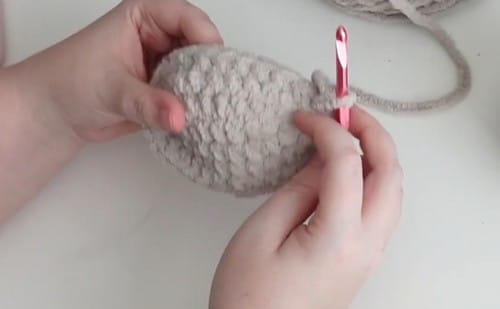
Round 2: Starting in the second chain from the hook, work 7 SC. Work 3 SC in the last chain to turn the corner. Work along the other side of the chain with 6 SC. Work 2 SC in the last stitch. [18] The result should be a small flat oval, noticeably longer than it is wide, lying level without ruffling at the ends. The three-stitch clusters at each end are what keep the oval from pulling into a straight rectangle.
Round 3: Work 2 inc, then 7 SC, then 2 inc, then 7 SC. [22]
Round 4: Work 1 inc then 1 SC then 1 inc, then 8 SC, then 1 inc then 1 SC then 1 inc, then 8 SC. [26] By round 4 the oval is clearly wider and the ends are rounding out. The face end will sit at the end nearest where you attached the yarn.
Round 5: Work 2 inc then 1 SC then 2 inc, then 8 SC, then 2 inc then 1 SC then 2 inc, then 8 SC. [34] By round 5 the oval has become a substantial open dish shape. Insert the safety eyes between the round 3 and round 4 stitch lines now, 3 to 4 stitches apart, while the opening is very easy to reach. Do not wait until the closing rounds.
Rounds 6 to 8: Work 1 SC in each stitch around. [34] By round 8 the dish has deepened into a clear bowl shape, with the sides rising evenly around the oval base.
Round 9: Work 6 SC, then 1 dec, then 16 SC, then 1 dec, then 8 SC. [32]
Round 10: Work 2 SC then 1 dec and repeat around. [24]
Round 11: Work 1 SC then 1 dec and repeat around. [16]
Round 12: Work 8 dec around. [8] Stuff the body firmly before this round closes the opening further. Push filling toward the sides and front face area to maintain a rounded face and full belly. Leave a long yarn tail and sew the opening closed.
Arms
Arms are worked directly into the body surface.
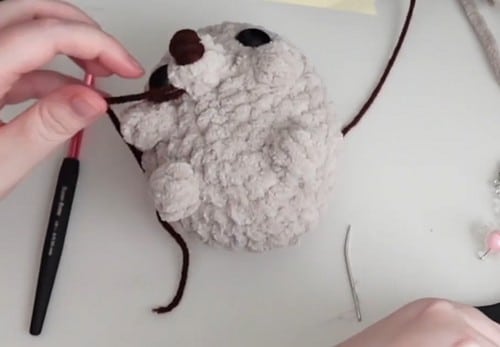
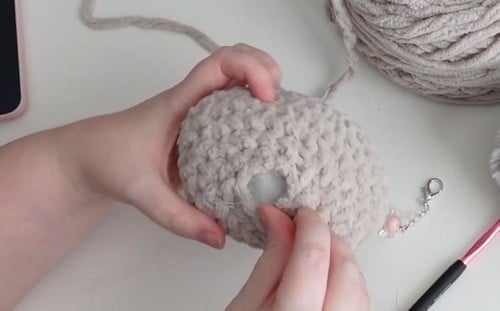
Choose a spot on the body surface about 1 to 2 stitches away from the eyes. Create a bobble stitch using 4 stitches in that spot. Slip stitch into the adjacent stitch to secure. Repeat on the other side, mirroring the position.
Feet
Feet are also worked directly into the body surface.
Skip 1 to 2 stitches below the arm placement. Create a 5-stitch bobble in that position. Fasten off and hide the yarn tail inside the body. Repeat on the other side. Both feet should sit at the same height so the hedgehog rests level.
Snout
Round 1: Magic ring, 4 SC. [4]
Round 2: Work 1 SC in each stitch around. [4]
Round 3: Work 2 inc then 2 SC. [6] The snout should be a small flat oval. Do not stuff it. Fasten off leaving a long tail. Sew the snout between the eyes, centred on the face. Embroider the nose onto the tip of the snout by wrapping black or brown yarn around the snout tip several times. Pull each wrap tight and evenly.
Faux Fur Back
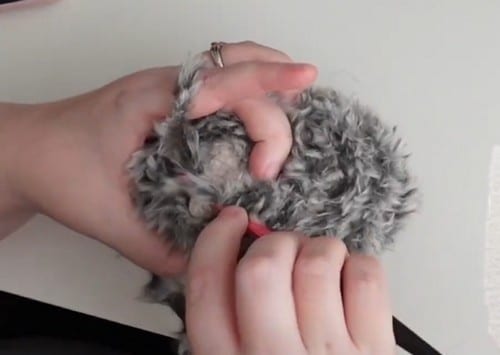
Attach faux fur yarn to the bottom of the hedgehog. Work surface crochet around the back of the body in a spiral. Leave one row of space clear around the face, arms, and feet so those features stay visible. Continue until the entire back surface is covered. Fasten off and weave in ends. Fluff the fur with your fingers to close any visible gaps in the surface crochet.
Assembly
The body is the anchor for everything. Arms and feet are worked directly into it. The snout and fur are the only applied elements.
- Insert the safety eyes during the body rounds, as described above, before the opening narrows past round 8.
- Work the arms and feet while the body is closed and stuffed, so the surface has the tension needed to hold the bobble stitches in place. Pin the positions first by inserting a pin at the intended spot and checking symmetry from the front.
- Sew the snout on after the body is fully closed, stuffed, and the eyes are in place. The snout position is defined by the eye positions — centred between them and slightly below.
- Apply the faux fur last. This is non-negotiable: the fur goes on after every other element is finished, because working through the fur to place eyes or sew on a snout is genuinely difficult and usually damages the pile.
Tips
Stuffing Guide
- Body: Stuff firmly, beginning through the closing rounds while access remains. Push filling toward the face area first — an underfilled face on a plush hedgehog tends to look flat from the front.
- Snout: No stuffing. A flat snout sits better against the face than a stuffed one.
- Round 12: Do not overstuff near round 12. The final decreases need to draw inward and heavy stuffing right at the closing edge fights that movement.
- Fur Application: Once the fur is applied, you cannot add more stuffing. Make sure the body feels complete before beginning the faux fur step.
Toy Safety
16 mm safety eyes are significantly larger than standard amigurumi eyes. They are not suitable for children under three or for any child who still mouths objects. For a young child, embroider the eyes instead as described above. Faux fur yarn sheds. Test your specific yarn before making a toy for a child — pull on it firmly and check how much fibre comes free. A high-shedding fur yarn is not suitable for any toy a child will handle.
Troubleshooting
- Oval Shape: If the oval base is pulling into a straight line rather than a proper oval shape, check your clusters at each end of round 2. The 3 SC in the last chain at one end and the 2 SC in the last stitch at the other are what round the corners. If the oval is straight-edged, one or both of those clusters was worked as a single stitch rather than a multiple.
- Bobble Stability: If your bobble arms are not staying in position, plush yarn is slippery. Ensure the slip stitch that anchors the bobble goes through a definite stitch rather than catching pile. Work slowly and push the hook down to the stitch level before making each anchoring slip stitch.
- Fur Coverage: If the faux fur is covering the face features, ensure you stopped the surface crochet spiral a full round before you reached the face zone. Faux fur expands when fluffed and consistently covers more than it appears to cover before fluffing.
FAQs
Can I use a different weight of faux fur yarn?
Thinner faux fur gives a shorter spike effect, while thicker yarn gives a more dramatic look. Either works on a 5.5 mm hook since the surface crochet technique is not weight-dependent in the same way as structural rounds.
How do I keep the face visible under the fur?
The pattern instructs leaving one row of space clear around the face, arms, and feet. In practice, this means stopping the surface crochet spiral a full round before you reach the face zone, even if it looks like there is room for one more row. Fluffing the fur will expand it, so err on the side of leaving more space.
Is this pattern suitable for beginners?
Yes, the stitches are basic, but the texture of the plush yarn can make counting difficult. If you are new to amigurumi, it is helpful to follow along with a video tutorial while checking the written pattern. You might also enjoy our easy crochet Batman doll pattern for another character-focused project.
Why are the arms and feet not separate pieces?
Creating the arms and feet as bobble stitches directly on the body surface gives the hedgehog a more integrated, natural look. It also prevents the limbs from flopping around, as they are anchored firmly into the body fabric.
Can I make this hedgehog for a toddler?
For any toy going to a child under three, skip the safety eyes entirely. Embroider two black satin stitch ovals between rounds 3 and 4 instead, done while the opening is still accessible. Also, test your faux fur yarn for shedding to ensure it is safe for mouthing.
If you enjoy making amigurumi animals, you might also like our beginner Brussels sprout amigurumi for a fun seasonal addition to your collection.
Pin This Crochet Pattern!