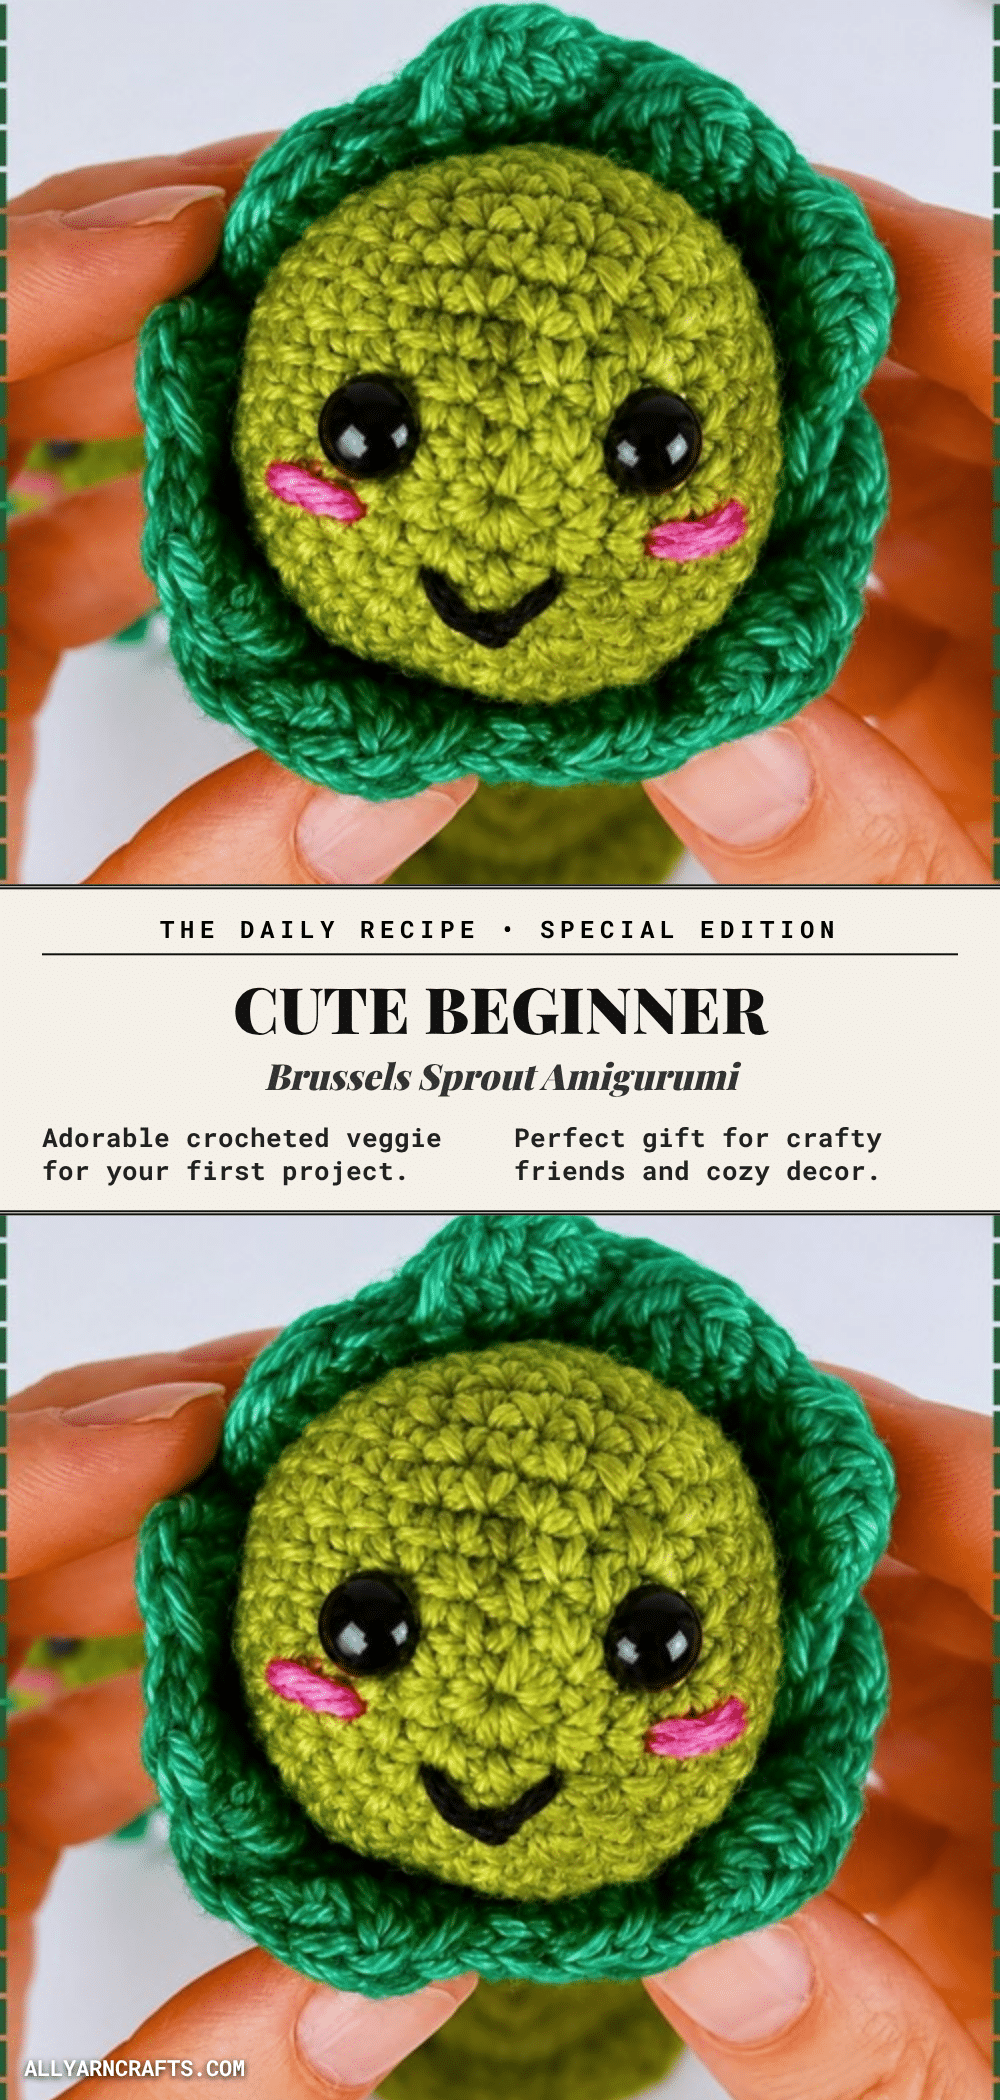
There is something undeniably delightful about holding a perfectly formed, squishy Brussels sprout in your hands. It is a charming, display-worthy piece that brings a smile to anyone who sees it, making it an ideal gift for vegetable lovers or a whimsical addition to a child’s toy collection. This beginner-friendly pattern creates a compact, firm plush that holds its shape beautifully while remaining soft enough for cuddling.
Why the Finished Piece Stands Out
What makes this Brussels sprout amigurumi truly special is the clever construction of its outer layers. By crocheting the leaves separately and attaching them with a specific overlap, the finished toy achieves a dynamic, ruffled look that mimics the natural texture of the vegetable. The contrast between the smooth, round head and the wavy, fanned-out leaves gives the piece character and depth. It is a project that rewards patience with a high-quality finish, resulting in a plush that looks professional despite its simple stitch count.
Project Overview
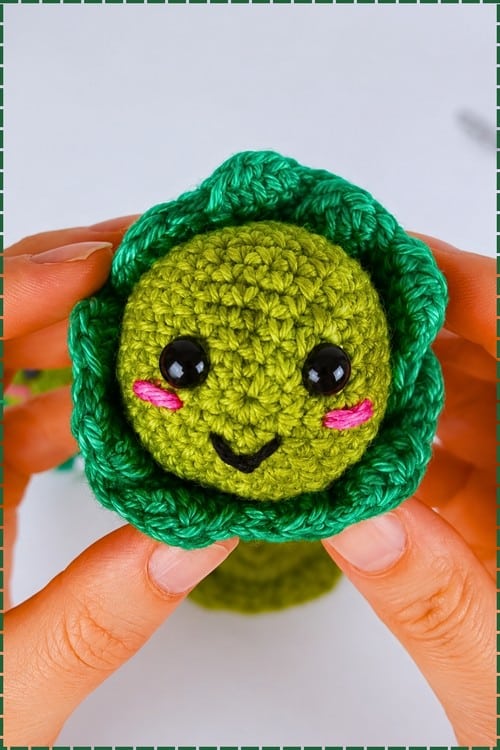
This pattern guides you through creating a charming Brussels sprout plush toy. The design features a round head with safety eyes and a stitched smile, surrounded by five separate leaves worked in two shades of green. The leaves are attached to the base of the head, creating a layered, organic shape. It is a perfect project for beginners looking to practice basic amigurumi techniques like the magic ring, invisible decreases, and wavy edging.
Materials
- 2.5 mm crochet hook
- DK weight yarn in two shades of green (approximately 30 metres of each shade)
- Small amount of pink yarn for cheeks
- Small amount of black yarn for smile
- Safety eyes, 1 pair
- Polyester toy stuffing
- Yarn needle
- Scissors
- Stitch marker
Gauge and Finished Size
Finished size is approximately 10 to 12 cm tall once assembled, depending on your tension.
Abbreviations
- ch — chain
- sc — single crochet
- hdc — half double crochet
- dc — double crochet
- inc — two sc in the same stitch
- dec — invisible decrease
- sl st — slip stitch
- R — round
Pattern Notes
Magic Ring
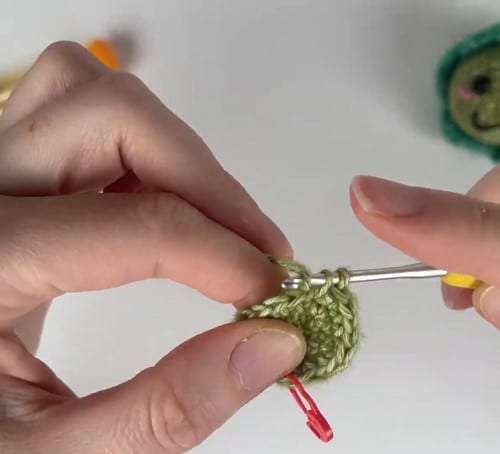
Make a loop with your yarn, insert your hook, pull up a loop, chain 1, then work your first round of single crochets into the centre of the ring. Pull the loose tail to close the hole before continuing. If the ring keeps loosening, try a slip knot method instead — there are several approaches and they all work.
Continuous Rounds
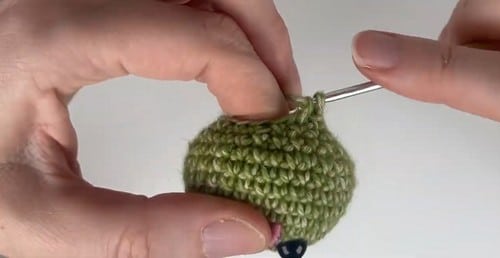
This pattern is worked in a spiral, meaning you do not join or turn at the end of each round. Use a stitch marker in the first stitch of every round and move it up each time. Without a marker, it is very easy to lose count across multiple plain rounds.
Invisible Decrease
Insert your hook through the front loop only of the first stitch, then through the front loop only of the next stitch, yarn over and pull through both loops, yarn over and pull through the remaining two loops. This gives a tighter, neater decrease than a standard one.
Counting Your Stitches
After every increase round, count your total stitches before moving on. It takes 20 seconds and saves you from discovering an error six rounds later. The count is given in brackets after each round below.
Pattern Instructions
Leaves (Make 5)
Make these in your preferred shade of green. Using two different greens for different leaves adds variation when they are fanned around the head.
R1: ch 2, work 6 sc into the second ch from the hook (6)
R2: inc in each st around (12)
R3: (1 sc, 1 inc) repeat around (18)
R4: (2 sc, 1 inc) repeat around (24). At this point each leaf should lie flat as a round disc. If it is cupping, loosen your tension.
R5: (3 sc, 1 inc) repeat around (30)
R6: work the wavy edge all the way around by repeating: sl st, hdc, dc, hdc, sl st. This five-stitch repeat gives the leaf its ruffled edge. Work it around the full perimeter. Fasten off and leave a long tail for sewing.
Head and Main Body
R1: 6 sc into magic ring (6)
R2: inc in each st around (12)
R3: (1 sc, 1 inc) repeat around (18)
R4: (2 sc, 1 inc) repeat around (24). At this point the piece should lie flat. No cupping at the edges.
R5: (3 sc, 1 inc) repeat around (30). At round 5 you have a flat disc about 6 cm across.
R6 to R10: sc in each st around (30). Five plain rounds build the dome of the head. By round 8 it should look like a shallow bowl. By round 10 it should look like a nearly complete sphere with a wide base opening.
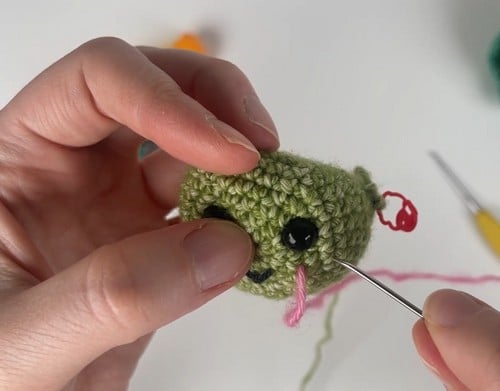
R11: (3 sc, 1 dec) repeat around (24). Insert safety eyes now, between rounds 11 and the next round, before the opening narrows further. Once they are in and the washers are pressed on, embroider the V-shaped smile using black yarn, placing it between and below the eyes. Add small horizontal pink stitches below each eye for the cheeks.
R12: (2 sc, 1 dec) repeat around (18). Stuff the head firmly now. Add fibrefill gradually, pressing it toward the magic ring end first.
R13: (1 sc, 1 dec) repeat around (12)
R14: dec in each st around (6). Thread the yarn tail through the front loops of all remaining 6 stitches, pull tight to close, and weave in the end.
Stuffing
The head needs firm, even stuffing throughout. Press the fibrefill toward the top of the head during round 12 before the opening narrows too much. After round 13 you should not need to add more. A well-stuffed head will hold its round shape and not dent when you press it lightly. The leaves are not stuffed. They should stay flat and slightly flexible.
Assembly
Work through these steps in order and pin each piece before sewing.
- Orient the head so the magic ring is at the top and the wider opening base is at the bottom. This is the bottom of the sprout.
- Take the first leaf and align its centre (where the magic ring was) to the back of the head base.
- Sew the leaf onto the head base, stitching only halfway up the leaf so the upper half remains loose and fanned outward.
- Repeat with all five leaves, spacing them evenly around the base and overlapping each one slightly with the next.
- Once all five are sewn, hold the sprout upright and adjust the leaves by hand. Fan them outward and upward.
- Tighten or loosen individual stitches if one leaf sits higher or lower than the others.
- Weave in all remaining yarn ends. A gentle squeeze and reshape by hand is all the blocking this piece needs.
Tips
- Pin the leaves in place before sewing, because their overlap decides how much of the face stays visible.
- If you prefer eyes higher up, insert them at round 9 or 10 during the plain rounds instead, before the decrease section begins.
- If the ring keeps loosening, try a slip knot method instead — there are several approaches and they all work.
- Use a stitch marker in the first stitch of every round and move it up each time. Without a marker, it is very easy to lose count across multiple plain rounds.
- After every increase round, count your total stitches before moving on. It takes 20 seconds and saves you from discovering an error six rounds later. The count is given in brackets after each round below.
- For children under three: do not use safety eyes. Embroider both eyes after assembly using black yarn. A satin stitch circle or a French knot gives a clean result at this scale. Skip the safety eyes completely and work the same pattern, then embroider at the end.
- Use the embroidered-eye version for those cases. The embroidered smile and cheeks are entirely safe at any age.
- Look up a slow video tutorial for the slip knot magic ring method — it is more forgiving than the finger-wrap version for beginners. Practice with scrap yarn until closing the ring feels natural before starting the head.
- Yes. Some curling toward the back of the leaf is normal because the wavy edge adds extra length along the perimeter. When the leaf is sewn onto the head and fanned outward, the curl works in your favour and gives it dimension.
- Use a stitch marker in stitch 1 and count the full round every time you pass it. Five plain rounds at 30 stitches each is where most beginners drift. Count every round, not every other one.
- Make sure you are going through the front loop only of both stitches, not the full stitch. Working through both loops makes the decrease bulge outward. The front-loop-only method pulls the stitches flat.
- Before sewing any leaf permanently, pin all five in place and hold the sprout upright to check the spacing. Adjust the pins before you commit any thread. It is much easier to reposition a pinned leaf than an already-sewn one.
FAQs
I have never done a magic ring before. What is the easiest way to learn?
Look up a slow video tutorial for the slip knot magic ring method — it is more forgiving than the finger-wrap version for beginners. Practice with scrap yarn until closing the ring feels natural before starting the head.
My leaves keep curling after the wavy edge round. Is that right?
Yes. Some curling toward the back of the leaf is normal because the wavy edge adds extra length along the perimeter. When the leaf is sewn onto the head and fanned outward, the curl works in your favour and gives it dimension.
Can I use this pattern for a child under three?
For children under three, it is recommended to skip the safety eyes and embroider them instead using black yarn. The embroidered smile and cheeks are entirely safe at any age.
Why are my leaves cupping instead of lying flat?
If your leaves are cupping, try loosening your tension. By round 4, each leaf should lie flat as a round disc.
How do I keep my stitch count accurate?
Use a stitch marker in the first stitch of every round and move it up each time. Count your total stitches after every increase round to catch errors early.
Pin This Crochet Pattern!