There is something deeply satisfying about the quiet rhythm of amigurumi. A small ball of yarn, a hook that fits your hand perfectly, and the repetitive motion of counting stitches until a shape begins to emerge. This crochet gnome project captures that cozy ritual perfectly. It is a compact, palm-sized companion that invites you to slow down, focusing on the texture of the yarn and the gradual formation of a face. Whether you are making a mini version for a windowsill planter or a larger one for a housewarming gift, the process is as rewarding as the finished result.
Small Details That Make It Better
What sets this gnome apart is the clever use of mixed media. Instead of crocheting a traditional beard, we use a scrap of faux fur, which adds a soft, fluffy texture that contrasts beautifully with the smooth cotton or worsted yarn of the body. The bobble nose is another standout feature; it gives the gnome a distinct, three-dimensional character that flat embroidery simply cannot achieve. This project is also incredibly versatile. Because the pattern relies on simple shaping rather than complex color changes, you can customize the hat color to match any season or theme. The faux fur beard can be white for a classic look, or dyed in fun colors for a whimsical touch. It is a perfect project for using up small scraps of yarn and fabric, making it both economical and creative.
Project Overview
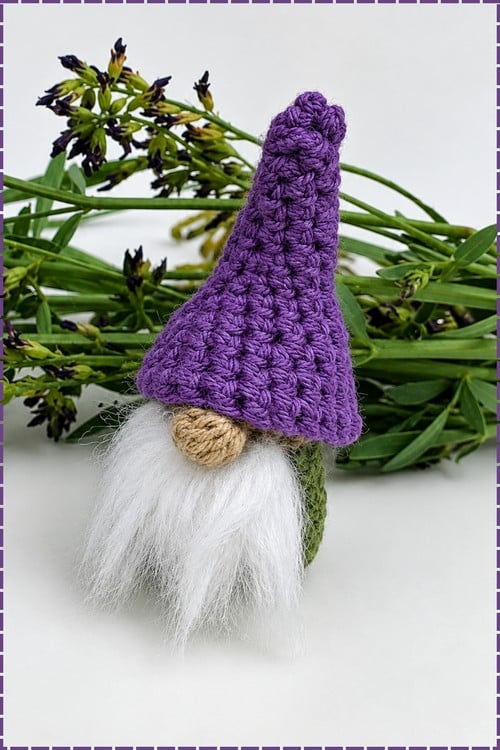
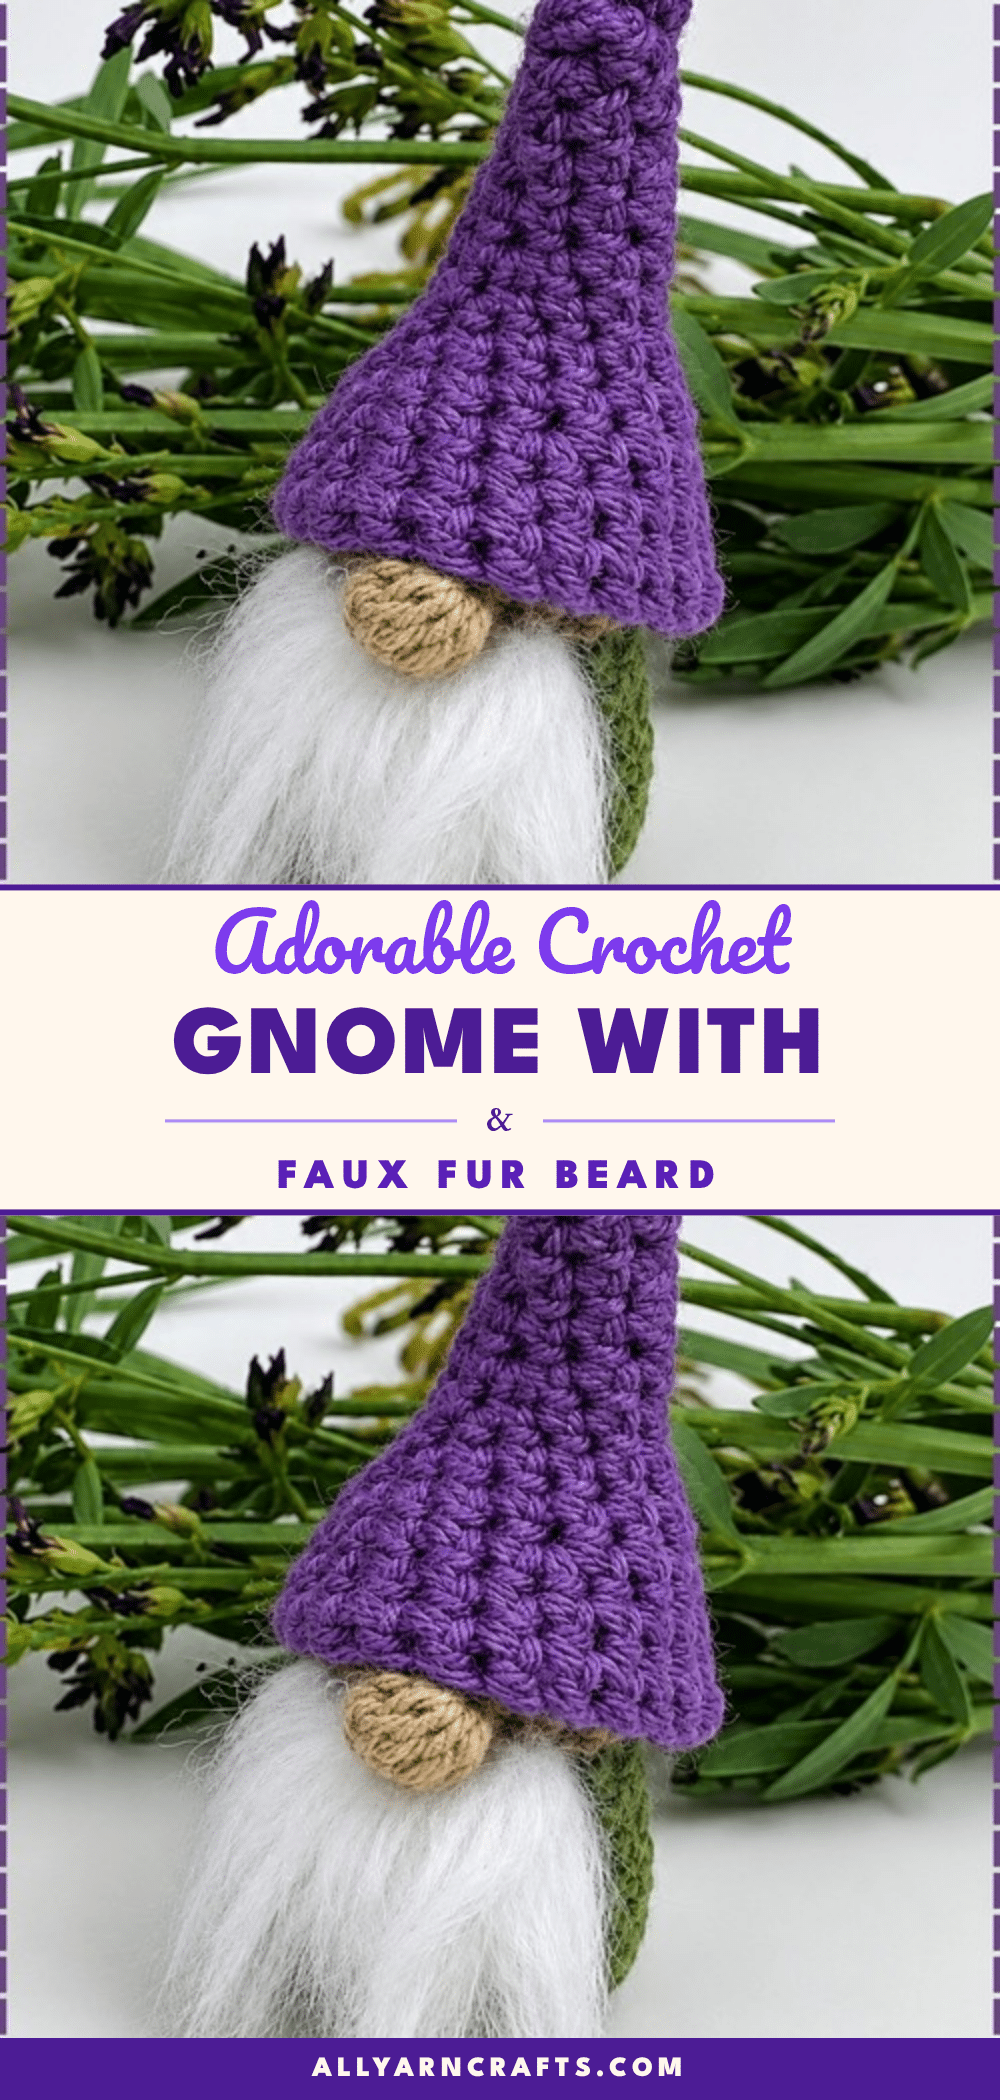
This adorable crochet gnome amigurumi features a pointed hat, a round bobble nose, and a faux fur beard. The pattern offers two size options: a palm-sized mini gnome using cotton yarn and a 3.5 mm hook, or a larger version using worsted weight yarn and a 5.0 mm hook. The face is created entirely through the bobble nose and the attached fur beard, meaning no safety eyes are required. The gnome stands on its own, making it perfect for shelf displays, planters, or as a charming gift.
Materials
- Yarn: Cotton yarn for mini gnomes or Worsted weight yarn for large gnomes
- Crochet Hooks: 3.5 mm hook (for mini) or 5.0 mm hook (for large)
- Stuffing: Fiberfill stuffing
- Beard Material: Scrap of faux fur for the beard
- Tools: Needle and sewing thread, Scissors, Stitch marker
Abbreviations
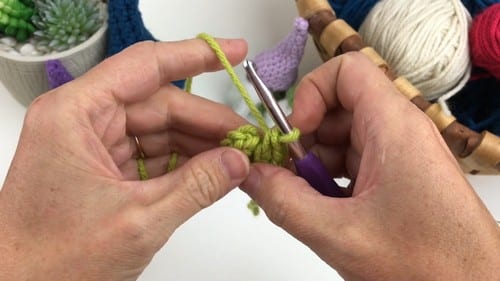
- SC: single crochet
- INC: increase (2 SC in the same stitch)
- DEC: decrease (SC two stitches together)
- FLO: front loop only
Pattern Notes
Body Stitch Count: Round 6 of the body uses a repeat pattern but does not provide a final stitch count in the source. Starting from 20 stitches with a [2 SC, DEC] repeat results in 5 repeats of 4 stitches, which calculates to approximately 15 stitches. This count is not confirmed in the source, so treat it as approximate and count carefully before moving to the face round.
Hat Sizing: The hat section instructs to “continue increasing gradually by adding two stitches every other round until the hat fits the diameter of the body.” No final stitch count is given; the brim size is determined by fitting it to your finished gnome.
Pattern Instructions
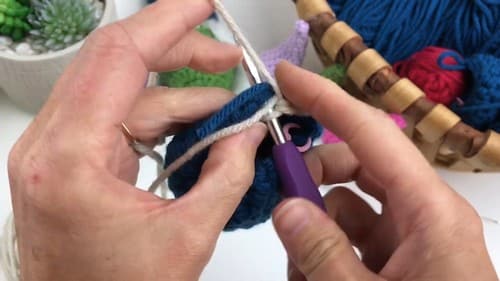
Body
R1: Magic ring with 10 SC, pull tail tight (10).
Shape check: A flat, tight circle — no gap at the center.
R2: INC in each st around (20).
R3: SC in FLO of each st around (20).
Shape check: A ridge of unused back loops circles the base. This is what lets the gnome sit flat.
R4 to R5: SC in each st around, both loops, 2 rounds total (20).
R6: [2 SC, DEC] repeat around.
Shape check: The sides begin drawing inward. If the body flares outward instead of narrowing, check that you are decreasing, not increasing. (Stitch count not given in source — see Pattern Note).
Face and Nose
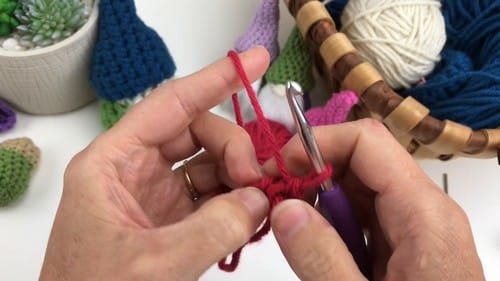
Switch to skin tone yarn by pulling the new color through the last two loops of the previous stitch. Work 7 SC in skin tone yarn.
Bobble Nose: Make the bobble nose in the next stitch: Yarn over, insert hook, pull through, pull through 2 loops, leaving 2 loops on hook. Repeat 5 more times in the same stitch until 7 loops are on the hook. Yarn over and pull through all loops. Work 1 SC in the next stitch to push the bobble outward.
Shape check: The bobble should stand away from the fabric surface. If it sits flat, the final pull-through was too loose — tug the yarn tail gently from the back.
Continue the DEC pattern to close the head shape. Stuff the body firmly with fiberfill before the opening becomes too small to reach.
Hat
R1: Magic ring with 4 SC, tighten the loop (4).
R2: SC in each st around (4).
R3: [1 SC, INC] repeat around (6).
Continue alternating one increase round (adding 2 stitches by spacing INC evenly) and one even SC round until the hat brim fits the diameter of the gnome body.
Shape check: A growing cone that sits upright without flopping. If it leans, your increases are uneven — redistribute them on the next increase round.
Fasten off, leaving a long tail for assembly.
Beard
Cut a small rectangle of faux fur. To cut cleanly: snip the fabric backing slightly, then rip slowly so the fur hairs remain intact along the edge. Using a needle and sewing thread, stitch the fur piece in a U shape just below the nose.
Assembly
No safety eyes are used in this pattern — the face is all nose and beard.
- Beard first: Stitch it in place below the nose before the hat goes on.
- Hat last: Place it slightly forward so it sits just above the nose, then stitch it securely using the yarn tail. Check symmetry before committing any stitch. The beard and hat placement carry all the expression.
Stuffing
Start stuffing during the face round, well before the opening narrows. Add fiberfill in small amounts and compress it gently as you go so the base stays firm and the body holds its rounded shape. Too much stuffing at once creates lumps that are hard to redistribute once the opening closes.
Tips
- Flat Base: Ensure Round 3 is worked in the front loop only to create the ridge that allows the gnome to sit flat.
- Nose Texture: If the bobble nose lies flat, tighten the final yarn-over pull-through. A gentle tug on the yarn tail from the back can help pop it out.
- Hat Stability: If the hat leans, your increases may be uneven. Redistribute the increases on the next round to keep the cone upright.
- Fur Cutting: The “rip method” for the faux fur backing feels unusual at first, but it results in a clean edge with intact hairs. Snip the backing slightly and pull slowly.
FAQ
Can I add safety eyes to this pattern?
The pattern doesn’t include them, but you could add a pair between the bobble nose and the hat brim. Put them in before the face round closes, while the opening is still wide enough to reach.
What faux fur works best for the beard?
Any short to medium pile fur with a woven fabric backing rips cleanly. Very thick pile fur can be hard to stitch through; if the backing is heavy, use a sharp needle and strong thread.
Does the size difference change anything besides the hook and yarn?
No. The rounds are the same; the hook and yarn handle the size. The mini finishes much faster — cotton at 3.5 mm crochets up quickly.
How do I make the gnome stand up?
The key is Round 3 of the body, where you work single crochet in the front loop only (FLO). This creates a ridge of unused back loops that acts as a base, allowing the gnome to sit flat on a surface.
Is this pattern suitable for beginners?
Yes, this pattern uses basic stitches like SC, INC, and DEC. If you’re new to crocheting toys, the video tutorial below shows you exactly what each round should look like, you’ve got this!
Pin This Crochet Pattern!