It is incredibly common for beginners to pull their magic ring too tight, leaving a tiny hole in the center of their first round. You might worry that this mistake will ruin the entire project, but with this crochet flower basket, that small circle is just the beginning of something sturdy and beautiful. Because the pattern uses joined rounds rather than a continuous spiral, the structure remains firm and predictable, making it a forgiving project for those still learning the rhythm of amigurumi. Even if your first round isn’t perfectly invisible, the ribbed texture of the body and the cheerful cluster of flowers will hide any minor imperfections.
Maker Notes
This project is a wonderful way to use up small scraps of cotton yarn. The basket body works up firm and dense, creating a container that holds its shape without needing a heavy internal frame. The flowers, however, are much softer and quicker to make, allowing you to finish a set of blooms in a single sitting. I love the contrast between the structured, ribbed brown basket and the ruffled yellow petals that spill over the rim. It is a project that feels substantial in the hands but remains lightweight and portable, perfect for gifting to teachers or neighbors.
Project Overview
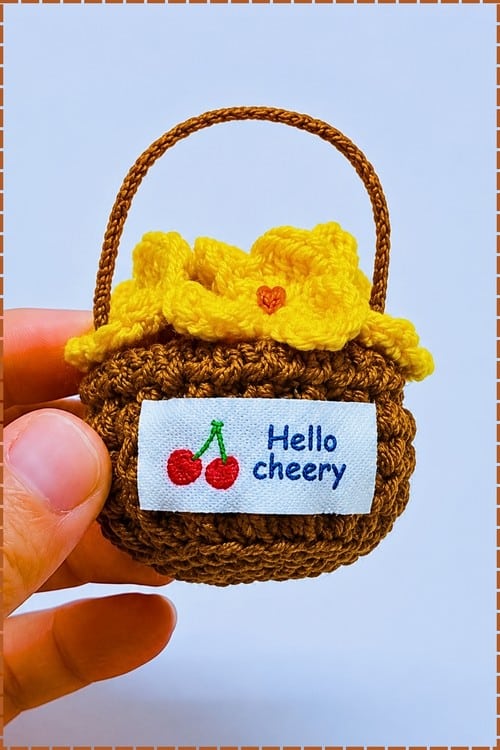
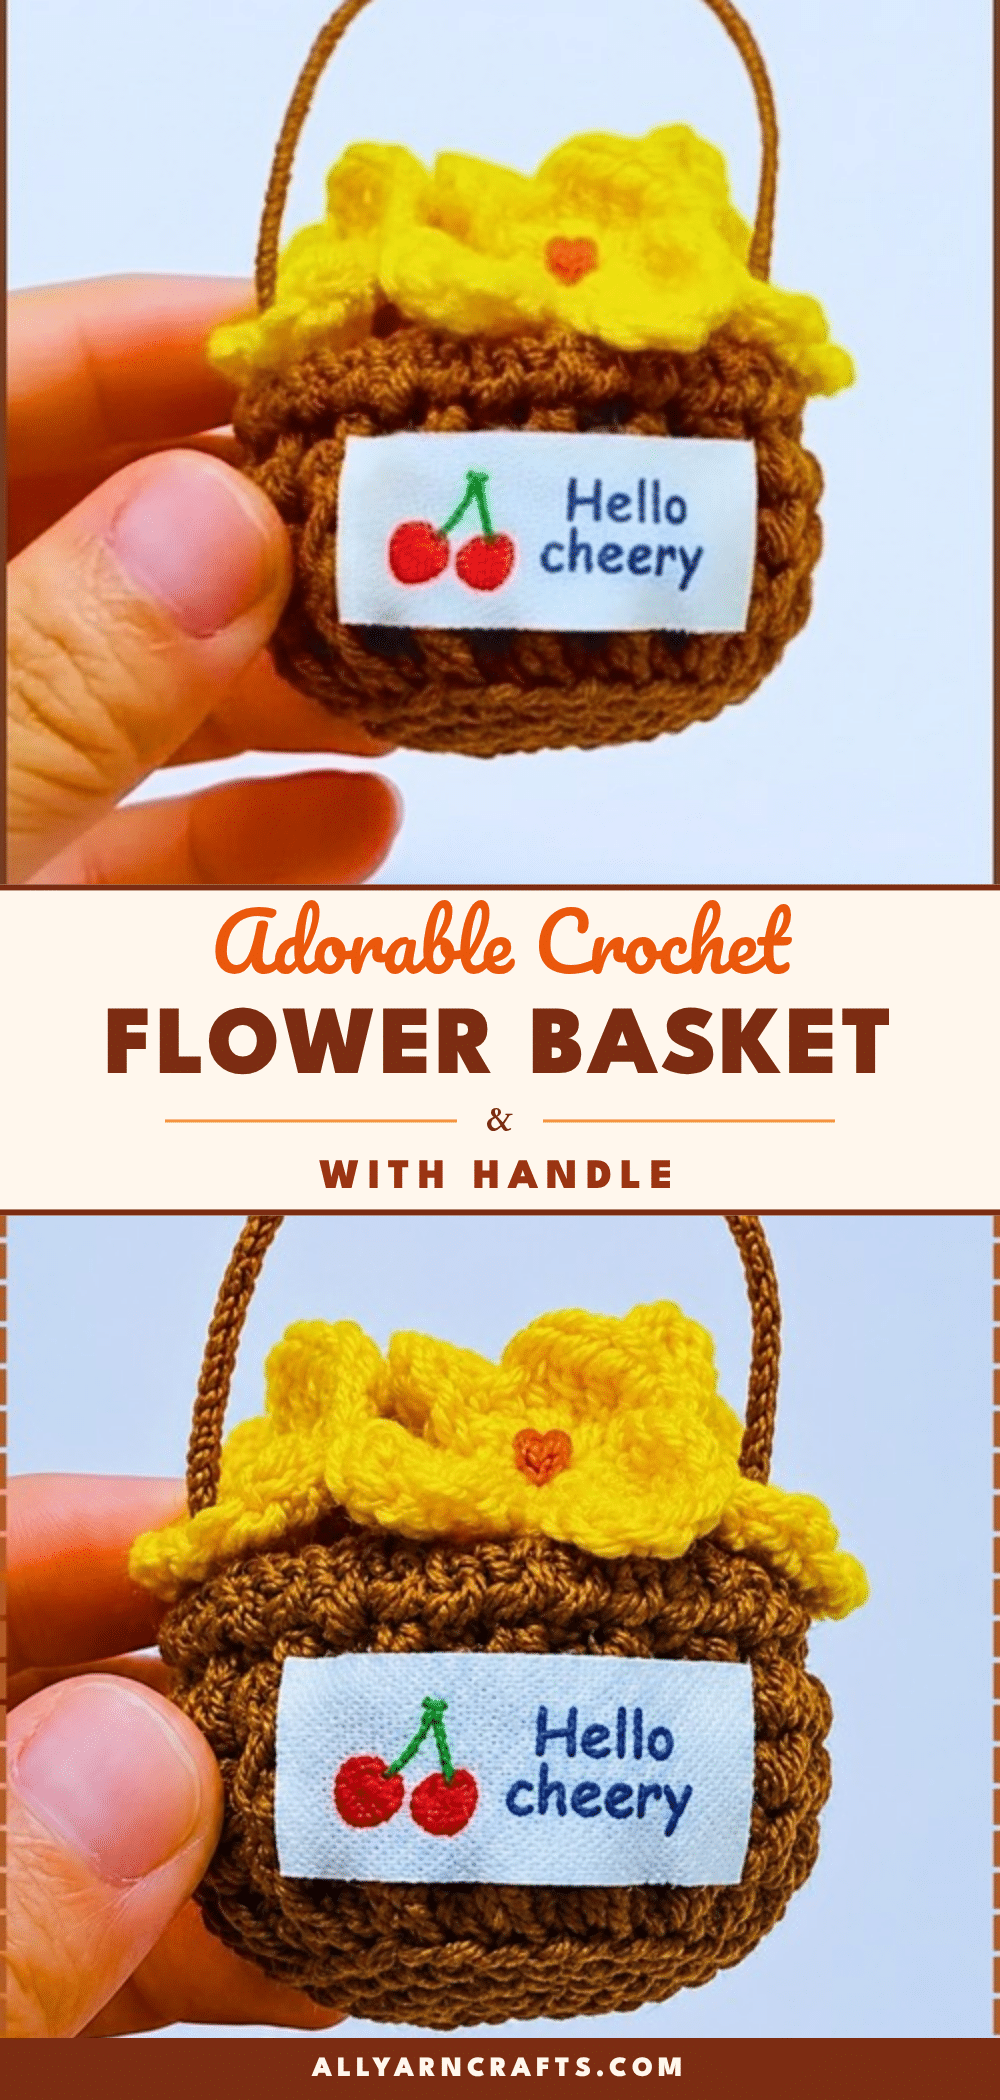
This free crochet flower basket pattern creates a charming cylinder with a flat base and a thin, yarn-wrapped handle. The basket body features a ribbed texture created by alternating post stitches, while the top edge is finished with a decorative wavy scallop. The flowers are separate pieces attached after the main body is closed, allowing you to customize the arrangement. A stitched fabric label can be added to the front for a personal touch.
Materials
- 4 ply cotton yarn in your basket colour, approximately 30–50 g
- Small amounts of two or three flower colours, under 10 g each
- Contrasting colour for flower centres
- 3.0 mm crochet hook
- Floral wire or craft wire for the handle, approximately 20–25 cm
- Craft glue suitable for yarn and fabric
- Polyester fiberfill, a small amount
- One small round plastic or cardboard disc to fit the basket base — cut to size after the base is finished
- Yarn needle and scissors
Abbreviations
- sc — single crochet
- inc — increase (2 sc in the same stitch)
- dc — double crochet
- FPdc — front post double crochet (yarn around hook, insert from front to back around the post of the stitch below, not through the top loops)
- BPdc — back post double crochet (same but inserting from back to front)
- sl st — slip stitch
- ch — chain
- BLO — back loops only
- FLO — front loops only
Pattern Notes
The basket is worked in joined rounds throughout — chain at the start of each round and slip stitch to join at the end. This is different from the continuous spiral used in amigurumi. Move a stitch marker if it helps, but the join at the end of each round acts as a natural marker. The basket body is worked in a cylinder with a flat base, its walls straight enough to hold shape without a frame inside. The parts are the basket, the flowers, and any foliage, all assembled at the end.
Pattern Instructions
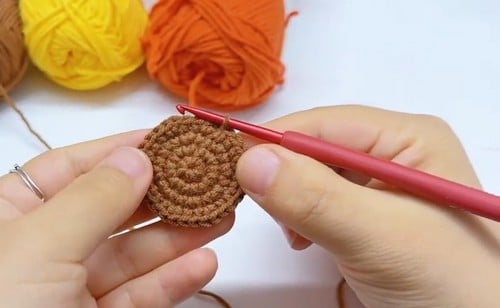
Basket Base
Start with a magic ring
- Ch 1, work 8 sc into the ring, pull tight, sl st to join [8] — Checkpoint: a small tight circle, flat and even. If the centre has a visible hole, the ring wasn’t pulled fully closed before joining.
- Ch 1, work 2 sc in each st around, sl st to join [16]
- Ch 1, (1 sc, inc) around, sl st to join [24]
- Ch 1, (inc, 2 sc) around, sl st to join [32] — Checkpoint: a flat disc roughly 5–6 cm across. Lay it on the table — it should sit completely flat without curling at the edges. If the edge is curling upward, tension is tight; if it’s ruffling outward, the increases are too many for the gauge. Do not continue if it isn’t lying flat, as the base warping here will carry through the whole basket. After this round, cut your cardboard or plastic disc to match the base diameter. Having it ready now makes the assembly step at the end much faster.
Basket Body
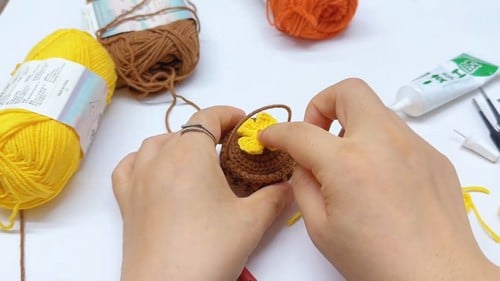
- Ch 2, dc in the BLO of each st around, sl st to join [32] — Checkpoint: the fabric should fold sharply upward from the base here, forming a clean right angle. The back-loop-only round is what creates this transition. If the sides are leaning outward instead of standing straight, try working this round more tightly than feels natural.
- Ch 2, (FPdc, BPdc) alternating around, sl st to join [32] — Repeat the (FPdc, BPdc) round so the columns swap each round so post stitches build on post stitches. If the ribs are sinking into the fabric instead of standing proud, you may be working FPdc and BPdc into the same column on successive rounds.
- Ch 1, (sl st into next st, ch 1) around the front loops, sl st to join — this creates the wavy decorative edge at the top of the basket body.
Inner Circle
Work identically to the basket base — same 4 rounds, same stitch counts, same joins. Follow all four rounds of the basket base instructions to produce a second flat disc [32]. Set aside until assembly.
Mini Flowers
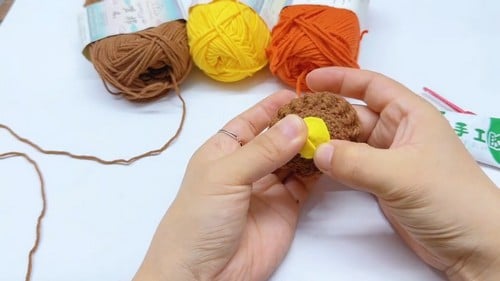
Make 4 to 6, as many as you need to cover the top of the basket. Each flower is worked from a single magic ring.
- Start with a magic ring
- For each petal: ch 3, work 3 dc into the ring, ch 3, sl st into the ring
- Repeat the petal sequence 4 or 5 times around the same ring — Checkpoint: each petal should stand open and slightly cupped. If the petals are collapsing flat, the dc stitches are too tight. Work them with slightly looser tension or go up half a hook size for the flowers only.
- Pull the magic ring tight
- Add a small stitched or knotted centre in a contrasting colour at the ring opening
- Fasten off, leaving a tail. Do not weave it in — you’ll use it to position the flower before gluing.
Assembly
Work in this order. Each step either depends on or conceals the previous one.
- Glue the cardboard or plastic disc to the outside bottom of the basket base. Let it dry fully before continuing — a disc that shifts during stuffing will make the basket sit unevenly.
- Stuff the basket body lightly with fiberfill through the top opening. Just enough to give it a rounded, full look from the side. The inner circle closes this off, so there’s no going back once it’s sewn in.
- Pin the inner circle to the top edge of the basket body, aligning it stitch for stitch around the circumference. Pin at four points before sewing — opposite sides first, then the quarters. Sew it into the inner loops of the top edge using a whip stitch or mattress stitch, removing pins as you go.
- Wrap the wire handle end-to-end with yarn, securing the starting tail under the first few wraps and the finishing tail under the last few. No glue needed if the wraps are tight.
- Insert each wire end into opposite sides of the basket body, pushing through between stitches rather than through them, and bend the wire end slightly inside to anchor it. A small dab of glue on the wire end before inserting holds it permanently.
- Position the flowers on top of the inner circle — lay them all out before gluing any, stepping back to check the arrangement. Glue one at a time from the outside in, using the yarn tails to hold each flower in position while the glue sets. Fill any gaps with additional flowers or with loose yarn loops tucked between the heads.
Tips
- Base Flatness: If the edge of your base is curling upward, tension is tight; if it’s ruffling outward, the increases are too many for the gauge. Do not continue if it isn’t lying flat, as the base warping here will carry through the whole basket.
- Side Transition: The back-loop-only round is what creates the transition from base to body. If the sides are leaning outward instead of standing straight, try working this round more tightly than feels natural.
- Ribbing: If the ribs are sinking into the fabric instead of standing proud, you may be working FPdc and BPdc into the same column on successive rounds — the columns need to swap each round so post stitches build on post stitches.
- Flower Tension: If the petals are collapsing flat, the dc stitches are too tight. Work them with slightly looser tension or go up half a hook size for the flowers only.
- Stuffing Level: Light stuffing only. This basket is decorative and the inner circle seals it closed, so the fiberfill is purely structural. Over-stuffing distorts the ribbed body, pushing the ribs apart and flattening the pattern.
- Handle Security: The bend at the wire end helps but glue is what actually holds it. Use a fabric-compatible glue or a small amount of hot glue on the last centimetre of each wire end before inserting.
FAQs
Can I skip the cardboard base and just use the crocheted disc?
The basket will work structurally without it, but it won’t sit flat. Cotton at this gauge is flexible enough that the base moves when picked up and the basket tilts on any uneven surface. Even a circle of thin cereal box card makes a significant difference. Cut it to match the base after round 4, before assembly.
The wire handle keeps pulling out. How do I fix this?
The bend at the wire end helps but glue is what actually holds it. Use a fabric-compatible glue or a small amount of hot glue on the last centimetre of each wire end before inserting. Push the end in far enough that it’s sitting inside the ribbed body section rather than just through the edge. The yarn wrapping on the handle adds friction at the entry point too, which helps.
How many flowers do I need?
Enough to cover the inner circle completely with no gaps showing. That’s usually 5 or 6 at the size this pattern produces, depending on how tightly you cluster them. Make 7 and choose the best ones — imperfect flowers hide better when they’re at the back or tucked under a better one at the front.
Why are my flower petals collapsing flat?
If the petals are collapsing flat, the dc stitches are too tight. Work them with slightly looser tension or go up half a hook size for the flowers only.
Is this pattern suitable for beginners?
Yes. The basket is worked in joined rounds, which is different from the continuous spiral used in many amigurumi projects. This makes counting and tracking rounds easier. Still learning how amigurumi patterns work? That’s totally okay, follow the video tutorial below and check the written pattern as you go!
Pin This Crochet Pattern!