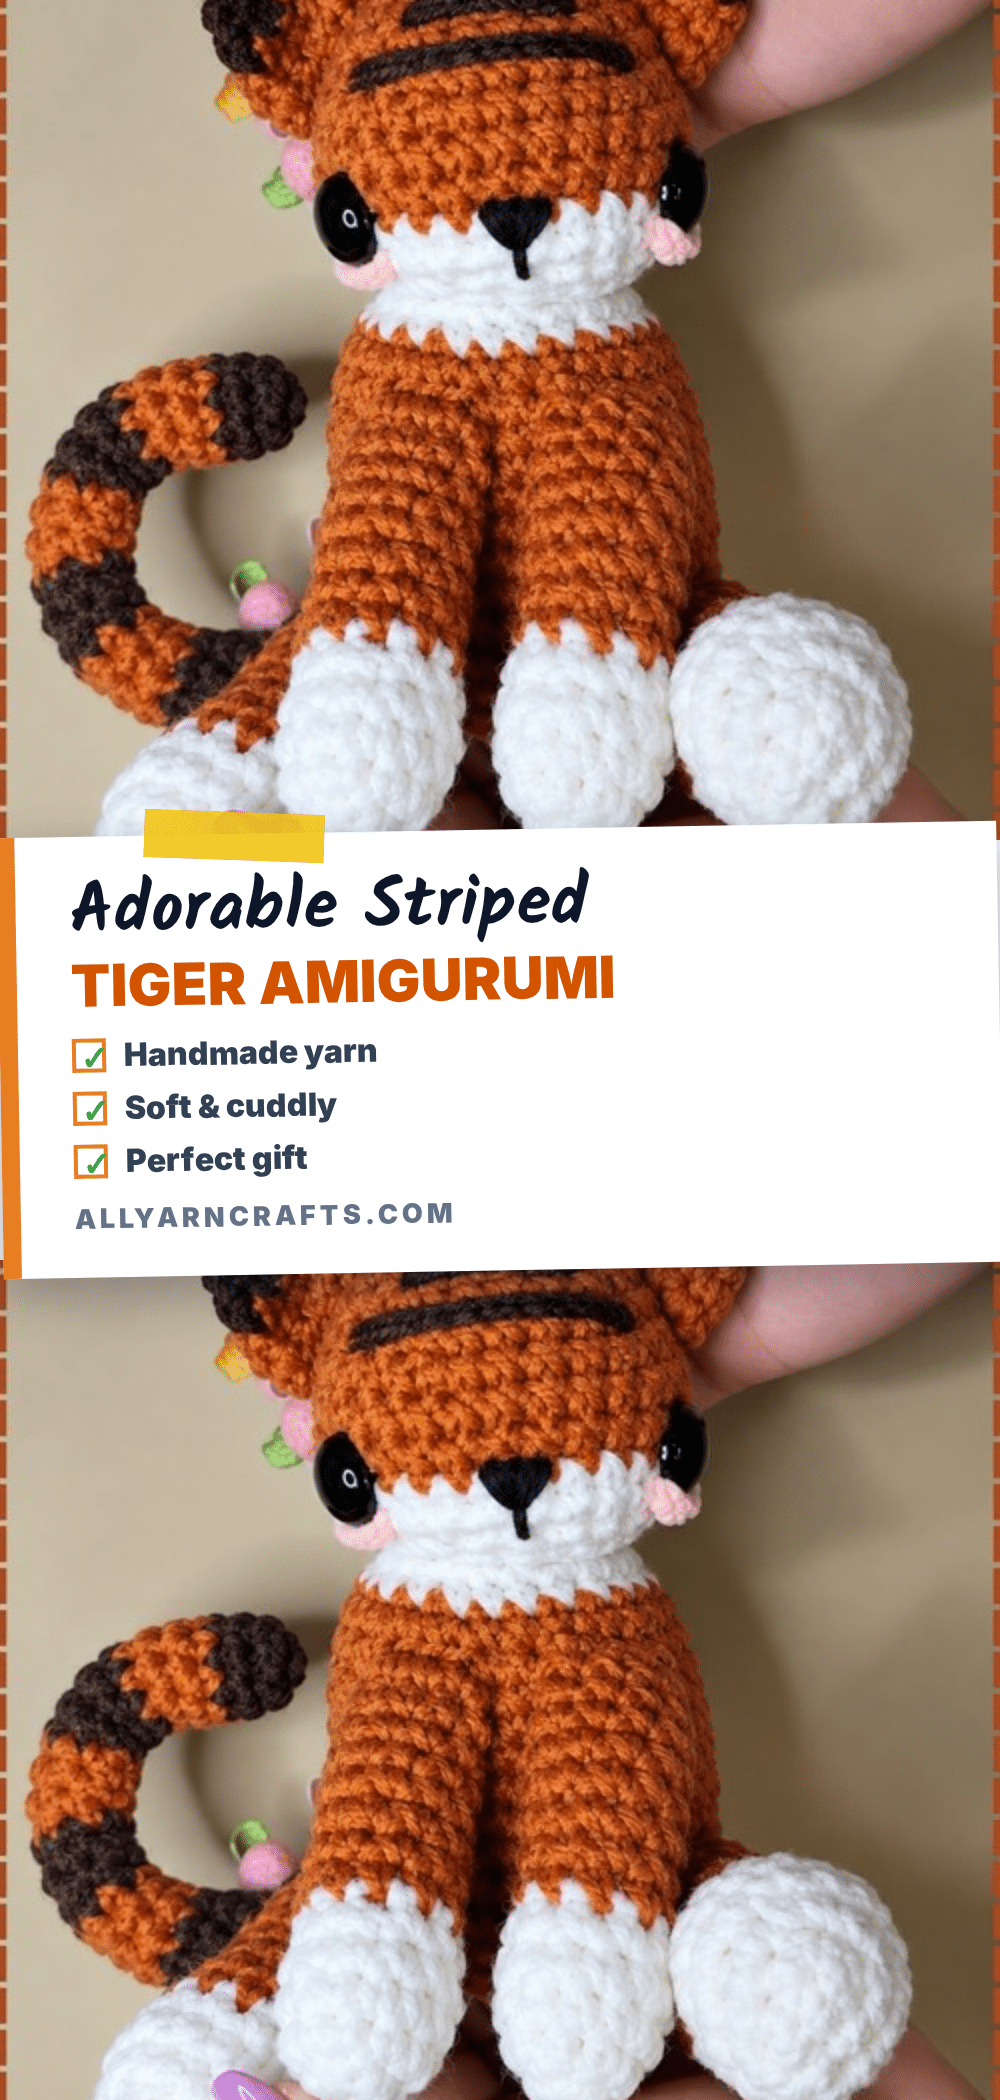
There is a specific kind of magic in the quiet hours of the evening when the house settles down and the only sound is the rhythmic click of a crochet hook. It is the perfect time for a project that demands focus but rewards you with a smile. Picture a small batch of orange and black yarn, the soft texture of the fiberfill, and the satisfying count of stitches as you build a friend from scratch. This striped tiger amigurumi is designed for those relaxing repeats, offering a cozy ritual that transforms simple loops into a standing, cuddly companion. It is a project that invites you to slow down, breathe, and create something that will eventually sit proudly on a shelf or in the arms of a child.
Small Details That Make It Better
What truly elevates this striped tiger plush from a simple craft project to a cherished keepsake lies in the intentional choices you make during assembly. The pattern is designed so the tiger sits upright on its own, thanks to the chunky white paws and a sturdy body, but the character comes from the finishing touches. Pay close attention to the placement of the muzzle; setting it so the top edge meets the eye line creates a softer, more approachable expression than a standard attachment. The pink cheeks and the specific V-shape on the forehead add a layer of personality that mass-produced toys often lack. Additionally, the decision to embroider the stripes unevenly rather than spacing them perfectly mimics the irregular beauty of real tiger markings, preventing the toy from looking like a costume. These small adjustments in tension, stuffing firmness, and placement are what turn a collection of yarn into a living, breathing amigurumi friend.
Project Overview
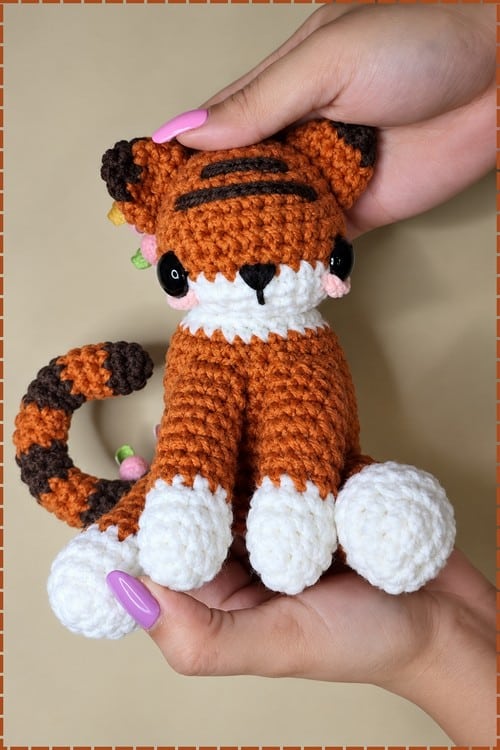
This crochet tiger amigurumi is a charming, standing plushie perfect for nursery decor, safari-themed shelves, or as a comforting gift. The design features a classic orange body with black stripes, a white muzzle, and oversized white paws that allow the tiger to sit upright without internal wire support. The muzzle, ears, and tail are worked as separate pieces and sewn on, giving the toy a distinct, structured look. The pattern uses color changes for the stripes and is suitable for beginners who have completed a simple animal, offering a manageable challenge with clear instructions.
Materials
- Orange Yarn: Main body color.
- White Yarn: For the muzzle, belly panel, and paws.
- Black Yarn: For stripes and embroidery.
- Crochet Hook: 3.5 mm or 4.0 mm (depending on desired tightness).
- Safety Eyes: 10 mm or 12 mm (Note: 12 mm eyes are large and will dominate the face; try both sizes against the fabric before attaching).
- Fiberfill Stuffing: Standard polyester stuffing.
- Tapestry Needle: For sewing parts and embroidering details.
- Scissors: For cutting yarn.
To mark the beginning of rounds.
Gauge and Finished Size
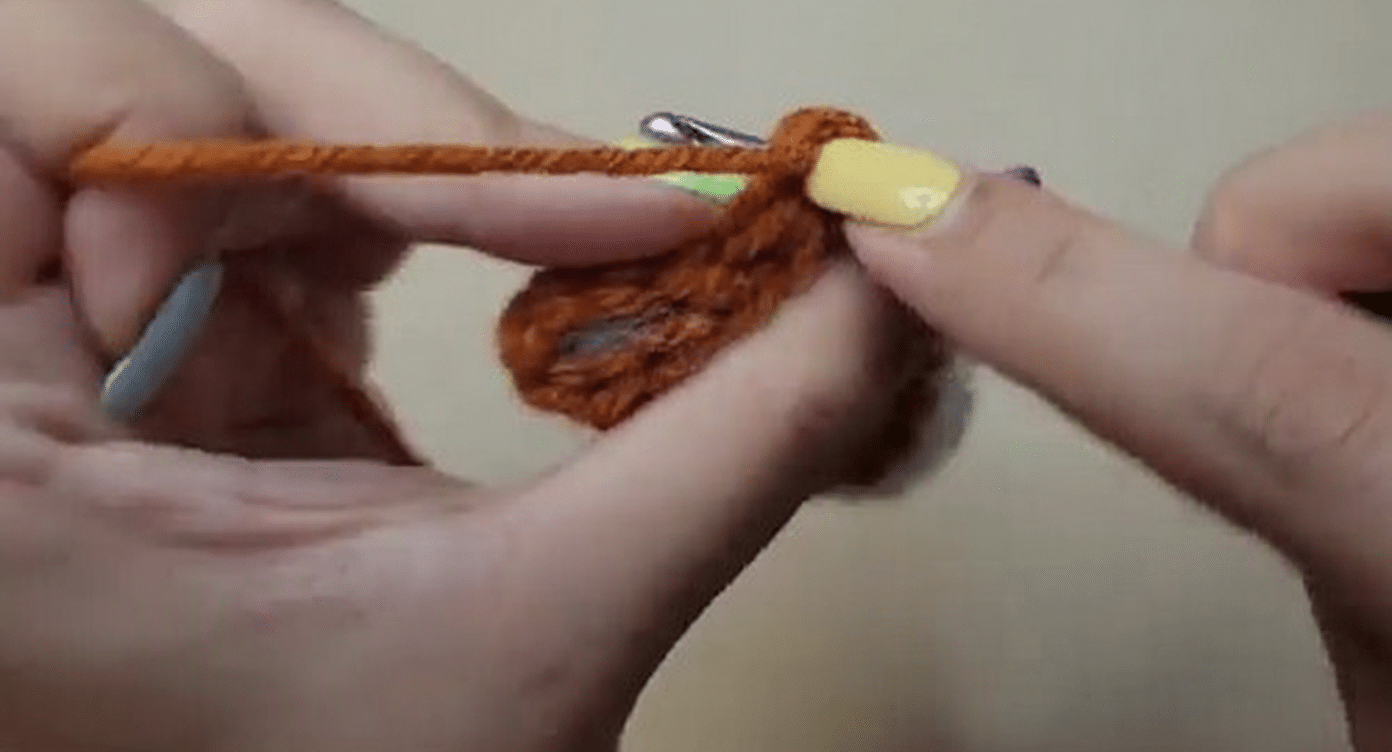
The finished tiger stands approximately 15 to 18 cm tall when assembled, based on working with a 3.5 mm hook. This is an estimate derived from the stitch counts rather than a strict gauge measurement. To ensure the tiger holds its shape and the stuffing does not show through, it is crucial to keep the fabric dense. Work in continuous rounds with a marker in the first stitch and use invisible decreases throughout the pattern.
Abbreviations
Note: Standard crochet abbreviations are used. The pattern relies on basic stitches.
- sc: Single crochet
- inc: Increase (2 sc in the same stitch)
- dec: Decrease (2 sc together)
- sc around: Single crochet in each stitch around
Pattern Notes
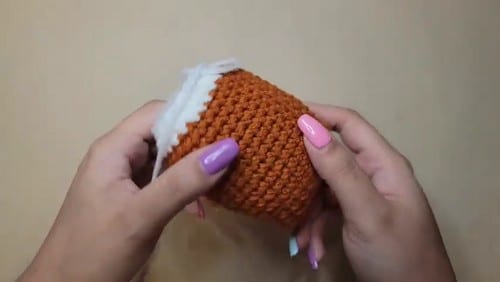
- Continuous Rounds: Work in a spiral without joining rounds with a slip stitch. Use a stitch marker to keep track of the start of each round.
- Dense Fabric: Pull your stitches snugly to prevent stuffing from showing through later.
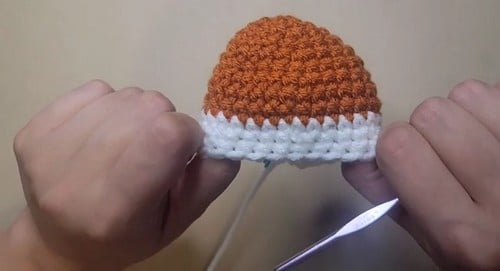
- Color Changes: Stripes are created by changing yarn colors. This is the only “fiddly” step; the rest of the pattern consists of plain rounds.
- Proportions: The arms are one round shorter than the legs to maintain correct proportions. The tail is worked on only 5 stitches, which is narrower than the hook handle; work this by feel.
Pattern Instructions
Head, Orange Yarn
Make 1
- Round 1: Magic ring, 6 sc [6]
- Round 2: 2 sc in each stitch [12]
- Round 3: 1 sc, inc, repeat 6 times [18]
- Round 4: 2 sc, inc, repeat 6 times [24] — flat disc still, roughly the size of a bottle cap
- Rounds 5 to 9: sc around [24] — five straight rounds turn the disc into a short cylinder; if it keeps widening you have picked up a stray increase
- Place safety eyes between rounds 7 and 8.
- Round 10: 2 sc, dec, repeat 6 times [18]
- Round 11: 1 sc, dec, repeat 6 times [12] — the head should read as a ball now, firm, with the eyes sitting just below centre
- Stuff firmly. Continue decreasing if needed and fasten off, leaving a tail for sewing.
Muzzle, White Yarn
Make 1
- Round 1: Magic ring, 6 sc [6]
- Round 2: 2 sc in each stitch [12]
- Round 3: 1 sc, inc, repeat around [18] — a flat white circle, about a third the width of the head
- Stuff lightly.
- Sew to the lower half of the head. Set the muzzle so its top edge meets the eye line. Light stuffing keeps it soft but readable.
- Embroider a small inverted triangle nose.
Ears, Make 2, Orange
Make 2
- Round 1: Magic ring, 6 sc [6]
- Round 2: 1 sc, inc, repeat around [9]
- Round 3: sc around [9] — a tiny shallow cup that will flatten into a rounded triangle
- Flatten.
- Sew to the top of the head. Attach them toward the back half of the head rather than square on top.
Body, Orange and White
Make 1
- Round 1: Magic ring, 6 sc [6]
- Round 2: 2 sc in each stitch [12]
- Round 3: 1 sc, inc, repeat 6 times [18]
- Round 4: 2 sc, inc, repeat 6 times [24]
- Round 5: 3 sc, inc, repeat 6 times [30] — still flat; this becomes the base the tiger sits on
- Rounds 6 to 12: sc around [30] — seven straight rounds give a tube noticeably wider than the head, which is intended
- Switch to white for 8 to 10 centre stitches in front to create the belly panel.
- Round 13: 3 sc, dec, repeat 6 times [24]
- Round 14: 2 sc, dec, repeat 6 times [18] — the top should now narrow into a shoulder that the head can sit on
- Stuff firmly. Fasten off and sew to the head.
Legs, Make 2, Orange
Make 2
- Round 1: Magic ring, 6 sc [6]
- Round 2: 2 sc in each stitch [12]
- Rounds 3 to 6: sc around [12] — a short stubby tube, wider than it is tall
- Add a black stripe round if desired.
- Stuff lightly.
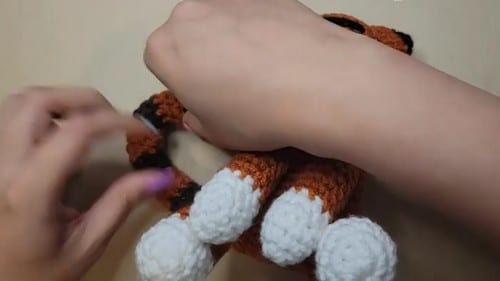
- Sew to the bottom of the body. Set them slightly forward so the tiger sits without tipping backward.
Arms, Make 2, Orange
Make 2
- Round 1: Magic ring, 6 sc [6]
- Round 2: 2 sc in each stitch [12]
- Rounds 3 to 5: sc around [12] — one round shorter than the legs, which is what keeps the proportions right
- Add a stripe if desired.
- Stuff lightly.
- Sew to the sides of the body.
Tail, Orange and Black
Make 1
- Round 1: Magic ring, 5 sc [5]
- Rounds 2 to 15: sc around [5]
- Alternate 3 rounds orange and 1 round black.
- Stuff lightly.
- Sew to the back of the body. A five stitch round on a 4 mm hook is narrower than the hook handle. You will be working this one mostly by feel, and it goes faster if you accept that early. Do not overstuff it.
Assembly
The order of assembly matters. Follow this sequence for the best structural integrity and appearance:
- Muzzle: Attach first.
- Ears: Attach next.
- Head to Body: Sew the head to the body around the full 18-stitch opening rather than tacking it at four points, or the head will pivot.
- Legs: Attach to the bottom of the body. Pin them forward before sewing to ensure the tiger sits flat.
- Arms: Attach just below the head seam, angled slightly inward.
- Tail: Attach to the back of the body.
Tip: Pin every piece before sewing. The muzzle and ears in particular look correct in your hand but may look wrong once attached. Pins let you walk away and come back to check the alignment.
Tips
- Stuffing Levels: Stuff the head very firmly to hold its round shape. The body should be firm but slightly softer. Limbs should be lightly stuffed to stay squashy. The tail should be barely stuffed at all to allow for flex.
- Oval Head Fix: If your head comes out oval, it is likely because the five straight rounds (5-9) are pulling tighter than the increase rounds. Check your tension across these rounds. You can also push the shape with your fingers while stuffing.
- Eye Placement: The pattern suggests 7 to 8 stitches between eyes. On a 24-stitch round, this is a third of the way around, giving a wide, slightly startled look. Push the posts through and check the face straight on before committing. Five or six stitches apart reads calmer.
- Safety vs. Embroidery: For a child under three, skip safety eyes. Embroider two black satin stitch ovals instead and work the ends deep into the stuffing.
- Stripes: Embroider black stripes last, after everything is sewn together. Space them unevenly. Real tiger markings are irregular; evenly spaced stripes read as a costume. Vary the length, using short stubby ones between long ones.
FAQs
My head came out oval instead of round. Why?
This is nearly always caused by the five straight rounds (Rounds 5 to 9) pulling tighter than the increase rounds above and below them. Check your tension across these rounds on your next attempt. You can also try to push the shape a little with your fingers while stuffing, though this has limits.
Can I skip the separate muzzle and just embroider the face?
You can, and plenty of tiger patterns do. However, you will lose the snout depth, so the face goes flatter and reads more like a cat. If you go that route, embroider the nose slightly lower than you think, because a flat face needs the features dropped a little to look right.
The legs will not hold the toy upright. What should I do?
Usually, the legs are stuffed too lightly to bear the body, or they are set too far back. Add a little more fill and pin them further forward before sewing. A wider stance also helps more than a firmer one.
How do I prevent stuffing from showing through?
Keep your fabric dense. Work in continuous rounds with a stitch marker and use invisible decreases. Ensure you are not overstuffing the head, as this can spread the stitches and reveal the fill, particularly across rounds 5 to 9.
Are safety eyes safe for toddlers?
No. For a child under three, skip the safety eyes. Embroider two black satin stitch ovals instead and work the yarn ends deep into the stuffing to secure them safely.
Pin This Crochet Pattern!