There is something deeply soothing about the rhythm of amigurumi. A quiet evening, a small batch of yarn, counting stitches, and a relaxing repeat. As you work through the rounds, the tension of the day melts away, replaced by the tactile satisfaction of creating something whole. This crochet Shiba Inu pattern captures that same cozy energy. It is a project that rewards patience with a charming, chibi-style companion that fits perfectly in your hands and on your desk.
Small Details That Make It Better
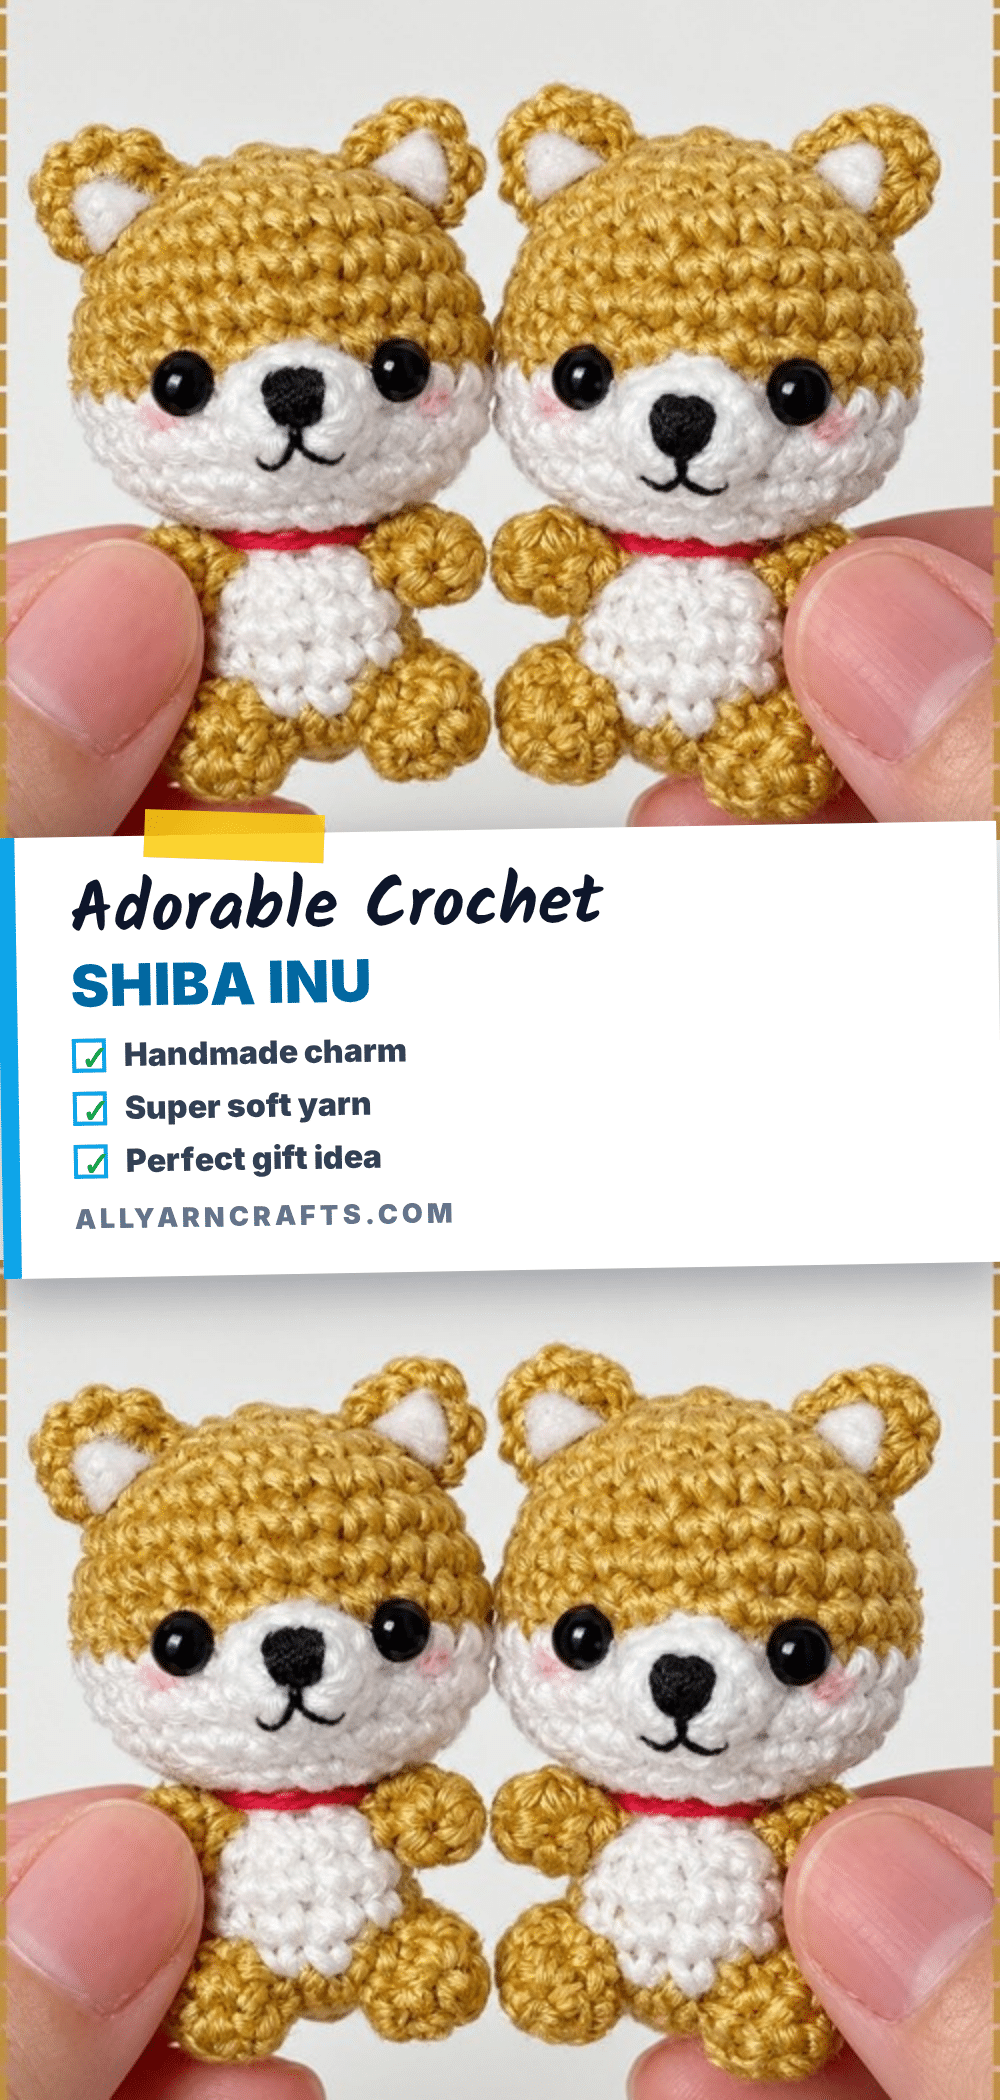
The real magic of this Shiba Inu lies in the specific proportions and the color choices that bring the breed to life. The head is intentionally larger than the body, creating a playful chibi silhouette that is both adorable and structurally sound. When selecting your yarn, avoid bright pumpkin orange, which can make the dog look like a fox. Instead, look for a light rust or caramel shade that mimics the real breed. Adding a cream muzzle and a tiny red collar provides the finishing touches that elevate this from a simple toy to a character with personality. The inward angle of the ears is particularly crucial; it is the subtle detail that distinguishes a Shiba from other canine amigurumi.
Project Overview
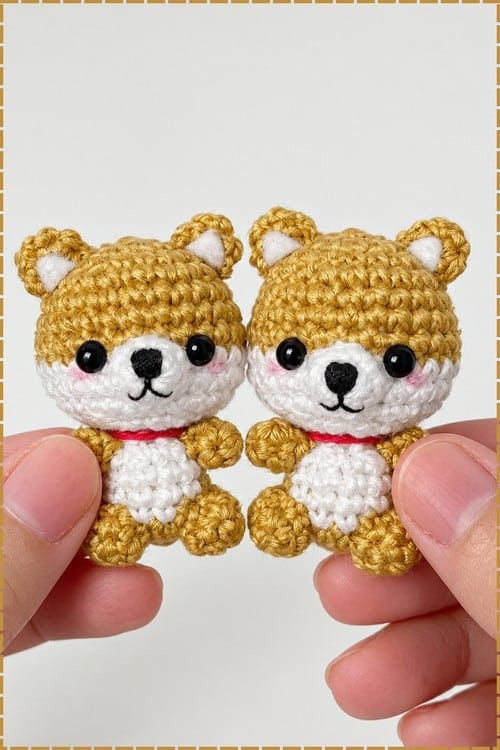
This pattern creates a small, plush Shiba Inu amigurumi. The design features a large head, a compact body, and distinct facial markings typical of the breed. It is suitable for makers who are comfortable with basic amigurumi techniques and want to create a detailed character toy.
Materials
- Orange yarn: For the head, body, ears, legs, and tail.
- Cream yarn: For the muzzle.
- Black yarn: For face embroidery (nose and line under the nose).
- Safety eyes: 8 mm or 9 mm are recommended for a 36-stitch head.
- Fiberfill stuffing.
- Crochet hook: 3.5 mm is the sensible default for worsted weight yarn to achieve the intended size.
- Yarn needle, stitch marker, and scissors.
Note: The original source does not specify hook size or yarn weight. The recommendations above are based on standard practices for these stitch counts to achieve a dog approximately 18 to 20 cm tall.
Gauge and Finished Size
- Finished Size: Approximately 18 to 20 cm tall (worsted weight/3.5 mm hook). The head diameter is roughly 9 cm.
- Size Variations: Using DK yarn with a 3 mm hook results in a 14–15 cm dog. Chunky yarn with a 5 mm hook pushes the size past 26 cm.
- Gauge: No specific gauge is provided, but the pattern relies on tight stitching to prevent stuffing from showing through, especially on the orange sections.
Abbreviations
- MR: Magic ring
- sc: Single crochet
- inc: Increase (2 sc in one stitch)
- dec: Decrease (sc 2 stitches together)
- sl st: Slip stitch
- ch: Chain
Pattern Notes
- Continuous Rounds: Work in continuous rounds unless stated otherwise. Do not join at the end of rounds.
- Stitch Marker: Use a marker to track the start of each round, as the head has five plain rounds where it is easy to drift.
- Tension: Keep stitches tight. Loose fabric allows stuffing to show through, particularly on the orange yarn.
- Invisible Decreases: For a smoother finish on closing rounds, work through the front loops only of the two stitches.
- Stuffing: Stuff in stages as you go. Do not wait until the end.
Pattern Instructions
Head
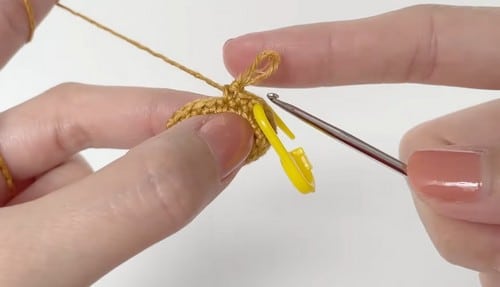
Worked in continuous rounds using orange yarn.
Round 1: MR, 6 sc [6]
Round 2: Inc in every stitch [12]
Round 3: 1 sc, 1 inc, repeat [18]
Round 4: 2 sc, 1 inc, repeat [24]
Round 5: 3 sc, 1 inc, repeat [30]
Round 6: 4 sc, 1 inc, repeat [36]. Checkpoint: A flat circle that lies down on the table without lifting at the edges. If it is already domed, your tension is tight enough that you should consider going up a hook size.
Rounds 7 to 11: 36 sc [36]. Checkpoint: By round 11, this should be a deep open bowl with straight sides, roughly as tall as it is wide across the opening.
Insert the safety eyes between rounds 8 and 9, spaced evenly.
Begin stuffing firmly.
Round 12: 4 sc, 1 dec, repeat [30]
Round 13: 3 sc, 1 dec, repeat [24]
Round 14: 2 sc, 1 dec, repeat [18]. Checkpoint: The opening has clearly pulled in and the piece should already read as a ball rather than a cup. Top up the stuffing now, since this is the last comfortable moment.
Round 15: 1 sc, 1 dec, repeat [12]
Round 16: Dec around until closed [6]. Checkpoint: A firm even sphere with no flat side. Roll it on the table. It should not favour one position.
Fasten off and weave in the ends.
Muzzle
Worked in cream yarn.
Round 1: MR, 6 sc [6]
Round 2: Inc around [12]
Round 3: 1 sc, 1 inc, repeat [18]
Round 4: 18 sc [18]. Checkpoint: A shallow disc with a short rim, not a cup. It should sit against the curve of the head without gaping at the edges.
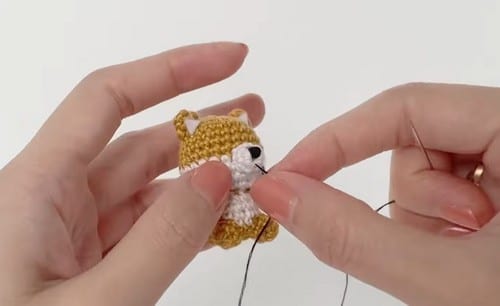
Lightly stuff. Sew to the lower front of the head. Embroider a small triangular nose using black yarn and add a short line under the nose.
Sit the muzzle slightly below the eye line rather than level with it. Keep the stuffing light so it stays close to the head instead of jutting out.
Ears
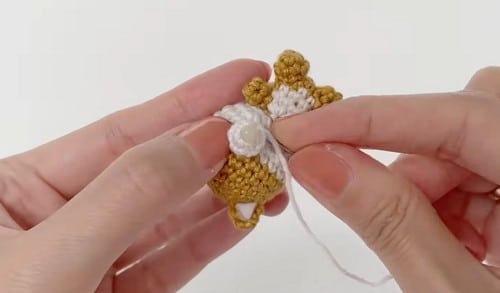
Make 2, in orange.
Round 1: MR, 6 sc [6]
Round 2: 1 sc, 1 inc, repeat [9]
Round 3: 2 sc, 1 inc, repeat [12]. Checkpoint: A small cone, wider at the open end than at the magic ring.
Rounds 4 to 6: 12 sc [12]. Checkpoint: A short tube with one rounded closed end. Pinch the open end flat and it should form a rough triangle, which is the shape you are sewing down.
Flatten the base slightly. Do not overstuff. Sew to the top of the head, angled slightly inward.
Flattening the base is what lets the ear sit against the curve of the head instead of standing off it. The inward angle is the single biggest thing separating a shiba from a fox, so exaggerate it more than looks correct while pinning.
Body
Round 1: MR, 6 sc [6]
Round 2: Inc around [12]
Round 3: 1 sc, 1 inc, repeat [18]
Round 4: 2 sc, 1 inc, repeat [24]
Round 5: 3 sc, 1 inc, repeat [30]. Checkpoint: A flat circle noticeably smaller than the head circle. It should be, since the body tops out at 30 against the head’s 36.
Rounds 6 to 10: 30 sc [30]. Checkpoint: An open cup with straight sides, shorter and squatter than the head was at the same stage. Begin stuffing.
Round 11: 3 sc, 1 dec, repeat [24]
Round 12: 2 sc, 1 dec, repeat [18]
Round 13: 1 sc, 1 dec, repeat [12]
Round 14: Dec around until closed [count not stated; works out to 6]. Checkpoint: A firm oval that sits flat on its side without rolling.
Fasten off.
Stuff the body firmly but stop short of packing it. An overpacked body loses the slight oval shape and starts fighting the head for attention.
Legs
Make 4, in orange.
Round 1: MR, 6 sc [6]
Round 2: 1 sc, 1 inc, repeat [9]
Rounds 3 to 6: 9 sc [9]. Checkpoint: A short stubby cylinder, closed and rounded at one end. All four should be the same length, so count rounds rather than comparing by eye.
Stuff lightly. Flatten the top. Sew two to the front and two to the back of the body.
Tail
Round 1: MR, 6 sc [6]
Round 2: 1 sc, 1 inc, repeat [9]
Rounds 3 to 10: 9 sc [9]. Checkpoint: A long narrow tube, roughly twice the length of a leg.
Stuff lightly. Curve into the classic shiba curl. Sew securely to the back of the body.
Assembly
- Head to Body: Sew the head to the body first. Both pieces are closed spheres, so hold them together and find the flattest contact point before you start stitching. Pin before sewing. Push a pin through the join and check the dog from the front and from the side. A head that looks straight from one angle is often rotated when viewed from the other. Sew all the way around the join, catching a stitch from the head and then one from the body alternately. Go around twice. A shiba head is heavy relative to its body and a single pass will loosen.
- Muzzle: Attach the muzzle to the lower front of the head, centred below the eyes, if you have not already sewn it.
- Ears: Pin both ears before sewing either one. Angle them inward and slightly forward, then step back and look at the face from a metre away. Adjust until it reads as a dog. This is the step that decides whether the whole thing works.
- Legs: Position the legs symmetrically, two at the front and two at the back, spaced so the dog sits level. Sit it upright on a table and adjust before committing.
- Tail: Sew the tail to the back of the body in an upward curl, securing it firmly.
- Finishing: Adjust the stuffing through the face with your fingers once everything is attached, and weave in every end inside the body.
Tips
- Eye Placement: Insert safety eyes between rounds 8 and 9. Check placement before pushing washers home. Sit the eyes in position, hold the head at arm’s length, and look at it straight on. Eyes that seem level at close range often are not.
- Ear Angle: The inward angle is crucial. If your dog looks like a fox, move the ears forward and angle them further inward.
- Stuffing Levels: The head goes firm. The body is firm but slightly less packed. The muzzle stays light. Ears take almost nothing (a pinch at most). Legs stay light and the tail lighter still.
- Child Safety: For any dog going to a child under three, leave the safety eyes out and embroider them with black yarn instead. Skip the pipe cleaner in the tail entirely for young children.
- Yarn Choice: Avoid fluffy yarn. A halo hides the muzzle edge and the ear shape, which are the two things doing all the work on this design.
- Customization: You can create a black shiba by using black and tan yarn, or a white shiba by using cream throughout (though you will lose muzzle contrast).
FAQs
What size safety eyes should I use?
For a 36-stitch head worked in worsted weight yarn, 8 mm or 9 mm safety eyes look best. Smaller eyes can make the dog look sleepy, while larger ones tip it into cartoon territory.
How do I fix a head that tips forward?
This is usually caused by an understuffed neck area. Push extra filling into the base of the head before you close it, or work a few extra stitches at the back of the join to pull the head upright.
Why does my Shiba look like a fox?
It is almost always the ears. Move them forward and angle them further inward. Ears set too far back and too upright read as fox, and the fix takes five minutes of unpicking.
Can I use cotton yarn instead of wool/acrylic?
Yes, cotton gives crisper stitch definition on the face, which suits the embroidered nose. However, it is heavier, and the head will pull forward more at the neck.
How do I stop the muzzle from gaping?
If the muzzle gapes at the edges, it is usually due to too much stuffing. Pull some out and sew around the full circumference rather than tacking at four points.
Pin This Crochet Pattern!