Yarn is on the table, hook in hand, and the project begins to take shape. There is a specific kind of magic in watching a few simple rounds of single crochet transform into a character with personality. This crochet amigurumi doll pattern is designed for that moment of creation, offering a straightforward path to a charming, customizable friend. Whether you are a seasoned maker or a teen learning the basics of face embroidery, this project provides a satisfying build with clear checkpoints and a finish that invites play.
Why This Project Works
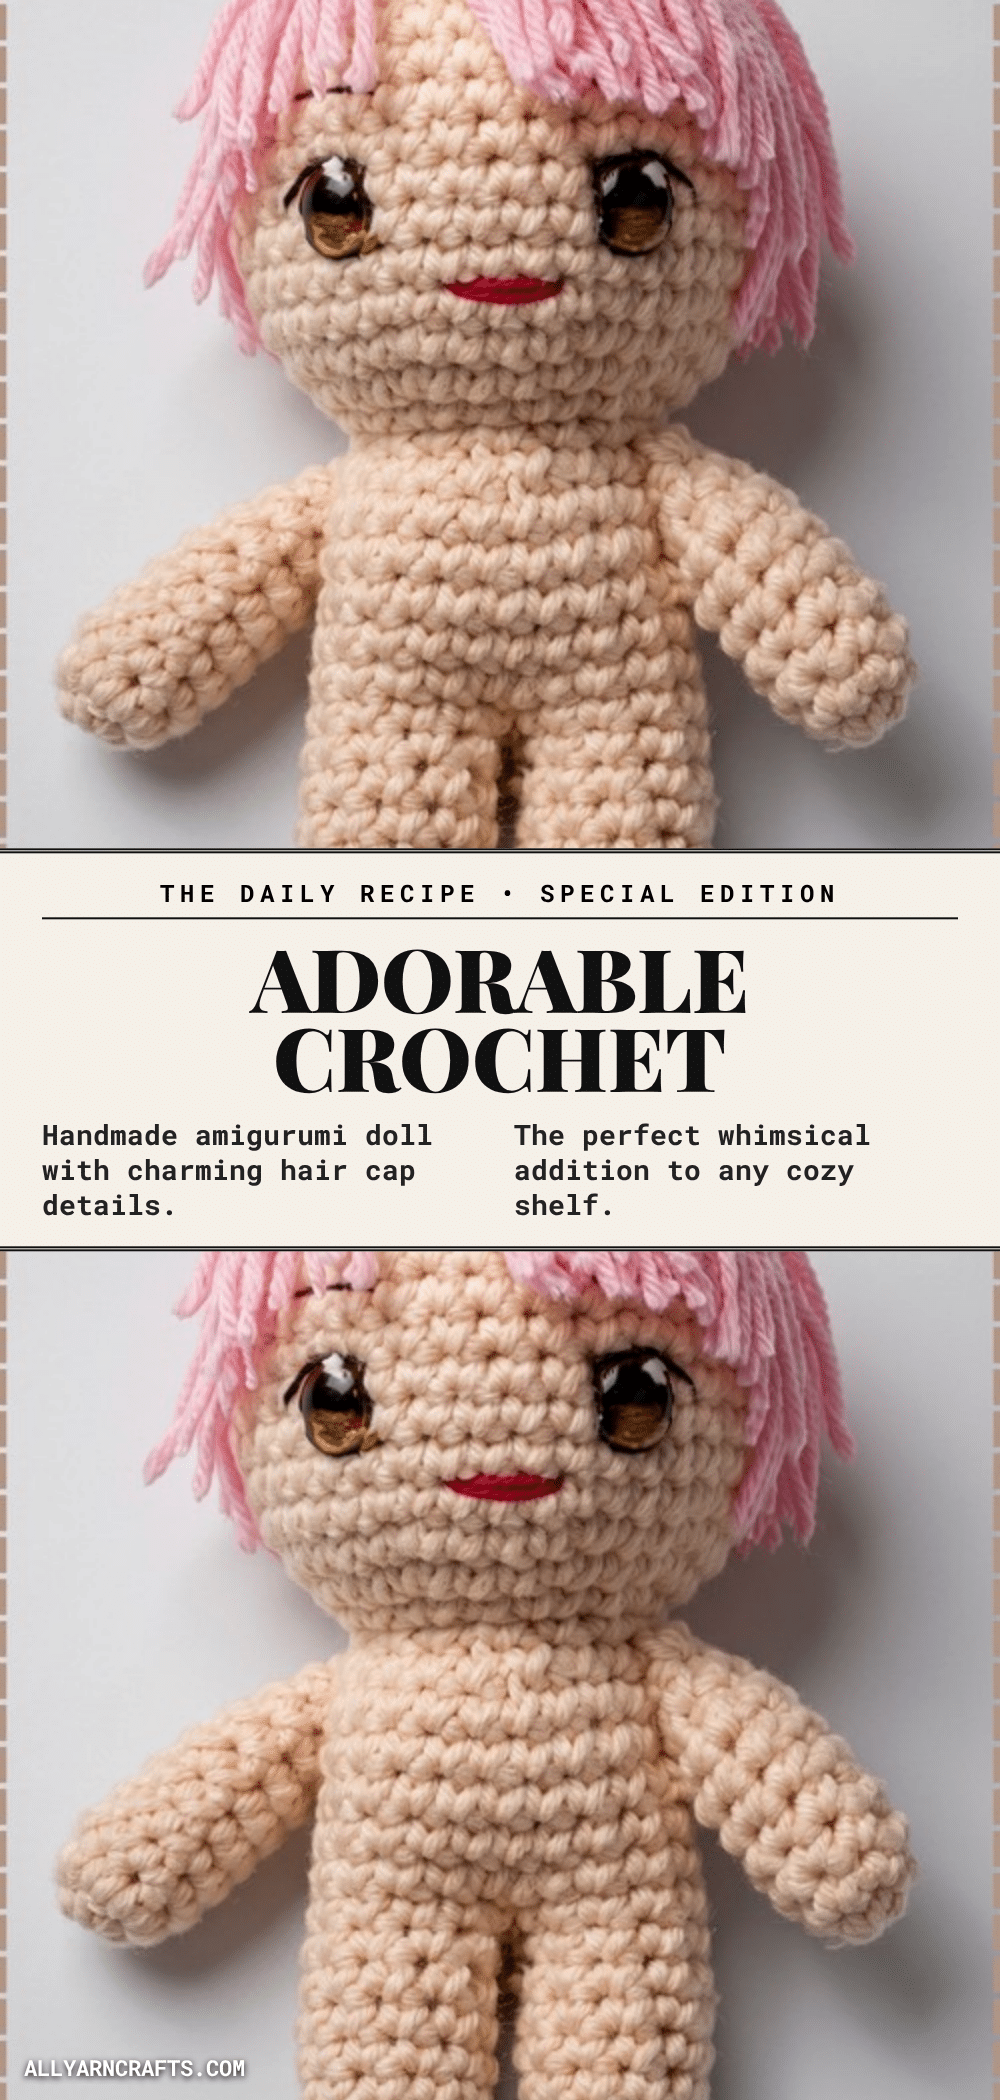
This pattern stands out because it balances simplicity with high customization potential. The body is constructed as a bare, smooth tube in skin tone, which means you are not limited to the colors provided in the instructions. This design choice allows you to dress the doll in any outfit you like, from school uniforms to birthday party attire. The large head and simple tapered limbs create a classic amigurumi silhouette that is inherently cute and approachable. Additionally, the hair cap is worked separately and attached last, giving you full control over the hairstyle and color. It is an excellent project for makers who enjoy styling their characters or those looking to build a cast of friends with distinct looks.
Project Overview
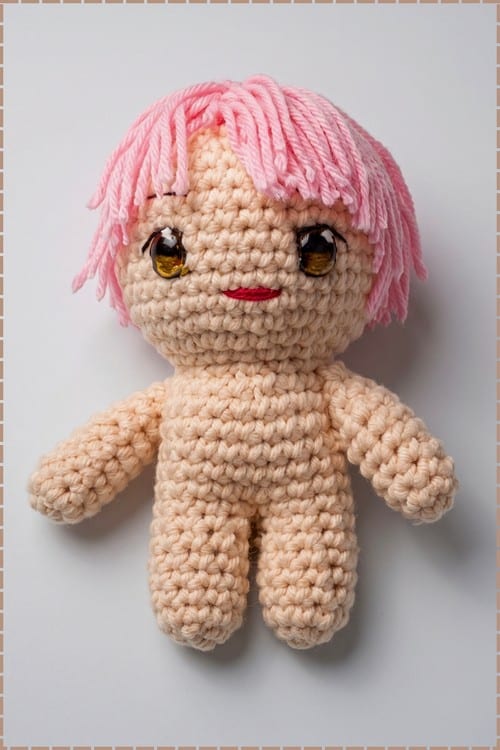
This amigurumi doll features a large head, a plain torso with color-blocked clothing details, and simple limbs. The construction is straightforward, relying on continuous rounds and basic shaping. The most detailed aspect of the build is the hair, which consists of a crocheted cap and individual yarn strands that create a full fringe. The doll is designed to be stuffed firmly to hold its shape, with specific guidance on stuffing density to ensure the head sits correctly on the body.
Materials
- Yarn:
- Skin tone yarn (for head and body)
- Dark brown yarn (for hair cap)
- White yarn (for shirt section)
- Dark grey yarn (for vest and tie surface stitches)
- Black yarn (for trousers section)
- Crochet Hook: 2.5 mm
- Eyes: 6 mm safety eyes, one pair (or black yarn for embroidery)
- Stuffing: Fiberfill stuffing
- Notions: Tapestry needle, scissors, stitch marker
Gauge and Finished Size
The finished doll is approximately 18 to 22 cm tall when made with worsted weight yarn and a 2.5 mm hook. Please note that tension and stuffing pressure can affect this measurement. If you use lighter yarn, the doll will be noticeably smaller, and you should consider down-sizing the safety eyes to 4 mm to maintain proper proportions.
Abbreviations
- sc: single crochet
- inc: increase, 2 sc in one stitch
- dec: decrease, sc two stitches together
- MR: magic ring
Pattern Notes
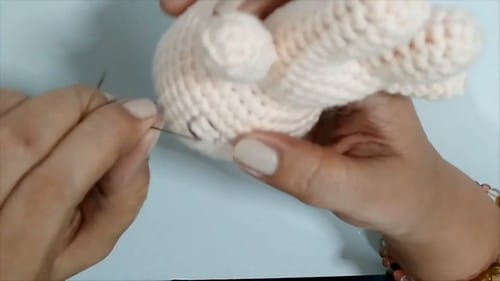
This pattern consists of six main elements: the head, body/torso, two arms, two legs, the hair cap, and the hair strands. The hair strands are treated as a single construction step rather than individual pieces. There are no complex color changes within the limbs, and the body uses simple color blocking. The real focus of the project is attaching the hair strands evenly and placing the face accurately. The body comes bare, allowing for endless outfit possibilities.
Pattern Instructions
Arms, Make 2
- Round 1: 6 sc in magic ring [6]
- Rounds 2 to 8: sc in each stitch around [6]
- Checkpoint: You should have a narrow tube, about 2 to 3 cm long, that holds its shape without collapsing.
- Fasten off, leaving a long tail for sewing.
Legs, Make 2
- Round 1: 6 sc in magic ring [6]
- Round 2: (1 sc, 1 inc) repeat 3 times [9]
- Rounds 3 to 8: sc in each stitch around [9]
- Checkpoint: This should be a short, slightly wider tube than the arms. Set both legs next to each other at round 8 and make sure they match before joining.
- Do not fasten off the second leg — continue directly to the joining round.
Joining Legs and Body
- Join the second leg to the first with a chain, then work sc around both legs to form the closed torso base. [Count and note your total after joining]
- Continue sc rounds evenly to build torso height.
- Change to black yarn for the trousers section.
- Change to white yarn for the shirt section.
- Checkpoint: At the color change to white, the torso should be a stable upright tube, evenly stuffed with no leaning. Correct any tilt before continuing.
- Continue shaping the body evenly through the shirt section.
- Add dark grey surface stitches in a V shape across the shirt section to form the vest and tie detail.
- Stuff firmly before finishing the body.
- Fasten off.
Head
- Round 1: Skin tone yarn, 6 sc in magic ring [6]
- Round 2: 6 inc [12]
- Round 3: (1 sc, 1 inc) repeat 6 times [18]
- Round 4: (2 sc, 1 inc) repeat 6 times [24]
- Round 5: (3 sc, 1 inc) repeat 6 times [30]
- Round 6: (4 sc, 1 inc) repeat 6 times [36]
- Checkpoint: This should be a flat, wide disc. It should not yet be cupping into a dome shape; if it already bowls upward, your tension is too tight.
- Rounds 7 to 15: sc in each stitch around [36]
- Checkpoint: By round 11 or 12, the head should be a clear dome, taller than it is wide when held on its side.
- Insert Safety Eyes: Place them between rounds 12 and 13, spaced approximately 7 stitches apart. This must happen now, before the decreases close the head.
- Round 16: (4 sc, 1 dec) repeat 6 times [30]
- Round 17: (3 sc, 1 dec) repeat 6 times [24]
- Begin stuffing firmly at this point.
- Round 18: (2 sc, 1 dec) repeat 6 times [18]
- Round 19: (1 sc, 1 dec) repeat 6 times [12]
- Fasten off and close.
Hair
- Hair Cap: Work the hair cap using the same increase sequence as the head (rounds 1 to 6), in dark brown yarn [36]. Work even rounds until the cap fits the crown of the head without pulling down over the face.
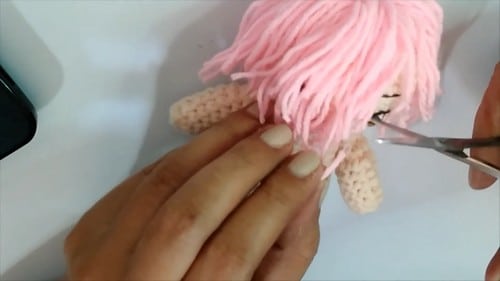
- Hair Strands: Create strands by chaining 10 to 15, then sc back down the chain to form each strand.
- Assembly: Attach multiple strands evenly around the front and sides of the cap. Sew the cap securely to the head.
- Checkpoint: The cap edge should sit at approximately round 7 of the head, just above where the dome begins to curve inward. If it slides down, it is either too large or not secured at enough points.
Assembly
Work in the following order for the best results:
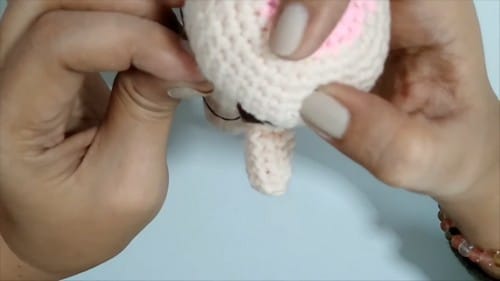
- Head to Body: Stitch through both neck and head stitches multiple times. The head is heavier than most amigurumi pieces, and a single-pass seam will loosen with handling. The seam should not be visible from the front.
- Arms: Attach arms at shoulder height, one on each side. Pin both before sewing either. The most common error is sewing the first arm in place and then discovering the second cannot match without puckering the torso. Pin, step back, check from the front, then sew.
- Hair Cap: Attach the hair cap last, once the face is fully assembled and the expression is set. Positioning the cap is easier when you can see where the eyes and brows are.
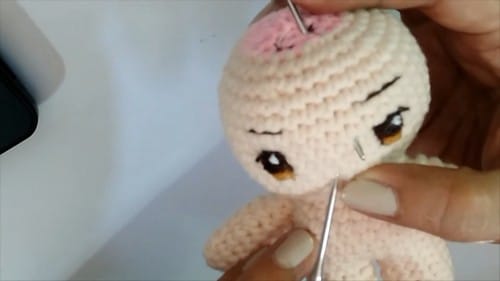
- Face Details: Embroider eyebrows and a small smile after the cap is attached, using whatever thread or yarn works at this scale. The smile especially is worth doing last, as it is the detail that most changes the doll’s expression and is easier to place correctly when everything else is already in position.
Stuffing Guide
- Head: Firm; it should hold a round shape under light pressure.
- Neck/Upper Torso: Firm; this provides head support. Under-stuffing here causes the head to tip.
- Lower Torso: Moderately firm, evenly distributed.
- Arms: Not stuffed. The 6-round tube is narrow enough that stuffing tends to distort the shape rather than help it.
- Legs: Lightly stuffed or unstuffed; they are intended to hang rather than stand.
Warning: Over-stuffing shows first at the neck join, where too much stuffing pulls the head seam open slightly and stretches the torso fabric above the color change line.
Toy Safety
Safety eyes go in between rounds 12 and 13 of the head, while the head is still fully open. Once round 16 begins, the opening narrows quickly, and fitting washers from the inside becomes difficult. For a toy going to a child under three, skip the safety eyes entirely. Instead, embroider the eyes with black yarn using a satin stitch oval in the same position (between rounds 12 and 13, seven stitches apart). Bury and secure the embroidery tails inside the head before the decrease rounds close it.
FAQ
The legs look different sizes after joining. Can I fix it?
Usually, it is the chain bridge pulling one leg tighter than the other. Before the torso rounds lock the shape in, you can ease the tension by running your needle through the chain stitches and loosening them slightly. It is much harder to correct after three or four torso rounds.
How long should the hair strands be?
Chains of 10 give a short style, while 15 gives something that falls past the shoulders at this doll’s scale. The pattern leaves it open deliberately. Make one strand, attach it loosely, and hold it against the head before committing to a length for the rest.
My surface stitches for the vest look uneven. Is there a trick?
Draw the V shape lightly with a pin or chalk marker before you start. Surface stitches follow whatever path you set with your hook, so a drawn guide makes a bigger difference than yarn tension does.
Can I make this doll smaller?
Yes. If you use lighter yarn, the doll will be noticeably smaller. In that case, you should size down the safety eyes to 4 mm to maintain proper proportions.
Why is the head so large?
The large head against a plain body is a classic amigurumi design choice that creates a cute, stylized look. It also provides ample space for detailed face embroidery and hair attachment.
Pin This Crochet Pattern!