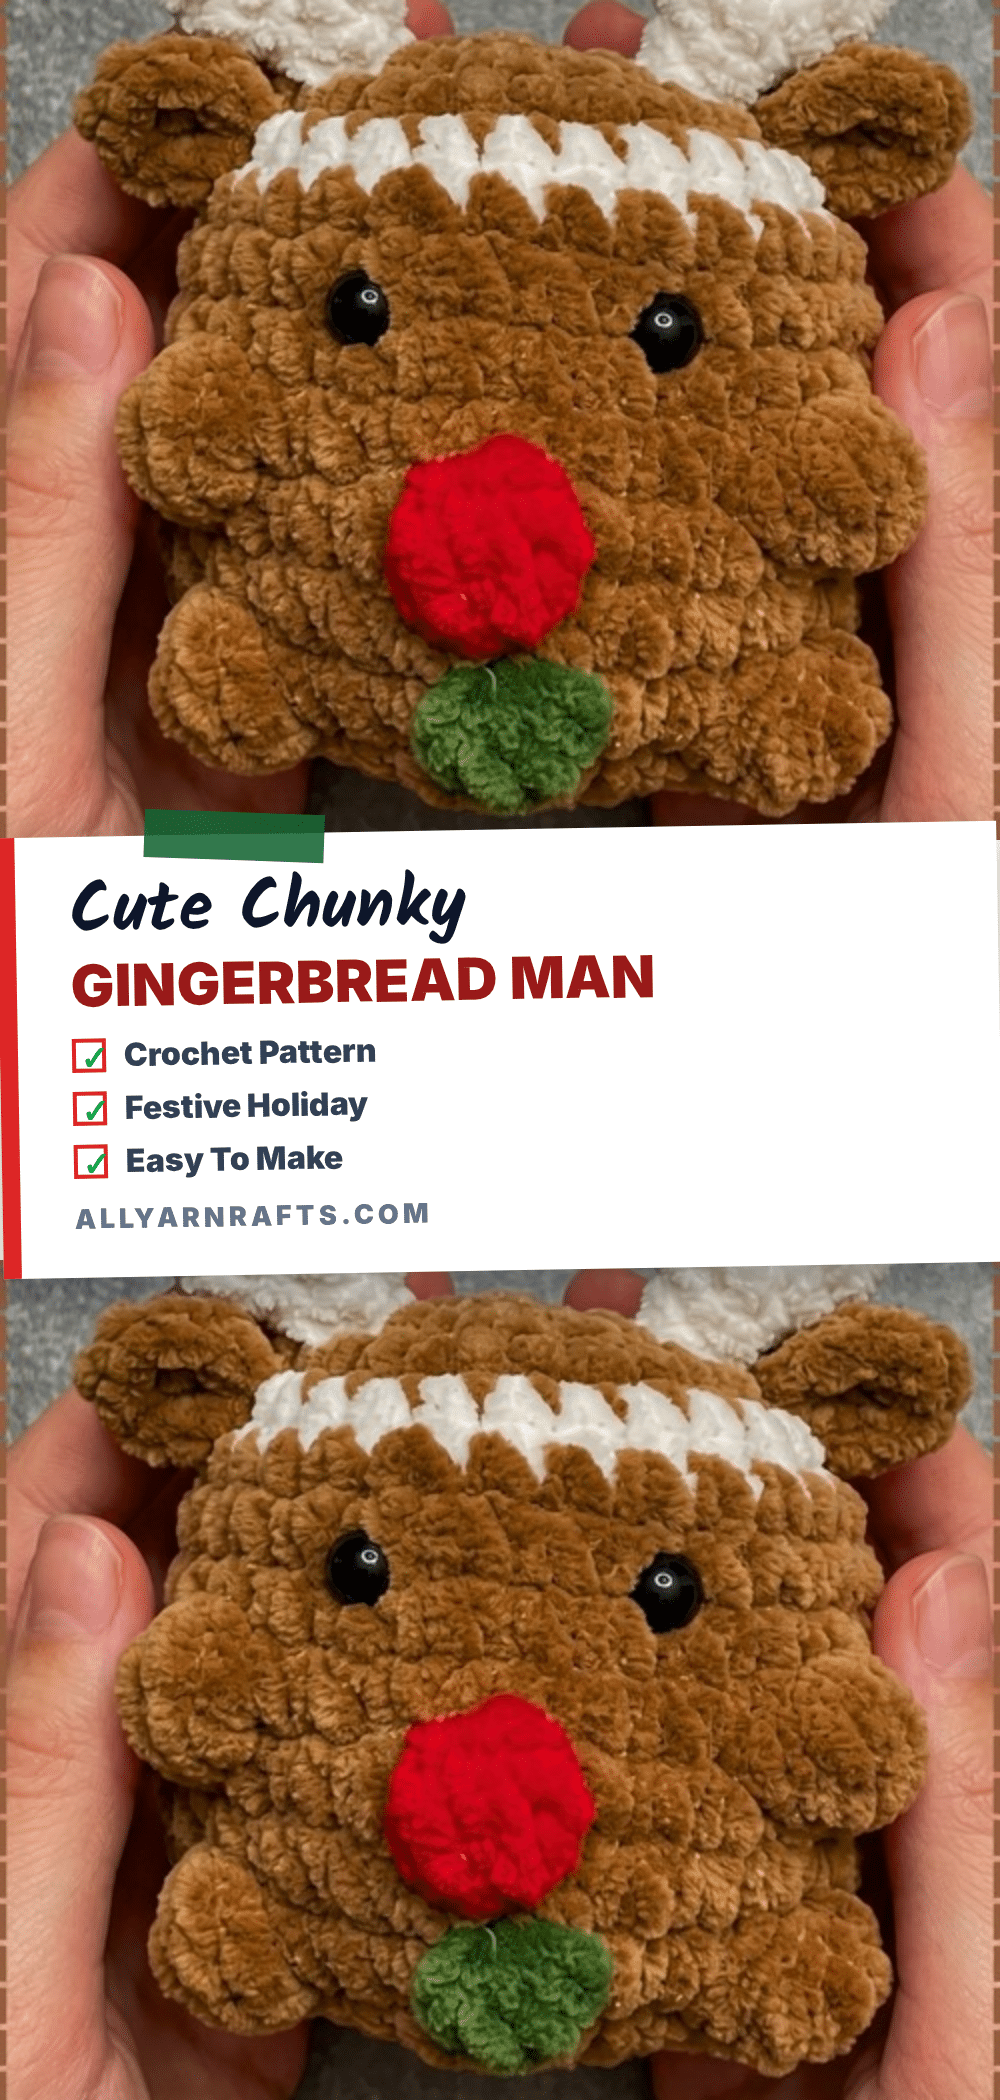
Have you ever started an amigurumi project only to panic when your stitches disappear into a fuzzy abyss? It is a common worry for beginners working with plush yarn: the pile is so thick that you cannot see where your hook went, and suddenly your shape looks less like a cookie and more like a mystery blob. If you have ever feared that your tension was too loose or your stuffing was insufficient, take a deep breath. This chunky gingerbread man pattern is forgiving, fast, and designed to hide those little hiccups. The plush texture is soft under the hook, and the instructions are built to guide you through the tricky parts, ensuring your gingerbread friend stands tall and looks deliciously cute.
Maker Notes
There is a specific secret to making this gingerbread doll read as a cookie rather than just a brown plushie: the icing. If you embroider the icing details using the same chunky plush yarn as the body, the lines will sink into the pile and vanish from a metre away. To make the design pop, use a smooth cotton or acrylic white yarn for the embroidery. This smooth yarn sits on top of the fabric rather than disappearing into it, giving your doll that classic gingerbread look. The short, stubby legs are intentional; they are what give the figure its biscuit shape rather than a human-like proportion. If you add rounds to the legs, the doll will look taller and less like a cookie, so resist the temptation to make them longer.
Project Overview
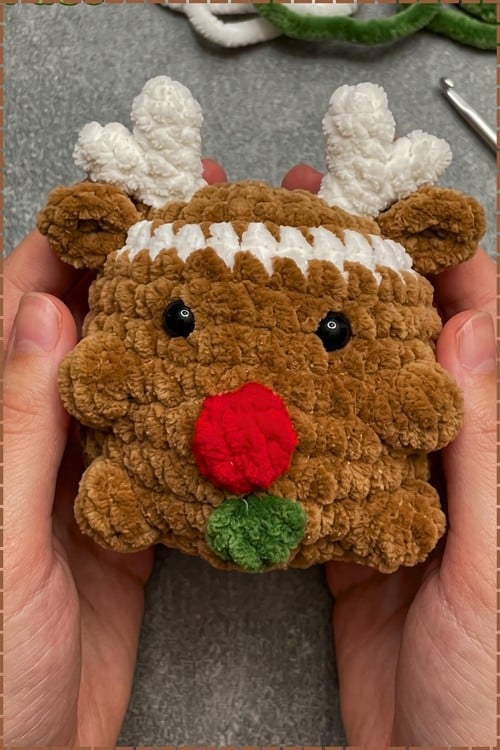
This chunky gingerbread man amigurumi is a festive holiday project that moves quickly thanks to the thick yarn. It features a sturdy, firm body to prevent sagging, a flat-topped head, and classic embroidered icing details. The pattern is designed for continuous spiral work, meaning you will not join rounds with a slip stitch, which helps maintain the plush texture. It is an excellent project for makers who enjoy tactile, soft toys and want a quick win that looks professional.
Materials
- Yarn: Plush chunky yarn in brown (for the body, head, and limbs).
- Accent Yarn: Smooth white cotton or acrylic yarn (essential for the icing embroidery so it does not sink into the plush).
- Crochet Hook: 5 mm hook.
- Safety Eyes: 10 mm (optional; see safety notes below).
- Stuffing: Fiberfill stuffing.
- Tools: Wool needle, scissors, and a stitch marker.
Gauge and Finished Size
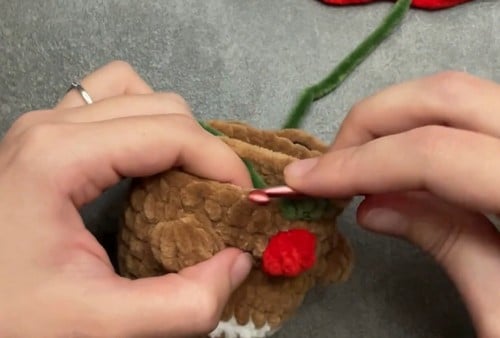
A 30-stitch head worked in chunky plush with a 5 mm hook typically measures around 7 to 8 cm across. The finished doll stands approximately 18 to 20 cm tall. Because plush yarn stretches, your gauge may vary slightly, but the stitch counts provided will ensure the correct shape.
Abbreviations
- MR: Magic ring
- sc: Single crochet
- inc: Increase (2 sc worked into the same stitch)
- dec: Decrease (single crochet two stitches together)
Pattern Notes
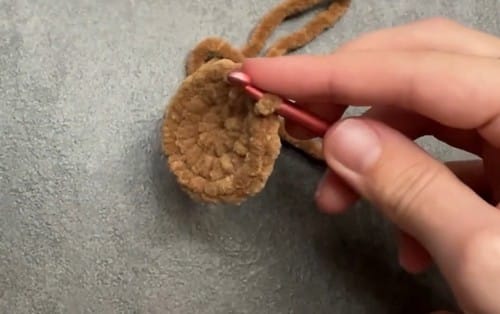
Work in continuous rounds. The pattern never joins with a slip stitch, so place a stitch marker in the first stitch of each round and move it up as you complete each round. Plush yarn hides stitch definition, which also means it hides a sagging shape until it is too late to fix. Stuff firmly to maintain the structure. Keep your tension even; chunky plush stretches under loose tension, and the filling may start showing through. Insert the safety eyes before the head closes. Once the decrease rounds begin, there is no placing them neatly.
Most rounds in this pattern have no stitch count written next to them. Where that happens below, the number shown is the mathematical result of the instructions, marked as “not stated,” so you can tell the difference between the original pattern and the arithmetic.
Pattern Instructions
Head
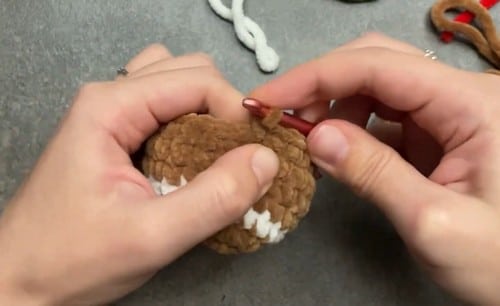
Make 1.
- Round 1: Magic ring, 6 sc [6]
- Round 2: Increase in each stitch [12]
- Round 3: 1 sc, 1 increase, repeat around [18]
- Round 4: 2 sc, 1 increase, repeat around [24]
- Round 5: 3 sc, 1 increase, repeat around [30]. Checkpoint: a flat disc that lies down on the table without cupping. In chunky plush this should be roughly the size of a jar lid.
- Rounds 6 to 10: Sc in each stitch around [30, not stated]. Checkpoint: by round 10 the sides have lifted into a deep open bowl, about as tall as it is wide across the opening.
- Insert the safety eyes between rounds 8 and 9.
- Round 11: 3 sc, 1 decrease, repeat around [24, not stated]
- Round 12: 2 sc, 1 decrease, repeat around [18, not stated]
- Round 13: 1 sc, 1 decrease, repeat around [12, not stated]. Checkpoint: the opening has pulled in and the piece should already look like a ball rather than a cup.
- Stuff firmly.
- Round 14: Decrease around until a small opening remains [6, not stated]. Checkpoint: a firm even sphere. Roll it on the table and it should not favour one side.
- Fasten off and close the hole.
Legs
Make 2.
- Round 1: Magic ring, 6 sc [6]
- Round 2: 1 sc, 1 increase, repeat around [9]
- Rounds 3 to 5: Sc around [9, not stated]. Checkpoint: a short stubby tube, closed and rounded at one end. Both legs must have the same number of rounds or the doll will sit crooked, so count rather than comparing by eye.
- Fasten off the first leg.
- Do not fasten off the second leg.
Body
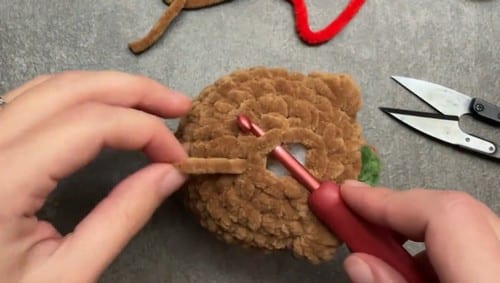
From the second leg, chain 2. Join to the first leg with 1 sc. Sc around the first leg. Sc in the chain stitches. Sc around the second leg [20 for the full round, not stated]. Checkpoint: both legs should now be joined by a short bridge and pointing the same way. Check this before continuing, because it cannot be adjusted afterwards.
- Continue in spiral.
- Rounds 1 to 5: Sc around [20, not stated]. Checkpoint: a plain tube rising above the legs with no shaping at all.
- Stuff the body firmly.
- Next round: 3 sc, 1 decrease, repeat around [16, not stated]
- Next round: 2 sc, 1 decrease, repeat around [12, not stated]
- Continue decreasing gradually.
- Fasten off and close. Checkpoint: the top should narrow to a small opening the head can sit on.
Arms
Make 2.
- Round 1: Magic ring, 6 sc [6]
- Rounds 2 to 4: Sc around [6, not stated]. Checkpoint: a very short narrow tube. These are meant to be small, so do not be tempted to add rounds.
- Flatten the arm.
- Fasten off, leaving a long tail.
- Sew onto the sides of the body.
Assembly
Finish and stuff the body, leaving a small opening at the top rather than closing it tight. Position the head so the eyes face directly forward and the head sits centrally above the body. Pin it before sewing. Look at the doll from the front and then from the side, since a head that reads as straight from one angle is often rotated when checked from the other. Sew around the neck join with small whip stitches using the wool needle and yarn tail. Pull firmly enough to close the gap, but not so tight that the head tips backward.
Flatten both arms and pin them to the sides of the body, slightly below the head. Pin both before sewing either one, so you can match the height. Sew through both layers of each flattened arm and into the body. A single layer join will let the arm spin. Plush yarn hides a badly placed seam until the doll is finished and photographed. Pinning takes two minutes and unpicking chunky plush leaves visible bald patches, so do the pinning.
Decoration
Embroider the white icing lines across the wrists and the ankles using a smooth yarn rather than plush. Embroider a small smile, centred slightly below the eyes, with short stitches worked into a gentle curve. Add decorative buttons down the front using a contrasting yarn. Weave every end securely into the body. Work the smile after the head is attached rather than before, as the angle of the head changes once it is sewn on.
Stuffing Guide
The head goes firm. It is the largest piece and it sits on a narrow body, so any softness shows immediately as a droop at the neck. The body is firm too, with particular attention to the corners down near the legs. That area is the easiest to leave hollow, and a hollow lower body makes the doll fold forward when it sits. Arms take almost nothing. They are flattened before sewing, so filling works against the shape. A chopstick or the handle end of your crochet hook helps push filling into the narrow spots near the legs. Add it in small pinches rather than one lump. Overstuffing shows across rounds 6 to 10 of the head, where the stitches spread and the plush pile flattens into shiny patches. If you can see filling through the fabric, take some out.
Tips
- Chenille Hides Mistakes: Chenille hides mistakes well, though it also makes stitch placement harder to see, so counting matters more than usual here.
- Face First: The icing goes on last, which means you can get the face wrong twice and still end up with a good doll.
- Fixing a Tilt: If your doll keeps tipping forward, it is nearly always due to the lower body being underfilled around the leg joins. Push extra filling down into that area with a chopstick before closing the body.
- Worsted Yarn Option: If you use normal worsted yarn instead of chunky plush, use a 3.5 mm hook and the same counts throughout. You will get a smaller doll, maybe 12 to 14 cm, and the stitches will actually be visible, which makes counting far easier. Drop to 8 mm eyes to keep the proportions.
- Icing Visibility: If your icing embroidery still sinks into the fabric, go over each line a second time. Doubling the thickness is easier than trying to pull individual stitches tighter.
FAQs
Can I use normal worsted yarn instead of chunky plush?
Yes, with a 3.5 mm hook and the same counts throughout. You will get a smaller doll, maybe 12 to 14 cm, and the stitches will actually be visible, which makes counting far easier. Drop to 8 mm eyes to keep the proportions.
How do I stop the icing embroidery from sinking into the fabric?
Use a smooth yarn rather than plush, and work the lines with a slight tension so they sit proud of the surface. If they still disappear, go over each line a second time. Doubling the thickness is easier than trying to pull individual stitches tighter.
The legs are so short. Should I add rounds?
You can, but add the same number to both and expect the proportions to shift toward a doll rather than a biscuit shape. Gingerbread figures have stubby limbs, and the short legs are what make it read as a cookie rather than a person.
My doll keeps tipping forward. What is wrong?
Nearly always the lower body being underfilled around the leg joins. Push extra filling down into that area with a chopstick before closing the body. If it is already closed, you can work a couple of stitches at the back of the neck join to pull the head slightly upright.
Can I make this for a toddler?
For a doll going to a child under three, leave the safety eyes out and embroider them with black yarn instead. A 10 mm eye that works loose is a real choking hazard, and the embroidered version suits the biscuit look anyway.
If you enjoy making festive plushies, you might also like this gingerbread highland cow pattern or this easy crochet Santa amigurumi for your holiday collection.
Pin This Crochet Pattern!