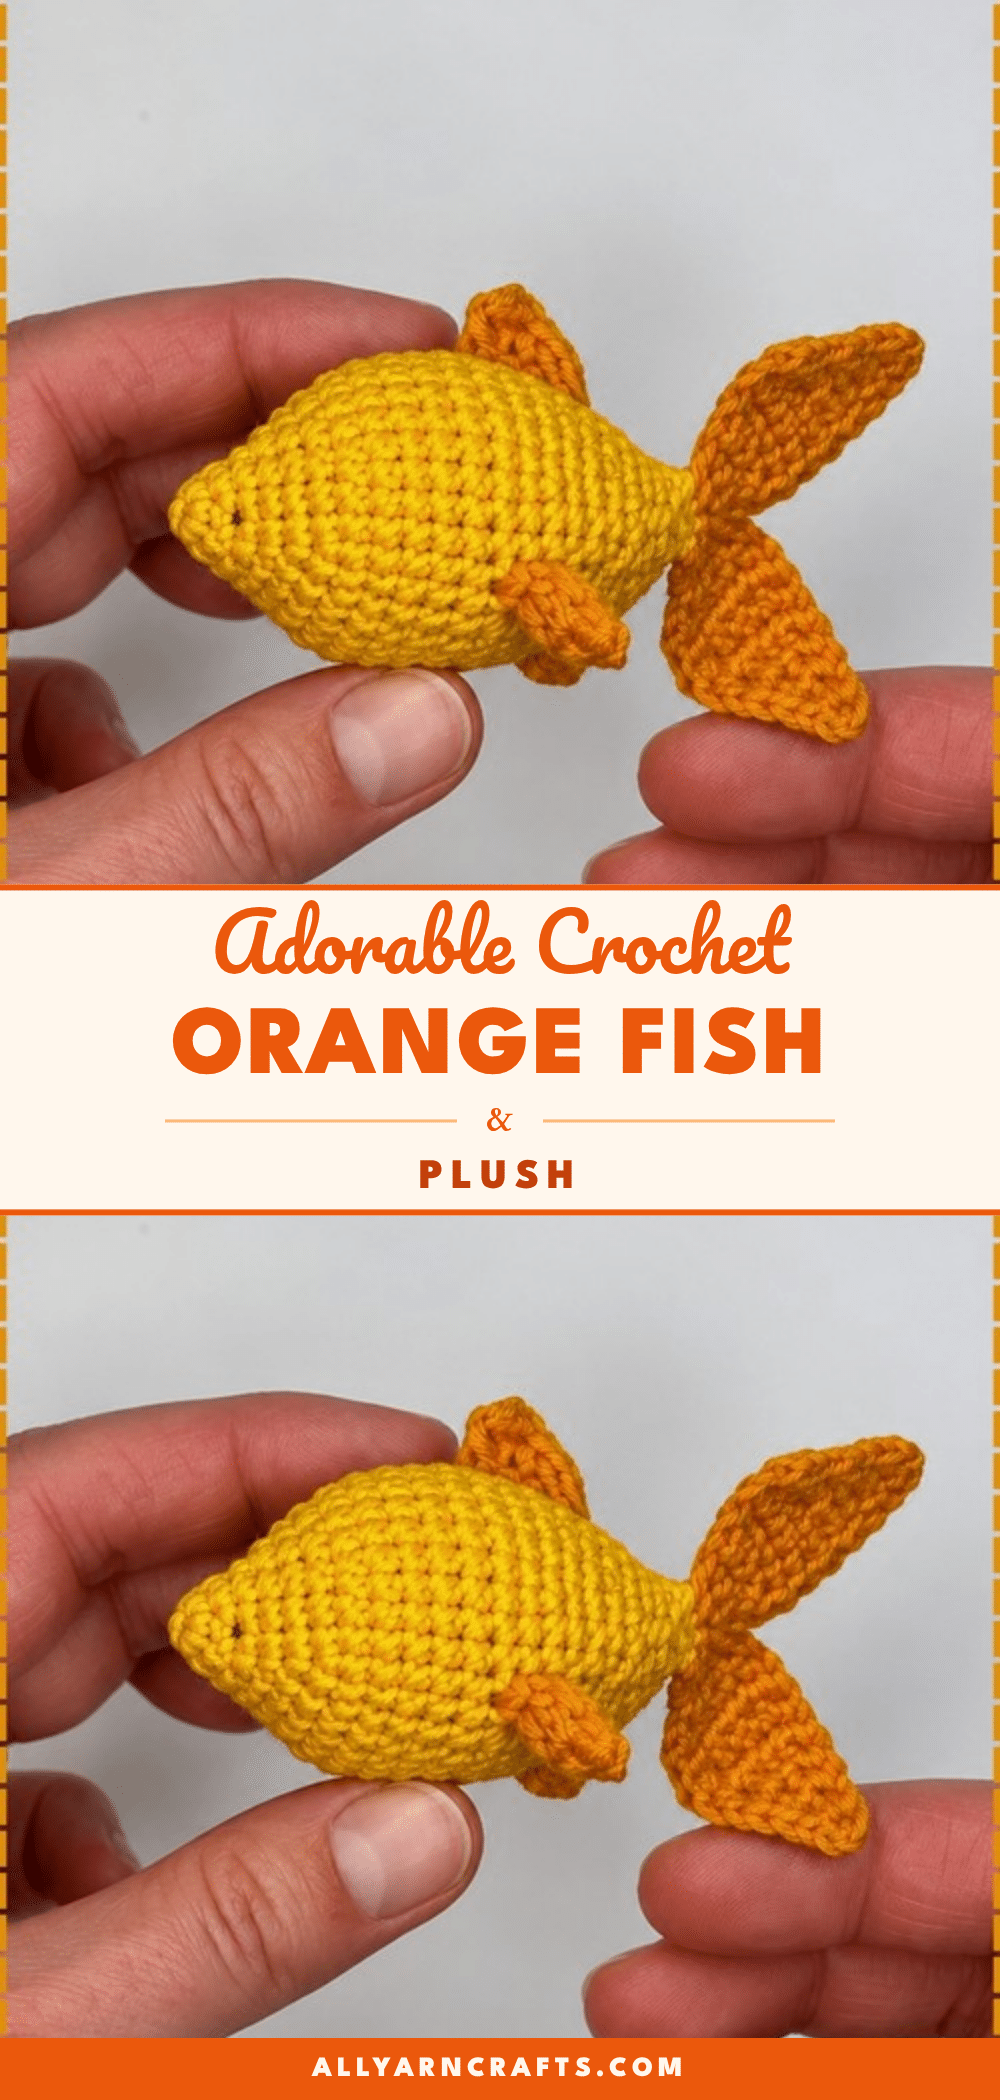
There is something undeniably cheerful about finding that perfect shade of orange in your stash. It’s the kind of color that feels like a sunny afternoon, bright enough to lift the mood of a dull day but soft enough to sit quietly on a shelf. When you pull a skein of cotton blend yarn from the bin, you aren’t just grabbing fiber; you’re grabbing an intention. This project starts with that decision—the choice to make something small, tactile, and joyful. The finished fish is a palm-sized companion, designed to be held, gifted, or simply admired for its simple, elegant curves.
Yarn and Color Notes
The beauty of this amigurumi fish lies in its versatility. While the source pattern suggests a classic orange body with yellow accents, the tight cotton fabric created by a 2.25 mm hook allows for creative color play without losing definition. You might choose an all-orange palette for a traditional goldfish look, or introduce white stripes using surface slip stitches for a clownfish effect. For a more tropical vibe, try blue and teal, or hold red and white yarns together for a koi aesthetic. The texture of cotton blend yarns like YarnArt Jeans or Alize Cotton Gold is crucial here; their slight stiffness helps the flat fins and tail hold their shape upright, while the tight gauge ensures the white stuffing never shows through the fabric.
Project Overview
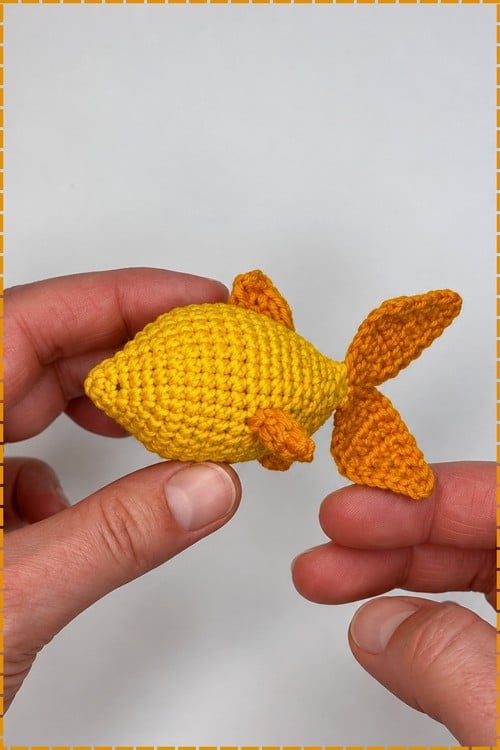
This Crochet Fish Amigurumi is a compact, palm-sized plushie that finishes in roughly 2 to 3 hours. It is designed for makers who have completed one or two basic amigurumi projects, as it introduces the transition from working in continuous rounds to working in rows for the fins and tail. The body is a tapered oval that narrows to a point at the nose, while the tail fans out wide at the back. The contrast between the stuffed, rounded body and the flat, freeform fins creates visual interest without needing complex color changes.
Materials
- Yarn: Orange yarn (YarnArt Jeans or Alize Cotton Gold recommended), roughly 30 to 40 g estimated for the main body and fins. A small amount of yellow yarn for color accents if desired.
- Crochet Hook: 2.25 mm hook.
- Stuffing: A medium handful of fiberfill.
- Tools: Black yarn for eye embroidery, yarn needle, scissors, and a stitch marker.
Gauge and Finished Size
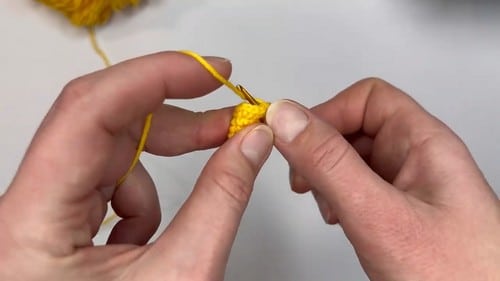
In YarnArt Jeans at a 2.25 mm hook, the finished fish should sit somewhere around 4 to 5 inches long from nose to tail base. Keep your tension tight at a 2.25 mm hook. Cotton and cotton blend yarns are less stretchy than acrylic, and white stuffing shows through any gap in the fabric, so maintaining a tight gauge is essential for a clean finish.
Abbreviations
- sc: single crochet
- inc: increase, meaning two single crochet in the same stitch
- dec: decrease, meaning single crochet two together
- hdc: half double crochet
- dc: double crochet
- ch: chain
- sl st: slip stitch
- R: round
Pattern Notes
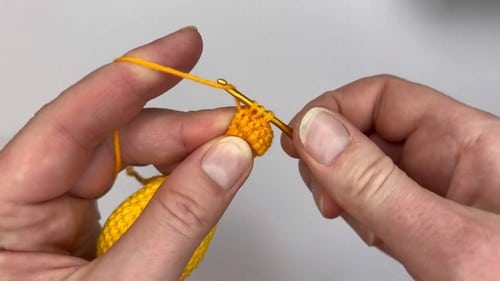
The body is worked in continuous rounds. Use a stitch marker and move it every round. The tail and fins are worked in rows, meaning you chain 1 and turn at the end of each row. The change from rounds to rows happens at the body seam. Eyes are embroidered after the body is fully stuffed and closed. No timing issue here since no safety eyes are used.
Several sections of this pattern leave meaningful decisions to the maker. The tail second half is written as a mirror of the first, but no explicit row instructions are given. Work Rows 1 through 10 exactly as the first half, attaching to the opposite side of the flat body seam. The top fin says to continue with dc increases across the rows to shape the fin, but gives no row count, no stitch count, and no finishing instruction beyond fastening off. Work as many rows as look proportional against the body, increasing on each row, then fasten off and sew the fin base down. This is a freeform section. The bottom fin and side fins are similarly brief. Stitch counts are partial and finishing points are unspecified. Treat all four fins as eyeballed sections and pin each one against the body before sewing to check the proportions look right.
Pattern Instructions
Body
R1: make a magic ring and work 6 sc into the ring (6)
R2: work 1 inc then 1 sc, repeat 3 times (9)
R3: work 2 sc then 1 inc, repeat 3 times (12)
R4: work 3 sc then 1 inc, repeat 3 times (15)
R5: work 4 sc then 1 inc, repeat 3 times (18). The piece should sit like a shallow bowl by this round, curving up at the edges but not yet forming a closed shape
R6: work 2 sc then 1 inc, repeat 6 times (24)
R7: work 1 sc then 1 inc then 2 sc, repeat 6 times (30). At Round 7 the piece should look like a thick flat disc, almost like a coin with a small dome forming in the centre
R8: sc in each stitch around (30)
R9: sc in each stitch around (30)
R10: sc in each stitch around (30)
R11: sc in each stitch around (30)
R12: sc in each stitch around (30)
R13: sc in each stitch around (30). By Round 13 the body should be an open cylinder, the widest point of the fish, roughly egg shaped when viewed from the side
R14: work 1 sc then 1 dec then 2 sc, repeat 6 times (24)
R15: sc in each stitch around (24)
R16: sc in each stitch around (24)
R17: work 2 sc then 1 dec, repeat 6 times (18)
R18: sc in each stitch around (18). Add stuffing to the body now, before the opening narrows further. Stuff firmly through Round 18
R19: work 1 dec then 1 sc, repeat 6 times (12)
R20: sc in each stitch around (12)
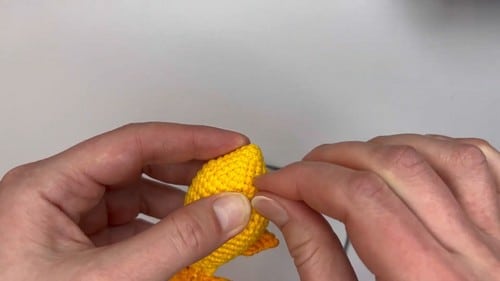
R21: work 6 dec around (6). The body should now look like a flattened oval rather than a sphere, and the remaining opening is small enough to fold flat. Add additional stuffing through the small opening if needed. Fold the opening flat so the two sides meet evenly. Work 3 sc through both sides of the folded opening to close the body. Fasten off the yarn.
Tail First Half
Attach orange yarn to the last row of the body at the flat seam.
Row 1: ch 1 then work 2 sc in the first stitch, ch 1 and turn (2)
Row 2: work 1 inc in each stitch, ch 1 and turn (4)
Row 3: work 1 inc in the first stitch then work 3 sc, ch 1 and turn (5)
Row 4: work 4 sc then 1 inc in the last stitch, ch 1 and turn (6)
Row 5: work 6 sc, ch 1 and turn (6). The tail half at this point should be a small flat rectangle with clean straight edges
Row 6: work 4 sc then 1 dec, ch 1 and turn (5)
Row 7: work 1 dec then 3 sc, ch 1 and turn (4)
Row 8: work 2 sc then 1 dec, ch 1 and turn (3)
Row 9: work 1 dec then 1 sc, ch 1 and turn (2)
Row 10: work 1 dec, ch 1 (1). The tail half should now taper to a single point, like one blade of a fish tail. Work 10 sc down the inner side of the tail back toward the base.
Tail Second Half
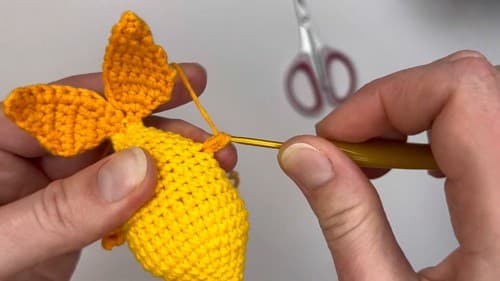
Repeat the same shaping steps on the opposite side of the body base to create the second tail half. Work increases and decreases to mirror the first half exactly so both blades form a symmetrical fin.
Top Fin
Count 7 rows forward from the tail seam. Attach orange yarn between Row 7 and Row 8 of the body. Work 1 sc then 2 hdc. Continue with dc increases across the rows to shape the fin upward. Fasten off and leave a tail to secure.
Bottom Fin
Attach yarn between Row 8 and Row 9 from the tail seam. Ch 1. Work 3 hdc across the rows. Finish with a sl st. Fasten off.
Side Fins, Make 2
Count 12 rows from the nose of the fish. Attach yarn and work 1 sc at that point. Turn the work and make 3 hdc in that same stitch. Turn again and work 1 dec to shape the fin tip. Fasten off and leave a tail to secure. Repeat on the opposite side of the fish.
Eyes
Using black yarn and a yarn needle, embroider two small round eyes. Place them between Row 3 and Row 4 from the nose of the fish, one on each side. Anchor every end inside the body and trim close.
Assembly
The body seam becomes the tail end and everything counts from there. Establish that orientation first and mark the nose with a pin. Work both tail halves onto the flat seam at the tail end, one on each side. Attach the top fin between Row 7 and Row 8 counting from the tail seam, on the upper surface of the body. Attach the bottom fin between Row 8 and Row 9 on the underside. Count 12 rows from the nose and pin one side fin on each side at that point before sewing either one. Embroider the eyes last, between Row 3 and Row 4 from the nose, one on each side.
Pin every fin before committing. A fin placed one row off looks asymmetrical from above even when each side measures correctly in isolation.
Tips
- Stuffing: The most common stuffing mistake on this fish is adding too much before Round 19. The body needs to close to 6 stitches and then fold flat, and a very tightly packed body resists that fold. Stop at firm rather than drum tight, and add any last small pinch through the 6 stitch opening at Round 21 before you close.
- Oval Shape: The body is not oval shaped, it looks round. The flat seam at the end should pull the shape into an oval naturally. If your seam is rounded rather than flat, open the 3 sc closing stitches and redo the fold so the two sides lie flat before seaming again.
- Tail Symmetry: The tail halves are different sizes. The second half is a freehand mirror and tension shifts between sessions. Work both halves in the same sitting if you can, or count each row explicitly against the first half before moving on.
- Fin Proportions: The fins look too small against the body. The fin instructions are brief and the proportions are not fixed. Add one or two extra rows to the top fin dc section and check against the body before fastening off.
- Eye Embroidery: The eye embroidery is not sitting flat. You are probably going through one layer of fabric instead of catching both walls of the stitch. Push the needle fully through and pull the black yarn snug but not tight enough to pucker the surface.
- Fin Stability: A fin is flopping rather than sitting upright. Sew the base of the fin down with a few extra passes and anchor the tip with one tacking stitch if needed. Cotton blend yarn at this gauge holds seams well with thread alone.
- Fin Security: How do I keep the fins from unraveling? They are so small. Weave the starting and ending tails back through at least 2 to 3 stitches each and knot at the base before trimming. Cotton yarn grips itself better than acrylic, so even a short woven end holds well.
FAQs
Can I use acrylic yarn instead of cotton?
Acrylic sport weight will work but feels slightly softer and the body may not hold the flat oval shape as cleanly. Cotton blend yarns are recommended for their stiffness and tight fabric.
Can I use safety eyes instead of embroidered eyes?
Yes, but you must place them before the body is stuffed and before the flat seam closes at Round 21. Once the seam is sewn shut, there is no way to add a washer from inside. For any toy going to a child under three years old, stick with the embroidered eyes.
How do I scale the pattern up or down?
Move to a 3.5 mm hook with worsted weight and the fish scales up to roughly 7 or 8 inches. All the counts stay the same and only the fins need a little more length to read proportionally against a larger body. Do not go smaller than a 2.0 mm hook.
Why does my fish look round instead of oval?
If your seam is rounded rather than flat, open the 3 sc closing stitches and redo the fold so the two sides lie flat before seaming again. The flat seam at the end should pull the shape into an oval naturally.
Is this pattern suitable for beginners?
Nothing here takes shaping skill beyond increases and decreases, but the fins are freeform and require some judgment. This works better as a second or third project than a first. If you have already made one or two basic amigurumi pieces, you will manage this without trouble.
If you enjoy making small, cute amigurumi, you might also like our cute crochet amigurumi bunny or our cute crochet cherry keychain for more quick and adorable projects.
Pin This Crochet Pattern!