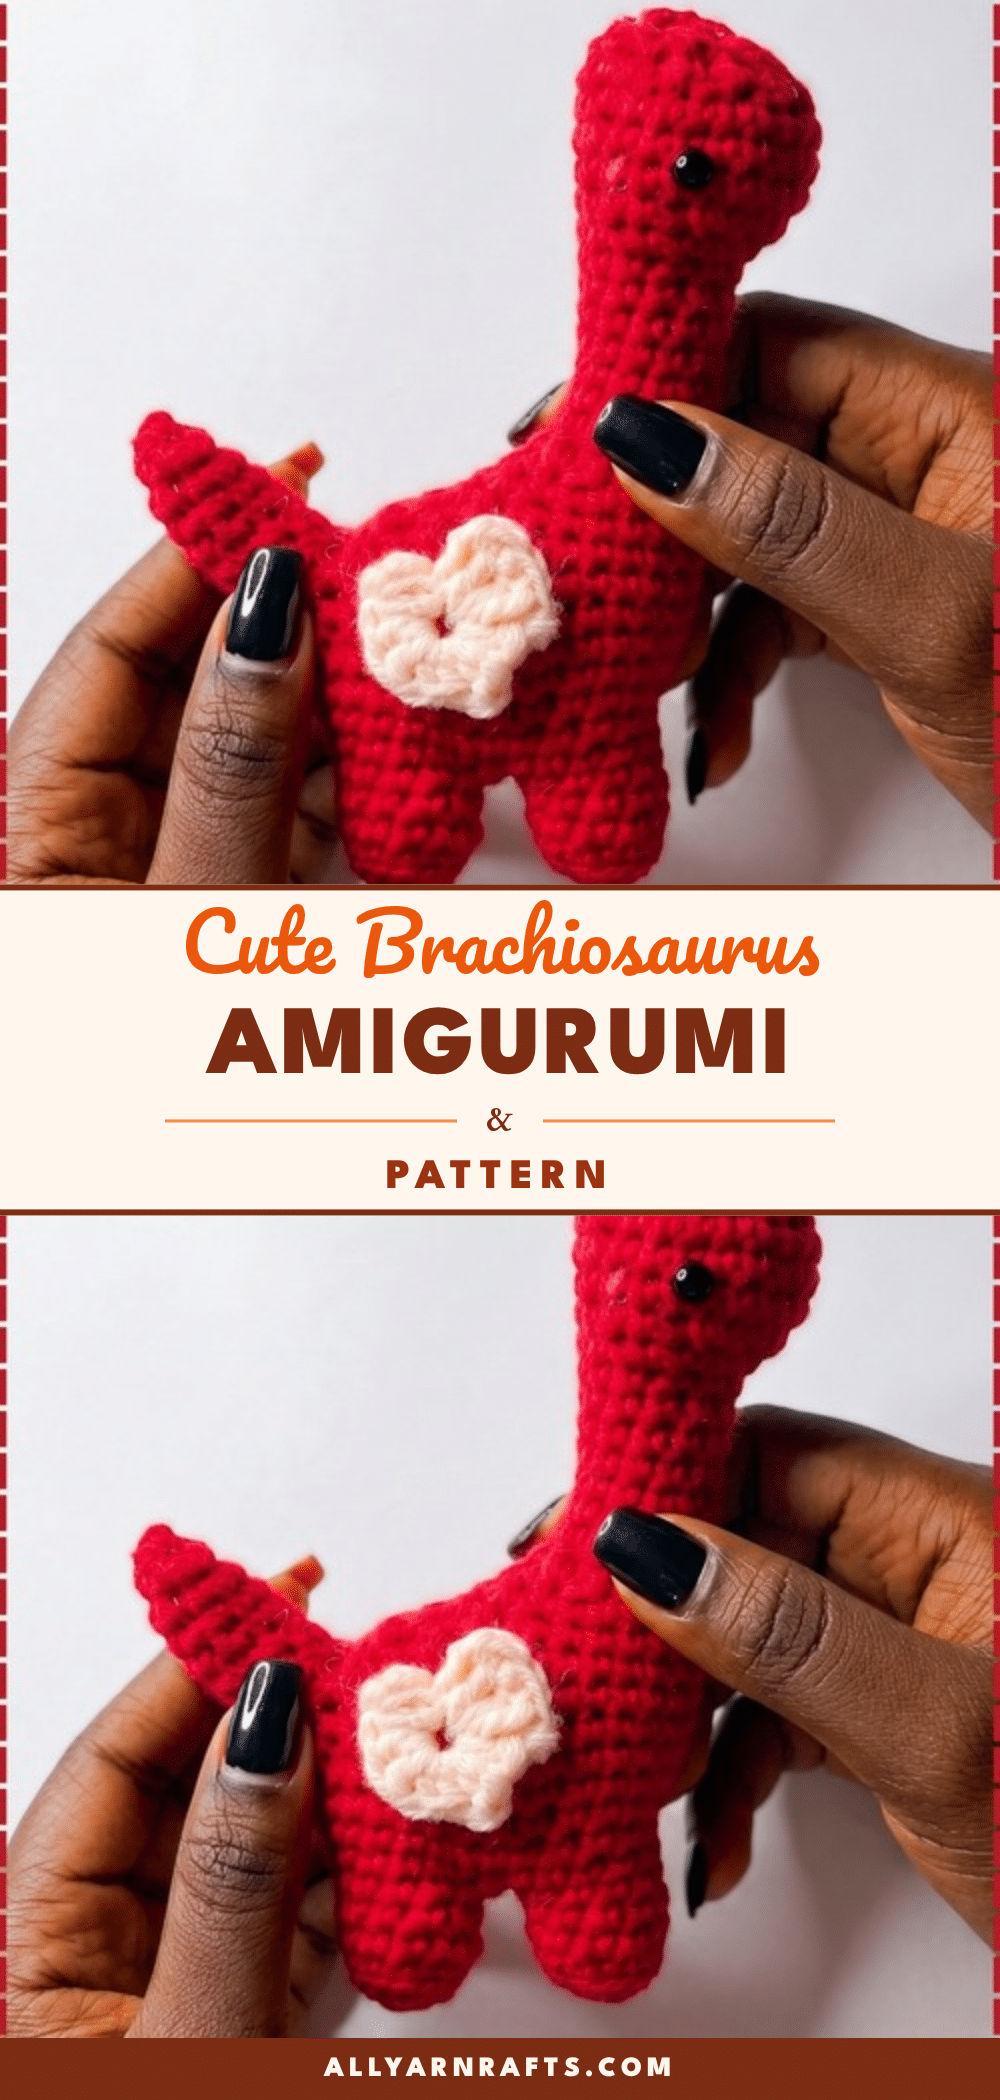
There is something undeniably magical about bringing a prehistoric creature to life with just yarn and a hook. This Cute Brachiosaurus Amigurumi Pattern offers a delightful way to create a long-necked friend that is as sturdy as it is sweet. Designed as a four-legged amigurumi, this dinosaur features a continuous body and neck construction, making it a satisfying project for crocheters who enjoy structural integrity in their plushies. Whether you are crafting a gift for a dinosaur-obsessed toddler or adding a whimsical touch to your own collection, this pattern provides clear instructions for a charming result.
Seasonal Styling Ideas
While the Brachiosaurus is a year-round companion, its unique shape and potential for color customization make it perfect for seasonal crafting. Swap the traditional green or brown for a soft pastel palette to create an Easter-themed dinosaur that fits right in with the adorable crochet chick amigurumi collection. For a Valentine’s Day twist, the optional heart detail can be crocheted in bright red or pink, turning the dinosaur into a unique gift for the child who prefers prehistoric friends over traditional roses. During the colder months, a chunky worsted weight yarn in cream or grey gives the dinosaur a cozy, plushie aesthetic that pairs beautifully with holiday decor.
Project Overview
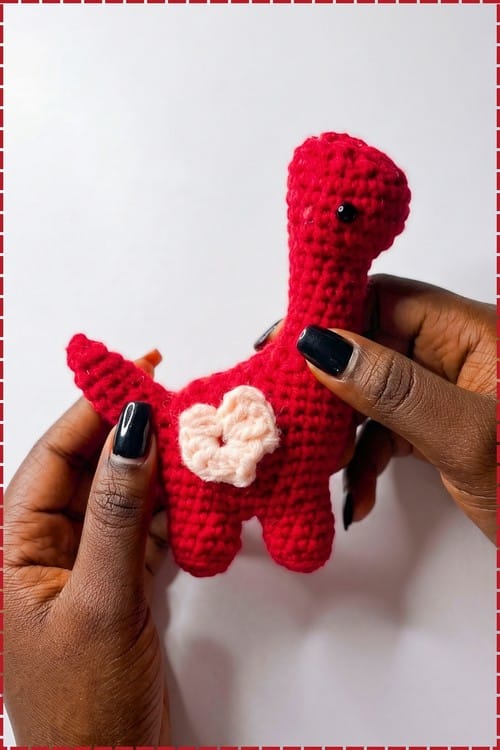
This pattern creates a four-legged Brachiosaurus amigurumi with a continuous body and neck, separate legs, a tail, and an optional heart appliqué. The construction is unique in that the tail grows directly from a chain space in the body rather than being sewn on, providing a stronger structural attachment. The neck and head are worked as part of the main body piece, requiring careful stuffing to maintain posture. The project is estimated to take 5 to 7 hours and results in a dinosaur approximately 10 to 14 inches tall at the top of the neck.
Materials
- Main Body Yarn: Your chosen dinosaur color (DK or worsted weight recommended).
- Contrast Yarn: For the optional heart detail.
- Crochet Hook: Size suitable for your yarn weight.
- Stitch Markers: Several, especially for leg joining points.
- Fiberfill Stuffing: Standard polyester stuffing.
- Safety Eyes: Appropriate size for your yarn weight (or black yarn for embroidery).
- Yarn Needle: For weaving in ends.
- Scissors.
Gauge and Finished Size
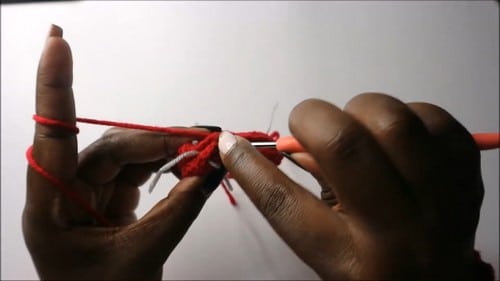
The approximate finished size is around 10 to 14 inches tall at the top of the neck. This estimate is based on experience with similar four-legged amigurumi constructions using DK or worsted weight yarn. Gauge is not strictly defined, but maintaining consistent tension is crucial, particularly for the neck tube to prevent spiraling.
Abbreviations
- sc: single crochet
- inc: increase, two sc into one stitch
- dec: decrease, two stitches worked together into one
- hdc: half double crochet
- dc: double crochet
- tr: treble crochet
- BLO: back loop only
- Stitch counts in brackets at the end of each round.
Pattern Notes
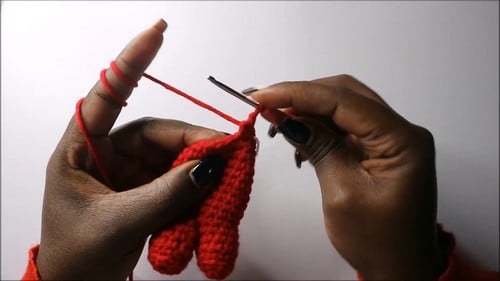
- Construction: The body and neck are worked as one continuous shape. The legs are made as pairs and joined before the body begins. The tail grows from a chain space in the body.
- Neck Stability: Shaping the neck without it flopping requires attention. Stuff it firmly as you go.
- Tail Attachment: The tail is worked from a chain space left in round 11 of the body, making it structurally part of the fabric.
- Eyes: Safety eyes are inserted between rounds 29 and 30. For children under three, embroider eyes with black yarn instead.
- Spirals: All rounds are worked in a continuous spiral unless specified.
Pattern Instructions
Legs (Make Four)
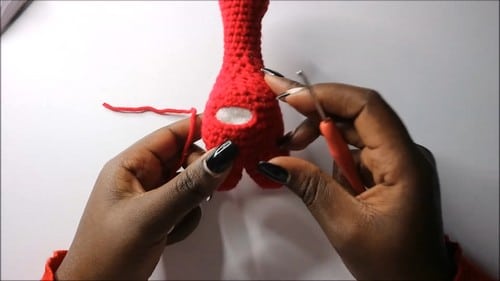
Work in a continuous spiral. Use stitch markers liberally.
- Round 1: Magic ring with 5 sc [5]
- Round 2: Increase in each stitch around [10]. Checkpoint: A small flat disc, the foot base.
- Round 3: Working in back loops only, 10 sc [10]. Checkpoint: A ridge sits at the base of the leg from the BLO round.
- Round 4: 10 sc [10]
- Round 5: 10 sc [10]. Checkpoint: A short dense tube rising from the foot base.
Fasten off the first and third legs with a tail. Do not cut yarn on the second and fourth legs.
Joining Legs Into Pairs
Work two separate pairs, each containing two legs joined together.
- From the second leg, chain 1.
- Attach to the first leg with a sc.
- Work a sequence of sc and increases across both legs and the chain stitches to create the pair base.
- Place stitch markers at the joining points.
- Repeat to create a second pair in the same manner.
Body
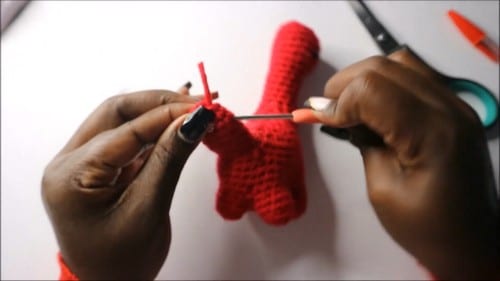
Align both leg pairs together.
- Joining: Slip stitch 14 stitches across to join the pairs [14 joining stitches].
- Round 8: 35 sc [35]. Checkpoint: The body base is now joined and the four legs hang below.
- Round 9: 35 sc [35]
- Round 10: 35 sc [35]
- Round 11: sc 15, chain 5, skip 7 stitches, sc to end. Checkpoint: A gap sits in the body at the tail position, bridged by the chain.
- Round 12: Begin decreasing pattern.
- Round 13: Decrease 5 times evenly.
- Round 14: Decrease 5 times evenly.
- Rounds 15-18: Continue gradual decreases. Checkpoint: The body narrows from the wide base toward a narrow neck section.
Stuffing: Stuff the legs and body firmly before continuing to the neck.
Neck
- Rounds 19 to 25: 12 sc each round [12 per round]. Checkpoint: A long straight narrow tube rising above the body.
Note: If the tube is spiraling, your tension is shifting across rounds. Work slowly with consistent grip.
Head
- Round 26: 3 sc, increase 5 times [approximately 17].
- Round 27: Adjust increases as needed.
- Round 28: 23 sc [23]
- Round 29: 23 sc [23]. Insert safety eyes between rounds 29 and 30 before working round 30. Stuff the head firmly at this point as well.
- Round 30: 23 sc [23]
- Round 31: Decrease 6 times.
- Round 32: Continue decreasing evenly.
- Round 33: Decrease around to close. Checkpoint: The head closes to a small tight point.
Fasten off and weave in.
Tail
Attach yarn to the skipped stitches from the chain space left in round 11 of the body.
- Round 1: Work 13 to 14 sc around the opening [13 to 14].
- Round 2: sc around [13 to 14]. Checkpoint: The tail base sits at the back of the body.
- Round 3: Decrease evenly.
- Round 4: sc around.
- Subsequent Rounds: Continue decreasing every other round until the tail shapes to a pointed tip. Checkpoint: The tail tapers from its base count to a closed point.
Fasten off and weave in ends.
Optional Heart
Create a flat heart appliqué in contrast yarn.
- Magic ring.
- Work 2 treble crochet [2].
- Work 2 double crochet [2].
- Work 2 half double crochet [2].
- Chain 2.
- Work 2 half double crochet [2].
- Work 2 double crochet [2].
- Work 2 treble crochet [2].
- Chain 2.
- Slip stitch to finish.
- Pull tight to shape. Checkpoint: A recognizable heart with two raised curves at the top and a point at the base.
Assembly
The brachiosaurus has very little post-construction assembly since the neck and head are worked as part of the body. The main steps are finishing and shaping.
- Leg Stuffing: Ensure all four legs are stuffed firmly before the body rounds close over them. Reach back through the body opening to press stuffing down into each leg before the joins tighten.
- Weaving Ends: Weave in all yarn tails securely. The joining section produces several tails close together; bury each one into different parts of the body fabric to avoid a weak spot.
- Shaping: Shape the four legs evenly on a flat surface and check that the dinosaur stands without leaning to one side. Adjust the stuffing through the tail opening if any lean remains.
- Neck Posture: Adjust the neck stuffing for upright posture. Push additional stuffing up through the body into the base of the neck if the head droops forward.
- Heart: Sew the optional heart to the side of the body at whatever position gives the best visual balance.
Tips
Stuffing Guide
- Legs: Stuff firmly. They carry the weight of the entire body, and a soft leg causes the dinosaur to splay or tip.
- Body: Stuff firmly. The wide body needs substantial filling to hold its shape under the neck.
- Neck: Moderate to firm. Too much stuffing makes the neck rigid; too little and the head droops. Add stuffing gradually from the body end upward.
- Head: Stuff firmly before round 31 begins closing it.
- Tail: Moderate. A light-to-moderate fill lets the tip hang with a natural slight curve.
FAQs
Why won’t my dinosaur stand upright?
This is nearly always due to the legs. Each leg needs to be stuffed firmly before the body closes over it. Ensure the four legs are shaped pointing directly downward on a flat surface rather than angling inward or outward. You can re-stuff through the tail opening and press each leg straight while the yarn is still slightly damp if needed.
My neck is twisting in a spiral. How do I fix it?
Tension drift in the 12-sc plain rounds causes this. Work the neck rounds slowly with a consistent grip and check the alignment after every two rounds by holding the piece at arm’s length. A slight twist early becomes significant by round 25.
How do I attach the heart?
Pin it to the side of the body in good light and stand back to check the position before sewing. Two or three whip stitches around the perimeter are enough to hold it flat. Tack the center down with one stitch as well to stop it from lifting.
Can I skip the leg pairs and just sew four separate legs on?
You can, and it will be faster, but the standing stability is significantly better with the joined construction since the pair base locks the leg spacing before the body rounds build over it. Separately sewn legs can rotate and the dinosaur tips easily.
Is this pattern safe for toddlers?
If the dinosaur is going to a child under three, embroider the eyes with black yarn instead of using safety eyes. Use two small satin stitches at the same position, worked after the head is stuffed and closed.
Pin This Crochet Pattern!