There is something deeply satisfying about the quiet ritual of a small crochet project. A quiet evening, a small batch of fine cotton yarn, and the rhythmic counting of stitches create a meditative space. As you work through the repetitive rounds of a cherry, the tension of the day melts away, leaving only the focus on the craft. This adorable free crochet cherry keychain pattern is the perfect companion for such moments. It is a compact amigurumi project that rewards you with a bright, playful fruit accent for your keys or bag, all while keeping your hands busy and your mind at ease.
Small Details That Make It Better
While the cherry keychain is simple in construction, it is the subtle finishing details that elevate it from a basic craft to a charming accessory. The choice of fine weight 100 percent cotton yarn is crucial here; it provides the crisp stitch definition necessary for the cherries to read as fruit rather than fuzzy pompoms. When assembling, pay close attention to the placement of the leaf. Rather than centering it perfectly, sliding it slightly off to one side creates a more organic, natural look that mimics how a real cherry stem grows. Additionally, the decision to leave the cherries faceless allows them to retain their identity as fruit, giving them a cheeky, mischievous personality that pairs perfectly with anyone who likes their keys to carry a bit of fun. These small aesthetic choices transform a simple chain and sphere into a piece with attitude.
Project Overview
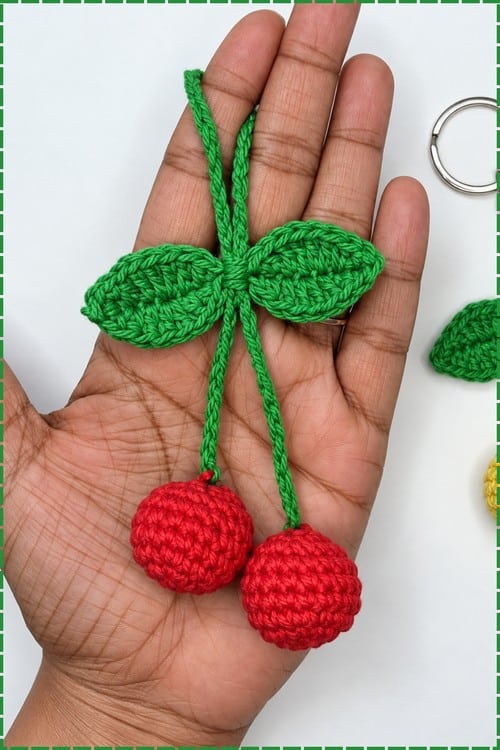
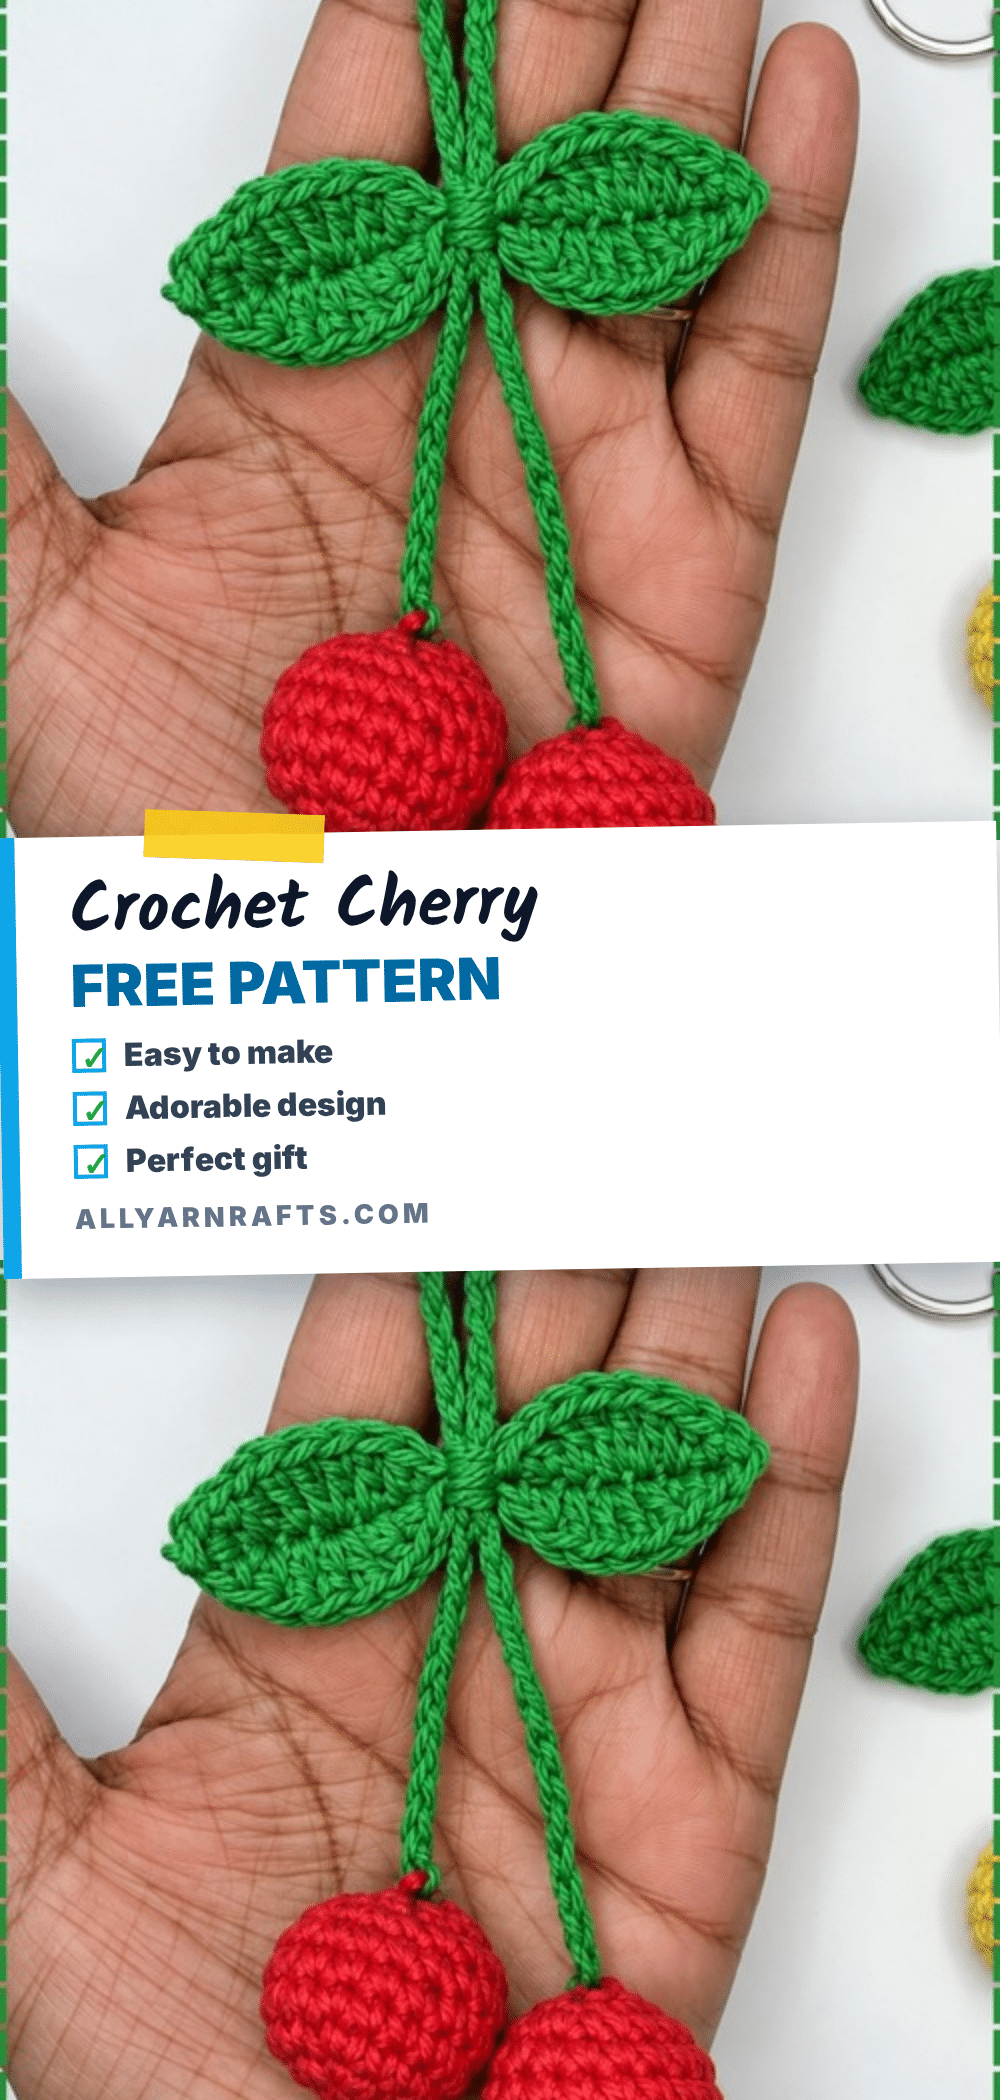
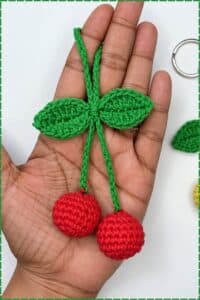
This crochet cherry keychain features two round red berries hanging from a simple green chain stem, joined at the top by a pair of wide, pointed leaves. The fruit is worked in continuous rounds and stuffed firm to maintain its shape while swinging. The stems are straightforward chains, long enough to loop over a key ring or a bag strap. This project is ideal for beginners looking to practice small round pieces and continuous rounds, and it works up quickly in a single sitting.
Materials
- Yarn: Fine weight 100 percent cotton yarn in red and green.
- Hook: 2.75 mm crochet hook.
- Notions: Stitch marker, scissors, yarn needle.
- Stuffing: Fiberfill stuffing, or scrap yarn if that is what you have.
- Hardware (Optional): Key ring, lobster clasp, or swivel hook.
Yarn amounts are small and approximate. Around 8 to 10 g of red and 2 to 3 g of green should be plenty for one keychain.
Gauge and Finished Size
Finished Size: Each cherry should finish somewhere around 3.5 to 4 cm across. The long branch works out at roughly 20 to 23 cm, and the short version closer to 13 to 15 cm.
Note: These are estimates from working at the hook and yarn listed above, not measurements taken from a formal gauge swatch.
Abbreviations
- SC: single crochet
- HDC: half double crochet
- DC: double crochet
- Sl st: slip stitch
- Inc: Increase (two stitches worked into the same stitch)
- Dec: Decrease (two stitches crocheted together)
Pattern Notes
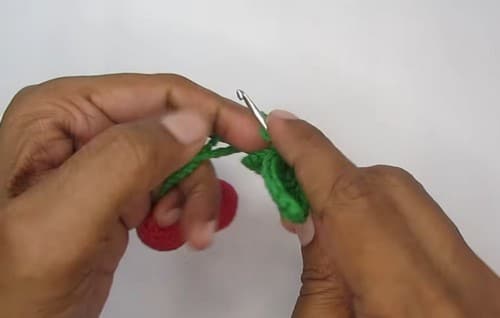
- The cherries are worked in continuous rounds. Do not join with a slip stitch at the end of a round. Place a stitch marker in the first stitch of each round and move it up as you go.
- Keep your tension slightly tighter than usual. These pieces are small, and loose stitches let stuffing show through the fabric.
- The cherries are stuffed near the end rather than partway through, which keeps the shape smooth and round.
- The leaf is worked flat, around both sides of a foundation chain.
- The branch is threaded through both cherries during assembly, so leave your tails long. You will want them.
Pattern Instructions
Cherry (Make 2)
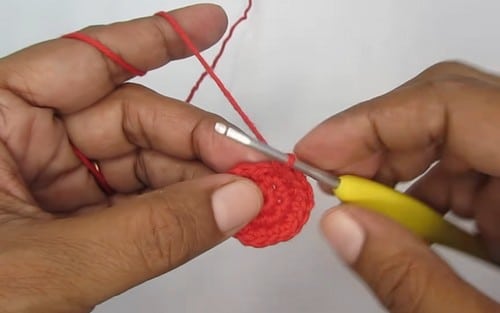
Round 1: Magic circle, chain 1, work 6 SC into the ring [6]
Round 2: Increase in each stitch around [12]. Checkpoint: this should still lie flat like a small coin, with no cupping yet.
Round 3: 1 SC, increase, repeat around [18]. Checkpoint: a flat disc about the size of a large button, edges only just starting to lift.
Round 4: 1 SC in each stitch around [18]
Round 5: 1 SC in each stitch around [18]. Checkpoint: the sides should now stand up on their own, giving you a shallow bowl rather than a disc.
Round 6: 1 SC in each stitch around [18]. Checkpoint: closer to a thimble than a bowl now, with straight sides and an open top.
Round 7: 1 SC, decrease, repeat around [12]. Checkpoint: the opening has visibly pulled inward and the piece is holding a round shape even before stuffing.
Stuffing: Add stuffing firmly.
Round 8: Decrease in each stitch around [6]
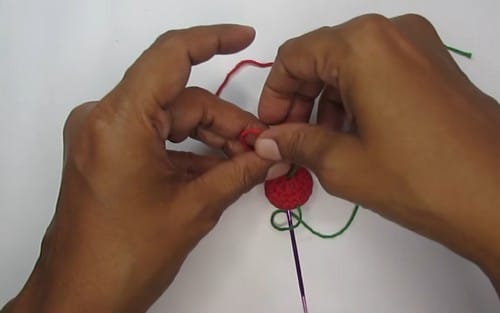
Cut the yarn, leaving a long tail. Weave the tail through the front loops of the remaining 6 stitches. Pull tight to close and knot securely. Repeat all of the above to make the second cherry.
Leaf (Make 1)
Make a slip knot. Chain 16.
Side 1
Skip the first chain. 1 SC, 1 HDC, 1 DC, 2 DC in next stitch, 1 DC, 1 HDC, 1 SC, 1 slip stitch at center. Checkpoint: half the leaf edge is now formed and should already show a soft outward curve where the two DC sit together.
Side 2, Reverse
1 SC, 1 HDC, 1 DC, 2 DC in next stitch, 1 DC, 1 HDC, 1 SC, 3 SC in last chain. Checkpoint: you have reached the tip. The 3 SC form the point, and the work should turn naturally so you can travel back along the opposite side of the chain.
Work Around Opposite Side of Chain
1 HDC, 1 DC, 2 DC in next stitch, 1 DC, 1 HDC, 1 SC, 1 slip stitch.
Finish Second Side Repeat
1 SC, 1 HDC, 1 DC, 2 DC in next stitch, 1 DC, 1 HDC, 2 SC in last stitch. Slip stitch to join. Checkpoint: laid flat, the leaf should sit as a pointed oval with a raised centre spine down the middle where the foundation chain runs.
Fasten off, leaving a tail.
Branch (Make 1)
Make a slip knot. Chain 55 for a long bag charm OR chain 35 for a shorter keychain. Fasten off, leaving a long tail. Checkpoint: hold the chain up by one end. It should hang straight rather than corkscrewing. A tight cotton chain will spiral, and it never really settles down once it does, so work this piece looser than feels right.
Stuffing Guide
Add stuffing in small pinches rather than one lump. Push each piece down with the back of your hook or the blunt end of your yarn needle so it reaches the bottom of the cherry before you fill the top. You are aiming for firm enough that the sphere holds its shape when squeezed, but not so full that the stitches spread and you can see white through the red. Over-stuffing shows up first around rounds 4 to 6, the straight middle section, where the fabric goes shiny and the stitches gape. The closed end almost never gives you away. Check the middle, not the top. The leaf stays flat and takes no stuffing at all.
Assembly
- Thread the branch through the top center of the first cherry using a yarn needle, and sew securely into the top stitches.
- Repeat with the second cherry at the other end of the branch, so both hang from the same chain.
- Before you knot anything, hold the charm up by the middle of the branch and check that both cherries sit level. Adjust the chain until they do. This is much easier now than later.
- Pull the branch through the center slip stitches of the leaf. Slide the leaf up so it sits just above the cherries, along the stem.
- Pin or hold the leaf in place and look at it from a step back before securing. Leaves look wrong when they sit dead centre. Slightly off to one side reads better.
- Knot and secure all ends, and weave the tails back into the cherries so nothing shows.
- Attach a key ring, clasp, or swivel hook at the fold of the branch if you want one.
Tip: A single anchoring stitch through the leaf into the branch stops it sliding down over time. The pattern does not call for it, but it is worth thirty seconds.
Tips
- Stuffing: Add stuffing in small pinches. Push each piece down with the back of your hook or the blunt end of your yarn needle so it reaches the bottom of the cherry before you fill the top.
- Tension: Keep your tension slightly tighter than usual. Fine cotton is unforgiving at this scale, and loose stitches let stuffing show through.
- Face Placement: If you decide to add a small face to each cherry, the eyes go in after round 6 and before you add stuffing. That is the last point where you can reach inside to fit the washers on a safety eye. Place them around round 4 or 5, roughly a stitch and a half apart, and check both cherries match before you close either one.
- Safety: For anything going to a child under three, skip safety eyes entirely and embroider them with black yarn or thread instead. Two small satin stitches or a pair of French knots do the job and cannot be pulled loose.
- Magic Circle: If the magic circle keeps loosening, work round 2 into the ring before you pull the tail fully tight, then cinch it closed and give the tail a second tug after round 3.
- Flat Leaf: If the leaf curls instead of lying flat, block it. Wet the leaf, press it flat under something heavy, and leave it to dry. Cotton holds a block well.
- Twisting Branch: If the branch twists into a spiral, chain more loosely, or chain over a slightly larger hook and switch back for everything else.
- Size Scaling: Moving up to DK weight with a 3.5 mm hook will produce cherries somewhere around 5 to 6 cm across, which is bag charm territory rather than keychain. Stitch counts stay exactly the same at every size; only the hook and yarn change.
FAQs
Can I use acrylic yarn instead of cotton?
Acrylic works but tends to look fuzzier at this size. Fine weight cotton gives the crisp stitch definition that makes the cherries look like fruit rather than pompoms, so if you can stay in cotton, do.
How do I stop the branch from spiraling?
A tight cotton chain will spiral, and it never really settles down once it does. Work this piece looser than feels right. If it has already spiraled, you can try chaining over a slightly larger hook and switching back for the rest of the project.
Can I make this larger?
Yes. Moving up to DK weight with a 3.5 mm hook will produce cherries around 5 to 6 cm across. Worsted with a 4 mm hook gets you closer to 7 cm. Stitch counts stay exactly the same at every size; only the hook and yarn change.
Is this pattern safe for small children?
If this is going anywhere near a small child, skip the key ring hardware and the long chain. A 55 chain branch is a strangulation risk for babies and toddlers. Sew the two cherries directly together instead and leave the stem short. Use embroidered details rather than any glued or plastic parts.
Why is my cherry lopsided?
My cherry has a flat side. This usually comes from stuffing all at once. Unstuff, add smaller pieces, and work the filling out toward the walls with your hook before adding more. Also, ensure you are weaving through front loops only when closing the final hole.
Pin This Crochet Pattern!