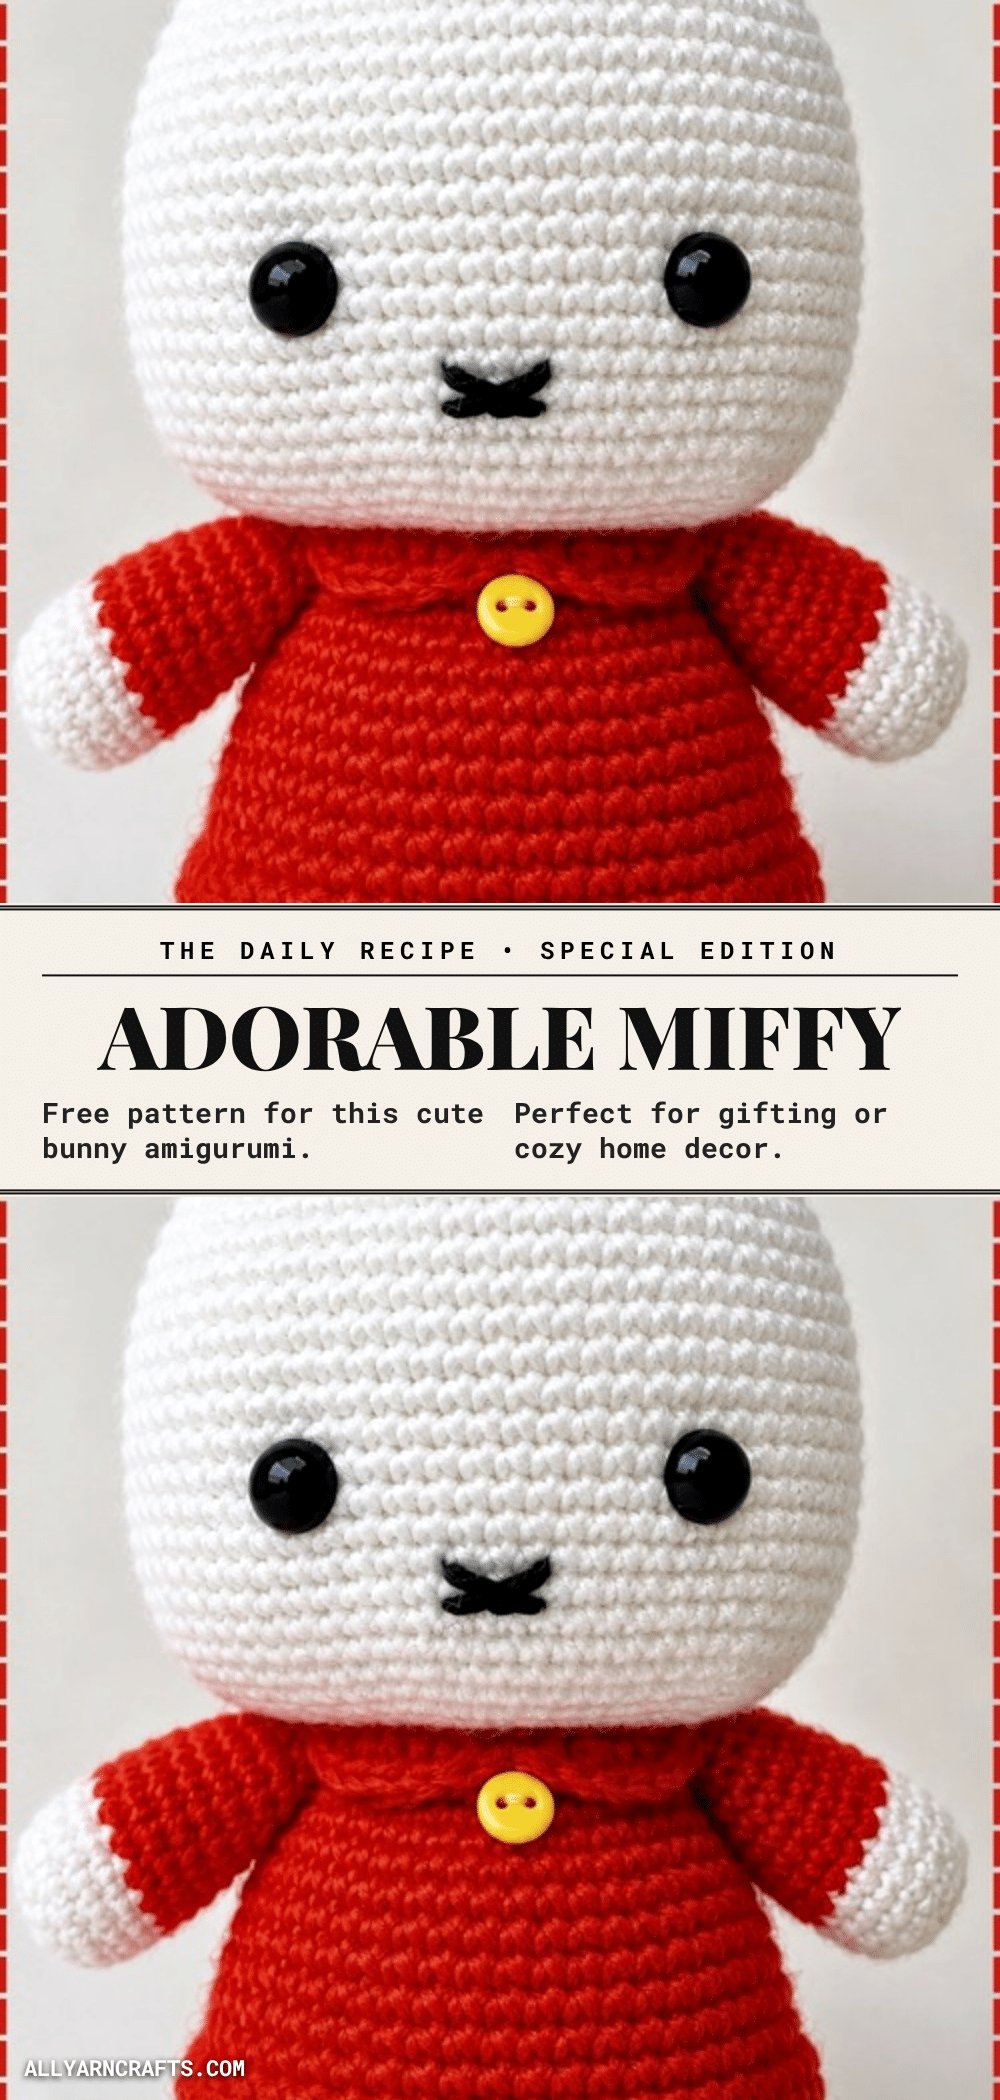
There is something deeply satisfying about the quiet rhythm of amigurumi. A cozy evening, a small batch of soft white yarn, and the steady click of the hook as you count stitches and settle into a relaxing repeat. This is the perfect time to bring a beloved character to life. The Miffy Bunny Amigurumi pattern captures the essence of the classic picture book character, transforming simple stitches into a huggable, nursery-ready companion. With its minimalist face and iconic red dress, this project is a joy to make and even more joy to gift.
Small Details That Make It Better
While the Miffy design is famously simple, the charm lies in the precision of the details. The silhouette relies on the contrast between the wide, oval head and the tapered body. When selecting your yarn, consider a medium weight in white for the classic look, or opt for pale yellow, soft grey, or cream for a softer, warmer aesthetic. The red dress is the focal point, flaring out over the white legs to create that recognizable shape. Adding a single yellow button at the neckline or tying a colored ribbon around the neck can add a personalized touch. The X-shaped mouth is the heart of the character; keeping it small and perfectly centered is what prevents the face from looking off-balance. This doll is a fantastic addition to any spring-themed nursery or Easter basket, offering a timeless appeal that transcends seasonal trends.
Project Overview
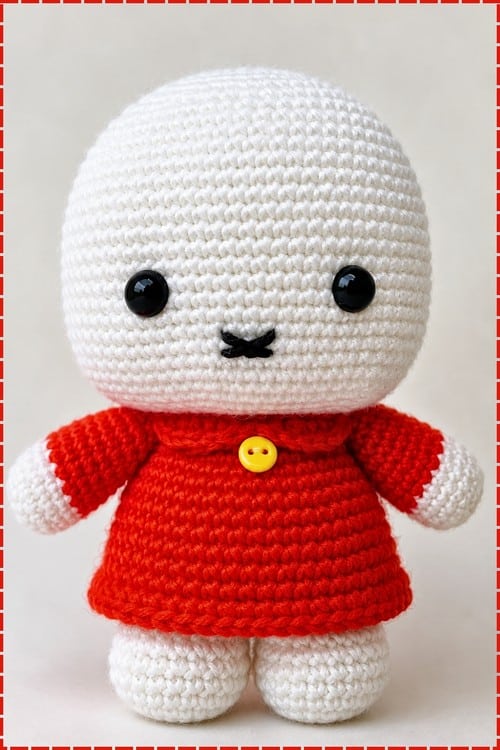
This pattern creates a Miffy Bunny Amigurumi that stands approximately 10 to 12 inches tall. It is an intermediate-level project that requires about 5 to 8 hours to complete. The construction is unique because the body and head are worked as one continuous piece starting from the legs, eliminating the need for a neck seam. The final doll consists of six main components: two legs (joined), the body/head, two ears, and two arms.
Materials
- Medium weight yarn in white or your preferred colour (approximately 100 to 120 g estimated)
- A crochet hook suited to your yarn
- Safety eyes, or black yarn for embroidery
- Fiberfill stuffing, a generous amount
- Tapestry needle
- Stitch markers
- Scissors
Gauge and Finished Size
Finished Size: Approximately 10 to 12 inches tall, estimated.
Gauge: Not strictly specified, but the leg should be a compact upright tube, about as tall as it is wide at the base before joining.
Abbreviations
- MR: magic ring
- sc: single crochet
- inc: increase, meaning two single crochet in the same stitch
- dec: invisible decrease recommended
- ch: chain
- BLO: back loops only
- Rnd: round
Pattern Notes
The body and head are one continuous run of 40 rounds that grows from the legs upward. There is no separate joining instruction between the neck at Round 19 and the head increases at Round 20; the transition happens automatically as the piece continues. This is correct construction for an integrated doll body.
The assembly section places safety eyes between Rounds 27 and 28 of the head. This sits in the middle of the long straight section of the head while the opening is still fully accessible. The decreases do not start until Round 33, so you have a comfortable window. For safety, place the eyes before Round 33. Once the decreases begin, the opening narrows. After Round 37 it is too tight. After stuffing it is closed permanently.
The ear at Round 1 has no stitch count in brackets. Based on the magic ring and Round 2, Round 1 is 6 sc. That is consistent with the rest of the pattern. The arm closing instruction says to sc through both sides to close the arm; at 8 stitches folded flat, you have 4 pairs, so 4 sc closes the arm. Work 4 sc through both layers.
Pattern Instructions
Legs, Make 2
Rnd 1: work 6 sc into a magic ring (6)
Rnd 2: work 6 inc around (12)
Rnd 3: work 1 sc then 1 inc, repeat 6 times (18)
Rnd 4: work 18 sc in BLO (18). The BLO round creates a visible ridge around the base of the foot, which is what gives each leg a defined sole line. If the ridge is not visible, check that every stitch went through the back loop only.
Rnd 5: work 18 sc (18)
Rnd 6: work 18 sc (18). The finished leg before joining should be a compact upright tube, about as tall as it is wide at the base. Fasten off the first leg and leave a tail to weave in later. Do not cut the yarn on the second leg. The body continues directly from here.
Body, Joined from Legs
Rnd 7: ch 2, work 18 sc on the first leg, work 2 sc on the chain bridge, work 18 sc on the second leg, work 2 sc on the other side of the chain bridge (40). This is the most technically demanding round in the pattern. Count to 40 before moving on. The chain bridge spans the gap between the inner thighs and you work sc into both sides of it.
Rnd 8: work 40 sc (40)
Rnd 9: work 40 sc (40)
Rnd 10: work 40 sc (40)
Rnd 11: work 40 sc (40). By Round 11 the body should read as a wide open cylinder sitting squarely on top of the two joined legs.
Rnd 12: work 8 sc then 1 dec, repeat 4 times (36)
Rnd 13: work 36 sc (36)
Rnd 14: work 4 sc then 1 dec, repeat 6 times (30)
Rnd 15: work 30 sc (30)
Rnd 16: work 3 sc then 1 dec, repeat 6 times (24)
Rnd 17: work 24 sc (24)
Rnd 18: work 2 sc then 1 dec, repeat 6 times (18). The body waist is now narrow and the shape tapers clearly upward.
Rnd 19: work 18 sc (18). Stuff the body firmly now before the head increases close the opening further.
Head, Continuing from Body
Rnd 20: work 18 inc around (36)
Rnd 21: work 5 sc then 1 inc, repeat 6 times (42)
Rnd 22: work 6 sc then 1 inc, repeat 6 times (48)
Rnd 23: work 7 sc then 1 inc, repeat 6 times (54). By Round 23 the head should be expanding rapidly and noticeably wider than the body was, with the walls beginning to rise.
Rnd 24: work 54 sc (54)
Rnd 25: work 54 sc (54)
Rnd 26: work 54 sc (54)
Rnd 27: work 54 sc (54). Place safety eyes now between Round 27 and Round 28, roughly 7 stitches apart on the front face while the opening is still fully accessible.
Rnd 28: work 54 sc (54)
Rnd 29: work 54 sc (54)
Rnd 30: work 54 sc (54)
Rnd 31: work 54 sc (54)
Rnd 32: work 54 sc (54). By Round 32 the head is a large open bowl, roughly the size of a softball, and the eye posts should be visible inside when you look down through the opening.
Rnd 33: work 7 sc then 1 dec, repeat 6 times (48)
Rnd 34: work 6 sc then 1 dec, repeat 6 times (42)
Rnd 35: work 5 sc then 1 dec, repeat 6 times (36)
Rnd 36: work 4 sc then 1 dec, repeat 6 times (30)
Rnd 37: work 3 sc then 1 dec, repeat 6 times (24). The head is now clearly round and fully shaped. Stuff it firmly before the opening closes further. Stuff the head firmly.
Rnd 38: work 2 sc then 1 dec, repeat 6 times (18)
Rnd 39: work 1 sc then 1 dec, repeat 6 times (12)
Rnd 40: work 6 dec around (6). Close the opening and fasten off.
Ears, Make 2
Rnd 1: work 6 sc into a magic ring (6)
Rnd 2: work 6 inc around (12)
Rnd 3: work 1 sc then 1 inc, repeat 6 times (18). The ear at this stage should be a flat round disc, no cupping.
Rnd 4: work 18 sc (18)
Rnd 5: work 18 sc (18)
Rnd 6: work 18 sc (18)
Rnd 7: work 18 sc (18)
Rnd 8: work 18 sc (18)
Rnd 9: work 18 sc (18)
Rnd 10: work 18 sc (18)
Rnd 11: work 18 sc (18)
Rnd 12: work 18 sc (18). By Round 12 each ear should be a long open tube at 18 stitches, roughly three times taller than it is wide.
Rnd 13: work 7 sc then 1 dec, repeat 2 times (16)
Rnd 14: work 16 sc (16). Leave a long tail for sewing and fasten off.
Arms, Make 2
Rnd 1: work 6 sc into a magic ring (6)
Rnd 2: work 2 sc then 1 inc, repeat 2 times (8)
Rnd 3: work 8 sc (8)
Rnd 4: work 8 sc (8)
Rnd 5: work 8 sc (8)
Rnd 6: work 8 sc (8)
Rnd 7: work 8 sc (8)
Rnd 8: work 8 sc (8)
Rnd 9: work 8 sc (8)
Rnd 10: work 8 sc (8). Each arm at this stage is a slim tube, about as long as your thumb from base to tip. Fold the piece flat so the two sides meet evenly. Work sc through both sides to close the arm.
Assembly
Read the assembly section before starting the head, as eye placement lives here rather than at the relevant head round. This ensures you do not miss the placement window.
- Ears: Pin both ears to the top of the head between Rounds 36 and 39, straight upright, and check from the front that they sit evenly spaced before sewing either one. Sew both ears firmly through multiple passes around their base opening.
- Arms: Pin both arms to the sides of the body at Round 18, checking that they hang at the same height on both sides before sewing. Sew the arms through the folded closed edge into the body fabric, using the long yarn tail from the arm closing.
- Eyes: Place safety eyes between Rounds 27 and 28, roughly 7 stitches apart on the front of the head, before the head decreases begin at Round 33. Hold each eye in position and look at the face from directly in front before clicking the washer.
- Mouth: Embroider the X shaped mouth centred between the eyes, sitting roughly two rounds below them. Keep the X small and symmetrical. The X mouth is what makes this instantly recognisable. A mouth that sits even half a round off kills the silhouette.
Tips
- Make both ears in the same session so the tension and length match. An ear worked three days after the first always looks slightly different.
- Count Round 7 carefully. This is the leg join and a miscount here runs through every round above it with no way to catch it early.
- Embroider the X mouth before sewing the ears on, so the front of the head is easy to access and rotate while you work.
- If you are new to amigurumi, consider checking out a basic bunny pattern to practice your tension before tackling this integrated body design.
Safety and Care
Safety eyes are not suitable for any child under three years old. Embroider all facial features for young children. Tug every sewn piece firmly before giving to a child. Ears under play get pulled first. Weave every end into the stuffed interior rather than along the surface. Hand wash only in cool water and reshape while damp. Let it dry on its side so the head does not flatten. Skip glue entirely. Stitch all details.
FAQ
Can I use a different yarn weight?
The pattern is designed for medium weight yarn. Using a different weight will significantly alter the finished size and the density of the stitches. If you change yarn, you will need to adjust your hook size and potentially the number of rounds to achieve the correct proportions.
How do I ensure the eyes are level?
Place the eyes between Rounds 27 and 28. Hold the eyes in position and look at the face from directly in front, not from the side, to ensure they are perfectly level and spaced roughly 7 stitches apart before securing the washers.
Why are the legs joined in the middle of the body round?
This construction method creates a continuous body and head without a neck seam. Round 7 is the critical join where you chain 2 and work stitches across the gap between the two legs to form the base of the body.
What if I don’t have safety eyes?
You can embroider the eyes using black yarn. This is actually the recommended method for dolls intended for children under three years old for safety reasons. Knot the ends securely inside the head.
How do I fix a crooked mouth?
The X mouth must be small and centred. If it is off-center, it can distort the entire face. Embroider it before attaching the ears so you can easily rotate the head to check symmetry. Use a stitch marker to mark the center point between the eyes before starting.
Pin This Crochet Pattern!