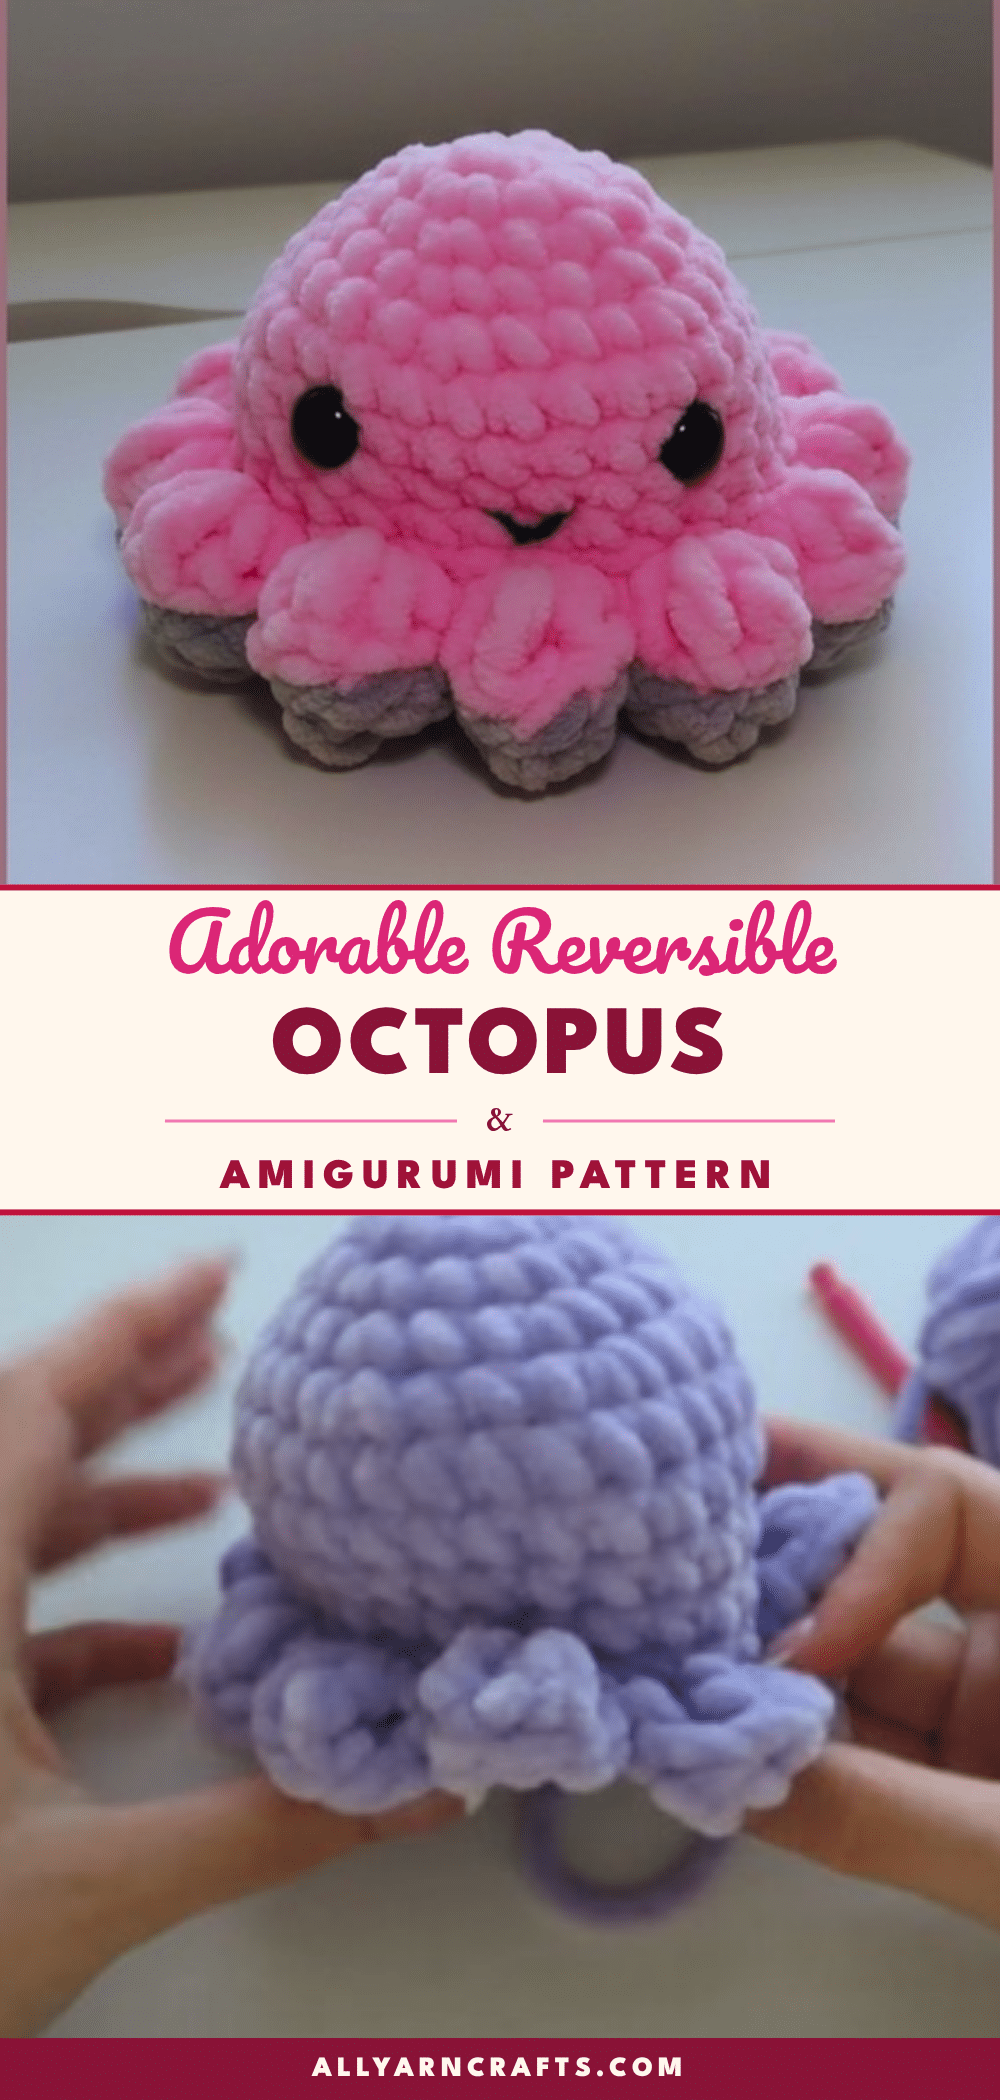
Yarn sits in a neat pile on the table, the hook already warm in your hand. The first loop of the magic ring is pulled tight, and suddenly, you are building a sphere that will soon become two. This is the moment where the reversible octopus begins to take shape—not just as a plushie, but as a little mood ring for your desk or play space. It is a project that rewards patience with a satisfying, squishy result that flips from happy to sad with a simple push.
Why This Project Works
There is something deeply satisfying about a toy that changes its expression. This reversible octopus is not just a static decoration; it is an interactive piece that invites handling. The “squishy” factor is the main appeal here, achieved by using less stuffing than you might instinctively feel is necessary. This ensures the body remains soft enough to be pushed through the tentacle opening to flip the colors.
Visually, the project relies on contrast. The mechanic of the pattern lives or dies on the color choice. A pale body flipped to reveal a deep one—like cream and black, or mint and terracotta—creates the cleanest read. If you use matching colors, the reversible feature becomes invisible, which defeats the purpose. The happy face traditionally goes on the brighter side, but swapping that convention can produce a more interesting character. It is a perfect companion for sensory play spaces or a study desk, offering a tactile way to express how you are feeling.
Project Overview
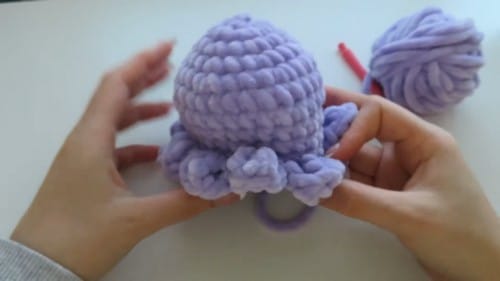
This pattern creates a plush, reversible octopus amigurumi. The construction involves making two identical body pieces in contrasting colors, embroidering different faces on each, and joining them at the base. The unique feature is the tentacle ring, which allows one body to be pushed through the other to flip the exterior color and expression.
Quick Facts
- Finished Size: Approximately 12 to 15 cm tall including tentacles (estimate based on yarn weight and tension).
- Difficulty: Intermediate. Requires comfort with magic rings, continuous rounds, and basic increases/decreases.
- Estimated Time: 3 to 5 hours for both bodies and assembly.
- Piece Count: 2 body pieces (joined), no separate limbs.
- Hook Size: 3.5 mm for DK yarn; 4.0 to 4.5 mm for worsted weight.
- Skill Level Note: While the body is basic, the tentacle work requires patience.
Materials and Tools
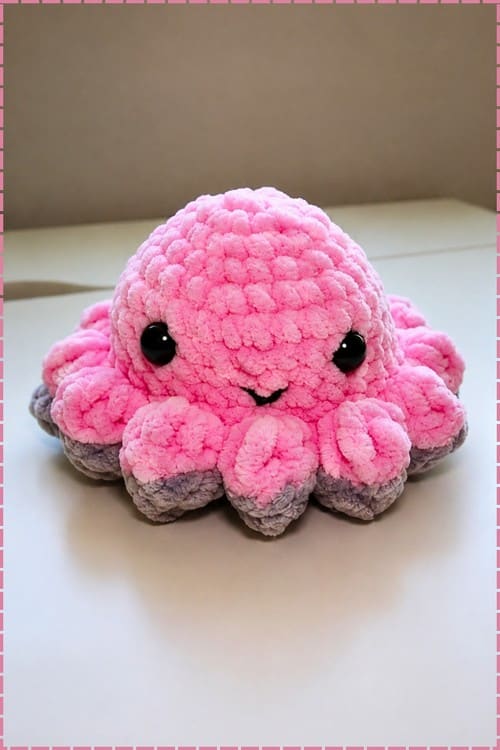
The one material decision that actually matters here is yarn texture. A smooth yarn shows the stitch definition on the tentacles and the seam join clearly. A fuzzy or bouclé yarn hides both, which is an advantage if your joining seam is imperfect but a disadvantage if you want the tentacle shaping to read well. For this pattern, plush chenille or velvet-style yarn is often used to create the thick, squishy aesthetic.
- Yarn: DK or worsted weight yarn in two contrasting colors. You need roughly one ball of each (80 to 100 meters per color as an estimate).
- Hook: 3.5 mm hook for DK or 4.0 to 4.5 mm hook for worsted.
- Eyes: Two pairs of safety eyes, 9 mm to 12 mm (one pair for each body piece).
- Face: Black embroidery thread or yarn for the mouth on each face.
- Stuffing: Polyester fiberfill (a small amount, less than you expect).
- Tools: Yarn needle, stitch marker, scissors.
Gauge and Finished Size
Keep your working tension light while pulling through bulky velvet or plush yarn to prevent the strands from snapping at the magic ring. The finished size is approximately 12 to 15 cm tall including tentacles, depending on yarn weight and tension. This is an estimate, not a strict measurement from the pattern.
Pattern Notes
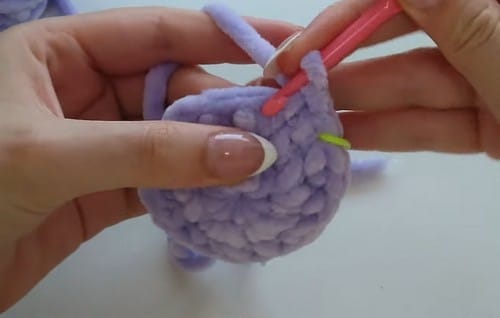
The reversible mechanic lives or dies on color contrast. A pale body flipped to reveal a deep one is the cleanest read. The happy face traditionally goes on the brighter side and the frown on the darker, but swapping that convention produces something more interesting. You can also make the two faces dramatically different in embroidery style—such as a minimal dot-mouth on one side and a wide open frown on the other—without changing a single round of the pattern.
For any octopus going to a child under three, replace the safety eyes on both pieces with embroidered circles in black yarn. Anchor both tails into the body stuffing before closing. The reversible function still works with embroidered eyes.
Pattern Instructions
Make this full pattern twice—once in each color—before moving to assembly. Both pieces are identical in construction.
Body Base
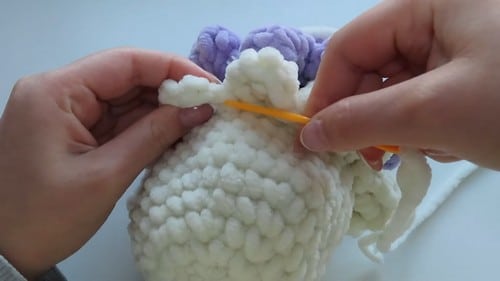
- Round 1: Magic ring, 8 SC [8]
- Round 2: Inc in every stitch [16]
- Round 3: (1 SC, 1 inc) repeat 8 times [24]
- Round 4: (2 SC, 1 inc) repeat 8 times [32]
- Round 5: (3 SC, 1 inc) repeat 8 times [40]
- Round 6: (4 SC, 1 inc) repeat 8 times [48] — the piece should be a broad flat disc at this point, lying completely level with no curling at the edges.
- Rounds 7 to 11: SC in every stitch, 5 rounds [48] — by the end of round 11 the body should be a solid dome, holding its shape when set down. Insert the safety eyes between rounds 9 and 10 during this window if you have not already.
- Round 12: (4 SC, 1 dec) repeat 8 times [40] — the sides should be visibly pulling inward now, beginning to close the base of the body.
Tentacles
- Round 13: (2 SC, chain 7, then starting in the 2nd chain from the hook work 6 SC back along the chain, SC2tog using the base of the chain and the next body stitch, 2 SC) repeat 8 times — this creates 8 tentacles extending outward from the base of the body; the body opening should now be partially occupied by the tentacle bases, which is intentional.
- Round 14: (2 SC, 3 HDC, 2 DC, 2 DC inc, 2 DC, 3 HDC, 3 SC) repeat 8 times — this adds volume and a slight curl to each tentacle; the piece should look fully formed at this stage, with tentacles that stand away from the body rather than lying flat.
Pattern Note: Round 14 does not carry a total stitch count in the source pattern. Working the tentacle sequence across 8 tentacles gives 19 stitches per tentacle repeat, for a total of 152 stitches in the round. This is a large number for what is presented as a single round, and in practice, the round is better understood as working each tentacle in sequence rather than as a traditional spiral round. The count is provided here for reference only—you should not treat it as a target to hit stitch by stitch.
Faces
Work these on both finished body pieces before joining.
- Insert safety eyes between rounds 9 and 10 — 9 mm to 12 mm, spaced evenly either side of the centre front.
- Embroider a smile on one piece using black thread or yarn, stitched as a gentle curve below the eyes.
- Embroider a frown or preferred expression on the second piece in the same position.
Stuffing Guide
Use less stuffing than instinct suggests. The finished octopus needs to be soft and squishable—that is most of the appeal—and overstuffing makes the body too rigid to push through the tentacle opening cleanly when reversing. A small, loose handful of fiberfill per body piece is enough. Add it as you sew the two bodies together so you can judge the firmness while the seam is still accessible. The tentacles themselves are not stuffed and should stay completely flat and flexible.
Assembly
- Pin the two body pieces together before sewing a single stitch. The faces should be on opposite sides and the tentacle bases should align reasonably well around the perimeter. A single pin through the crown of each body and a few around the equator is enough to hold things steady.
- Place the two bodies back-to-back with faces facing outward on each side. Using the tail yarn from one of the pieces, sew the edges together around the full perimeter, taking small even stitches and keeping the tension consistent.
- Leave a gap approximately 4 to 5 tentacle-widths in circumference as you near the end of the seam.
- Add fiberfill through the gap—a small amount, distributed evenly—then close the remaining seam.
- To reverse: Reach through the tentacle opening at the base, grasp the crown of the inner body, and pull it steadily through to flip the piece inside out—the opposite colour and expression should now face outward.
The first reversal is always the tightest. The seam loosens slightly with repeated flipping, which is normal.
Tips
- Match your tension: Hold the two body pieces side by side at round 6 and check that the diameter is the same. A looser or tighter second body will make the joining seam pull.
- Embroider before joining: Embroider the faces before joining, not after. There is no good way to stabilise the fabric for embroidery once the two bodies are sewn together.
- Tentacle tension: Work the tentacle chain in round 13 with slightly looser tension than your body rounds. A tight chain produces a stiff tentacle that will not curl naturally from round 14.
FAQs
Can I make this octopus for a toddler?
Yes, but for children under three, it is recommended to replace the safety eyes with embroidered circles in black yarn. Anchor both tails into the body stuffing before closing to ensure safety. The reversible function still works with embroidered eyes.
Why is my joining seam pulling?
This usually happens if the tension on the two body pieces does not match. Check the diameter of both pieces at round 6 to ensure they are identical before starting the second one.
Do the tentacles need to be stuffed?
No. The tentacles should stay completely flat and flexible. Stuffing goes into the body only, keeping the legs soft so they move when handled.
What is the best yarn to use?
A smooth yarn shows stitch definition clearly, while a fuzzy or bouclé yarn hides imperfections. For this specific plushie look, plush chenille or velvet yarn is popular, but keep your tension light to avoid snapping the strands.
How do I reverse the octopus?
Reach through the opening at the base of the tentacles, grasp the crown of the inner body, and pull it steadily through. This flips the piece inside out, revealing the opposite color and expression.
If you enjoy making plushies like this, you might also appreciate exploring other soft goods, such as a cozy crochet floor pouf for a matching sensory space, or perhaps a homemade crochet gift for a loved one.
Pin This Crochet Pattern!