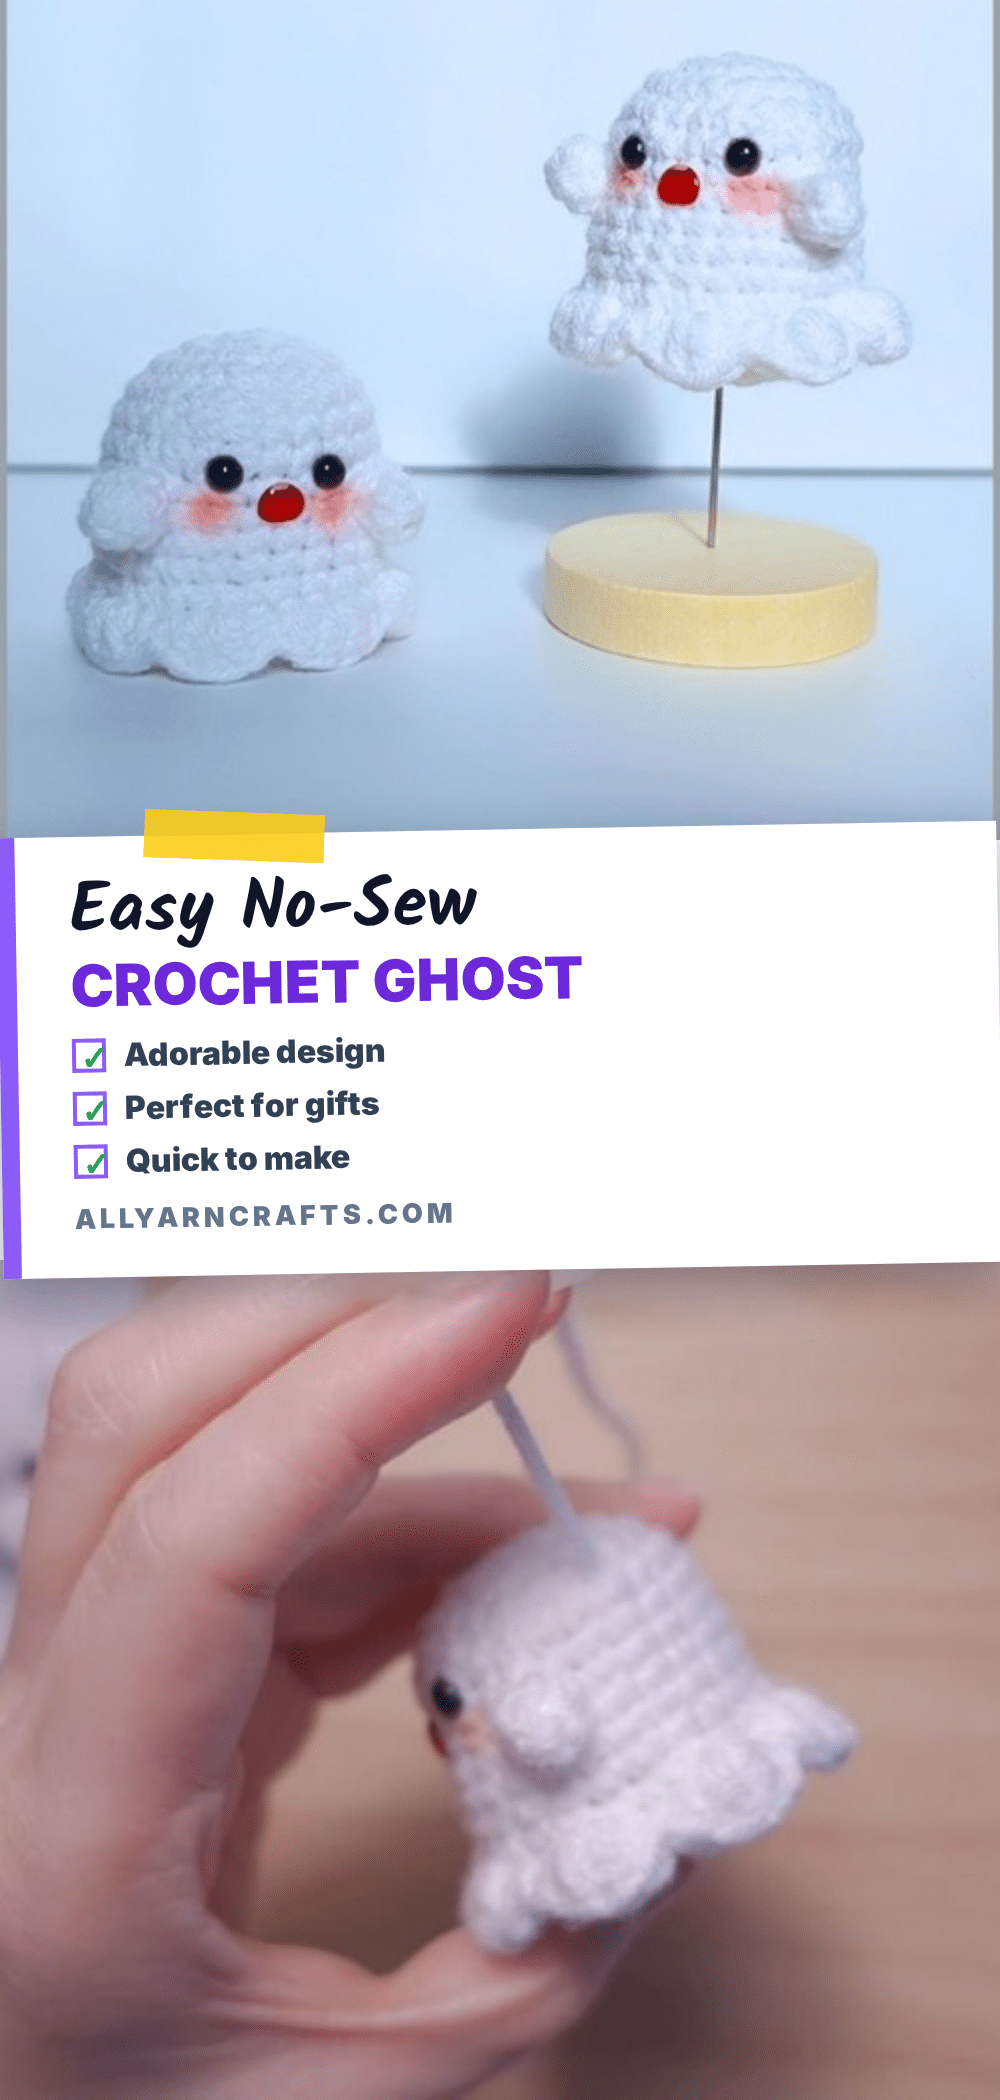
Transform a few simple scraps of yarn into a charming Halloween decoration with this easy no-sew crochet ghost amigurumi pattern. Perfect for a quick weekend project, this whimsical ghost works up in a single sitting, making it an ideal gift for friends, a fun classroom craft, or a delightful addition to your seasonal mantel display. Because the entire piece is worked as one continuous unit, you skip the tedious sewing steps and focus on the fun of shaping the silhouette.
Our Touch: Gift and Use Ideas
While white is the classic choice for a ghost, this pattern invites you to experiment with color to match your specific decor theme. Pale grey, cream, or even a very light lavender read clearly as a ghost while aging better with use and hiding fingerprints better than stark white. For a cohesive look, create a set of three identical bodies but vary the face embroidery—one with a round mouth, one with a V-shape, and one with a straight line—to give each ghost a distinct personality. You can also attach a new yarn in pale orange or dusty purple to the ruffle hem to shift the character of the ghost without changing a single stitch of the body pattern.
Project Overview
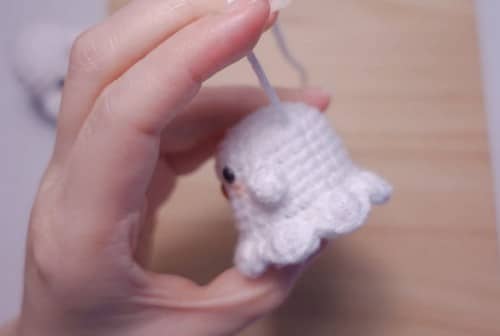
This crochet ghost amigurumi is designed for speed and simplicity. The body is worked continuously from the top down, featuring a wide, rounded top that tapers into a hem rippling outward in uneven points. The arms are formed directly into the body using bobble stitches, and the ruffle hem grows from front loops saved during the shaping process. There are no separate pieces to assemble, making this a truly “no-sew” project.
Materials
- White or cream yarn, DK or light worsted weight (approximately 40–60 g)
- Small amount of pink yarn or embroidery floss for the cheeks
- Black embroidery floss or yarn for the eyes and mouth (if not using safety eyes)
- 3.5 mm crochet hook, or sized to match your yarn
- Two safety eyes, 9–12 mm (if using)
- Polyester fiberfill, roughly 30–40 g
- Stitch marker
- Yarn needle and scissors
Gauge and Finished Size
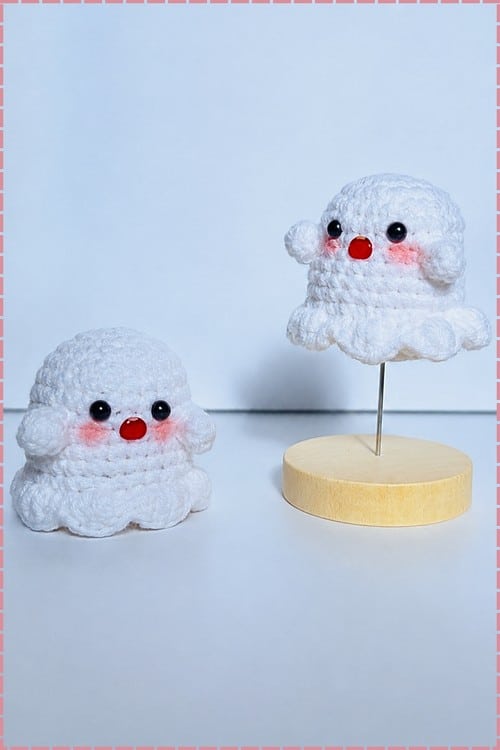
Estimates are based on DK or light worsted weight yarn on a 3.5 mm hook. The finished ghost is roughly 10–12 cm tall.
Abbreviations
- sc — single crochet
- inc — increase (2 sc in the same stitch)
- dec — decrease (2 stitches worked together; use the invisible decrease method — front loops only — for a cleaner finish)
- BLO — back loop only
- FLO — front loop only
- dc — double crochet
- sl st — slip stitch
- bobble — a cluster stitch worked into one stitch; in this pattern it forms the arms
Pattern Notes
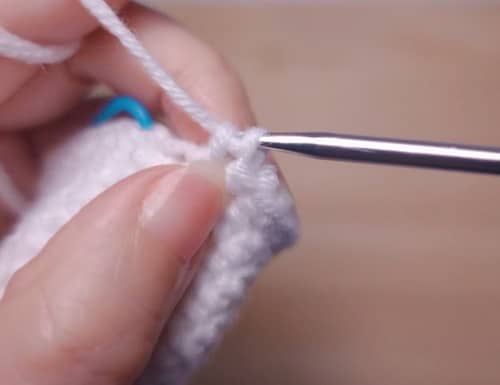
- Work in continuous rounds with a stitch marker. Move the marker at the start of every round.
- The ruffle round at the end is worked into the front loops you’ll preserve during the shaping rounds — do not skip those instructions or you won’t have the loops to work into later.
- If magic rings and invisible decreases sound like another language, consider watching a video tutorial for these techniques to ensure a clean finish.
Pattern Instructions
Body
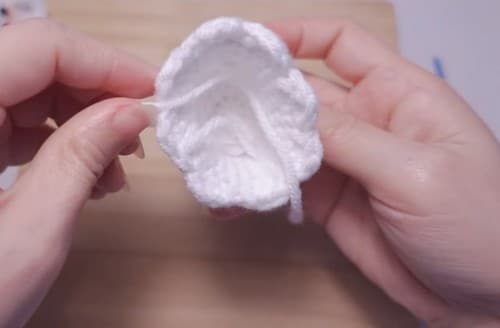
Rnd 1: 6 sc in magic ring [6]
Rnd 2: inc in each st around [12]
Rnd 3: (1 sc, inc) around [18]
Rnd 4: (2 sc, inc) around [24] — Checkpoint: a wide, nearly flat circle. Should lie on the table without curling. This is the widest point the ghost will reach.
Rnd 5–10: sc in each st around [24] — Checkpoint: after round 10 the sides should be running straight up, forming a clean cylinder above the flat base. The piece is now taller than it is wide.
Eye placement: If using safety eyes, insert them now, between rounds 8 and 9, spaced roughly 7–8 stitches apart and centred on what will be the front. Seat the washers firmly on the inside before continuing. Once you pass the arm round and begin decreasing, the opening narrows and the washers become difficult to position cleanly. For any toy going to a child under three, do not use safety eyes. Embroider the eyes instead using black floss — two or three small vertical stitches per eye, anchored through to the inside of the body.
Arms
Arm round: sc around the body, placing 2 bobble stitches evenly spaced on opposite sides of the round to form the arms — Checkpoint: each bobble should protrude outward from the body surface. If they’re sinking inward, try pulling the final loop of each bobble through more loosely.
Next rnd: sc in each st around [24]
Shaping and Closing
The next two rounds are worked in the back loops only. The front loops stay free — they become the ruffle in the final step.
Rnd (shaping 1): working in BLO only, (1 sc, dec) around [18]
Rnd (shaping 2): working in BLO only, (1 sc, dec) around [12] — Checkpoint: the body is narrowing below the arm level, pulling in to form the tapered ghost hem.
Stuffing: Begin stuffing now, while the opening is still accessible. Fill the body with fiberfill before the final closing round. Aim for firm but not hard — the ghost shape reads best when the head feels round and full and the lower section holds its taper without bulging outward at the ruffle.
Closing rnd: dec around to close the remaining opening [6], fasten off and secure.
Skirt Ruffle
The ruffle is worked into the front loops left from the two shaping rounds. Attach yarn to any front loop on the first shaping round — the upper one — and work around.
In each front loop around: ch 2, work 2 dc in the same st, then sl st into the next st.
Repeat this sequence around the full round to form the ruffled hem — Checkpoint: the ruffle should wave softly outward from the body, not pull tight against it. If it’s pulling in, try a slightly larger hook for this round only.
Fasten off and weave in the end.
Assembly
There is no traditional assembly on this pattern — everything is worked as one piece. The only post-construction steps are the embroidery and the ruffle. Work the face last, once the ghost is stuffed, closed, and the ruffle is finished. Embroidering on a stuffed, firm surface is much easier than working on a floppy open piece.
Mark the face position with pins first — centre the eyes on the front, check them from three angles before you commit a single stitch, and note that eyes placed even slightly above the midpoint of the head read as more expressive than eyes placed at the equator. If you’re adding cheeks, stitch them after the eyes rather than before. Their position relative to the eyes matters more than their absolute location on the face.
- Embroider small vertical stitches for each eye if not using safety eyes, centred on the face between rounds 8 and 9.
- Add two short pink stitches just below and to the sides of the eyes for the cheeks.
- Stitch a small straight line or a soft V-shape below the cheeks for the mouth.
Tips
- Fix bead features early: If using beads, fix them before closing the body, since a no-sew piece gives you no second chance from the inside.
- Stuffing Guide: The head — the upper half of the cylinder — needs to be full and round. Push filling up into the crown in small pieces rather than one large wad. The lower section, where the body tapers toward the ruffle, should be lighter. Over-stuffing below the arm line pushes the tapered hem outward into a sphere instead of a narrowing column.
- Profile Check: Stuff from the top down, check the profile from the side before closing, and remove a little from the lower section if the taper has disappeared.
- Safety Eyes: Safety eyes are secure when correctly installed, meaning both the post is fully seated through the fabric and the washer is pushed flat against the inside with no gap. Test by pulling on the eye firmly after seating — it should not rotate or shift. If it does, the washer hasn’t engaged properly.
- Bobble Arms: Check that the bobble arm stitches are tight and can’t be picked apart from the outside — if either bobble feels loose, reinforce it with a few extra anchor stitches through the yarn tails on the inside.
FAQs
Can I use a different hook size?
You can adjust the hook size to match your yarn, but be aware that a larger hook may result in a looser fabric, while a smaller hook will create a denser, stiffer ghost. If the ruffle pulls tight against the body, try using a slightly larger hook just for that round.
Is this pattern safe for toddlers?
For children under three, it is recommended to embroider the eyes and mouth instead of using safety eyes or beads to eliminate any risk of detachment. Ensure all yarn tails are securely woven in.
Why are my bobble arms sinking inward?
If the arms are not protruding, try pulling the final loop of each bobble stitch through more loosely. You can also reinforce the base of the bobble with a few anchor stitches on the inside.
Can I make a set of ghosts?
Absolutely. Make the bodies identical and vary only the face embroidery to create different personalities, such as a round mouth, a V-shape, or a straight line. You can also use contrast yarn for the ruffle hem to differentiate them.
What kind of yarn is best for this project?
DK or light worsted weight yarn works best for this pattern. While white is classic, pale grey, cream, or light lavender are excellent alternatives that show less dirt and age well.
Pin This Crochet Pattern!