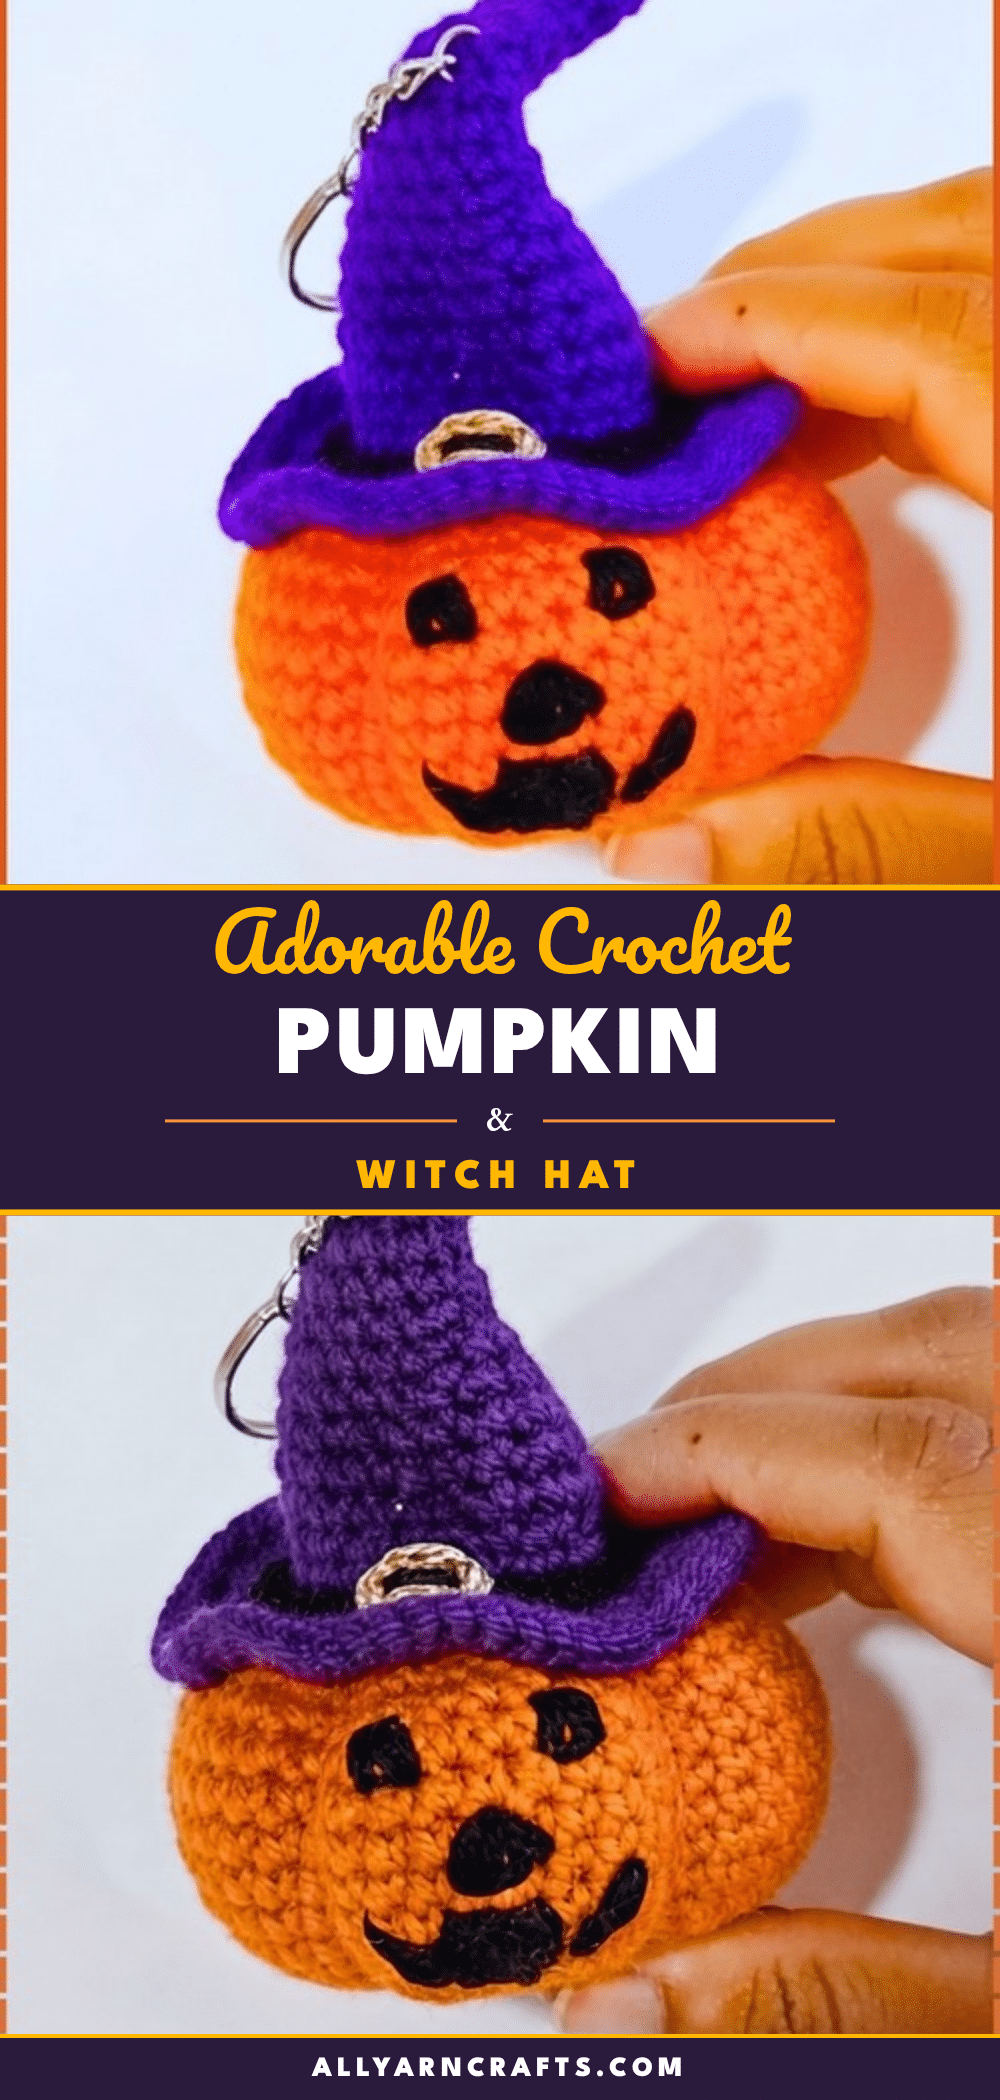
Yarn sits in a neat pile on the table, the orange acrylic catching the light. Your hook is already in hand, poised to catch the first loop. There is a specific kind of calm that comes with starting an amigurumi project—especially one as festive as this. As the rounds begin to stack, the flat disc slowly transforms into a cylinder, and you can already picture the witch hat perched jauntily on top. It is a small project, but the details, from the segment carving to the embroidered grin, make it feel like a complete character waiting to come to life.
Why This Project Works
This pumpkin amigurumi is a masterclass in using simple shaping to create complex texture. Unlike many amigurumi that rely on multiple sewn pieces, this design is a single continuous body. The magic happens in the finishing: the vertical indentations carved into the sphere mimic the natural ribs of a pumpkin, giving it a three-dimensional look that is far more realistic than a simple ball.
The design is incredibly versatile. While the source pattern suggests a witch hat for a classic Halloween look, the base pumpkin works beautifully as a standalone autumn decoration. The tight gauge ensures that even with firm stuffing, the fabric remains smooth—providing the perfect canvas for the black cotton face. It is a project that rewards patience during the segment carving phase, but the result is a sturdy, charming toy that holds its shape perfectly.
Project Overview
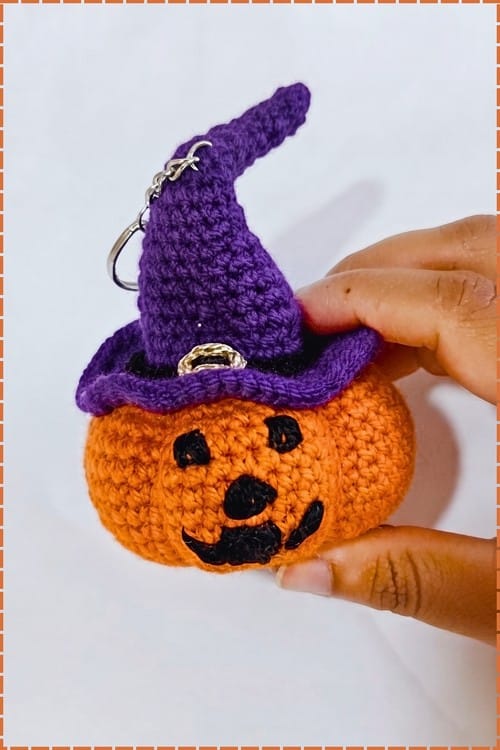
This pattern creates a small, firm pumpkin amigurumi. It is worked in continuous spirals from the top down, requiring only one main piece. The project is ideal for makers who enjoy texture work and precise finishing details. It serves as a great Halloween decoration, a school bag charm, or a small gift.
Materials
- Yarn: Orange acrylic yarn, worsted or DK weight (roughly 30–40 g for the body).
- Hook: 2.5 mm crochet hook. (Note: A 3.5 mm hook with worsted weight will result in a larger 9–10 cm pumpkin).
- Face: Black cotton yarn or embroidery floss (small amount).
- Stuffing: Polyester fiberfill, enough to stuff the body firmly.
- Tools: Darning needle, scissors, and a stitch marker.
- Optional: Additional yarn and materials for a crocheted witch hat; keyring finding for bag charms.
Gauge and Finished Size
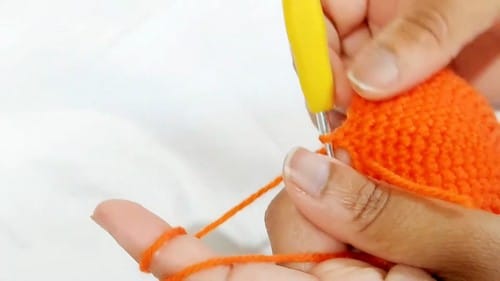
The original pattern uses a 2.5 mm hook to pull the fabric tight enough that no stuffing shows through. The finished size is approximately 6–7 cm across at the widest point. If you prefer a larger version, using a 3.5 mm hook with worsted weight will bring the size closer to 9–10 cm.
Abbreviations
- sc — single crochet
- inc — increase (2 sc in the same stitch)
- dec — invisible decrease (insert hook through the front loops of the next two stitches and work them together)
- mr — magic ring
Pattern Notes
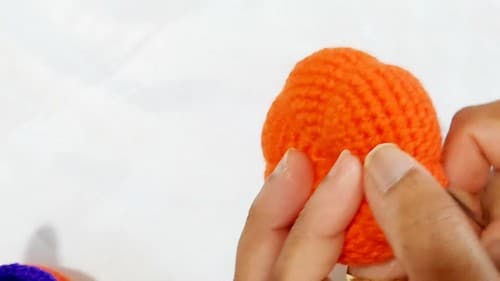
- One Piece Only: Everything—the shaping, stuffing, and segment carving—happens on this single body. The face is embroidered on after.
- Continuous Spirals: Do not join rounds with a slip stitch. Use a stitch marker at the start of each round and move it up as you go.
- Smooth Fabric: The invisible decrease is crucial here. Because the finished surface acts as a canvas for the embroidered face, keeping the fabric smooth during closing is important.
- Face Placement: Stitch the face before stuffing is completed, as flat fabric is far easier to embroider on. Mark the front of the piece with a pin or scrap of yarn before closing the bottom, as the front and back look identical once finished.
Pattern Instructions
Pumpkin Body
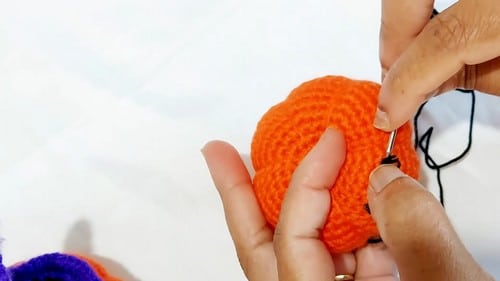
Work in continuous spirals. Use a stitch marker at the start of each round and move it up as you go.
Rnd 1: 6 sc in mr [6]
Rnd 2: inc in each st around [12]
Rnd 3: (1 sc, inc) around [18]
Rnd 4: (2 sc, inc) around [24]
Rnd 5: (3 sc, inc) around [30]
Rnd 6: (4 sc, inc) around [36]
Rnd 7: (5 sc, inc) around [42]
Rnd 8: (6 sc, inc) around [48] — Checkpoint: All increases are finished. The piece should be a wide, almost-flat disc. Hold it up and look at the edge—it should already be starting to turn upward.
Rnd 9–13: sc in each st around [48] — Checkpoint: After round 13, the sides should be running straight up and the opening at the bottom should match the width at the top. You are holding a short, even cylinder. If the sides are pulling inward instead of sitting straight, your tension is tight. This shows up most at round 10. Work round 11 onward with slightly looser tension to let the cylinder straighten out.
Rnd 14: (6 sc, dec) around [42]
Rnd 15: (5 sc, dec) around [36]
Rnd 16: (4 sc, dec) around [30]
Rnd 17: (3 sc, dec) around [24] — Checkpoint: The bottom is closing fast now and the piece should feel noticeably rounder. If the decreases are puckering visibly, check that you are using the invisible decrease method—insert through front loops only of the next two stitches. This is also where the face position matters. Mark the front of the piece now with a pin or scrap of yarn before you close it further.
Stuffing
Before continuing, add filling firmly through the remaining opening. Push it up into the crown in small handfuls rather than one piece, and work the shape into a round sphere as you go. The firmer the better at this stage—the segment carving in the next step will compress it further. Pack filling in at round 17 while the opening is still large enough to reach in with your hand. After the final round is closed, press the body gently between your palms to check for soft spots and add more through the closing hole if needed before you pull the tail closed fully.
Closing the Body
Rnd 18: (2 sc, dec) around [18]
Rnd 19: (1 sc, dec) around [12]
Final rnd: dec around until 6 sts remain [6]
Fasten off, leaving a long tail. Do not cut it short—you need at least 40–50 cm for the segment shaping.
Segment Shaping
This is the step that turns a plain sphere into a pumpkin. Thread the long tail onto your darning needle.
- Push the needle down through the top centre of the pumpkin and out through the bottom centre, pulling tightly to create a vertical indentation.
- Pass the needle back up through the bottom, emerging at the top, roughly 6 stitches along from where you came out—this defines one segment boundary.
- Repeat around the pumpkin, pulling each pass firmly so the indentations are visible and even.
- The increase lines from rounds 3 through 8 mark the natural division points—use them as a guide for where to pull.
Note: The yarn tail from the close is never long enough if you tried to make it work as both the closing tail and the carving thread. If yours is running short before you have finished all the segments, anchor it inside the body and thread on a new length of the same yarn. Nobody will see the join.
Secure the yarn inside the body when all segments are defined and trim the end.
Embroidering the Face
Thread black cotton yarn or floss onto the darning needle. Embroider triangular eyes between rounds 8 and 9 on the front of the body, with a jagged or gap-toothed mouth below them. Fill each shape fully with yarn so no orange shows through underneath—this usually takes two or three passes per shape. Anchor all ends deep inside the body before trimming.
Assembly
If you are adding the witch hat, sew it centred on the top of the pumpkin, working around the brim edge. There is no instruction in the pattern for how the hat is made, so that construction is separate. Pin the hat in position before sewing—a hat placed even slightly off-centre reads as crooked rather than quirky.
If you are attaching a keyring, fix it through the top before the hat goes on, so the hat conceals the hardware.
Tips
- Tension Check: If the sides are pulling inward instead of sitting straight, your tension is tight. This shows up most at round 10. Work round 11 onward with slightly looser tension to let the cylinder straighten out.
- Firm Stuffing: A loosely stuffed pumpkin won’t hold the segment indentations once you pull the carving thread—the sides compress unevenly and the segments end up at different depths.
- Segment Lines: If the segment lines aren’t showing up, usually one of two things is wrong: either the body isn’t stuffed firmly enough for the thread to pull against, or the pulls aren’t going all the way through to the bottom centre each time. The needle needs to travel through the full height of the pumpkin, not just dip in from the top.
- Face Visibility: Fill each shape fully with yarn so no orange shows through underneath.
Toy Safety
The embroidered face is what makes this safe for small children—no plastic parts, no loose pieces. Anchor all embroidery ends deep inside the body so they can’t be pulled out through the fabric. If this is going to a child under three, double-stitch any seams, including the hat attachment if present, and check that the closing is fully secure before handing it over. The keyring hardware is not appropriate for toys going to young children at all.
FAQs
Can I use safety eyes instead of embroidering the face?
Yes, but they need to go in before round 17, while you can still reach inside and seat the washer. Between rounds 8 and 9 is a good placement—that is where the embroidered version sits. For any toy going to a child under three, embroider instead.
The segment lines aren’t showing up. What went wrong?
Usually one of two things: either the body isn’t stuffed firmly enough for the thread to pull against, or the pulls aren’t going all the way through to the bottom centre each time. The needle needs to travel through the full height of the pumpkin, not just dip in from the top. Try pulling more firmly on each pass.
Does the witch hat pattern come with this one?
The hat isn’t in this pattern—only the attachment step is mentioned. It is a separate make. The connection instruction is just: sew it to the top of the body along the brim edge once the pumpkin is finished.
Can I use this pattern for other projects?
Absolutely. The same crochet pumpkin free pattern works without the face for plain autumn décor. Orange, purple, and black scraps cover the whole charm, making it a great way to use up small amounts of yarn.
What if my yarn tail runs out during segment shaping?
If yours is running short before you have finished all the segments, anchor it inside the body and thread on a new length of the same yarn. Nobody will see the join.
Pin This Crochet Pattern!