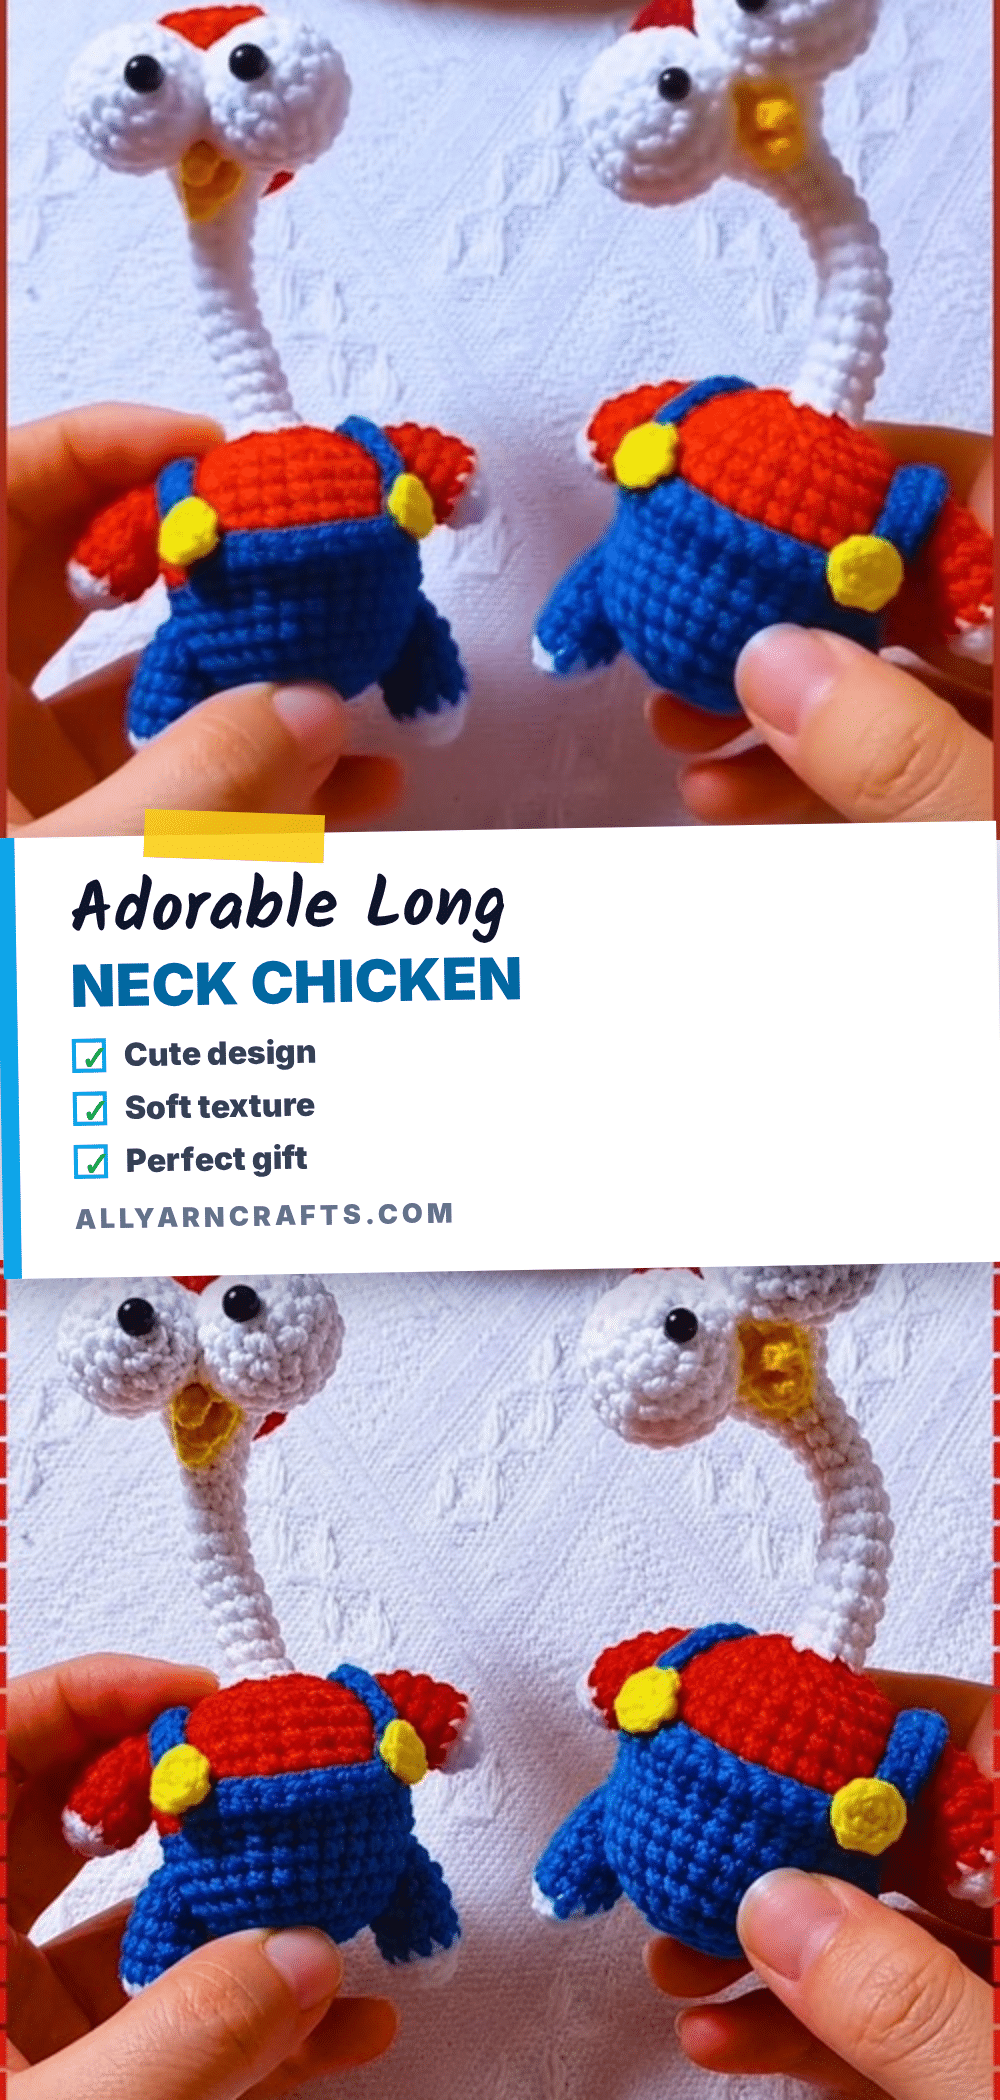
It is impossible to resist the charm of this long neck chicken keychain. The moment you finish the assembly, you will be struck by how perfectly the proportions balance: a squat, sturdy body giving way to an impossibly tall, bendable neck and a sweet, bulging-eyed face. This project is not just a delightful conversation starter for fellow crochet enthusiasts; it is a practical, sturdy accessory that doubles as a whimsical gift for anyone who loves farm animals or quirky handmade accessories. The unique construction allows the neck to hold a pose, making it a display-worthy piece that brings a smile to any bag, backpack, or keyring.
Why the Finished Piece Stands Out
What truly sets this amigurumi apart is the comedic contrast in its silhouette. Unlike standard round chickens, the exaggerated neck length creates a playful character that feels alive and expressive. The use of fine 4-strand thread with a 1.8mm hook results in a dense, smooth fabric that holds its shape beautifully without needing excessive stuffing. This density is crucial for the keychain function, ensuring the piece remains tidy and durable against daily wear. The color blocking—white body, red lower accent, and blue legs—gives it a classic, cheerful aesthetic that pairs well with any outfit. It is a project that rewards patience with a high-impact, adorable result.
Project Overview
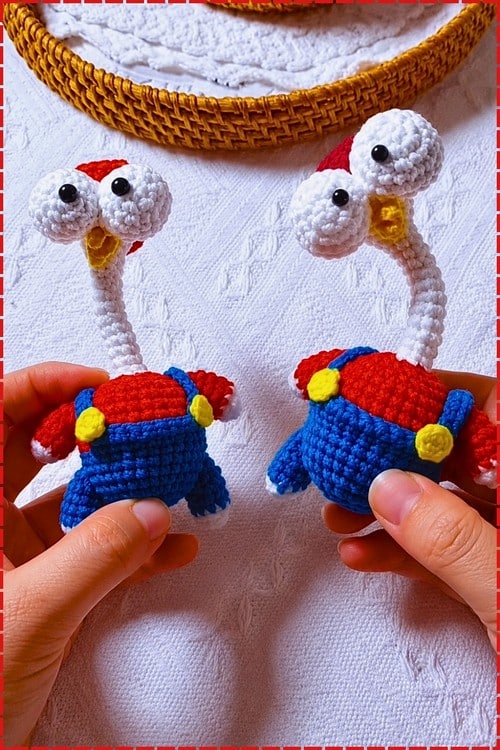
This pattern guides you through creating a long-necked chicken amigurumi designed as a keychain. The project features a continuous body and neck construction, a separate head with unique eye bases, and several small components like a beak, legs, arms, and a hat. The defining feature is the internal wire in the neck, which allows for posing. The pattern includes specific instructions for a “partial” overall panel, giving the chicken a unique dungaree look.
Materials
- Yarn: 4-strand thread in white (body and neck), red (lower body accent, arms, hat), yellow (beak), and blue (legs).
- Crochet Hook: 1.8mm hook.
- Eyes: Two 6.0mm plastic safety eyes.
- Wire: 8cm wire with 0.5mm diameter (for the bendable neck).
- Tools: Tapestry needle, scissors.
Gauge and Finished Size
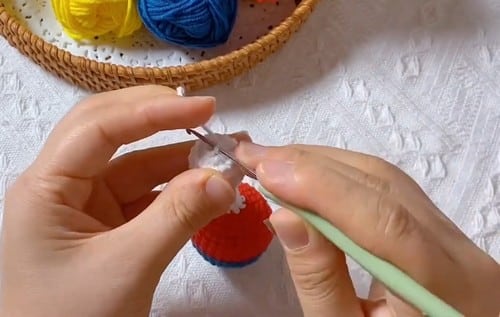
There is no standard gauge swatch for this project. The 1.8mm hook paired with 4-strand thread produces a very dense fabric. The finished chicken is estimated to be approximately 7 to 10cm tall including the neck. This size is an estimate based on the construction description rather than a strict pattern measurement. Allow two to three hours for a first attempt at this scale.
Abbreviations
The pattern utilizes standard crochet abbreviations:
- sc: Single crochet
- inc: Increase (2 sc in the same stitch)
- sl st: Slip stitch
- hdc: Half double crochet
- BLO: Back loop only
- ch: Chain
Pattern Notes
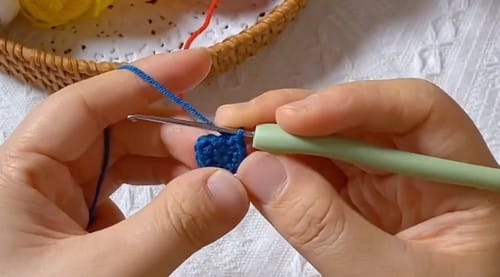
- Yarn Variability: “4-strand thread” is not a standardized weight and can vary by brand. The 1.8mm hook is specific to this pattern to achieve the keychain scale.
- Reading Patterns: If you are new to reading amigurumi patterns, follow the written instructions carefully. The neck tube requires tight tension to stay firm.
- Eye Construction: This pattern uses a unique method where safety eyes are attached to crocheted white discs (eye bases) before those discs are sewn onto the head.
- Overalls: The overalls are worked as a partial panel (10 sc) rather than a full circle, creating a front bib effect.
Pattern Instructions
Body and Neck (White Yarn, Then Red, Then White)
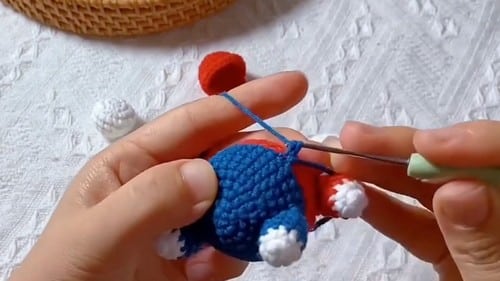
Foundation: Start a magic ring and work 6 sc into the ring. Sl st to join. [6]
Increase round: Inc in each stitch around. [12]
Body shaping round: Work [sc 1, inc] — repeat around. [18]
Checkpoint: You should have a flat disc about 2 to 3cm across at thread weight. If the disc is cupping into a bowl, your tension is too tight for the hook size.
Colour change to red (BLO): Switch to red yarn and work through back loops only for one round. This creates the lower body colour band and leaves a visible ridge at the colour join.
Checkpoint: The unused front loops should sit as a visible ledge around the body at this point, giving the colour change a clean defined edge rather than a gradual bleed.
Decrease taper (red): Work gradual decreases as you crochet upward to narrow the body toward the waist. The specific decrease sequence is not given in the pattern — work by eye, distributing decreases evenly across rounds until the body tapers to a narrower tube.
Checkpoint: The body should be clearly narrowing as you work upward through the red section, not remaining cylindrical. If it is staying the same width, no decreases are landing.
Switch back to white: Return to white yarn and continue crocheting a long neck tube without increases or decreases, building height until the neck reaches the desired length. The neck is not a separate piece — it continues from the body in the same working yarn.
Wire insert: Before fastening off or closing the neck, insert the 8cm wire into the neck tube so it runs from inside the body up to just below the head attachment point. The wire should be fully enclosed by the crocheted fabric. Bend the wire ends slightly inside the body to prevent them from poking through.
Checkpoint: The neck should be firm enough to hold a bent position when the wire is in place, and the crocheted fabric should cover the wire completely with no metal visible.
Head (White Yarn)
Foundation: Start a magic ring and work 6 sc into the ring. Sl st to join. [6]
Increase round: Inc in each stitch around. [12]
Checkpoint: You should have a small flat disc. The head is a separate piece from the neck and gets attached after both the head and neck are complete.
Eye Bases (Make 2, White)
Start a magic ring and work 6 sc. Inc in each stitch around for 12 stitches. Fasten off.
These are the padded bases onto which the plastic eyes are attached before assembly.
Eye timing note: The pattern attaches safety eyes to the crocheted eye base discs before those discs are sewn onto the head. The eye washer goes onto the back of the eye base before the base is attached to the head face — not through the head itself. This is an atypical but valid construction. Secure the washer firmly before sewing the eye base to the head. For any toy going to a child under three, skip plastic eyes entirely and embroider the eye bases in black thread before attaching them to the head.
Beak (Yellow Yarn)
Piece 1 — foundation: Ch 4. Return: Work sl st, sc, hdc back along the chain. Fasten off.
Piece 2 — foundation: Ch 5. Return: Work sl st, sc, hdc, hdc back along the chain. Fasten off.
Checkpoint: The two beak pieces should be slightly different lengths, with piece 2 marginally wider at the tip from the additional hdc. Together they form the upper and lower beak.
Legs (Make 2, Blue Yarn)
Work each leg using blue yarn. The pattern gives no stitch counts or round numbers for the legs. Work small tube pieces appropriate to the scale of the body — a magic ring start with 4 to 5 sc, then even rounds until the legs reach a length that reads proportionally against the body.
Arms (Make 2, Red Yarn)
Work each arm using red yarn. The pattern gives no stitch counts or round numbers for the arms. Work small tube or flat pieces in red to a length proportional to the body.
Hat (Red Yarn)
Foundation: Start a magic ring and work an opening round in red yarn to form the hat crown.
Shaping: Work increases to build the hat brim outward, working in front loops only for the brim round. Shape with decreases to give the hat structure where needed. The specific round counts and stitch numbers are not given in the pattern. Work until the hat fits the head of the finished chicken. Fasten off and weave in ends.
Overalls (Worked Onto the Body)
Attachment: Start the overalls at round 10 of the body.
Round 1 of overalls: Work 10 sc around the body at that round.
Round 2 of overalls: Work 1 sc in each stitch around. Fasten off.
Checkpoint: The overalls should sit as a two-round band around the lower body, just below the waist narrowing. The 10 sc count is less than the full body circumference, which means the overalls do not wrap all the way around — they form a panel or partial band rather than a complete round.
Assembly
- Face: Sew the eye base discs onto the head, positioning them symmetrically on the front face. The beak attaches between and just below the eye bases, with piece 1 forming the upper beak and piece 2 the lower — or arranged by size depending on how the finished look reads. Embroider any additional details such as nostrils or expression at this stage.
- Head to Neck: Attach the head to the top of the neck after face work is complete. The neck wire should already be in place inside the crocheted tube. Sew the head base to the neck top securely with multiple passes of thread through both pieces so the wire does not cause the head to shift under handling.
- Legs: Sew the legs to round 9 of the body as the pattern states, pinning both before sewing either to check symmetry from the front.
- Arms: Attach the arms at shoulder level on the sides.
- Overalls: Apply the overalls at round 10.
- Hat: Place the hat on the head and secure it with a stitch or two through the hat brim into the head so it cannot fall off.
- Finishing: Weave in all remaining ends.
Tips
- Tension Control: Work the long neck tightly around the wire so it holds its curve instead of flopping. The neck tube is the piece that needs the most tension control to stay firm and upright once assembled.
- Stuffing: Stuffing is not mentioned explicitly in the pattern. At this scale, many fine-thread amigurumi are not stuffed because the tight fabric holds its shape without fill. The neck in particular should not be stuffed since the wire already fills and supports it. If you want the body and head to feel slightly firmer, use a very small amount of fiberfill inserted with tweezers. The head needs just enough fill to prevent it from sitting flat against the neck join.
- Safety: At 1.8mm hook tension, the eye base fabric is extremely dense, but still test each eye with a firm pull before the base is sewn to the head, since there is no access to the back of the eye once the base disc is sewn in place. For children under three, embroider the eyes in black thread and skip all plastic components. The 8cm internal wire is the most significant safety consideration on this project — the wire ends must be fully enclosed by the crocheted fabric with no exposed metal. Check both ends of the wire are bent inward before the neck is closed. This toy should not go to young children regardless of eye type, because an accessible wire inside a small toy presents a puncture risk if the seams ever open.
- Scaling: The 1.8mm hook and 4-strand thread pairing is specific and intentional — it produces a very small, dense fabric appropriate for keychain scale. Going up to a 2.5mm hook with DK yarn will produce a noticeably larger chicken, roughly double the size, which may be more comfortable to work but changes the keychain proportions significantly. The wire neck is the one element that does not scale with yarn — you would need a longer wire for a bigger neck, and the wire diameter may need to increase for a larger piece to hold poses without flopping. At DK scale on a 2.5mm hook, the finished chicken would be approximately 14 to 18cm tall, which is more plush toy than keychain. All estimates are approximate.
- Wire Issues: If the neck is floppy even with the wire inside, the wire gauge may be too thin for the neck tube diameter, or the wire was inserted without being fully straightened first. A kinked wire will not hold poses reliably. Try using a slightly heavier gauge — 0.8mm or 1.0mm — cut to the same 8cm length. If the tube is already worked, you can thread a doubled length of the 0.5mm wire through the same channel to add collective stiffness without re-working the neck.
- Eye Bases: If your two eye base discs are different sizes, it is very visible once both discs are on the face, since the eyes are the most prominent feature at this scale. Work both eye bases in the same session without stopping, which keeps tension consistent, and check that both reach 12 stitches after the increase round before fastening off. If one is visibly smaller, block it lightly by dampening and pinning it to match the other, then leave to dry completely before attaching.
- Overalls Modification: The pattern states 10 sc at round 10, which does not wrap the full circumference at 18 stitches. It is written as given here and may be a decorative front panel or bib design. If you want a full wraparound, work sc all the way around both rounds rather than stopping at 10. That is a modification beyond the pattern.
FAQs
Why is my chicken’s neck flopping instead of holding a pose?
This usually happens if the wire gauge is too thin for the neck tube diameter or if the wire was kinked during insertion. Ensure the wire is straight before inserting it. If the neck is already worked, you can thread a doubled length of slightly heavier wire (0.8mm or 1.0mm) through the existing channel to add stiffness.
Can I use a larger hook and yarn to make this bigger?
Yes, but it will change the project type. Using a 2.5mm hook with DK yarn will result in a chicken approximately 14 to 18cm tall. This size is more suitable for a plush toy than a keychain, and you will need to adjust the wire length and thickness accordingly.
Why do the overalls only cover half the body?
The pattern specifies working 10 sc at round 10, which is less than the full circumference of 18 stitches. This creates a decorative front panel or bib effect rather than a full wraparound. If you prefer a full pair of dungarees, you can work single crochet all the way around both rounds.
Is it safe to give this to a young child?
No. This project contains an internal wire and plastic safety eyes, which present puncture and choking risks. For children under three, it is recommended to embroider the eyes in black thread and omit the plastic components, but the internal wire remains a safety concern for small toys.
How do I attach the eyes correctly?
This pattern uses a unique method where you attach the safety eye washers to the back of the crocheted white eye base discs *before* sewing the discs onto the head. This ensures the eyes are securely anchored to the fabric base rather than just the head stuffing.
Do I need to stuff the body?
Stuffing is not explicitly required. At this small scale with tight tension, the fabric often holds its shape without fill. The neck should not be stuffed as the wire provides support. If you desire a firmer feel, use a tiny amount of fiberfill in the body and head, inserted carefully with tweezers.
Pin This Crochet Pattern!