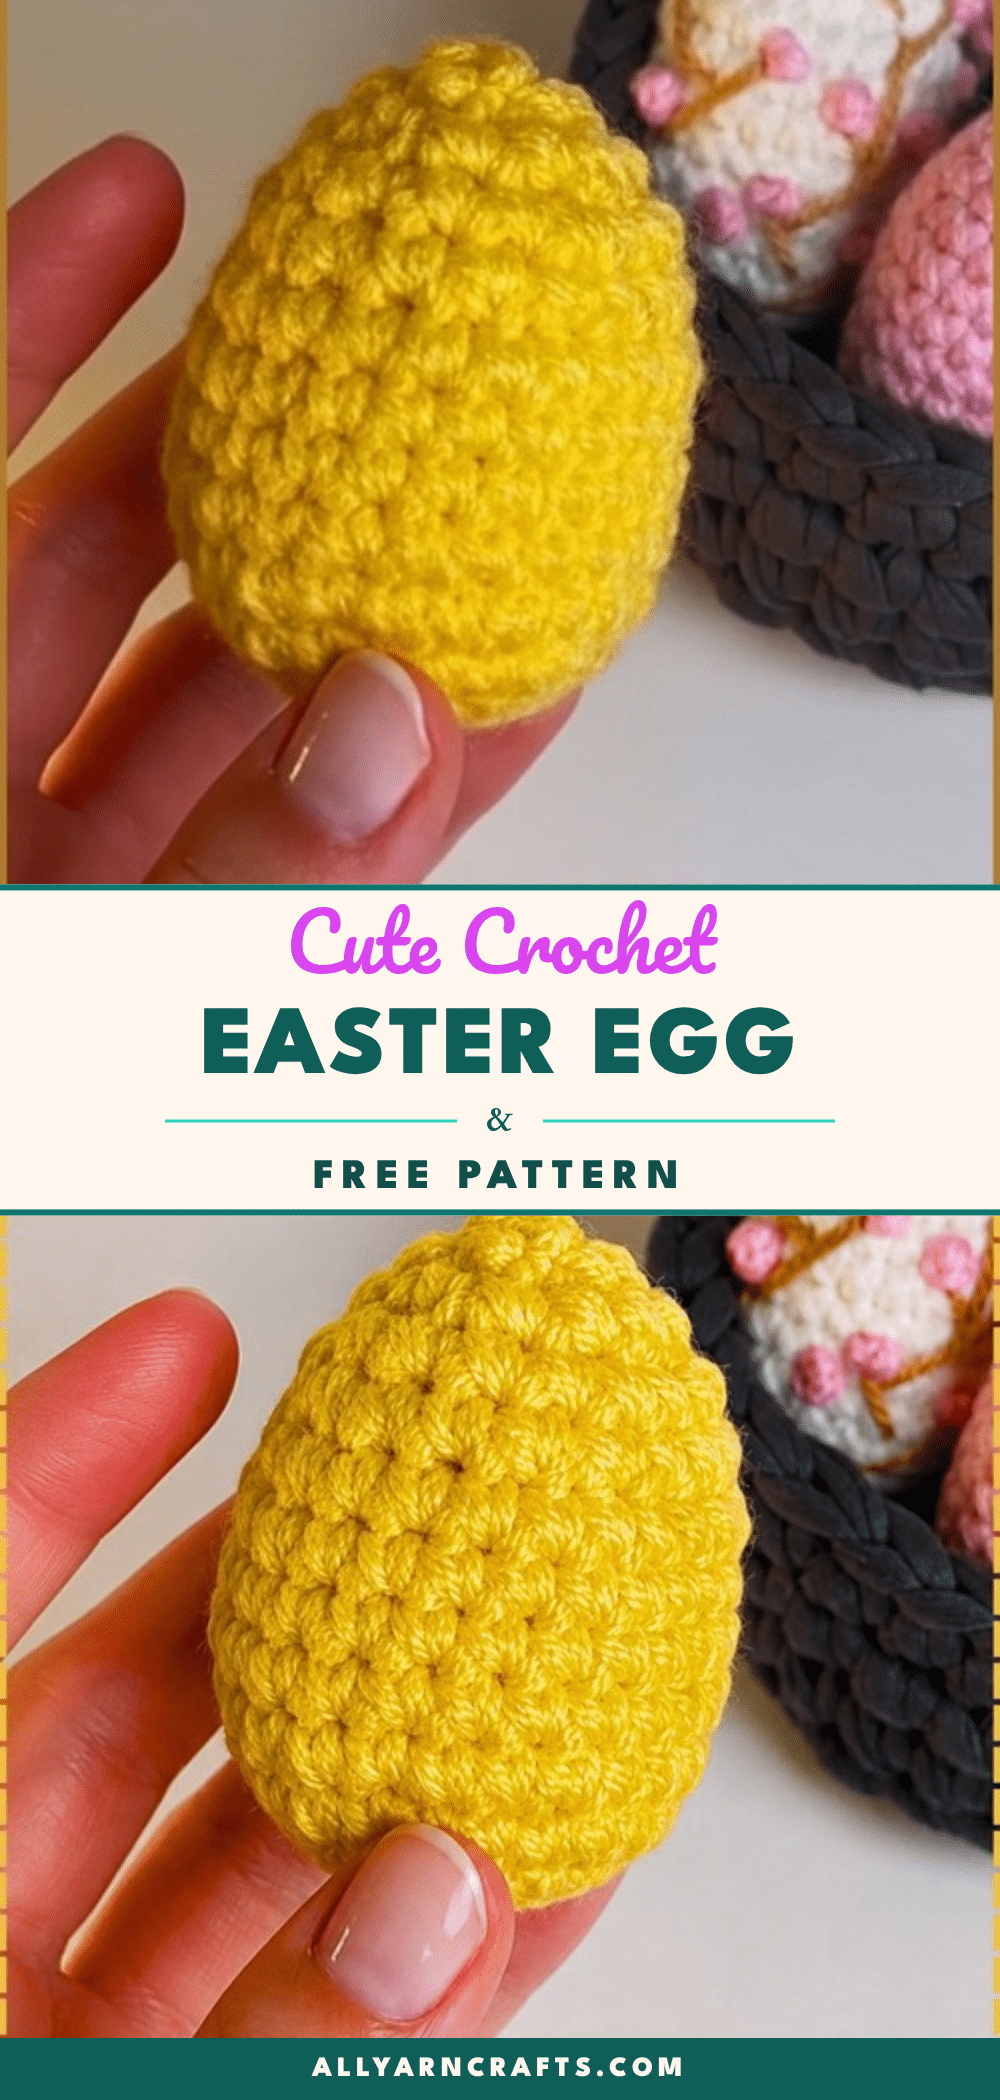
There is a specific satisfaction in crocheting amigurumi that comes from watching a flat circle transform into a three-dimensional object. It is all about the rhythm of the rounds, the tension of the yarn, and the satisfying snap of the decrease stitches closing up the top. This Easter egg pattern leans into that tactile experience, using a double-held yarn technique to create a dense, sturdy fabric that holds its shape perfectly. The texture of the single crochet stitches builds up quickly, creating a smooth surface that is ideal for spring colors or subtle surface embroidery.
Texture and Stitch Notes
One of the defining features of this project is the fabric density. By holding two strands of lightweight yarn together, you create a worsted-weight fabric that is surprisingly sturdy. This tight stitch definition means the egg won’t sag or lose its form over time, making it perfect for handling by children or for long-term decoration. The texture is smooth and uniform, allowing the natural color of the yarn to shine. If you choose a variegated yarn, the stitches will carry the color changes beautifully, creating a speckled effect without any extra effort. The front-loop-only decreases add a subtle ridge to the inside of the egg, giving the piece a professional finish that is hidden but felt.
Project Overview
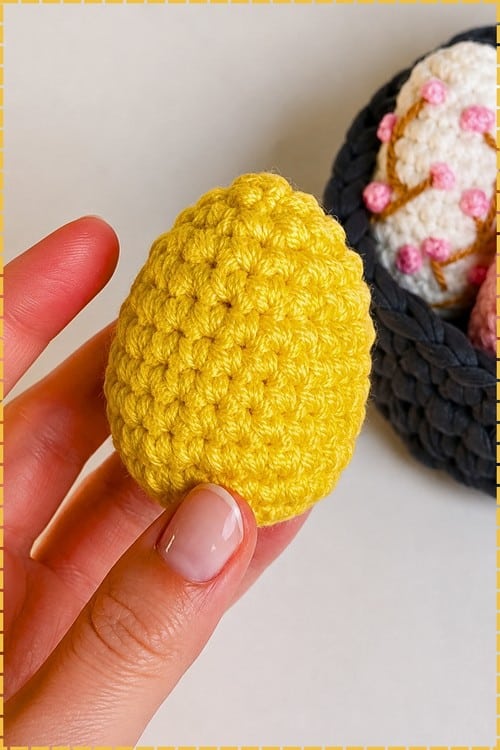
This pattern creates a single-piece amigurumi Easter egg. It is worked in continuous rounds from the base to the top, requiring no sewing or assembly of separate parts. The design relies on a chain-circle start rather than a magic ring, which provides a stable, flat base. The egg is stuffed firmly to maintain its oval shape, with a narrow top that closes cleanly with a yarn needle.
Materials
- Yarn: 100% acrylic weight 2 yarn. You will hold two strands together throughout the project to create a worsted-weight fabric.
- Crochet Hook: 3.5mm
- Stitch Marker: To mark the beginning of rounds
- Scissors
- Yarn Needle
- Stuffing: Fiberfill or scrap yarn scraps (both work equally well)
Note on double-held yarn: You can pull both strands from the same center-pull ball by finding the outer end and the inner end, or you can use two separate balls. Either way, keep the tension consistent between the two strands as you work. If one slips loose, you will get an uneven stitch height that shows on the straight rounds.
Gauge and Finished Size
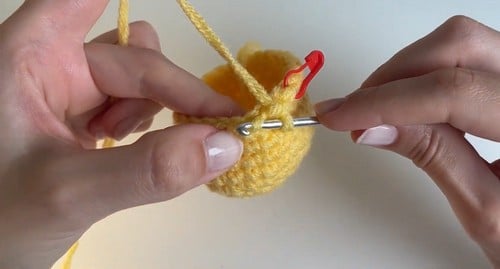
The finished size scales directly with the yarn weight used. The pattern is designed for weight 2 yarn held double with a 3.5mm hook. If you substitute yarn weights, the stitch counts remain the same, but the physical dimensions will shift. For example, DK held double with a 4mm hook produces a noticeably larger egg, while sport weight held double stays close to the original size.
Abbreviations
(Standard US crochet terms assumed)
- sc: Single crochet
- inc: Increase (2 sc in the same stitch)
- dec: Decrease (work through front loops only)
- sl st: Slip stitch
Pattern Notes
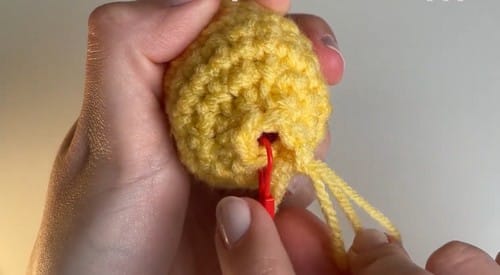
- Continuous Rounds: Work in continuous rounds throughout. Do not join at the end of rounds. Move your stitch marker to the first stitch of each new round as you go.
- Special Decrease: The decrease used throughout is worked through the front loops only.
- Chain Circle Start: This pattern begins differently from most amigurumi. Instead of a magic ring, you chain 4 and slip stitch into the first chain to form a small circle, then chain 1 before working into the center of that circle. The result is the same as a magic ring in terms of what you build from, but the center hole is marginally less adjustable. Pull the starting tail firmly once round 1 is complete to close the center as much as possible.
- Safety Eyes: This pattern has no safety eyes and no face. It is a plain egg. No eye section applies. If you want to turn it into a chick or creature by adding eyes later, use safety eyes before you close and stuff the piece—attach them from the outside and snap washers in through the open top before round 13 narrows the gap completely.
Pattern Instructions
Starting the Egg
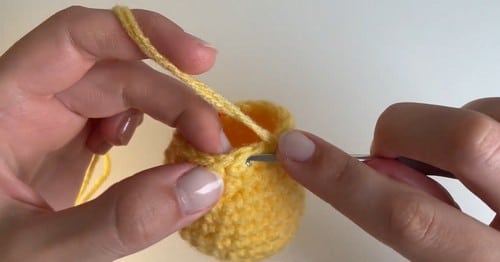
- Make a slip knot.
- Chain 4.
- Slip stitch into the first chain to form a circle.
- Chain 1.
Increasing Rounds
Round 1: Work 6 single crochet into the center of the circle for 6 stitches.
Round 2: Work 2 single crochet in each stitch around for 12 stitches.
Round 3: Work 1 single crochet then increase, repeat around for 18 stitches.
Round 4: Work 2 single crochet then increase, repeat around for 24 stitches.
Shape checkpoint: After round 4, the piece should lie as a flat disc, roughly the size of a 50p coin or a large shirt button. No cupping yet. If the edges are already turning upward, your tension is tight—that is fine, it will still work.
Straight Rounds
Rounds 5 to 9: Single crochet in each stitch around for 24 stitches per round.
Shape checkpoint: After round 9, the piece should be a clear open cylinder, about an inch tall, sitting on the flat base from the increase rounds. The sides should rise straight rather than flaring outward. This is also the widest the egg gets—the decreases from round 10 narrow everything back down.
Decreasing Rounds
Round 10: Work 2 single crochet then decrease, repeat around for 18 stitches.
Round 11: Single crochet in each stitch around for 18 stitches.
Round 12: Work 1 single crochet then decrease, repeat around for 12 stitches.
Shape checkpoint: After round 12, the egg shape should be unmistakable—wider in the middle and narrowing toward the top, which is rounder than the base. Stuff now before round 13 closes the opening.
Finishing
Round 13: Work decrease in each pair of stitches around for 6 stitches.
Cut the yarn and pull through the last loop. Thread the tail onto a yarn needle and weave it through the front loops of the remaining 6 stitches. Pull tight to close the hole and weave the tail inside to secure.
Stuffing Guide
Firm is the right call here. A loosely stuffed egg goes flat on one side when it sits in a basket, and the straight rounds collapse inward if there isn’t enough fill pushing against them. Use fiberfill in small pinches rather than one lump—pushing each piece toward the widest part of the egg first, then filling the top. Scrap yarn is a perfectly legitimate substitute, and it actually produces a slightly heavier egg that sits more stably. Old yarn scraps cut to roughly two-inch lengths pack well without creating lumps the way a balled-up length can. Do not overstuff the decrease rounds at the top. Once the stuffing is firm across the middle and base, stop adding more. Overfilling at round 12 and 13 forces the fabric to stretch and the stitches separate, which lets the fill show through.
Assembly
This is a single piece with no parts to attach, so there is no assembly in the traditional sense. If you are making a set to sit in a basket, they look best resting on their base, which is the flatter end from the chain-circle start. The rounder end is the top. Because the base and the top close differently—the base from a chain circle, the top from weaving through front loops—the two ends have a slightly different texture, which you can use to orient the egg consistently across a whole batch.
Tips
- Stuffing Firmly: Stuff firmly as you close the top, since a soft egg dents wherever it gets picked up.
- Even Stitches: Increases and decreases have to land evenly or the egg leans, which is the only thing standing between a beginner and a finished one.
- Tension Check: The base is puckering rather than lying flat. This is almost always a tension issue in rounds 1 through 4. Go back and check your starting chain—if the chain circle is too small, the first round of 6 stitches gets compressed. A slightly looser tension on rounds 1 and 2 usually resolves it without restarting.
- Flaring Sides: The sides are flaring outward instead of sitting straight. The increase rounds are bleeding into the straight rounds. Make sure you complete exactly 4 increase rounds before starting round 5, and count to 24 at the end of round 4 before continuing.
- Closing the Hole: The hole at the top won’t close cleanly. This happens when round 13 leaves more than 6 stitches. Count the stitches at the end of round 12—if you have more than 12, one decrease was missed somewhere in round 10 or 12. You can add an extra decrease pass before weaving the tail through if the gap is large.
- Preventing Tangling: The double yarn is tangling constantly. Separate the two balls or ball ends and place them in separate small bowls or bags before starting. Letting them move independently as you work removes almost all tangling.
FAQs
Can I use a different yarn weight?
Yes, but the size will change. If you use a single strand of worsted weight instead of holding two strands of weight 2 together, go down to a 3mm or 3.25mm hook to maintain the same stitch density. Using a single strand at 3.5mm will give you a softer fabric with more visible gaps.
How do I add a face to the egg?
This pattern is designed as a plain egg. If you wish to add safety eyes, you must do so before stuffing and closing the top. Attach them from the outside and snap the washers in through the open top before round 13 narrows the gap completely.
Why is my base puckering?
A puckering base is usually caused by tension issues in the first four rounds. If your starting chain circle is too small, the first round of 6 stitches gets compressed. Try using a slightly looser tension on rounds 1 and 2 to resolve this.
Can I use scrap yarn for stuffing?
Absolutely. Scrap yarn scraps work equally well to fiberfill. Cutting old yarn into roughly two-inch lengths helps prevent lumps and creates a heavier egg that sits more stably in a basket.
How do I keep the two strands of yarn from tangling?
If you are pulling both strands from the same center-pull ball, ensure you find the outer and inner ends correctly. Alternatively, place the two strands in separate small bowls or bags to let them move independently as you crochet.
For more inspiration on creating handmade gifts, you might also enjoy these easy Father’s Day crochet gifts or explore our collection of crochet patterns for home decor.
Pin This Crochet Pattern!