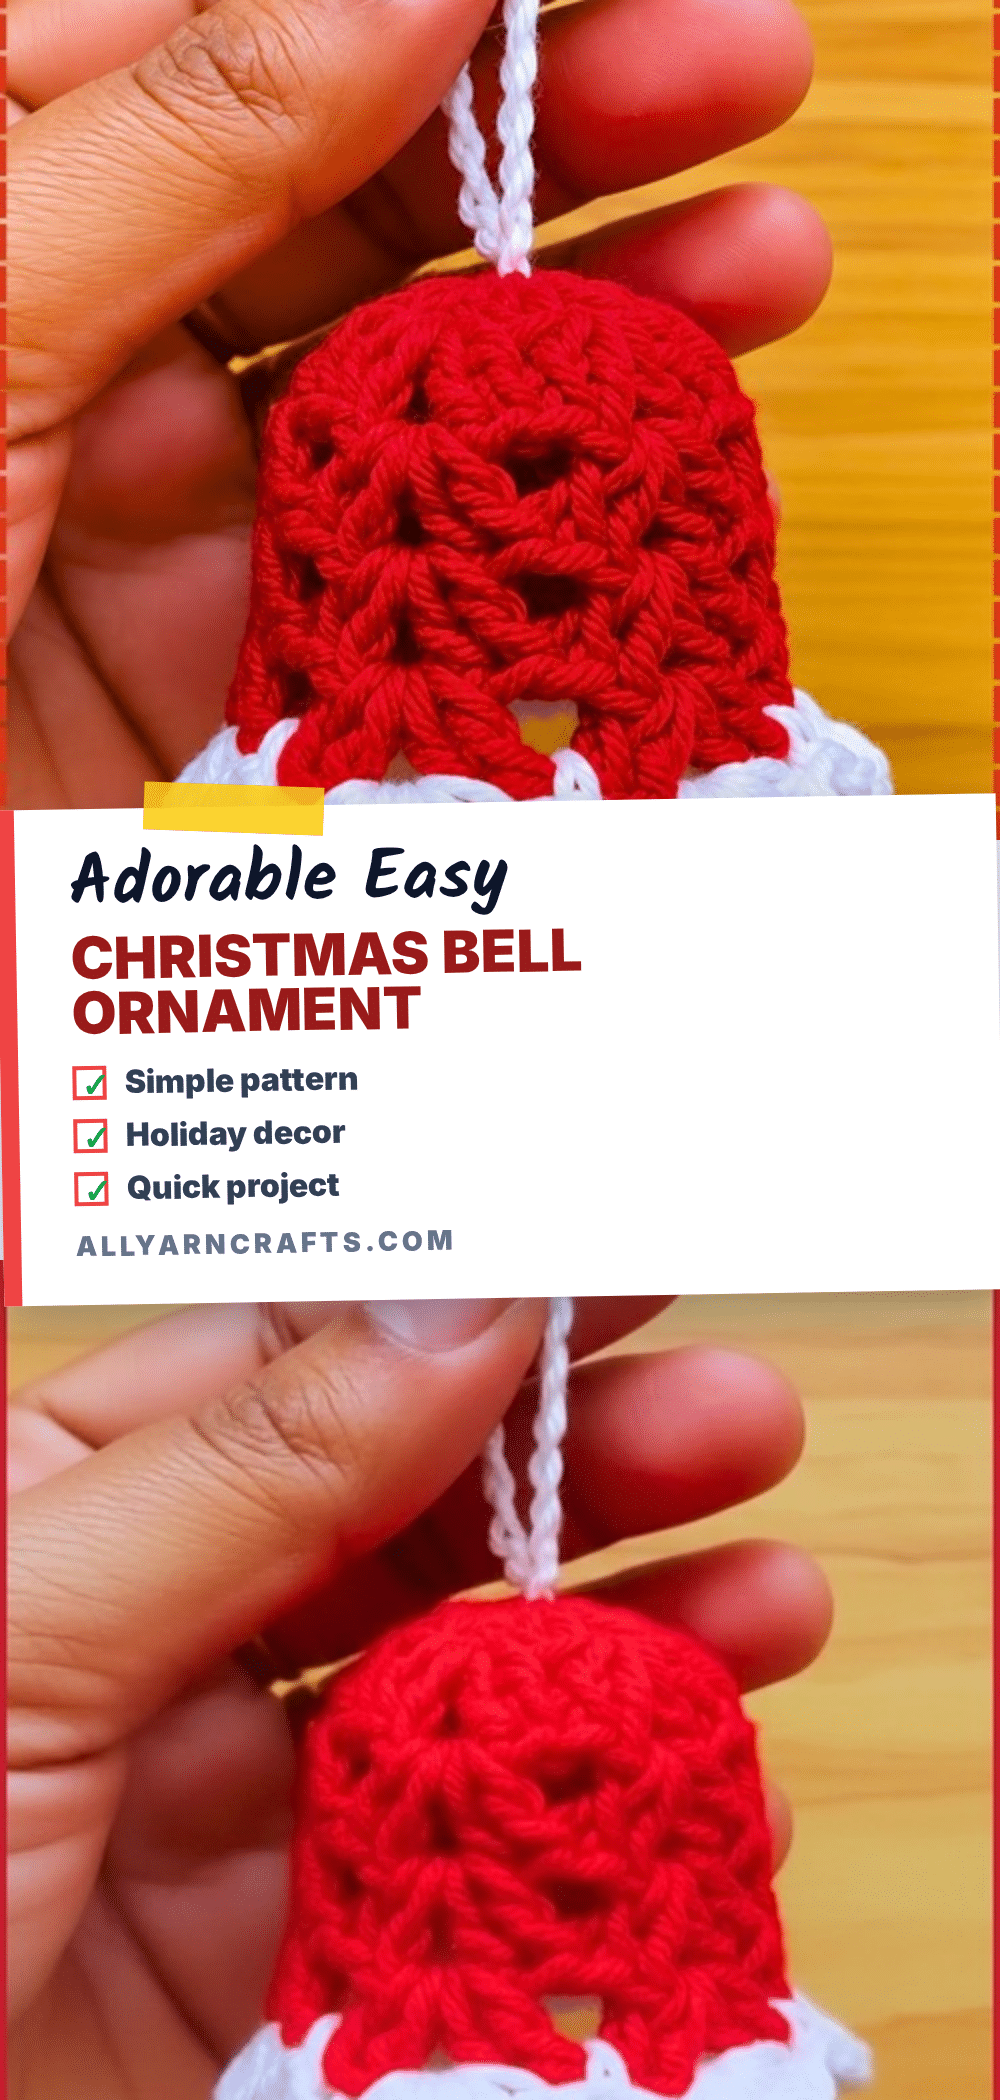
There is something undeniably festive about the silhouette of a bell, and this crochet Christmas bell ornament captures that spirit perfectly. Designed specifically for beginners, this project offers a satisfying way to use up small scraps of yarn while creating a charming holiday decoration. The pattern relies on a top-down construction method, meaning you start at the crown and work your way down to the flared rim, eliminating the need for complex seaming or assembly of multiple pieces. It is an ideal project for a cozy evening before the holidays or a quick gift for a friend who loves handmade decor.
Seasonal Styling Ideas
While the classic red and white combination is timeless, this ornament is incredibly versatile. You can experiment with metallic gold or silver yarns for a more modern, elegant look that pairs well with minimalist trees. For a rustic vibe, try a chunky cream or oatmeal cotton yarn to give the bell a textured, cozy feel. Because the bell is lightweight and hangs from a simple chain loop, it is perfect for clustering several together on a single branch for a bold statement, or scattering them individually among greenery for a subtle touch of sparkle. The optional bow adds a nice finishing touch, but skipping it creates a cleaner, more contemporary aesthetic.
Project Overview
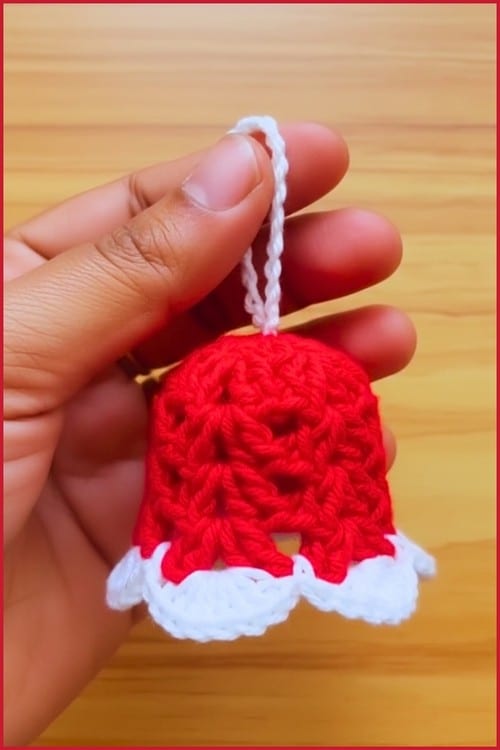
This amigurumi project is worked in continuous spiral rounds from the top of the crown down to the rim. The shape is defined by strategic increases and a specific back-loop-only round that creates a crisp ridge, allowing the rim to flare outward naturally. The final result is a hollow-sounding bell shape that requires minimal stuffing to maintain its structural integrity.
Quick Facts
- Difficulty: Beginner (once comfortable working in the round)
- Finished Size: Roughly 6 cm tall and 6 cm across the rim (approximate, dependent on yarn and tension)
- Time: About one to two hours
- Pieces: One continuous body, one hanging loop, optional bow
Materials and Tools
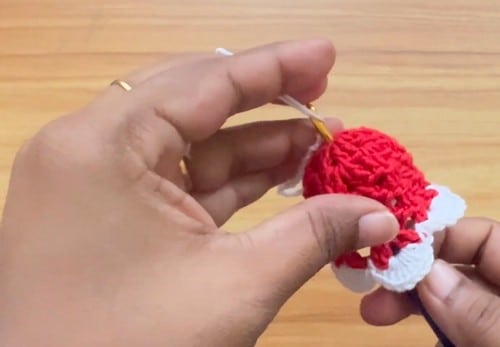
- Yarn: Cotton yarn in a light worsted or DK weight. Cream, white, red, or gold all work well. Cotton is preferred over acrylic because it holds the flare and takes stiffener better.
- Crochet Hook: 2.5 mm or 3 mm hook (sized down from your yarn label recommendation to ensure tight fabric).
- Notions: Stitch marker, yarn needle, scissors.
- Optional: A small amount of contrasting yarn or thin ribbon for the bow; fabric stiffener or a mix of white glue and water.
Gauge and Finished Size
The finished size is approximately 6 cm tall and 6 cm across the rim. Gauge is not strictly measured by a swatch but by the tension of your fabric. A tight fabric is essential to keep the bell from collapsing when stuffed. If your stitches are loose, the rim will droop and gaps will show once the piece is filled.
Abbreviations
- ch: chain
- sc: single crochet
- dc: double crochet
- sl st: slip stitch
- inc: two stitches worked into the same stitch
- BLO: back loops only
- st, sts: stitch, stitches
Pattern Notes
This pattern is worked in continuous spiral rounds unless stated otherwise. Do not join or turn at the end of rounds. Move your stitch marker up at the start of every round. Stitch counts at the end of each round are given in brackets. This pattern uses no safety eyes, so there is no eye-insertion round to plan for.
Pattern Instructions
The Crown
Start with a magic ring.
- Round 1: Work 6 sc into the magic ring (6). Pull the ring closed firmly before continuing.
- Round 2: Inc in each st around (12).
- Round 3: Sc 1, inc, repeat around (18). At this point, you should have a flat disc about the size of a large coin. If it is cupping already, your tension is too tight for the increases.
- Round 4: Sc in each st around (18).
- Round 5: Sc in each st around (18).
- Round 6: Sc in each st around (18). At this point, the piece should sit like a shallow dome, not a flat circle and not a deep cup. This is the top of the bell and it should look like a small cap.
The Body
- Round 7: Sc 2, inc, repeat around (24).
- Round 8: Sc in each st around (24).
- Round 9: Sc 3, inc, repeat around (30).
- Round 10: Sc in each st around (30).
- Round 11: Sc 4, inc, repeat around (36).
- Round 12: Sc in each st around (36). At this point, the sides should be sloping outward at a gentle, steady angle, and the piece should stand up on its own opening if you set it down.
- Round 13: Sc 5, inc, repeat around (42).
- Round 14: Sc in BLO in each st around (42). Working in back loops only creates a visible ridge. Run your thumbnail along it. It should feel like a crisp line all the way around, which is what makes the rim flare rather than just widen.
The Flared Rim
- Round 15: Sc in each st around (42).
- Round 16: Dc 1, 2 dc in next st, repeat around (63). At this point, the rim should flip outward noticeably and the bell should rock slightly when you set it down. If it sits perfectly flat and stable, the flare did not take.
- Round 17: Sl st in first st, ch 3, sl st into the same st to make a picot, sl st in next 2 sts, repeat around. Fasten off and weave the tail into the inside of the rim.
The Hanging Loop
- Ch 30.
- Join with a sl st into the first ch to form a ring.
- Thread both tails onto a yarn needle.
- Push the needle down through the centre of the magic ring at the crown from the outside.
- Bring the tails out at the inside of the rim.
- Knot securely inside the bell where the knot will not be seen.
- Weave the remaining tail ends into the body.
Stuffing
Stuffing a bell is different from stuffing a toy. You want the crown firm enough to hold its dome, but the body should be barely filled. A bell packed solid loses the hollow look that makes it read as a bell. Push a small amount of fibrefill up into the crown just before you reach the rim rounds, then stop. Leave the lower third empty. The rim rounds should never be stuffed at all.
Assembly
There is no piece-to-piece assembly here, but the hanging loop placement is critical. Thread the loop through the exact centre of the magic ring rather than a nearby stitch, or the bell will hang tilted. If you are adding a bow, pin it in place around the base of the loop before you sew it. Hold the bell up by the loop and check that the bow sits square from the front. Then sew it down with small stitches through the crown fabric. Knots alone come undone on ribbon, so sewing is recommended.
Tips
- Yarn Choice: Cotton matters more here than in most makes. Acrylic goes soft and the rim droops within a week of hanging. Cotton holds the flare on its own.
- Tension: Go down a hook size from whatever your yarn label suggests. A tight fabric is what keeps the bell from collapsing.
- Safety: If you are decorating a tree in a house with a baby or a crawling toddler, skip the ribbon bow and glued embellishments. Tie the bow from the same cotton yarn instead and sew it down flat.
- Stiffening: To make the bell last longer, you can stiffen it after it is fully finished. Dilute white glue about half and half with water, dip the bell, shape the rim by hand, and hang it upside down over a bowl to dry overnight. Do not stiffen anything you have stuffed with fibrefill, as it will dry unevenly.
- Troubleshooting: If the crown is cone-shaped instead of domed, your first increase rounds were too tight. Rip back to round 3 and check that the disc lies flat.
FAQs
Why does my bell rim not flare?
If the rim will not flare, either the back loop round (Round 14) was worked through both loops instead of the back loops only, or the double crochets in Round 16 are too short. Check your work on Round 14 first.
How do I fix a crooked hanging bell?
If the bell hangs crooked, the loop was likely threaded off-centre at the crown. Undo the inside knot, re-thread the loop through the true centre of the magic ring, and re-tie it securely.
Can I use acrylic yarn for this pattern?
While you can use acrylic, it is not recommended. Acrylic goes soft and the rim tends to droop within a week of hanging. Cotton holds the flare on its own and takes fabric stiffener much better if you choose to use it.
Why are there holes at the top of my bell?
Visible holes at the magic ring usually mean the ring was not pulled fully closed. Use the starting tail to cinch it tight from the inside before weaving in the ends.
How do I make the bell taller or wider?
To make a taller bell without widening it, add plain rounds between the increase rounds rather than adding more increases. To make a wider, squatter bell, drop one plain round each time instead.
Pin This Crochet Pattern!