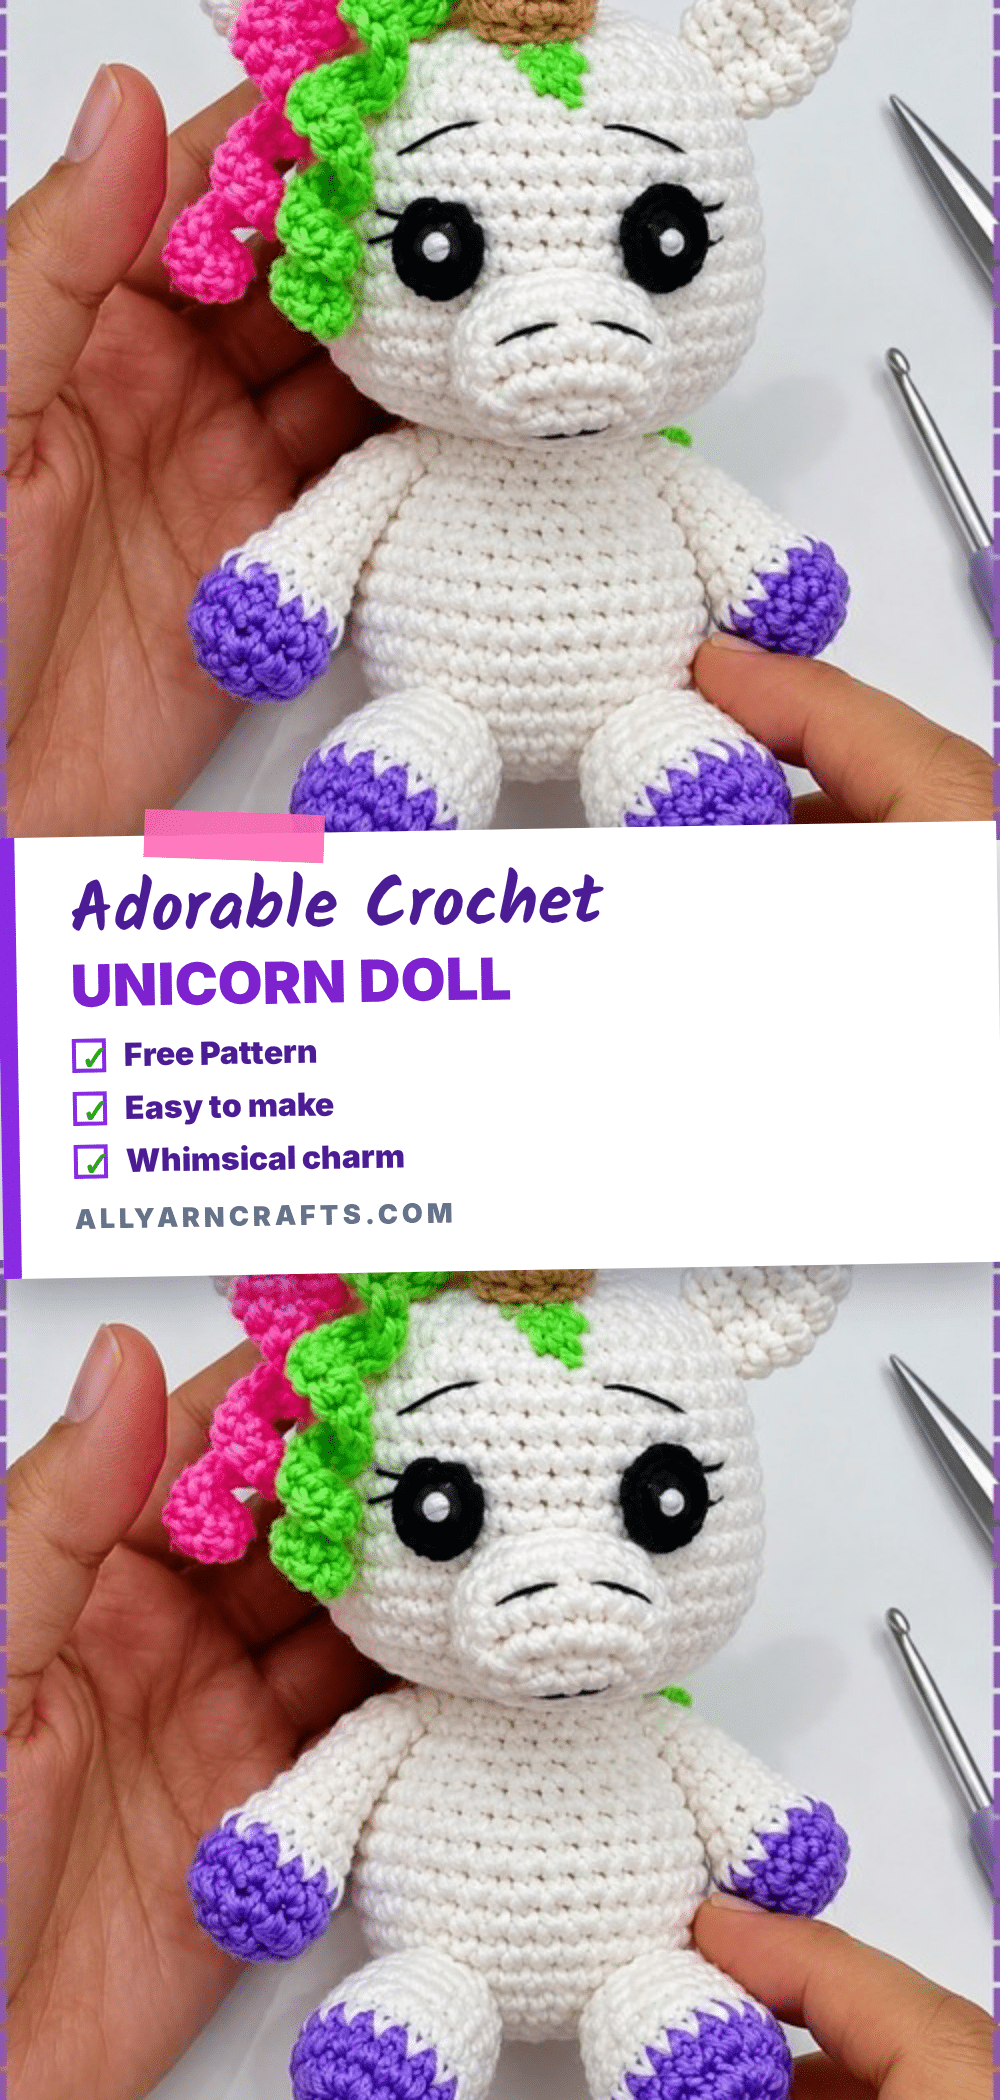
There is something undeniably magical about creating a handmade amigurumi doll that captures a child’s imagination. This crochet unicorn doll is a wonderful project for crocheters who enjoy a bit of a challenge, offering a rewarding mix of colour changes, intricate assembly, and unique textural details. Whether you are making a gift for a birthday, a special keepsake for a nursery, or a charming addition to your own craft collection, this pattern delivers a finished piece that feels truly earned. The combination of a cream body, purple accents, and a spiralling mane creates a character that is both whimsical and endearing.
Gift and Use Ideas
While the crochet unicorn doll is a delightful companion for a child’s playtime, its unique design makes it versatile for various uses. The firm stuffing and sturdy construction allow it to sit upright on a shelf, acting as a decorative accent in a bedroom or playroom. The curly hair strips, which spiral naturally without blocking, add a dynamic visual element that catches the light, making it a perfect subject for photography or a unique centerpiece for a unicorn-themed party table. Additionally, because the pattern allows for customisation of the horn and mane colours, it serves as an excellent canvas for matching a child’s favourite colour palette, ensuring the doll feels personal and special.
Project Overview
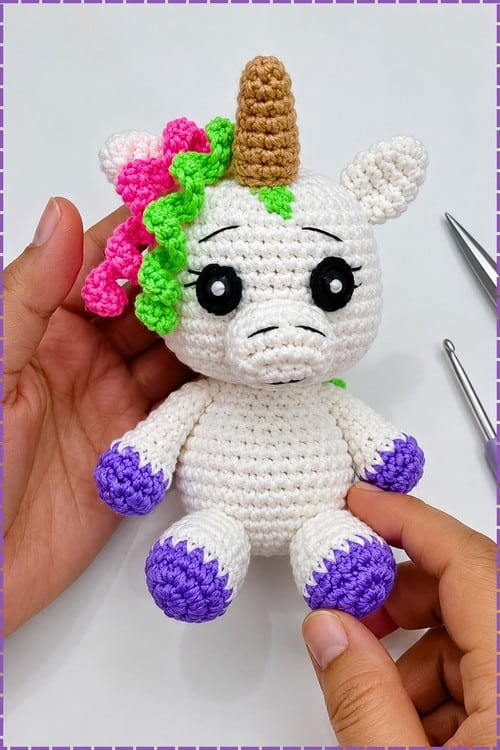
This pattern creates a crochet unicorn doll with a cream body, purple hands and feet, and a ridged tan horn. The head is proportionally large, taking up nearly half the doll, while the mane consists of four curly hair strips in pink and green (or your choice of colours) stitched along the back of the head. The project is worked in separate pieces—head, body, limbs, ears, horn, and mane—which are then assembled. The shaping is straightforward, but the assembly requires patience, particularly when positioning the face and attaching the mane curls evenly.
Materials
- White yarn for body and head
- Purple yarn for hands and legs
- Black yarn for eyes and embroidery
- Yarn of your choice for the horn
- 3.0 mm crochet hook
- Fibre cotton for stuffing
- Glue gun
- Needle
- Scissors
- Decorative beads (optional)
Note: The pattern specifies no yarn weight. A 4 ply or DK cotton at 3.0 mm gives a firm stitch definition. Your tension will shift the finished size considerably.
Gauge and Finished Size
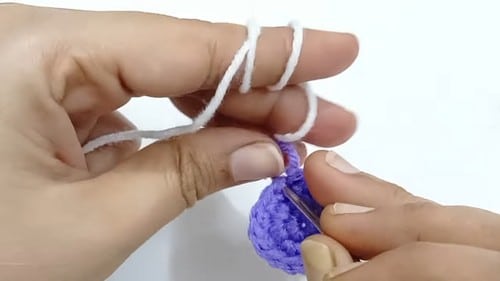
The finished height at DK weight sits roughly 20 to 26 cm, estimated from the body round counts. Because the pattern relies on specific stitch counts to shape the body and head, maintaining consistent tension is key to achieving the intended proportions.
Abbreviations
- sc: single crochet
- inc: increase (2 sc in the same stitch)
- dec: decrease (sc 2 together)
Pattern Notes
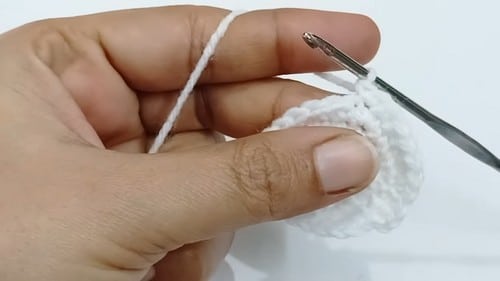
This project is fiddly in the best way, keeping your hands busy through curls and colour changes. Spirals unwind as you go, and pinning the face is slow work; the crochet unicorn doll changes character with every millimetre you shift the eyes. Finishing one feels earned. The curly hair is just chains with extra sc worked into them, and they spiral on their own without any blocking or shaping at all. Don’t let the stitch counts scare you off! Beginners can follow video tutorials to crochet this plushie right along.
Pattern Instructions
Hands (Make 2, Purple then White)
Round 1: With purple yarn, make a magic ring and work 6 sc into it. [6]
Round 2: Work 2 sc in each stitch around. [12]
Checkpoint: a small flat purple disc, like a coin.
Round 3: Work 1 sc in each stitch. [12]
Round 4: Join white yarn and decrease evenly to 8 stitches. [8]
Checkpoint: the wrist narrows above the purple hand disc. The colour change at this round creates a clear cuff line.
Round 5: Work 1 sc in each stitch. [8]
Round 6: Work 1 sc in each stitch. [8]
Round 7: Work 1 sc in each stitch. [8]
Round 8: Work 1 sc in each stitch. [8]
Round 9: Work 1 sc in each stitch. [8]
Checkpoint: a narrow white arm tube extending above the purple hand end. Lightly stuff with cotton. Close the top and fasten off.
Legs (Make 2, Purple then White)
Round 1: With purple yarn, make a magic ring and work 6 sc into it. [6]
Round 2: Work 2 sc in each stitch. [12]
Round 3: 3 sc, 2 sc in the next stitch repeat the pattern to reach 15 stitches. [15]
Checkpoint: a flat oval foot pad, wider than the small circle of round 1.
Round 4: Switch to white yarn and work 1 sc in each stitch. [15]
Round 5: Work 1 sc in each stitch. [15]
Checkpoint: the ankle rises above the purple foot. The two-colour join should sit as a clean ring.
Round 6: Decrease evenly to 12 stitches. [12]
Round 7: Work 1 sc in each stitch. [12]
Checkpoint: a straight tube narrowing above the ankle, the upper leg section. Stuff with cotton and fasten off.
Muzzle (White)
Chain 5. Work around both sides of the chain to create an oval shape. Continue working in rounds to build a small cup shape. Work a total of 4 rounds.
Checkpoint: a small shallow oval cup, flat on the bottom and open at the top. Lightly stuff before setting aside. Keep aside for attachment.
Horn
Make a magic ring and work 6 sc into it. [6] Increase gradually in each round to shape a small cone. Continue until the horn is slightly long and pointed.
Checkpoint: a narrow cone that points clearly at the tip. If it looks more like a cylinder than a cone, your increases are spaced too evenly; cluster them toward the base in early rounds and taper off as you go. Lightly stuff if needed. Fasten off leaving a long tail for sewing.
Ears (Make 2)
Make a magic ring and work 6 sc into it. [6] Increase gradually until 12 stitches. [12]
Checkpoint: a small flat oval. Fold slightly at the top to create an ear shape. Fasten off leaving a long tail for attachment.
Curly Hair Strips (Make 4, in colours of your choice)
Chain 34. Work 2 or 3 sc into each chain along the strip.
Checkpoint: the strip curls and spirals automatically as you work. If it lies flat, you are not working enough sc per chain; add one more per stitch. Make 4 strips in different colours or the same. Set aside for attachment.
Body and Head (White, worked in one continuous piece)
Round 1: Make a magic ring and work 8 sc into it. [8] Gradually increase in each round until reaching 36 stitches.
Checkpoint: a flat disc at 36 stitches, the base of the body. Still completely flat with no doming. Continue building the body upward in even rounds. Checkpoint: after several even rounds the sides curve up into a barrel shape, widest at 36 stitches.
At round 16: Attach both hands while crocheting this round. Hold each hand piece against the body and work through the hand top and body stitch together to join, or sew them on after closing.
Increase stitches at the neck area to expand up to 48 stitches for the head. [48]
Checkpoint: the head section noticeably wider than the body, giving the characteristic doll shape with a larger head. Continue working rounds to shape the head.
Begin decreasing gradually in this sequence: 36, 30, 24, 18, 12, 6.
Checkpoint: each decrease round pulls the dome in smoothly. If a visible corner forms, shift the starting stitch of the next decrease round by one stitch. Stuff firmly before closing. Close the top securely.
Eyes and Toy Safety
This pattern uses black yarn or beads for eyes. No safety eyes are specified. If you use safety eyes instead, they must go into the head during the decrease rounds, before the head closes past a comfortable working size, typically around the round where you reach 36 stitches. Lock them from the inside before continuing. For toys going to children under three, skip beads entirely and embroider both eyes with black yarn satin stitches. Check that all embroidery knots are firmly secured on the inside and that no tails are accessible.
Stuffing Guide
The body and head piece takes firm stuffing, packed in before the final decrease rounds close the opening. Fill the body section first, then the head section, making sure the head dome holds its shape without sagging forward. The legs stuff firmly to hold their shape. The hands stuff lightly; they should feel soft rather than tight. The horn stuffs lightly if needed; it should stay pointed, not squishy. The muzzle stuffs lightly before attachment. The ears and hair strips get no stuffing.
Assembly
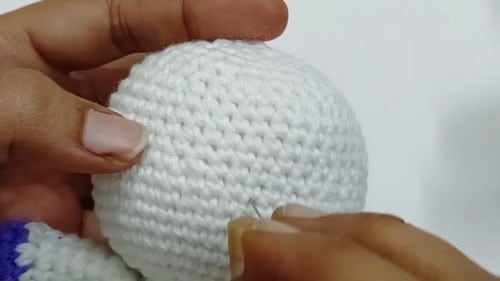
Attach or glue the muzzle to the centre front of the face, in the lower half where the eyes will sit above it. Pin first. Embroider the nose and any mouth lines onto the muzzle before or after attaching. Attach the horn at the centre top of the head. Sewing gives a more secure join than gluing for something that will be handled. Run the tail down into the head stuffing and knot firmly. Sew the ears on both sides of the horn, angled slightly outward. Sew or glue the legs to the base of the body, pointing downward and slightly forward. Attach the curly hair strips behind the horn, spreading them evenly across the back of the head. Add eyes using black yarn embroidery or beads above the muzzle. Embroider eyebrows and small nose lines with black yarn.
FAQ
The curly hair strips won’t curl. What went wrong?
Add one more sc per chain than you have been. Two sc per chain gives a loose curl; three per chain gives a tight spiral. The curl happens because the extra stitches have nowhere to go except to twist the strip.
The horn tips to one side after sewing. How do I fix it?
Run the horn tail straight down through the stuffing and anchor it to the base of the head with a few stitches before finishing. This gives it a second anchor point lower in the piece and stops sideways lean.
Can I use safety eyes instead of embroidered ones?
Yes, they go in during the head decrease section, around the round where you have 36 stitches and the face is still wide open. Lock the washers from inside before stuffing the head.
The body looks too narrow compared to the head. Did I do something wrong?
The pattern builds the body to 36 stitches then widens the head to 48, so a size difference is intentional. If yours looks very extreme, check whether you increased all the way to 36 on the body before expanding for the head.
How do I ensure the face looks symmetrical?
Pinning the face is slow work, but it is essential. Use pins to position the eyes and muzzle before sewing or gluing. The crochet unicorn doll changes character with every millimetre you shift the eyes, so take your time to get the expression right.
Pin This Crochet Pattern!