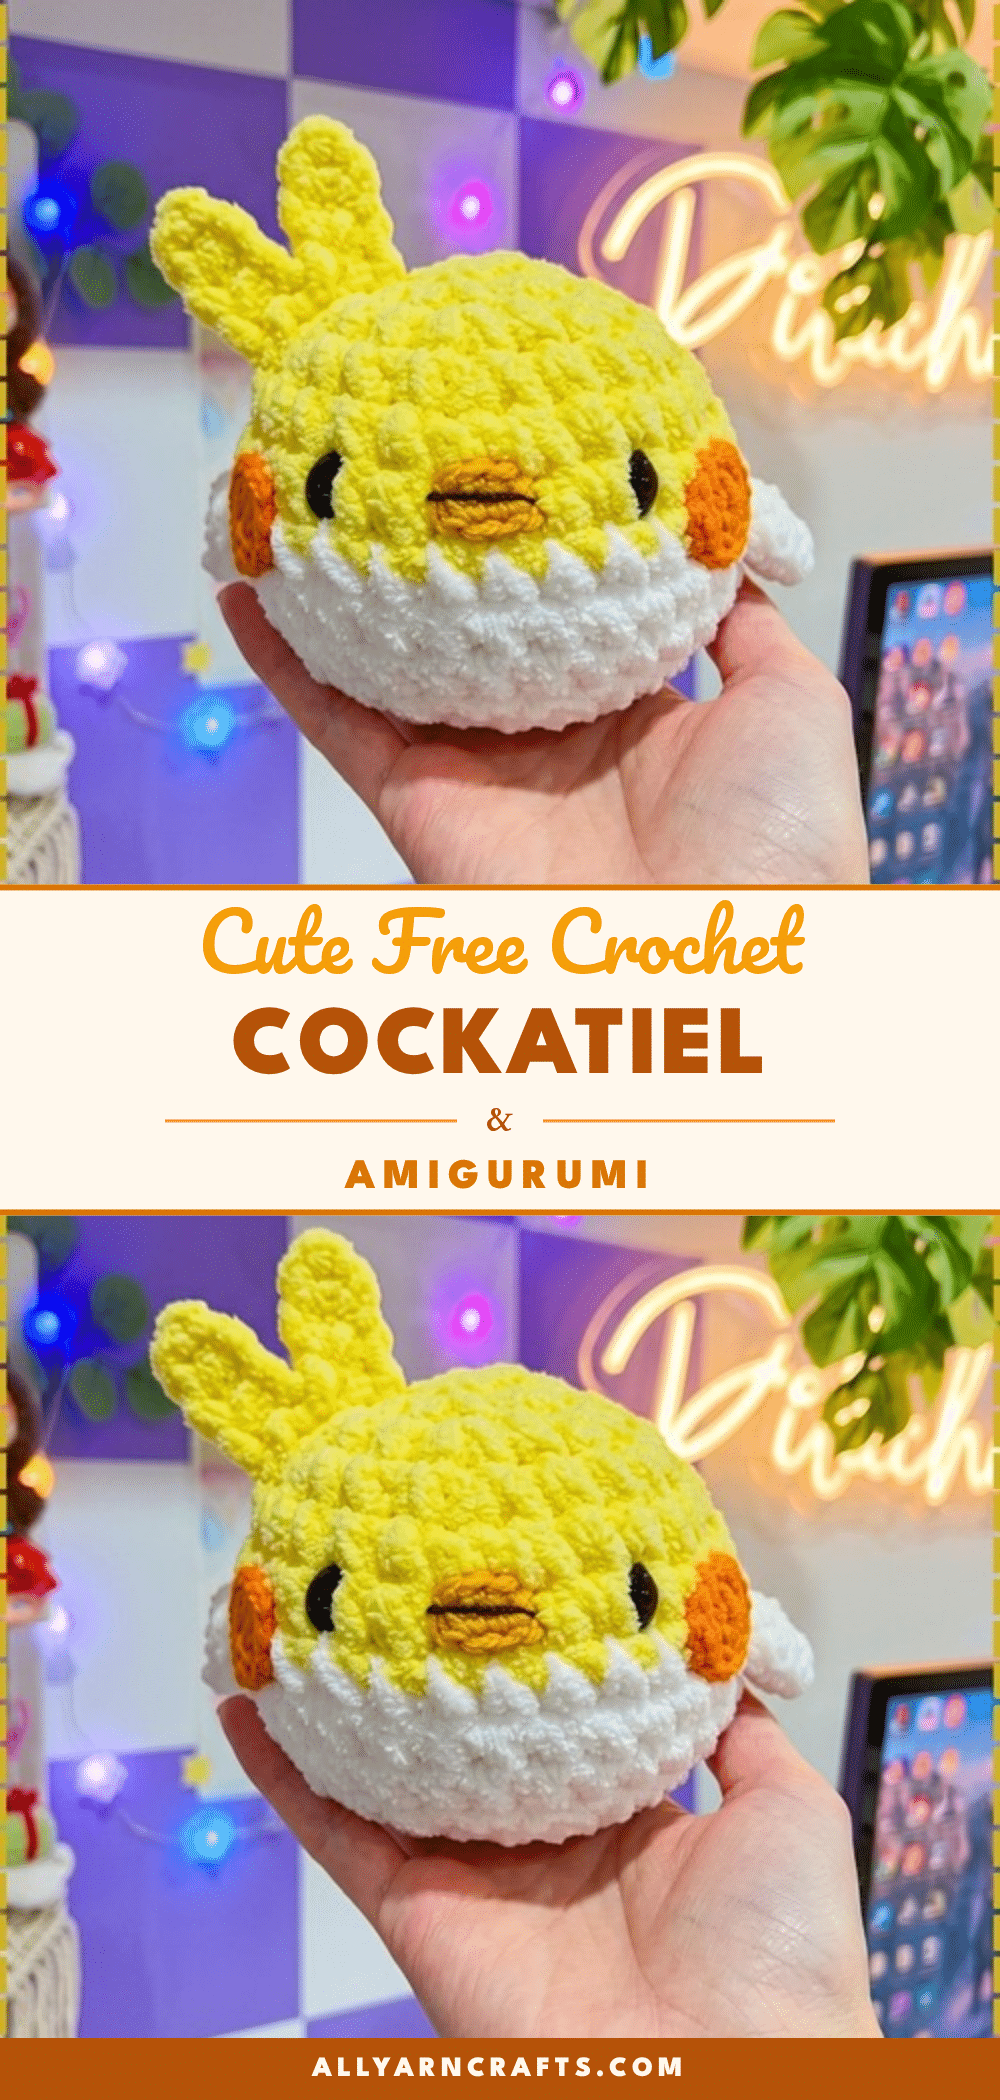
There is a specific kind of magic in amigurumi that comes from watching a flat circle transform into a three-dimensional character. It happens in the rhythm of the stitches—the steady sc, the satisfying pull of the yarn, and the gradual shaping that turns a simple chain into a head, a body, or a tiny wing. This crochet cockatiel pattern captures that joy perfectly. With its fuzzy chenille texture and distinct color blocking, the project rewards the maker’s eye for detail, especially when you reach that pivotal color change that defines the bird’s face. The texture of the yarn highlights every round, making it easy to see your progress while you build the soft, pear-shaped body.
Texture and Stitch Notes
The choice of super bulky chenille yarn is the defining feature of this project. Unlike smooth cottons or acrylics, chenille has a halo that softens the stitch definition, giving the finished cockatiel a plush, downy appearance that mimics real feathers. This texture is particularly effective for the crest and cheeks, where a fuzzy edge looks more organic than a crisp geometric one. However, this texture requires a slightly different approach to counting. Because the yarn can obscure individual stitches, the checkpoints provided in the pattern are essential. You are not just counting loops; you are feeling for the shape—a shallow bowl in the early rounds and a gentle taper at the base. The contrast between the yellow head and white body is not just aesthetic; it is structural, using the color line to create the illusion of a neck without adding a seam that could sag over time.
Project Overview
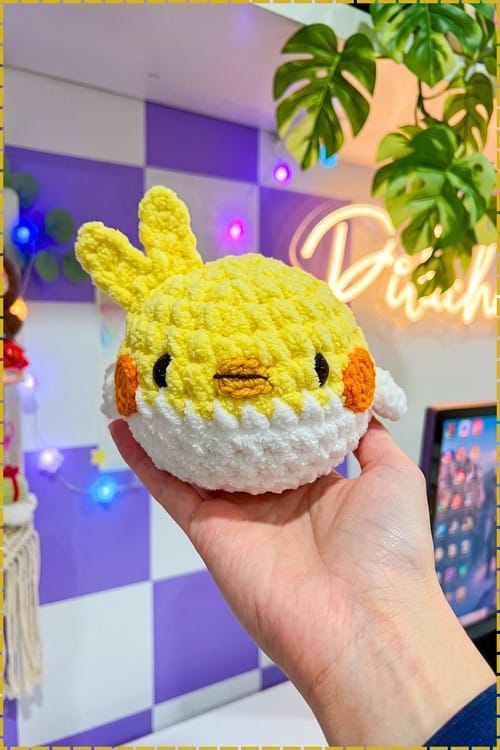
This beginner-friendly amigurumi pattern creates a charming cockatiel plush approximately 6 to 7 inches tall. The design relies on simple shaping in the round, with a continuous head and body piece that eliminates the need for a neck seam. The bird features a yellow head, a white belly, orange cheek patches, and a distinctive crest made from a V-shaped hair piece. The pattern is designed to be completed in one sitting, making it an ideal project for crocheters looking for a quick, satisfying win.
Materials
- Super bulky yellow yarn
- Super bulky white yarn
- Medium weight orange yarn
- Medium weight gold yarn
- Medium weight dark brown yarn
- 6.5 mm crochet hook (for the body)
- 3.5 mm crochet hook (for the details)
- Stuffing
- Yarn needle
- Stitch marker
- Pins
- Scissors
Gauge and Finished Size
The finished height lands somewhere around 6 to 7 inches in super bulky yarn, approximate. The gauge is not strictly measured by a swatch but by the shape checkpoints provided in the instructions. The two hook sizes matter more than the exact yarn brand, since the small pieces need the tighter fabric to hold their shape.
Abbreviations
- sc: single crochet
- hdc: half double crochet
- dc: double crochet
- sl st: slip stitch
Pattern Notes
This fuzzy cockatiel plush has a rounded yellow-and-white body, orange cheeks, a gold beak, and three soft crest spikes. Worked in chenille, its simple rounds build quickly, while the separately attached wings and embroidered eyes give the finished bird a clear, friendly face. Chenille yarn gives this crochet cockatiel plush its fuzzy body and stand-up crest. Orange cheeks, white belly, and simple rounds make this a beginner-friendly project. The pattern is free and written step by step, so the crochet cockatiel plush comes together in one sitting.
The body is one rounded dome, yellow across the top and white below, with the color line running under the face. Orange cheek patches sit on each side, and a small beak is stitched in gold between two dark eyes. Chunky chenille means the rounds build fast, though stitches can be hard to see when you are counting. The crest pieces attach separately at the crown. Face placement takes the most patience. Beyond that, it is plain shaping in the round.
Pieces List
- Head and body: 1, worked as a single piece
- Tail: 1
- Wings: 2
- Hair piece, used as the crest: 1
- Cheek brushes: 2
- Beak: 1
Pattern Instructions
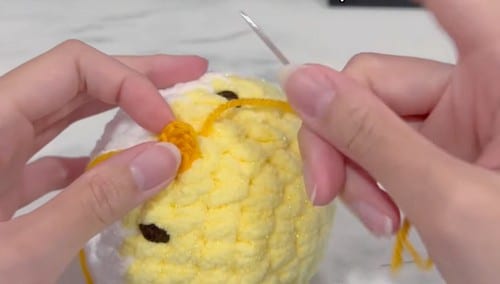
Head and Body
Round 1: Yellow, chain 2, 6 sc in first chain. (6)
Round 2: Increase in each stitch. (12)
Round 3: 1 sc, 1 increase, repeat 6 times. (18)
Round 4: 2 sc, 1 increase, repeat 6 times. (24)
Round 5: 3 sc, 1 increase, repeat 6 times. (30)
Checkpoint: A shallow bowl that holds a curve when set down, not a flat disc. Super bulky exaggerates any uneven increase, so count this one twice.
Round 6: 30 sc. (30)
Change to white yarn.
Round 7: 30 sc. (30)
Checkpoint: The yellow section should now read as a rounded cap sitting on straight white sides. The color join line is the visual center of the whole toy, so keep it level.
Round 8: 14 sc, 1 increase, repeat twice. (32)
Round 9: 32 sc. (32)
Round 10: 6 sc, 1 decrease, repeat 4 times. (28)
Round 11: 5 sc, 1 decrease, repeat 4 times. (24)
Checkpoint: The body should be tapering gently inward at the base, giving a soft pear profile rather than a cylinder.
Round 12: 1 sc, 1 decrease, repeat around. (16)
Add stuffing, shaping the sides evenly.
Round 13: 8 decreases. (8)
Checkpoint: A small open ring at the base, ready to be drawn closed during assembly. Fasten off, leaving a long tail.
Eyes
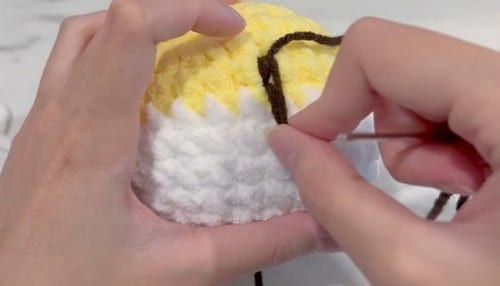
Embroider vertical eyes on Round 6. Space about 6 stitches apart.
Tail
Chain 5. In the second chain from the hook, 1 sc. 1 hdc. 2 dc.
Checkpoint: A small fan that flares at the far end and stays narrow where it will meet the body. Fasten off, leaving a tail.
Wings, Make 2
Chain 4. In the second chain from the hook, 1 sc. 1 hdc. In the last chain, 1 hdc and 1 sl st.
Checkpoint: A stubby leaf shape, slightly curved. Lay both wings side by side and check they match before moving on. Fasten off, leaving a tail.
Hair Piece (Crest)
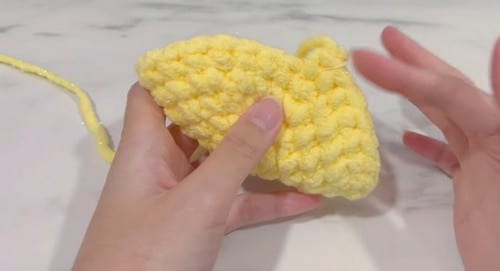
Chain 4. Work 3 sc back down the chain. Repeat once to form a V shape.
Checkpoint: Two short arms meeting at a point, which will stand up as the crest. Fasten off, leaving a tail.
Cheek Brushes, Make 2, Orange
Round 1: Magic ring, 6 sc. (6)
Round 2: Increase in each stitch. (12)
Checkpoint: Two flat orange discs that lie down without cupping. If they dome, loosen your tension slightly. Fasten off, leaving a tail.
Beak, Gold
Chain 4. 2 sc. 3 sc in the next stitch. 1 sc. Increase in the last stitch. 8 total. Fasten off, leaving a tail.
Assembly
Pin everything before you sew a single stitch. On super bulky yarn, needle holes stay visible after you unpick, so a pin that gets moved twice costs you nothing and a seam that gets unpicked twice shows.
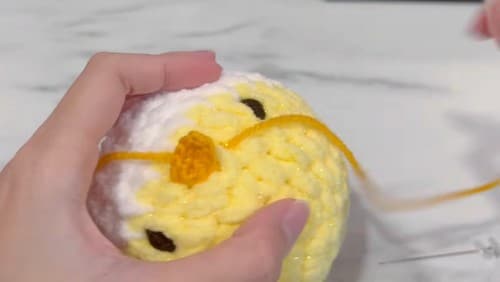
- Sew the beak centered on Round 6. Add a thin horizontal beak line with the brown yarn.
- Sew the cheeks to the sides of the eyes.
- Sew the crest to the top of the head, slightly off center.
- Sew the wings near the cheeks.
- Sew the tail to the center back.
- Close the bottom by weaving the long tail through the final 8 stitches and pulling tight.
Setting the crest slightly off center is deliberate and worth respecting. Dead center looks manufactured. A real cockatiel crest leans.
Tips
- Super bulky exaggerates any uneven increase, so count this one twice.
- The color join line is the visual center of the whole toy, so keep it level.
- The body should be tapering gently inward at the base, giving a soft pear profile rather than a cylinder.
- Lay both wings side by side and check they match before moving on.
- If they dome, loosen your tension slightly.
- Sit the head in your palm and look at it straight on before pulling the stitches tight, because eye spacing on a bird changes the expression more than any other detail.
- On super bulky yarn, needle holes stay visible after you unpick, so a pin that gets moved twice costs you nothing and a seam that gets unpicked twice shows.
- Setting the crest slightly off center is deliberate and worth respecting.
- Dead center looks manufactured.
- A real cockatiel crest leans.
- Push it toward the head first, then fill the lower body, shaping the sides evenly with your palms as you go.
- Firm through the head, a little softer at the base.
- Super bulky fabric has larger gaps between stitches than worsted does, so over stuffing shows up fast as white fiberfill peeking through around Rounds 8 and 9. Back off if you see it.
- The bottom stays slightly soft anyway, since drawing the final 8 stitches closed compresses it further.
FAQs
Can I use worsted yarn instead of super bulky?
Yes, and plenty of people prefer the smaller result. Every count stays identical, you just end up with a bird about half the size and slightly crisper stitch definition.
Why is there no separate head piece?
The head and body are one continuous piece, and the color change at Round 7 is what divides them visually. It saves you a seam at the neck, which is the seam most likely to sag on a plush this shape.
My crest will not stand up. What went wrong?
The V needs to be sewn down along both arms, not just at the point. Anchor the base flat against the head and the fold does the rest.
How do I keep the color change from showing a jog?
Make the switch at the start of the round and carry the yellow tail inside for an inch before cutting it. The step will still exist, since continuous rounds always spiral, but it drops to the back where the tail sits.
Can I substitute the yarn colors?
Absolutely. Grey body with a yellow head makes the standard wild type cockatiel. All white with orange cheeks gives you an albino look. Pearl grey with white wing patches suits a pearl variety. Deeper gold on the beak reads as an older bird, and you can swap the orange cheek brushes for pale peach on a softer palette.
Pin This Crochet Pattern!