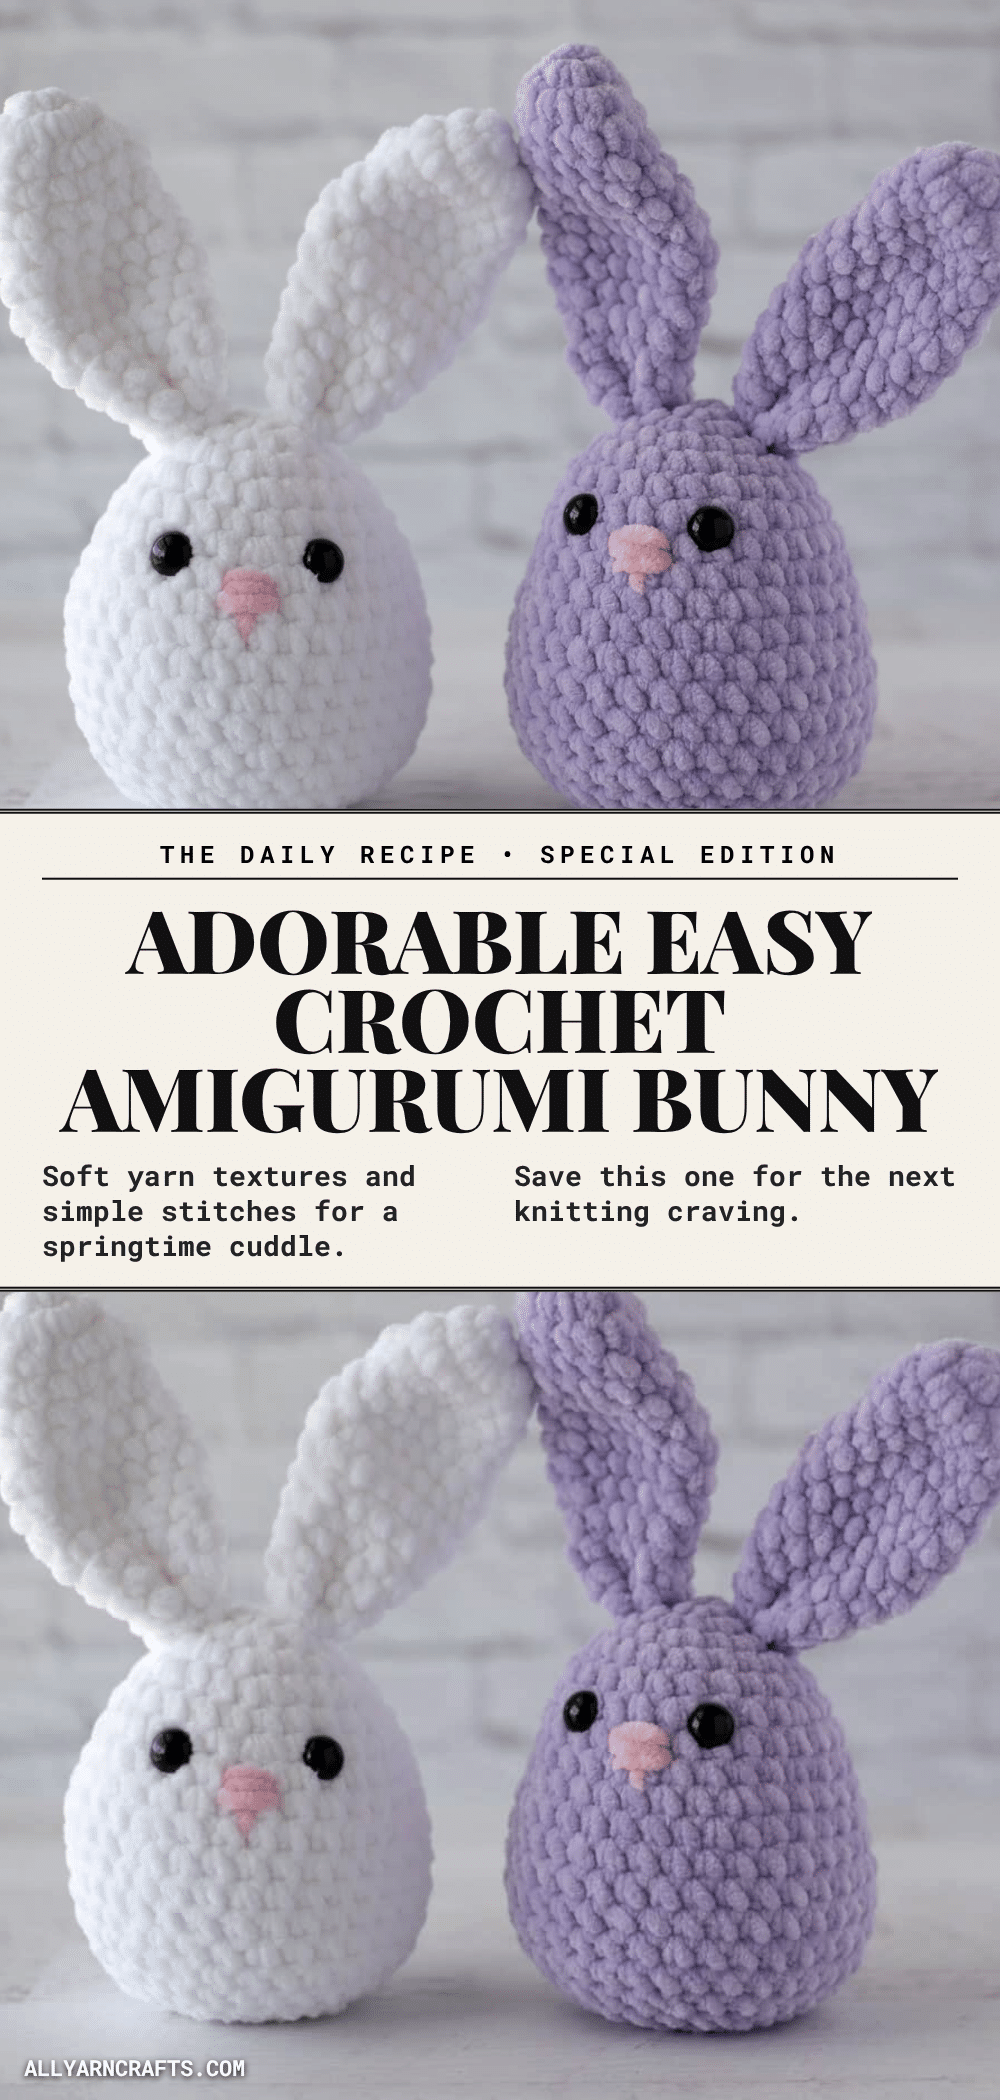
There is something undeniably comforting about pulling a skein of yarn from the stash that feels like it was waiting just for you. For this project, the choice was made in a moment of quiet inspiration: a skein of Premier Parfait Chunky in crisp white, its chenille texture promising that signature squishy softness. It wasn’t just about the color, but the way the fiber catches the light and the way it holds its shape when worked with a slightly smaller hook. That deliberate choice of material transforms a simple amigurumi into a tactile heirloom, perfect for Easter baskets or spring decor. This intentional selection of yarn and fiber is what gives the finished bunny its unique personality and plush appeal.
Yarn and Color Notes
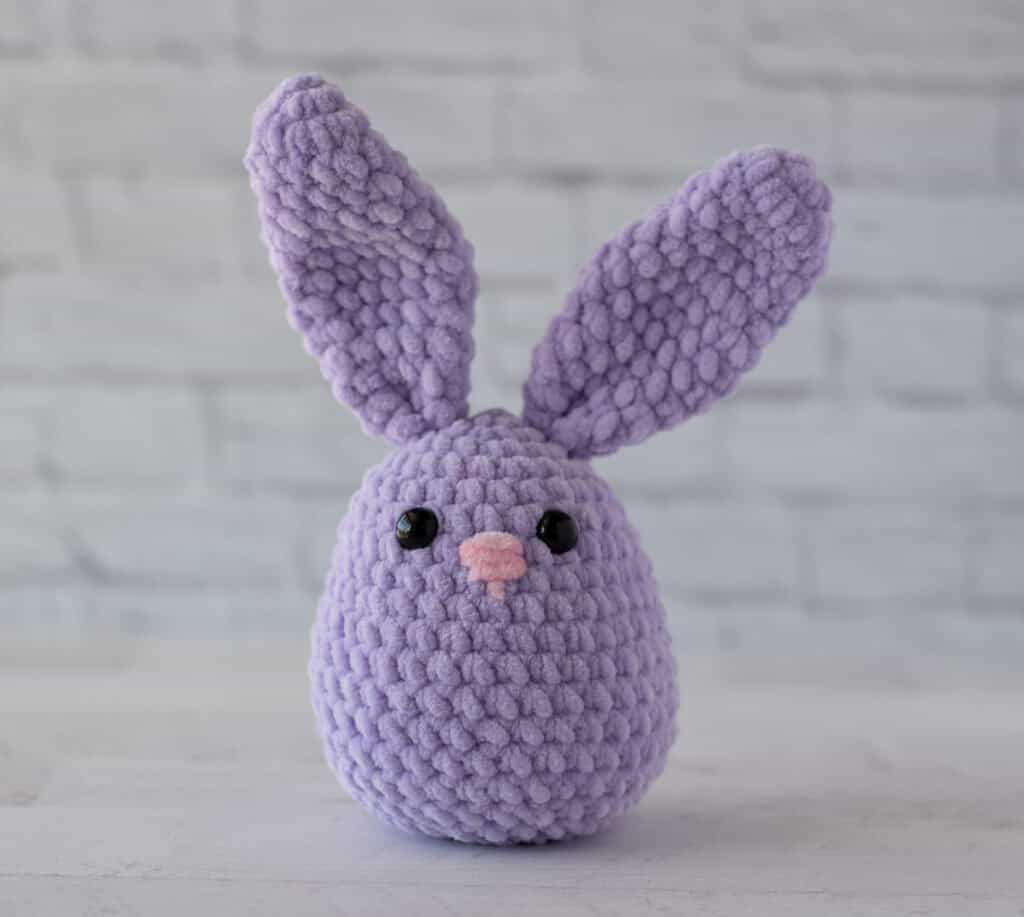
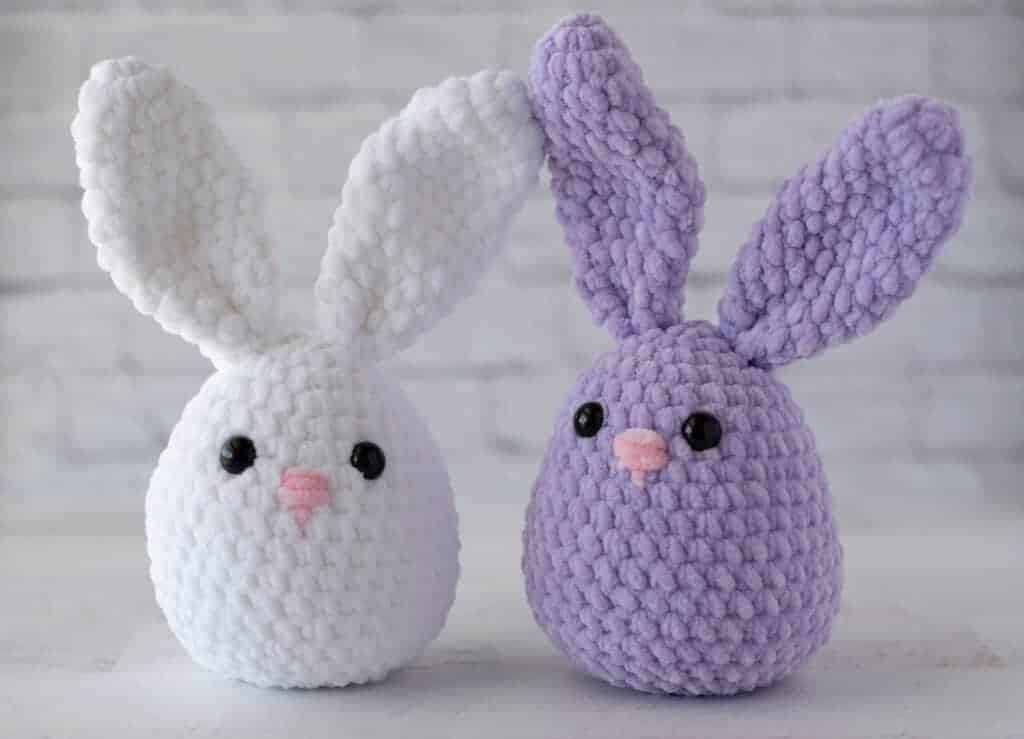
The texture of this bunny is defined by the yarn choice. The creator opted for Premier Parfait Chunky, a size 6 super bulky chenille-style yarn, to achieve a plush, stiff-yet-soft finish. By using a smaller hook than the yarn label typically suggests, the stitches become tighter, preventing the stuffing from showing and giving the bunny a sturdy, high-quality feel. For the alternative version, Soho Skwishy in Lilac was used. This size 5 bulky weight offers a similar drape and gauge but provides a beautiful pastel saturation. The choice of white and lilac highlights how fiber and color can shift the mood of the same pattern from classic spring to modern pastel.
Project Overview
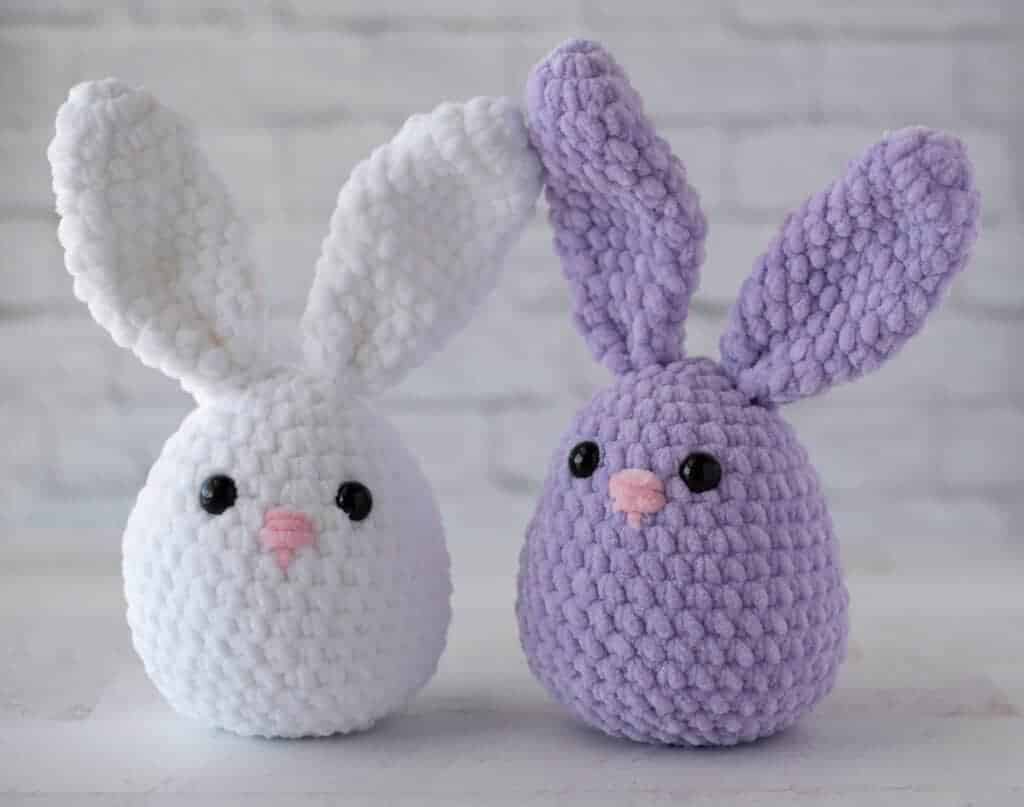
This crochet amigurumi bunny is designed to be a quick, fun, and satisfying project. It combines elements from other popular designs to create a perfect “squishy” companion. The bunny is worked in one piece from the top of the head down to the bottom, with the ears added separately. It is an ideal evening project—small enough to finish quickly but substantial enough to feel like a special handmade gift. The finished piece is egg-shaped, plump, and adorable, making it suitable for children (with embroidered eyes) or as a decorative piece for any room.
Materials
- Yarn:
- Premier Parfait Chunky (Size 6 Super Bulky, 100% Polyester, 131yds/120m per 3.5 oz/100g skein): 1 skein #1150-01 White (70 yards).
- Alternative: Soho Skwishy (Size 5 Bulky, 100% Polyester, 131yds/120m per 3.5 oz/100g skein): 1 skein #1017 Lilac (70 yards).
- Accent: #1150-18 Ballet Pink (1 yard for nose embroidery).
- Crochet Hook: US H8/5.00 mm crochet hook.
- Notions:
- 12 mm safety eyes (Note: If making for a baby or young child, embroider eyes instead).
- Stitch markers.
- Fiberfill.
- Tapestry needle.
- Scissors.
Gauge and Finished Size
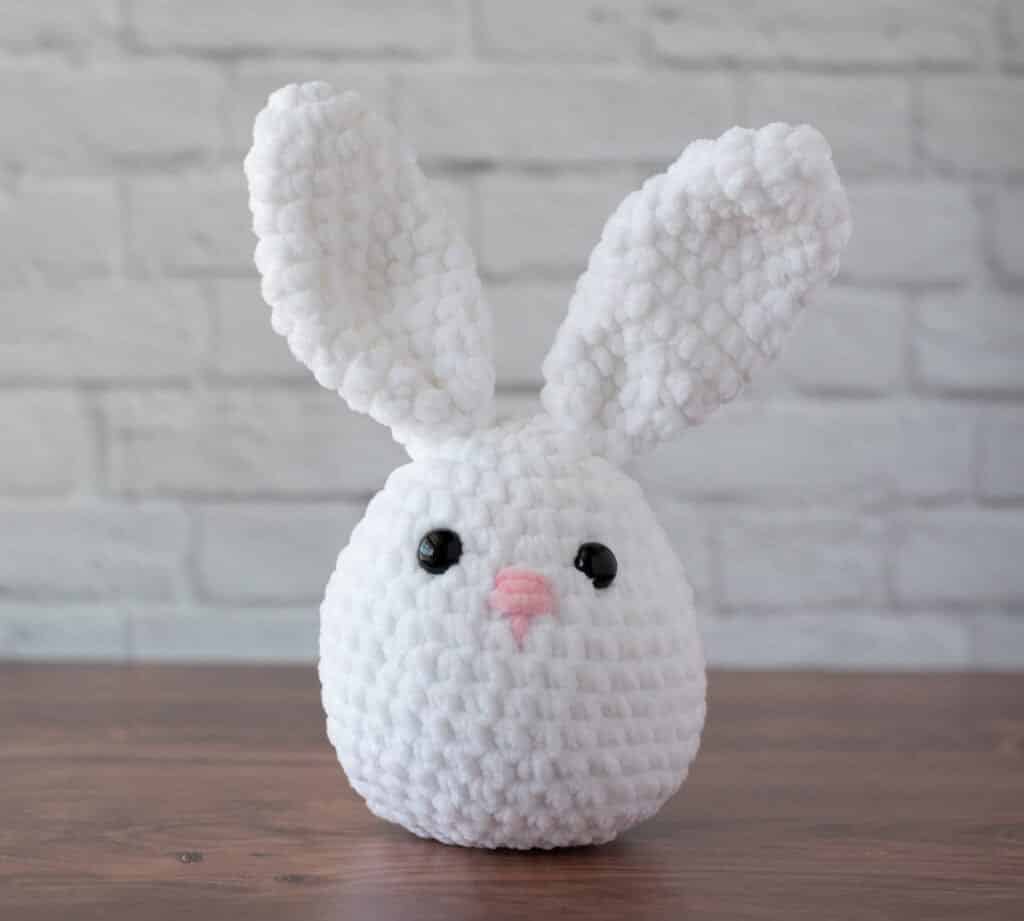
The finished bunny measures approximately 4.5 inches tall (excluding ears) by 4 inches wide. While the creator’s gauge is 6 sc to 2 inches, gauge is not critical for this pattern. You may substitute other weights of yarn as long as you adjust your hook size to achieve a tight fabric that holds stuffing well.
Abbreviations
- ch: chain
- sc: single crochet
- sl st: slip stitch
- st(s): stitch(es)
- tog: together
Pattern Notes
Working with Chenille Yarn: When using chenille-style yarns like Premier Parfait Chunky, you may encounter “worming,” where the yarn unravels slightly from the stitches. To prevent this, keep your magic ring slightly looser when starting, and ensure you weave in ends securely. If worming occurs, it is easily managed by cutting a new strand for sewing.
Stuffing: The amount of stuffing affects the final shape. For a plump, round look, pack the stuffing firmly. For a more elongated, egg-shaped silhouette, use less stuffing. Both versions are adorable, so feel free to adjust to your preference.
Pattern Instructions
Bunny Head and Body
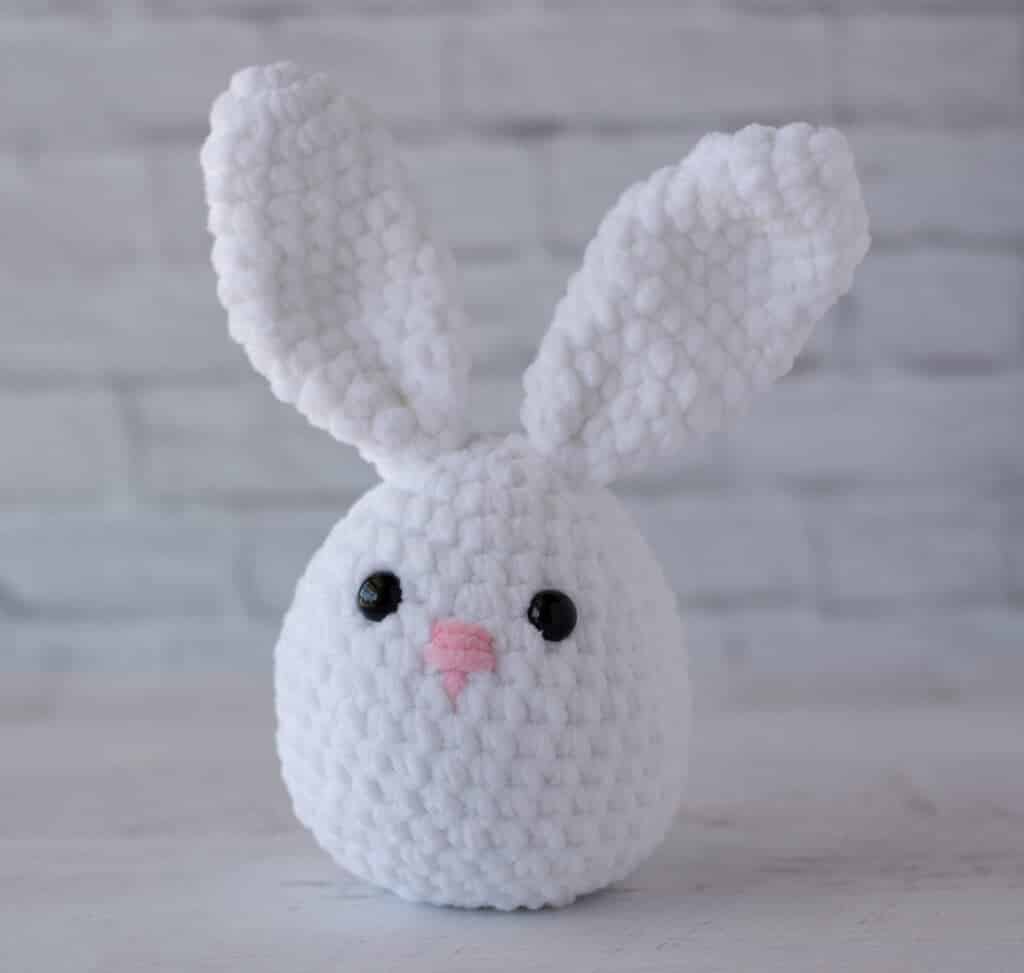
With main color yarn, make a magic ring.
R1: 6 Sc into ring. Work in rounds. (6 sts).
R2: *2 Sc in ea st, repeat from * around. (12 st)
R3-5: Sc around. (12 st)
R6: *Sc in next 3 st, 2 sc in next st, repeat from * around. (15 st)
R7-9: Sc around. (15 st)
R10: *Sc in next 3 st, sc 2 tog, repeat from * around. (12 st)
R11-12: Sc around. (12 st)
R13: *Sc in next 2 st, sc 2 tog, repeat from * around. (9 st)
R14: Sc around. (9 st).
Then sl st to next stitch. Fasten off, leaving a long strand for sewing. Fold bottom edge in half and whip stitch closed. Then sew on top of head on an angle over row 2 and 3 or as desired.
Ears (Make 2)
With main color yarn, make a magic ring.
R1: 6 Sc into ring. Work in rounds. (6 sts).
R2: *2 Sc in ea st, repeat from * around. (12 st)
R3-5: Sc around. (12 st)
R6: *Sc in next 3 st, 2 sc in next st, repeat from * around. (15 st)
R7-9: Sc around. (15 st)
R10: *Sc in next 3 st, sc 2 tog, repeat from * around. (12 st)
R11-12: Sc around. (12 st)
R13: *Sc in next 2 st, sc 2 tog, repeat from * around. (9 st)
R14: Sc around. (9 st).
Then sl st to next stitch. Fasten off, leaving a long strand for sewing. Fold bottom edge in half and whip stitch closed. Then sew on top of head on an angle over row 2 and 3 or as desired.
Assembly
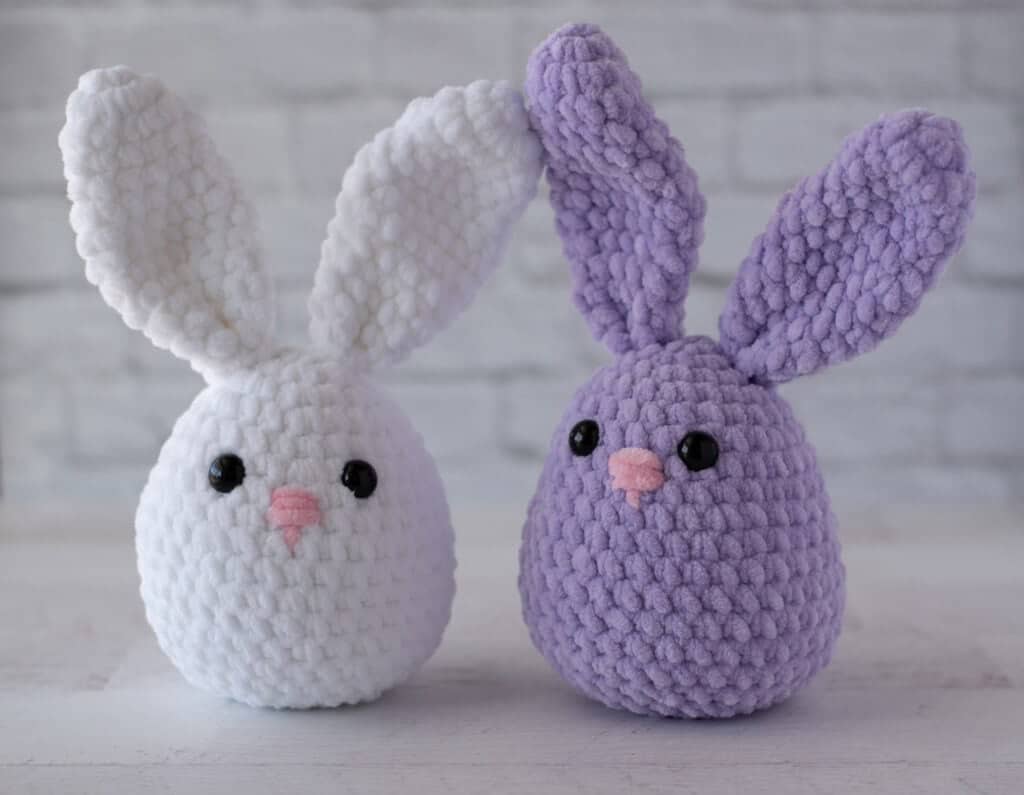
Attach the ears to the top of the head as described in the ear instructions. For the face, thread a tapestry needle with the pink accent yarn. Referring to a photo for placement, make three small stitches between the nose area to form the nose shape. Add one vertical stitch underneath and below the nose. Fasten off and weave in all ends securely.
Tips
- Hook Size: Using a hook smaller than recommended for bulky yarn helps create a tighter fabric, which is essential for amigurumi to keep stuffing inside.
- Safety Eyes: Always use embroidered eyes for projects intended for babies or young children to ensure safety.
- Worming Control: If the yarn starts to unravel from your stitches, tighten your tension slightly or use a tapestry needle to weave back through the stitches to lock the yarn in place.
FAQs
Can I use a different yarn weight?
Yes, you can use other weights of yarn. However, you will need to adjust your hook size to ensure the fabric remains tight enough to hold the stuffing and maintain the 4.5-inch finished size.
How do I prevent “worming” with chenille yarn?
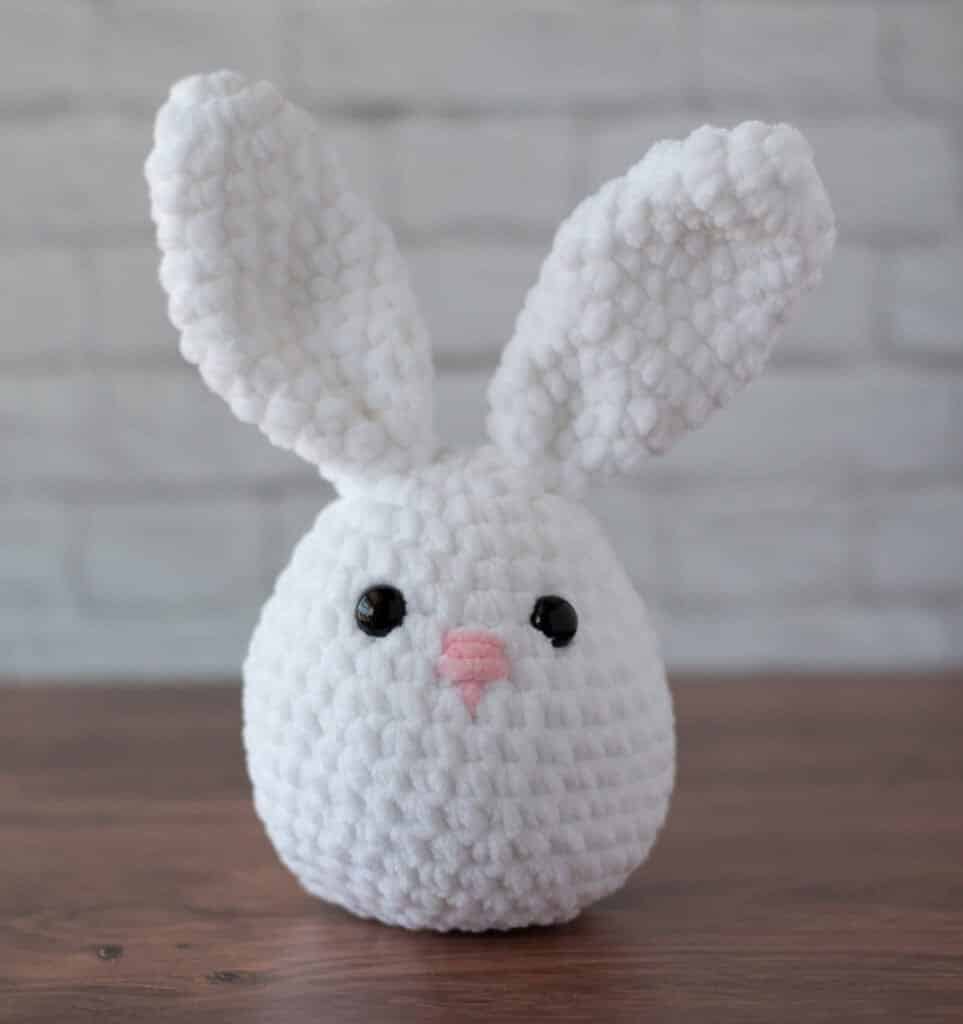
Worming happens when the yarn unravels from the stitches. Keeping your magic ring slightly looser at the start and ensuring your ends are woven in tightly can help. If it happens during crocheting, you can simply cut a new strand and sew it in.
What if I don’t have safety eyes?
You can embroider the eyes using black yarn or thread. This is actually the recommended method for amigurumi intended for babies or toddlers.
How do I make the bunny more egg-shaped?
To achieve an egg-shaped silhouette, use less fiberfill when stuffing the body. The creator noted that a lighter stuffing creates a more elongated, egg-like shape compared to a plump, round look.
Where can I find the yarn?
Premier Parfait Chunky and Soho Skwishy are often available at Herrschner’s, Amazon, or Etsy shops that specialize in yarn. Check local craft stores for similar bulky or super bulky chenille-style yarns.
Pin This Crochet Pattern!