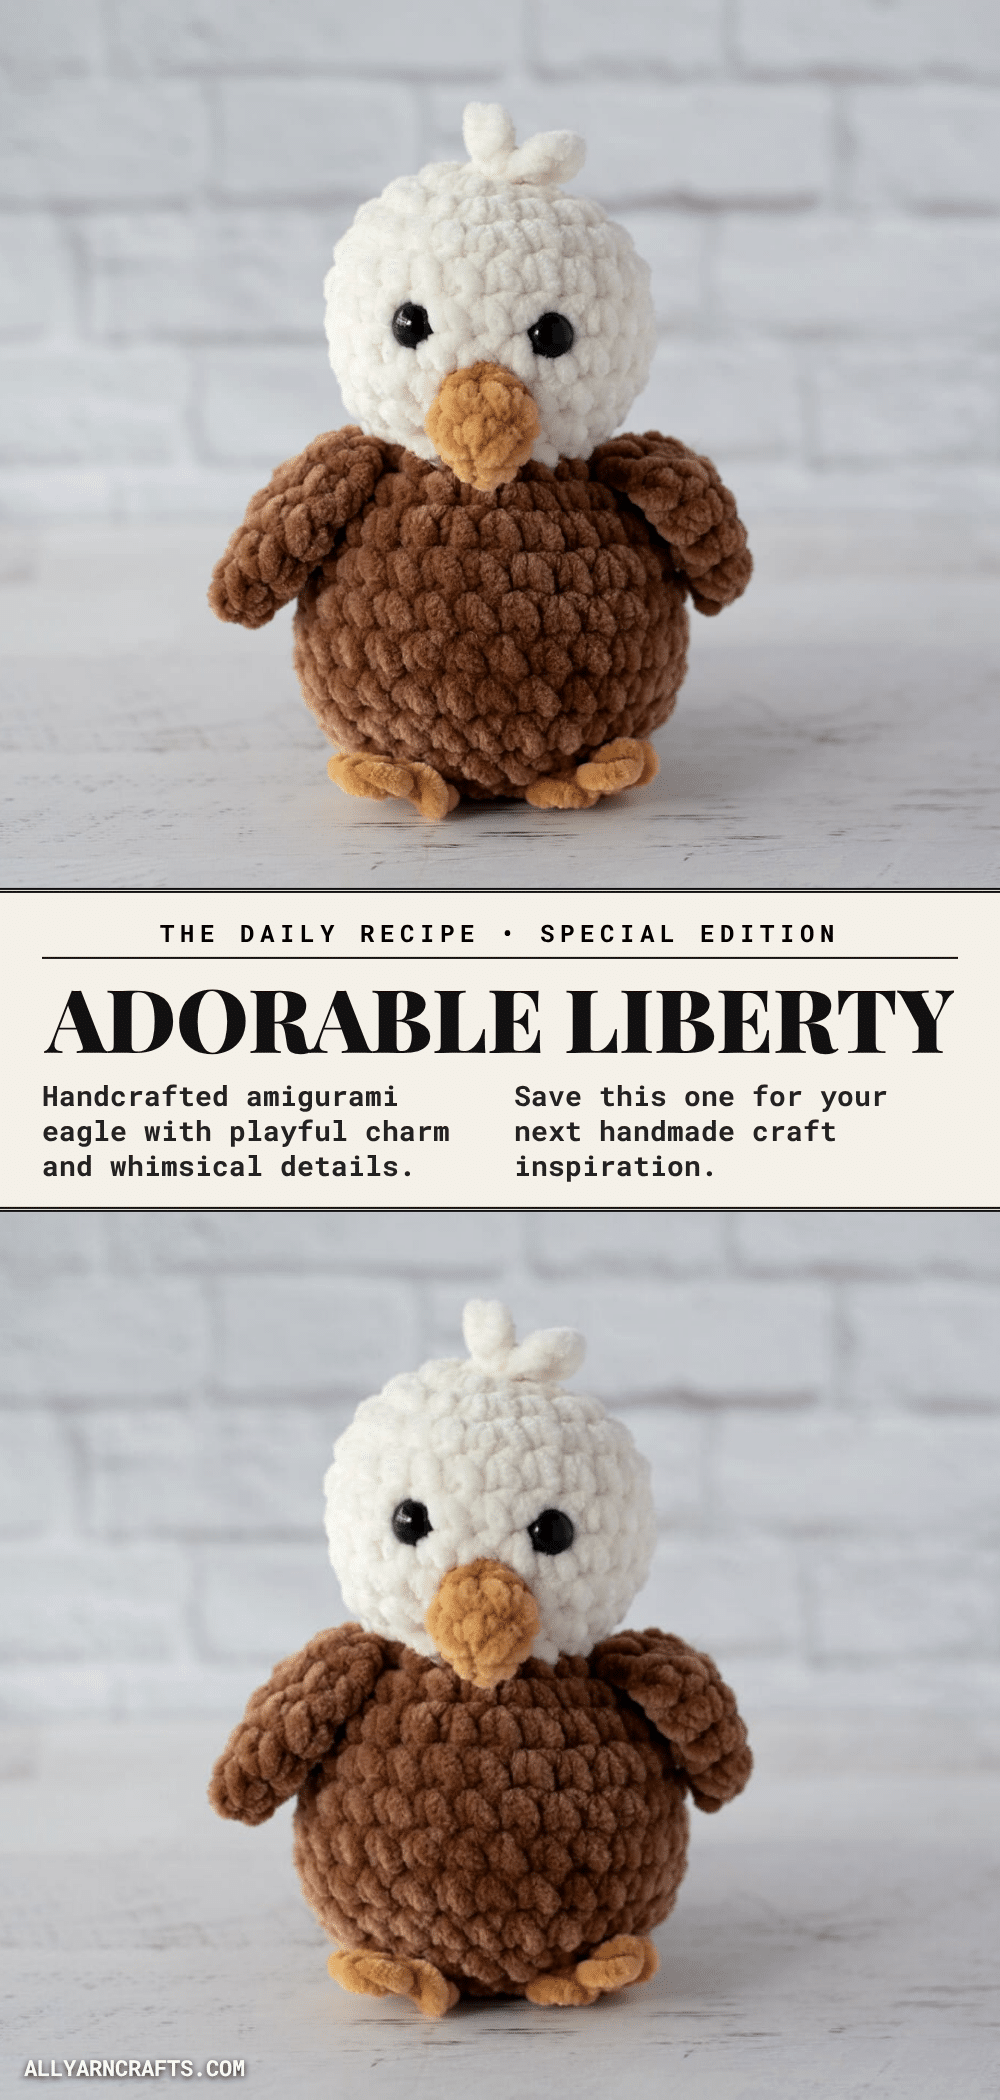
Yarn sits in a neat pile on the table, the hook resting comfortably in your hand. You pull a loop through the magic ring, and suddenly, the shape of Liberty begins to emerge. There is something deeply satisfying about watching a simple chain of stitches transform into a character with personality. This is the moment where the project truly begins to take shape, and you realize just how much charm can come from a few yards of bulky yarn and a steady rhythm of stitches.
Why This Project Works
Liberty the Crochet Eagle is more than just a bird; it is a celebration of family and nature. Inspired by the real-life eagle family in Big Bear Lake, California, this pattern captures the gentle affection and strength of these majestic creatures in a small, cuddly form. The use of Super Bulky Weight #6 yarn, specifically the chenille-style Premier Parfait Chunky, gives Liberty a soft, squishy texture that is incredibly inviting to hold.
The design relies on intentional placement rather than complex stitch counts for its details. The beak, wings, and feathers are crafted with minimal stitches but maximum impact, creating a character that feels alive. Whether you are making this as a standalone decoration or adding it to a collection of amigurumi birds like Toby the Turkey or Carl the Cardinal, Liberty brings a sense of warmth and connection to your workspace. It is a quick, fun project that rewards you with a piece of art that reminds us to take care of family and love others.
Project Overview
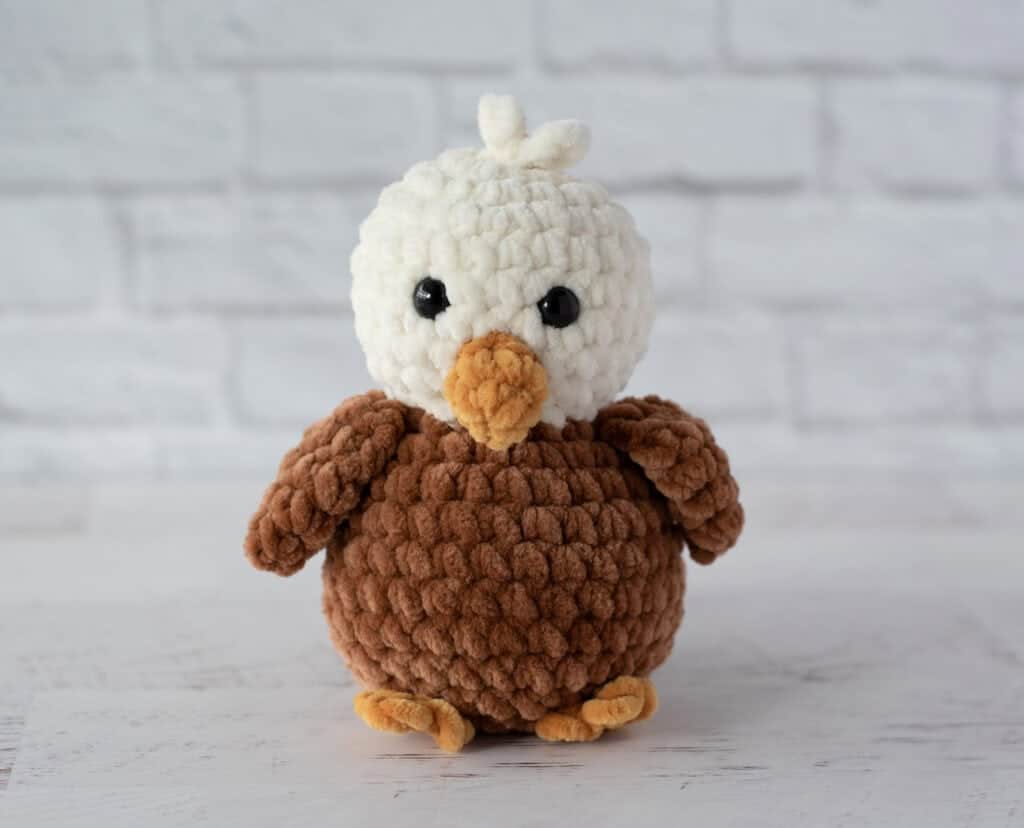
Liberty is a charming amigurumi eagle worked primarily in one piece from the top of the head down to the body. The pattern utilizes color changes to distinguish the cream-colored head from the brown body. Key features include a golden beak, cream top feathers, brown wings, and gold feet. The project is designed to be accessible, using basic stitches and allowing for gauge flexibility, making it perfect for crocheters who enjoy working with bulky yarns for faster results.
Materials
- Yarn: Super Bulky Weight #6 yarn (Chenille style recommended, such as Premier Parfait Chunky)
- Yarn Colors:
- Brown: 429 yards (Sample used: Teddy Bear)
- Cream: 20 yards (Sample used: Cream)
- Gold: 3.5 yards (Sample used: Mustard)
- Crochet Hook: US H8/5.00 mm (Recommended for best results)
- Eyes: 10 mm safety eyes (Note: For babies or young children, embroider eyes instead)
- Notions: Stitch markers, fiberfill, tapestry needle, scissors
Gauge and Finished Size
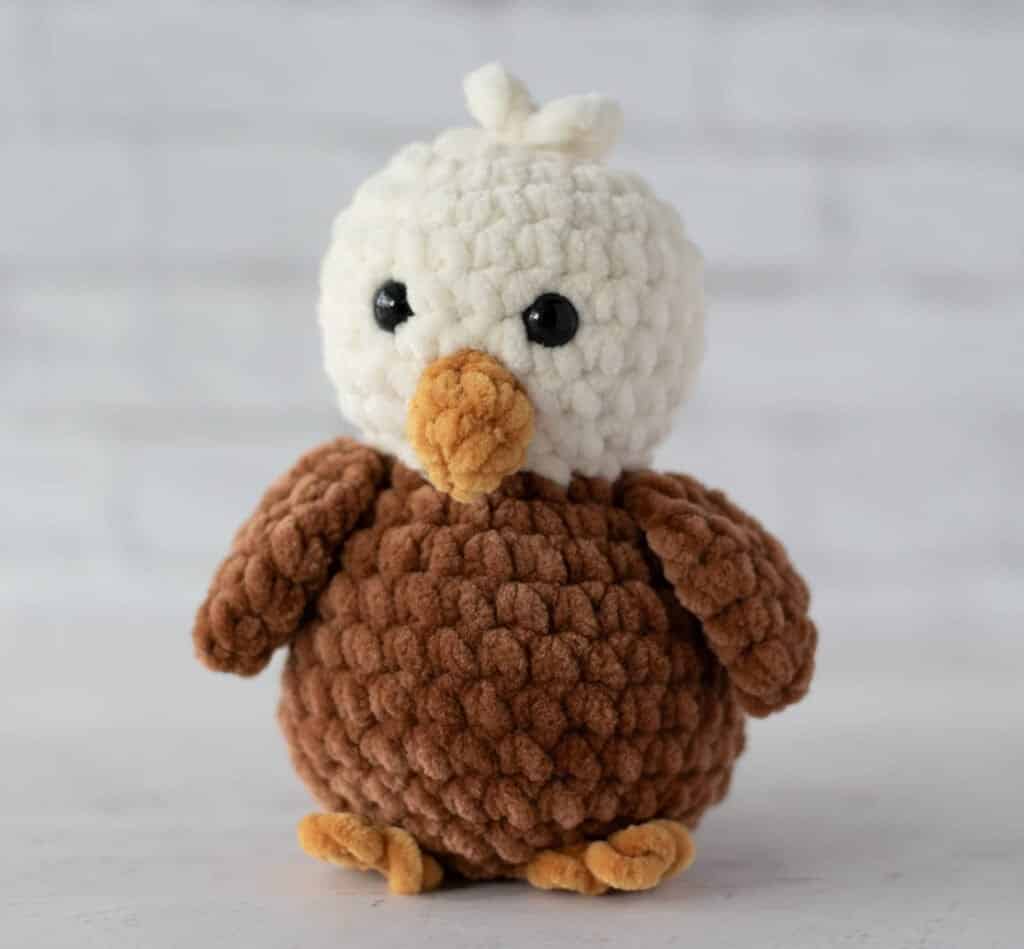
The finished Liberty the Crochet Eagle measures approximately 6 inches tall by 4.5 inches wide. The author’s gauge is 6 single crochet stitches to 2 inches, but gauge is not critical for this pattern. You may use other weights of yarn and adjust your hook size to fit your tension and desired outcome.
Abbreviations
- ch = chain
- sc = single crochet
- sl st = slip stitch
- st(s) = stitch(es)
Pattern Notes
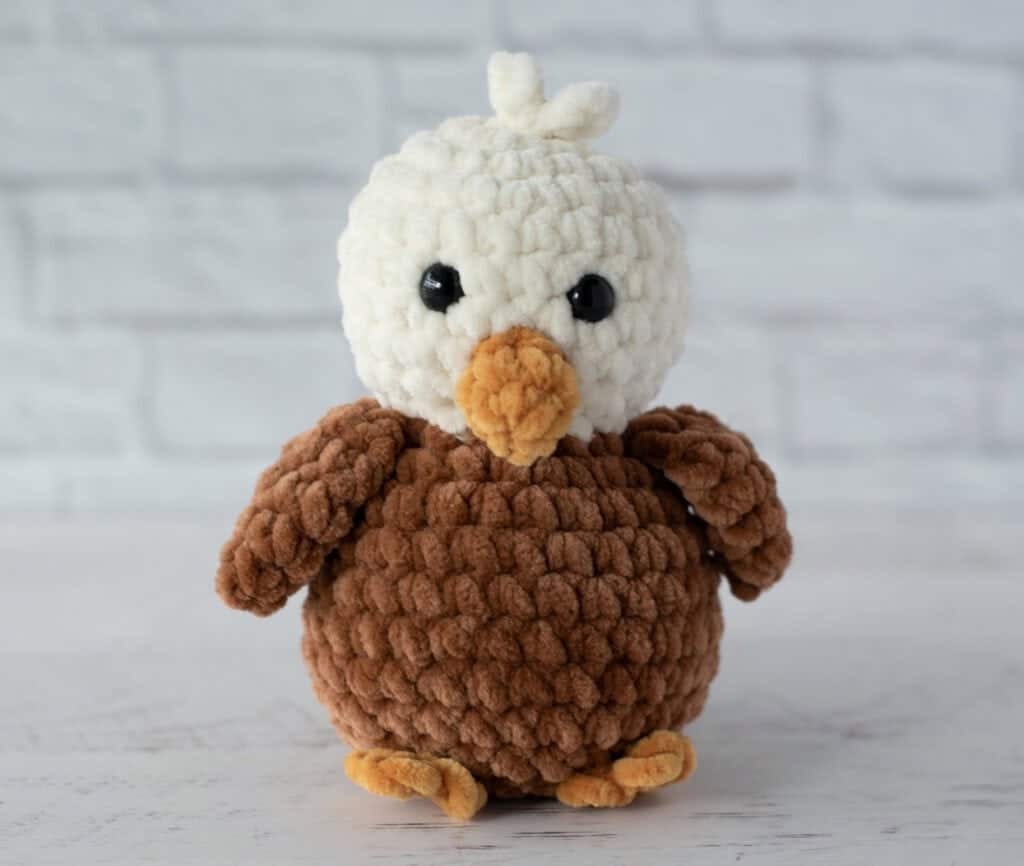
- The head and body are worked in one continuous piece, starting with cream yarn at the top of the head and changing to brown yarn for the body.
- The tummy section includes extra stitches to create an adorable, squishy vibe.
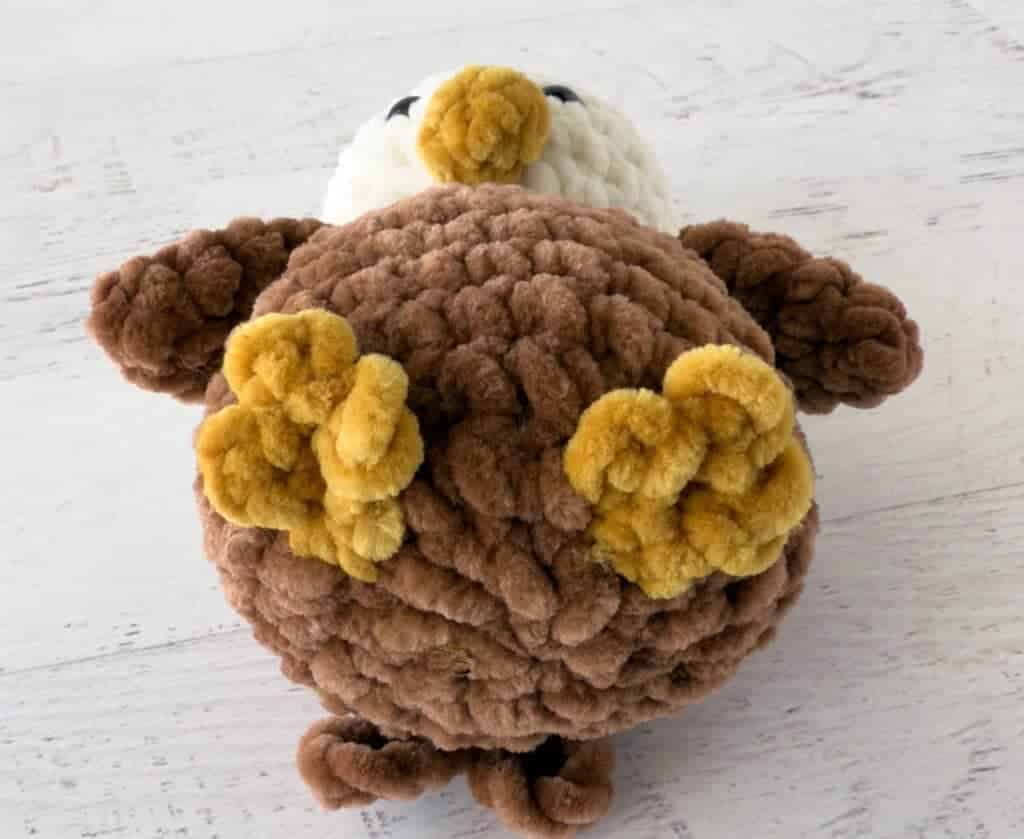
- Details such as the beak, feet, and feathers use very few stitches but rely on intentional placement for character.
- These small elements are quick and fun to crochet.
Pattern Instructions
Eagle Head and Body
Using cream yarn, make a magic ring.
R1: 6 sc into ring (6 sts). Work in rounds.
R2: 2 sc in ea st (12 st).
R3: *sc in next st, 2 sc in next. Repeat from * around. (18 st).
R4: *sc in next 2 st, 2 sc in next. Repeat from * around. (24 st).
R5-8: sc around. (24 st).
R9: *sc in next 2 st, sc next 2 st together. Repeat from * around (18 st).
R10: *sc in next st, sc next 2 st together. Repeat from * around, changing to brown in last stitch (12 st).
Insert safety eyes between rows 6 & 7, leaving 4 stitches in between them. Stuff head and continue to stuff body as you work.
R11: *sc in next st, 2 sc in next. Repeat from * around. (18 st).
R12: *sc in next 2 st, 2 sc in next. Repeat from * around. (24 st).
R13: sc around (24 st).
R14: *sc in next 5 st, 2 sc in next. Repeat from * around. (28 st).
R15-18: sc around. (28 st).
R19: *sc in next 5 st, sc next 2 st together. Repeat from * around (24 st).
R20: *sc in next st, sc next 2 st together. Repeat from * around (16 st). Firmly stuff body the rest of the way.
R21: *sc next 2 st together. Repeat from * around (8 st). Fasten off, weave end through last stitches and pull tight.
Beak
With Gold yarn, make a magic ring.
R1: 4 sc into ring (4 sts). Work in rounds.
R2: (sc in next st, 2sc in next st) twice (6 st). Fasten off, using an invisible join if you prefer.
Top Feathers (Hair)
With cream yarn, *ch 3, sl st in next 2 st, repeat from * 2 more times. Fasten off and sew to top of head.
Wings (Make 2)
With brown yarn, make a magic ring.
R1: 4 sc into ring (4 sts). Work in rounds.
R2: (sc in next st, 2sc in next st) twice (6 st).
R3: (sc in next 2 st, 2sc in next st) twice (8 st).
R4: sc around (8 st).
R5: Fold piece in half, then carefully sc across the double thickness (4 st).
R6: ch 1, (sc next 2 st together) twice. (2 st) Fasten off leaving a long strand for joining.
Tail Feathers
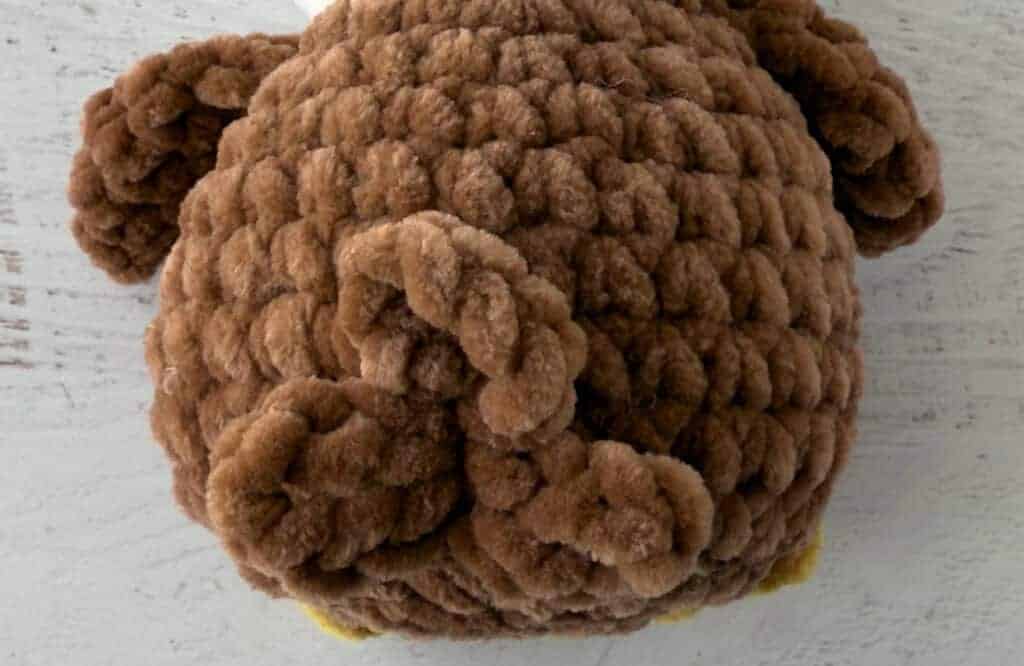
With brown yarn, *ch 7, sl st in next 1 st, repeat from * 2 more times (3 loops). Fasten off and sew to the lower back of bird.
Feet (Make 2)
With gold yarn, ch 3.
R1: sl st in 2nd ch from hook (1 st toe made), *ch 2, sl st in 2nd ch from hook. Repeat from * once (3 toes made). Then, sl st to very 1st chain in round to connect the toes back to the start. Fasten off leaving a long strand for joining.
Assembly
- Beak: Sew beak between and below eyes. The beak should cover all of row 8 and parts of rows 7 & 9 (or as desired).
- Top Feathers: Sew the cream feather piece to the top of the head.
- Wings: Sew a wing on either side of the body near the neck, using the long strands left for joining.
- Tail Feathers: Sew the brown tail feathers to the lower back of the bird.
- Feet: Sew the feet between rows 19 and 20 of the body, or as desired.
- Weave in any loose ends.
Tips
- Safety vs. Embroidered Eyes: If making this eagle for a baby or young child, embroider the eyes instead of using safety eyes for safety.
- Yarn Choice: The chenille-style texture of Premier Parfait Chunky helps hide stitch definition, giving Liberty a smooth, plush look.
- Stuffing: Ensure the body is firmly stuffed, especially during the decrease rounds, to maintain the squishy shape.
FAQs
Can I use a different yarn weight?
Yes, gauge is not important in this pattern. You may use other weights of yarn, but you will need to adjust your hook size to fit your needs and yarn.
How do I attach the wings securely?
When making the wings, leave a long strand of yarn at the end of Row 6. Use this strand to sew the wings to the sides of the body near the neck for a secure attachment.
Why are there extra stitches in the tummy?
The pattern includes extra stitches in the body section (specifically in the increase rounds) to create an adorable, squishy vibe that enhances the character’s charm.
What size safety eyes should I use?
The pattern calls for 10 mm safety eyes. Insert them between rows 6 and 7 of the head, leaving 4 stitches between the eyes.
Is this pattern suitable for beginners?
Yes, the pattern uses basic stitches like single crochet, chain, and slip stitch. The head and body are worked in one piece, which simplifies the construction process.
Pin This Crochet Pattern!