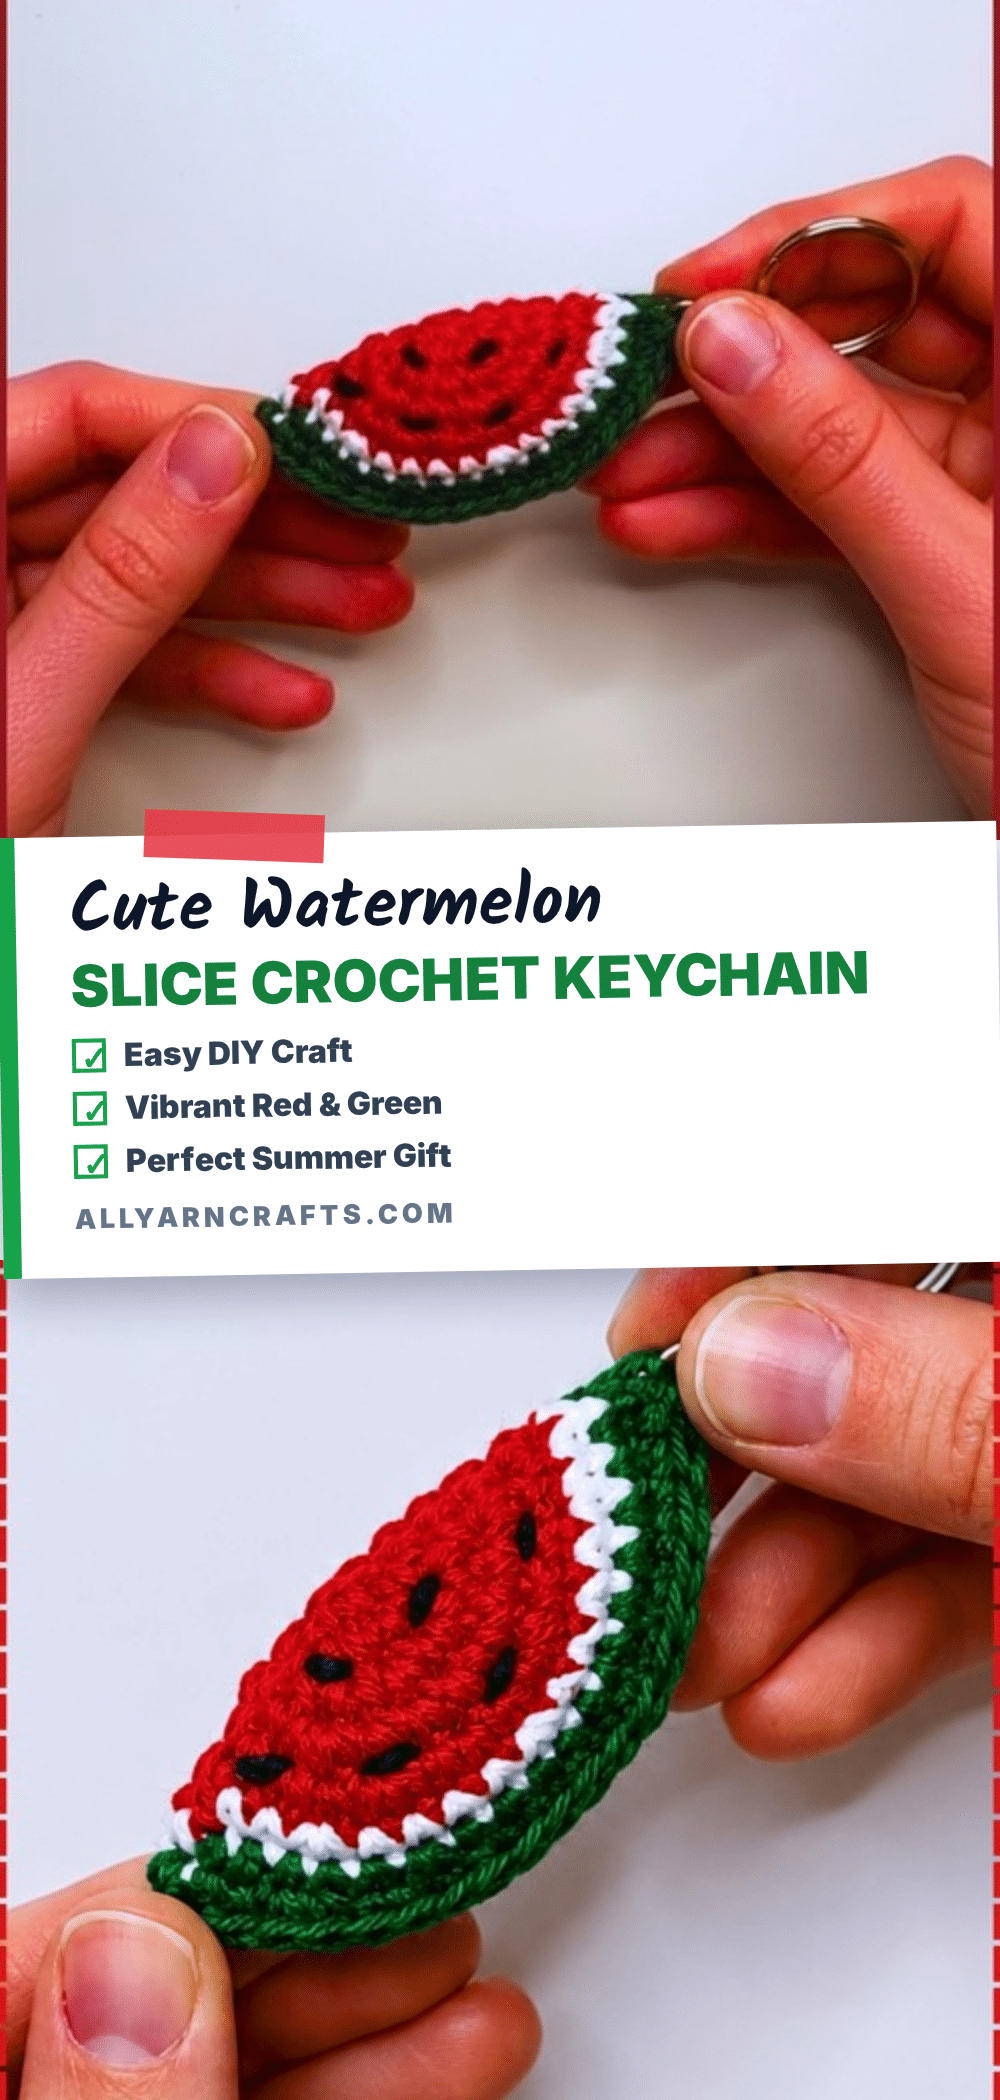
There is a specific kind of magic in watching a flat circle of stitches transform into a three-dimensional object. It happens in the quiet moments of counting increases, maintaining consistent tension, and carefully aligning color changes. This Watermelon Slice Crochet Keychain Pattern captures that satisfaction perfectly. By working in joined rounds and utilizing a clever folding technique, you create a piece that looks like a bullseye until the final fold reveals the cross-section of a juicy summer fruit. The texture of the single crochet stitches holds the shape beautifully, allowing the concentric rings of red, white, and green to define the slice with crisp clarity.
Texture and Stitch Notes
The success of this project relies heavily on the density of your fabric. Because the pattern uses a flat circle that is folded in half, the stitches must be tight enough to prevent the stuffing from showing through the seams later on. This is particularly true for the red flesh section, which forms the visible interior of the slice. When you switch colors in rounds 7 and 8, the texture of the joined rounds helps keep the color changes sharp and distinct. If you prefer the smoother look of continuous spirals, you will need to adjust your color change timing, but the joined method offers the cleanest finish for this specific design. The resulting fabric is firm yet pliable, perfect for a keychain that needs to withstand daily wear without losing its wedge shape.
Project Overview
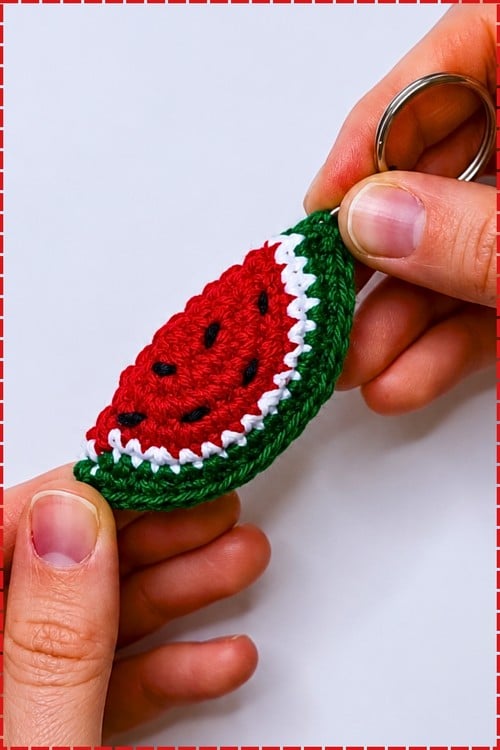
This amigurumi project creates a small, fruit-themed accessory that is quick to make and ideal for using up yarn scraps. The piece is worked as a single flat circle in three distinct color sections—red, white, and green—and then folded to create the signature watermelon wedge shape. It serves as a charming addition to bags, zippers, or backpacks.
Materials
- Red yarn: For the flesh (central section).
- White yarn: For the pith (one round only).
- Green yarn: For the rind and seaming.
- Black embroidery thread: For seeds.
- Crochet hook: Sized to your yarn weight (see Gauge section for recommendations).
- Polyester fiberfill: A small amount.
- Tapestry needle: For weaving in ends and embroidering seeds.
- Keychain ring: Metal or plastic hardware.
- Scissors.
Gauge and Finished Size
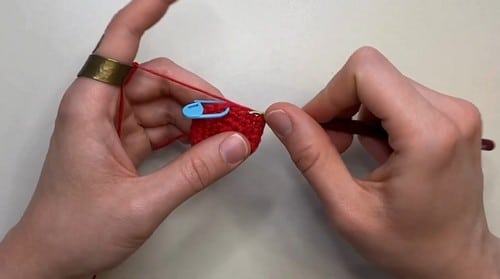
The finished size is approximately 6 to 8cm across the straight seamed edge when using DK yarn on a 3.5mm hook. This measurement is an estimate based on the stitch counts rather than a strict pattern gauge.
Tension is critical for this project. Amigurumi and flat play food pieces benefit from tighter-than-label tension to create a dense fabric that is less prone to gapping. For DK yarn, which typically suggests a 3.5 to 4.0mm hook, it is recommended to use a 3.0 to 3.5mm hook for this pattern to ensure the slice holds its shape.
Size Variations:
- Keychain size: DK yarn on a 3.5mm hook (6–8cm).
- Bag tag size: Worsted weight yarn on a 4.0mm hook produces a larger slice around 9 to 11cm.
- Miniature version: Sport or 4ply yarn on a 2.5mm hook creates a 4 to 5cm piece, ideal for zipper pulls but more fiddly to seam.
Abbreviations
- sc: Single crochet
- inc: Increase, 2 sc in one stitch
- MR: Magic ring
- st / sts: Stitch / stitches
Pattern Notes
This pattern is worked in joined rounds, meaning each round closes with a slip stitch and begins with a chain 1. This method is recommended over continuous spirals because it allows for precise color changes at the end of rounds 7 and 8. If you choose to work in continuous spirals, remember that color changes must happen one stitch before the round count completes. When carrying the red yarn behind the white stitch in round 7, keep the tension even; a carried yarn pulled too tight will cause the flat circle to pucker at the color join, which becomes visible on the finished folded slice.
Pattern Instructions
Watermelon Circle (Red, White, Then Green)
Round 1 (red): MR, work 6 sc into the ring. [6] — Checkpoint: A very tight small disc. Pull the magic ring tail fully closed before any further rounds. A gap at the centre of a red circle will be visible through the finished piece since the red is the most prominent section.
Round 2 (red): Work 2 sc in every stitch around. [12]
Round 3 (red): [Sc 1, inc] — repeat around. [18]
Round 4 (red): [Sc 2, inc] — repeat around. [24]
Round 5 (red): [Sc 3, inc] — repeat around. [30]
Round 6 (red): [Sc 4, inc] — repeat around. [36] — Checkpoint: The red section should be a flat, even circle roughly 8 to 9cm across. If it is cupping into a shallow bowl, tension is tight. If the edge is ruffling, recount round 6 for a stray extra increase. The circle must lie flat before adding the white and green rings or the colour joins will buckle when the piece is folded.
Round 7 (white): Switch to white yarn. Work [sc 5, inc] — repeat around. Fasten off the red yarn. [42] — Checkpoint: A single white ring should now be sitting evenly outside the red section. If the white is uneven — wider in some places, narrower in others — the increases were not evenly distributed. The white ring is only one round wide and any imbalance shows clearly against both the red and green sections.
Round 8 (green): Switch to green yarn. Work [sc 6, inc] — repeat around. [48] — Checkpoint: The full flat circle is now complete — red centre, thin white ring, green outer band. Lay it on a flat surface and check that all three sections are concentric and even before proceeding to assembly. Any warping or edge curl will be harder to correct once the piece is seamed.
Assembly
1. Embroider the seeds: Do this before folding. While the circle is still flat, scatter five to eight V shapes or short straight stitches across the red section using black embroidery thread. Space them loosely and slightly randomly, as real watermelon seeds are not arranged in a grid. Bury each tail by running the needle through to the back of the red section and trimming close.
2. Fold and align: Fold the circle in half so the two straight edges meet and the red interior faces inward. Check that the colour rings align when folded—the white should land against the white on the other half, and the green against the green. If the circle is not perfectly symmetrical, the better-looking half should face outward.
3. Pin: Pin along the straight edge at three or four points before picking up the green yarn, so the two halves cannot shift as you seam.
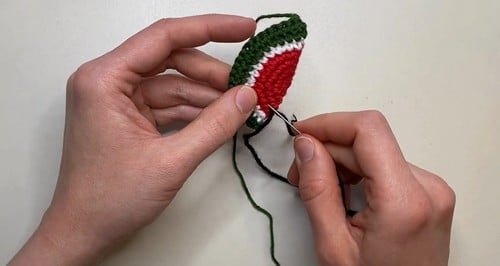
4. Seam: Seam the straight edge by working sc through both layers simultaneously with green yarn, leaving a gap of about 3 to 4cm for stuffing.
5. Stuff: Stuff lightly through the gap. Push the fill toward the curved fold first so the corners fill evenly, then close the remaining seam stitches. Fasten off and weave the tail down into the seam.
6. Attach hardware: Thread the keychain ring through one or two stitches of the green rind at the corner of the straight seam edge. Secure it through multiple stitch points rather than a single loop to prevent stretching.
Tips
- Time estimate: Allow 45 to 60 minutes per keychain.
- The “Aha” moment: The flat circle before folding looks nothing like a watermelon. It looks like a bullseye. Then you fold it and it immediately becomes a slice, and the concentric colour rings become exactly the right cross-section view.
- Stuffing lightly: The watermelon slice should feel like a firm, slightly plump crescent when held, not a stuffed ball. A small single pinch of fiberfill pushed toward the curved fold before the gap is closed is enough. The seamed edge needs the lightest amount—most of the fill sits in the curved body.
- Avoid over-stuffing: Over-stuffing forces the seamed edge to separate and the sc seam stitches become visible as a ridge rather than a clean join. If you can see white fiberfill peeking between the green seam stitches anywhere, take some out before the final seam close.
- Fixing cupping: If the flat circle is cupping rather than lying flat, your tension is running tight through the increase rounds. Try going up half a hook size from round 3 onward.
- Fixing uneven rings: If the colour rings are uneven—specifically if the white section is wider on one side—the increases in round 7 drifted. The round 7 repeat is [sc 5, inc] six times, which spaces increases at every sixth stitch. Count carefully before working each increase to ensure they are not creeping.
- Seam tension: If the seam is showing as a visible green ridge on the face of the slice, your seam tension was too tight. Work the seam stitches with slightly looser tension, or work the join as sl st rather than sc, which sits flatter.
- Natural seeds: If seeds look too uniform and grid-like, embroider them with one hand holding the circle loosely rather than flat on a table. The slight movement while stitching makes the placements less mechanical. Five seeds distributed slightly randomly will always read more naturally than eight in two rows.
- Hardware security: If the keychain ring is pulling the corner of the rind, a single attachment point under key weight will eventually stretch or cut through. Pass the ring through two or three stitches of the green rind at the corner and work the tail around the ring base in several passes before weaving in, so the hardware is supported across an area rather than a single loop.
- Yarn choice: Cotton DK is the best choice here for two reasons: the colour sections stay crisp and distinct with clean stitch definition, and cotton does not stretch under key weight over time the way acrylic does, so the seam holds its shape.
- Efficiency: For a set of fruit keychains in different colours, working all the circles on the same day before folding any of them is more efficient than completing each one individually. The circle stage is fast; the seaming, stuffing and finishing is where the time goes.
- Weaving ends: Weave all ends at least two centimetres into the body before trimming—the seed embroidery tails in particular, since short tails on the surface pull free under handling.
- Safety: For children who will play with it rather than carry it on a bag, check the seam stitches monthly; sc seams on small stuffed pieces can work loose at the corners over time.
FAQs
Can I skip the white round to make a two-color version?
Yes. Skipping round 7 and continuing to round 8 in green gives a two-section circle with just red flesh and a green rind. However, the stitch count for round 8 would need adjusting—if you skip the white round, work [sc 5, inc] in green to reach 42 rather than [sc 6, inc] to 48, otherwise the green section becomes disproportionately wide. The two-colour version is faster and still reads clearly as a watermelon.
Why is my circle warping or curling?
Almost always tension. Green yarn is sometimes worked with tighter tension than the red and white if it is a different yarn or if fatigue set in by round 8. Block the circle flat—wet it, pin it to a flat surface in a circle and leave to dry—before folding. It will hold the flat position after drying and the seam will be much easier to work on a non-warped base.
How do I attach the keychain ring securely?
Thread the ring through the corner of the seamed edge first, then pass the yarn tail that you left after fastening off through the ring base two or three times before weaving into the piece. This wraps the tail around the ring hardware and gives it multiple anchor points. Pull the ring firmly before weaving in the last pass of the tail to check it holds.
What hook size should I use?
Check the yarn label for the recommended hook range and use the smaller end of that range. Amigurumi and flat play food pieces benefit from tighter-than-label tension because it makes the fabric denser and less prone to gapping. For DK yarn the label usually suggests 3.5 to 4.0mm; use 3.0 to 3.5mm for this pattern.
Is this pattern suitable for beginners?
If you are new to amigurumi, this is a great project to practice joined rounds and color changes. The flat circle shape is forgiving, and the assembly teaches valuable seaming techniques. If you have never made an amigurumi before, consider watching a basic tutorial on magic rings and single crochet stitches before starting.
For more inspiration on quick and easy crochet projects, you might also enjoy our easy crochet top pattern for beginners or look into easy fathers day crochet gifts for more handmade ideas.
Pin This Crochet Pattern!